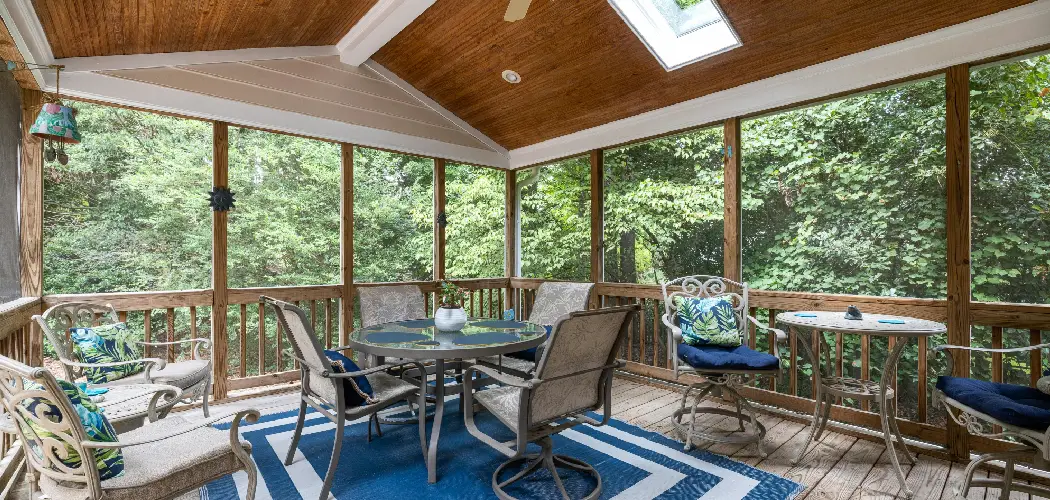
Are you looking for a way to turn your deck into a more functional space? Adding screens to your existing deck can transform it into a cozy screened-in porch, perfect for enjoying the outdoors without dealing with pesky bugs.
Greening up your outdoor space isn’t as difficult as some people think. With just a few modifications, you can quickly turn an existing deck into a screened-in porch in no time!
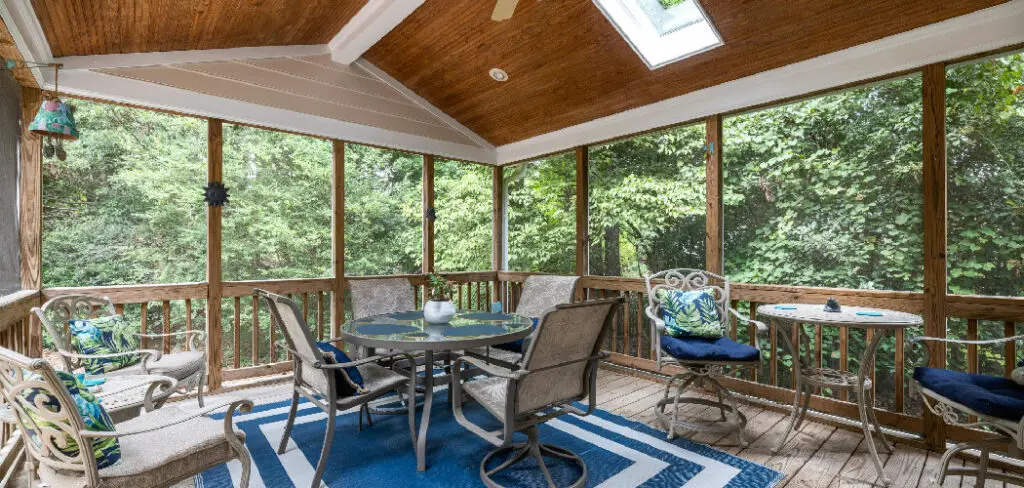
Here, we’ll provide step-by-step instructions how to turn a deck into a screened in porch. Not only will you get that extra layer of insulation from the wind and bugs, but you can customize your porch according to personal aesthetic preferences for even more enjoyment!
Whether it’s curling up with a good book on a warm summer night or entertaining guests during those picturesque months — this project is sure to have everlasting rewards.
What Will You Need?
Before starting, you’ll need to gather the necessary tools and materials. Here’s a list of some everyday items you may need:
- Measuring Tape
- Saw
- Drill
- Hammer
- Screws or Nails
- Screen Material
- Door Frame Kit (optional)
It’s important to note that these are just general suggestions, as specific tools and materials may vary depending on your specific deck and porch design. Be sure also to consider the size of your deck, as well as any unique features or obstacles that may require additional supplies.
10 Easy Steps on How to Turn a Deck Into a Screened in Porch
Step 1: Assess Your Deck
The first step in turning your deck into a screened-in porch is assessing its current condition. This is crucial to ensure the safety and longevity of your new outdoor space. Take the time to thoroughly inspect the deck for any signs of wear or damage, such as rotting wood, loose nails, or uneven surfaces.
Ensure that the deck’s foundation is sturdy and capable of supporting the additional weight of the screens and any new furniture you plan to add. If any repairs are needed, now is the time to address them. Remember, a solid and well-maintained deck is the key to a safe and enjoyable screened porch.
Step 2: Design Your Screened Porch
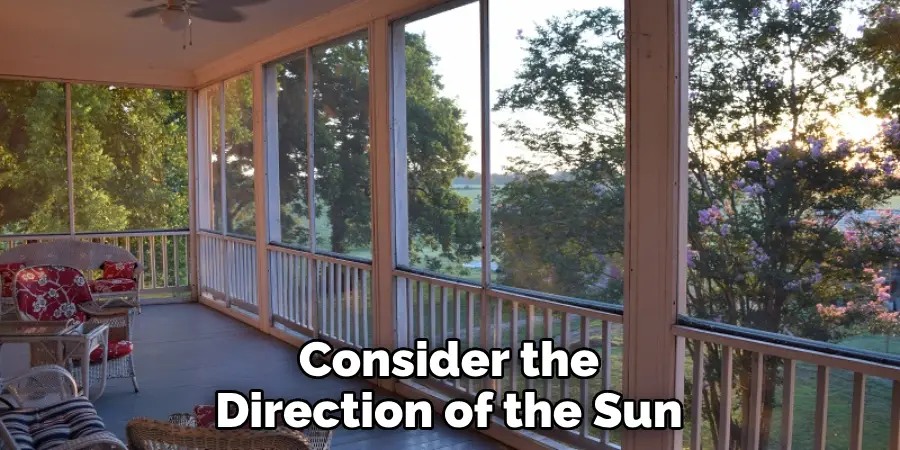
Once you’ve assessed the condition of your deck, the next step is to design your screened-in porch. Determine the layout, including where the screens will go and if you plan to install a door. Consider the direction of the sun to avoid excessive heat during the summer months.
Sketch out your design, noting the exact measurements for each section. This step is crucial in ensuring a smooth installation process and will also help you estimate the amount of screen material and supplies you need.
Step 3: Purchase Your Materials
After finalizing your design, it’s time to purchase your materials. Use the measurements you noted during the design phase to determine the required amount of screen material. Remember to account for any doors or windows in your design. You may also need additional wood to frame the screens or to make any necessary repairs to your deck.
It’s always better to buy extra material to account for any mistakes or unexpected issues that may arise during the installation process. Remember to pick up any additional tools or hardware you may need.
Step 4: Install the Frames
The next step is to install the frames for the screens. Start by cutting the wood to the exact measurements of your design. These will serve as the frames for your screens. Once cut, secure the frames to the existing structure of your deck using nails or screws.
Ensure the frames are sturdy and level before moving on to the next step. This is also the time to install the door frame if you’ve included a door in your screened-in porch design.
Step 5: Attach the Screens
With your frames securely in place, it’s time to attach the screens. Unroll your chosen screen material, ensuring it covers the entire frame from one side to the other. To keep the screen taut and wrinkle-free, affix it from the top and work your way down.
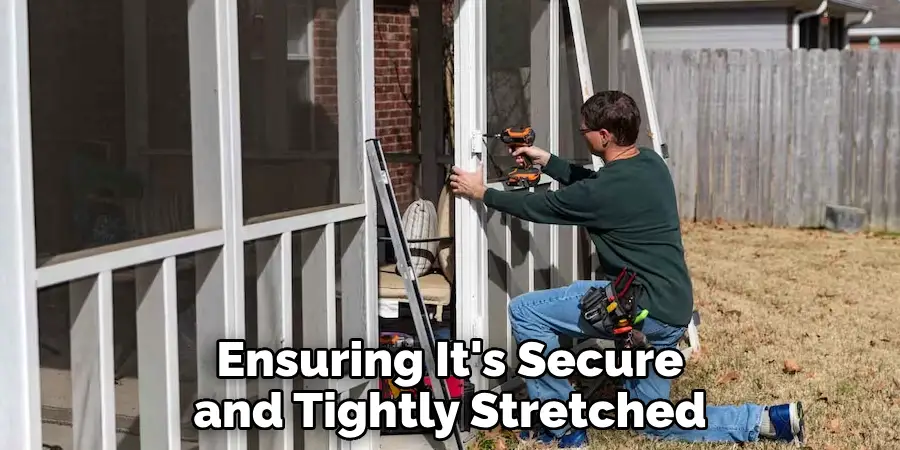
Use staples or nails to attach the screen to the frame, ensuring it’s secure and tightly stretched. Repeat this process for each frame until all your screens are attached.
Step 6: Trim Excess Screens
After you’ve attached all the screens to the frames, you’ll likely have excess screen material hanging over the edge of each frame. This step involves trimming this excess to give your screened-in porch a neat and clean look. Be careful not to cut too close to where you’ve affixed the screen to the frame, which could cause the screen to come loose. Once trimmed, you can further secure the edges of the screens using a thin strip of wood or molding, providing a more finished look.
Step 7: Install the Door
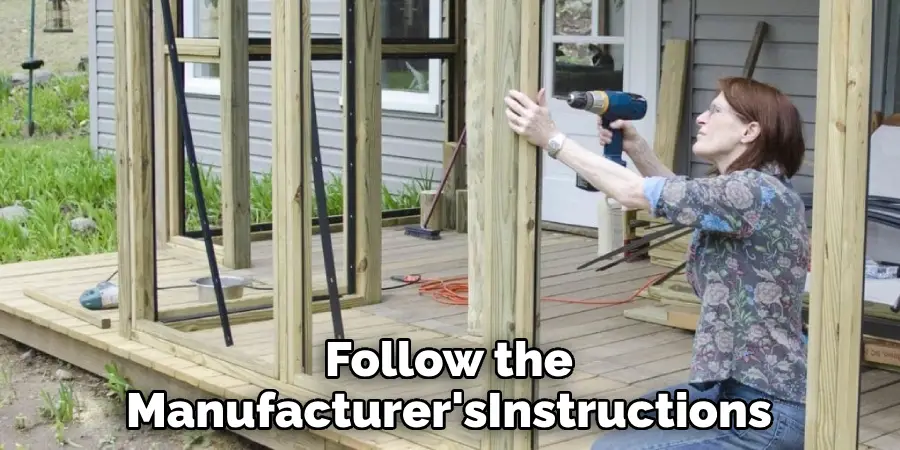
If your design includes a door, now is the time to install it. Using the door frame kit, follow the manufacturer’s instructions to install it correctly. Ensure the door swings smoothly and latches securely. Consider adding a spring or hydraulic closure to ensure the door closes behind you, keeping the bugs out.
Step 8: Do a Final Check
Now that your screened-in porch is almost complete, it’s essential to do a thorough check. Ensure all screens are secure and taut and there are no gaps where bugs can get in. Check that you’re satisfied with the placement and functionality of your door if you choose to include one.
Ensure everything is cleaned up and any tools or leftover materials are removed from the area. If all looks good, you’re ready for the final step!
Step 9: Add Finishing Touches
By this point, your screened-in porch structure should be complete. Now is the perfect time to add those finishing touches. This could include painting or staining the wood to match the rest of your home, adding outdoor furniture for comfort, installing lights for evening use, or even incorporating an outdoor rug for added coziness. Remember, this space is an extension of your home, so feel free to decorate it to your taste and style.
Step 10: Enjoy Your New Space
Congratulations, your screened-in porch is now ready for use! This new outdoor space not only adds value to your property but also provides an additional area for relaxation, socializing, and enjoying nature without the concern of bugs. So, bring out your favorite book a refreshing drink, or invite your friends over for a barbecue and enjoy your newly transformed space. Remember, regular maintenance will ensure your porch remains in good condition for years.
Following these steps, you can quickly turn your deck into a screened-in porch and create a versatile and enjoyable outdoor space.
5 Additional Tips and Tricks
- Plan Your Design: Before the transformation, visualize your final product. Consider factors like the size of the porch, the type of screens you want to use, and how it will impact the existing structure of the deck.
- Choose Quality Materials: Select durable materials that can withstand weather changes. Aluminum or vinyl screens are ideal as they are both durable and low maintenance.
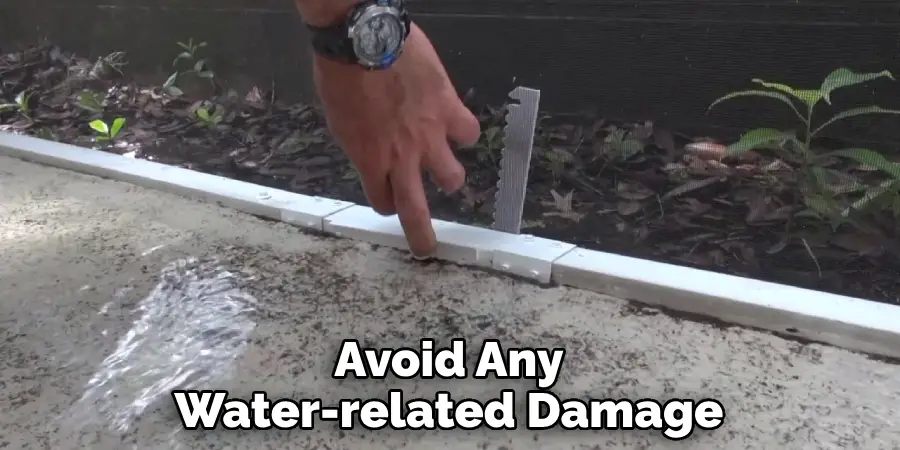
- Ensure Proper Drainage: When enclosing the deck, it’s crucial to make adjustments for water drainage to avoid any water-related damage or issues.
- Incorporate Lighting: A well-lit porch will not only add ambiance but also increase the functionality of the space during nighttime. Consider adding recessed lights or string lights for a cozy effect.
- Hire a Professional If Necessary: If the project seems too complicated, feel free to hire a professional. An expert can help ensure the job is done correctly and complies with local building codes.
With these additional tips and tricks, you can turn your deck into a beautiful screened-in porch that adds value and functionality to your home. Remember to plan carefully, use quality materials, ensure proper drainage, incorporate lighting, and seek professional help.
6 Things You Should Avoid
- Ignoring Local Building Codes: Each region has specific building codes and regulations. Ignoring them could lead to penalties, fines, or even the need to undo your work.
- Using Low-Quality Materials: While saving money might be tempting, using low-quality materials could lead to frequent repairs and replacements in the future. Invest in high-quality, durable materials to ensure the longevity of your porch.
- Skipping the Planning Phase: A lack of careful planning can lead to numerous issues during the construction process. Take the time to thoroughly plan your project, considering all necessary factors and potential challenges.
- Overlooking Ventilation and Insulation: Ensure your porch is well-ventilated to keep it comfortable during the hot months. Also, appropriate insulation is essential to keep it warm during the colder months.
- Neglecting the Overall Aesthetic of Your Home: Your screened-in porch should blend with the rest of your house. Avoid designs that clash with your home’s architectural style and color scheme.
- Forgetting About Maintenance: Your screened-in porch will require regular maintenance to remain in good condition. Neglecting maintenance can lead to costly repairs in the future.
By avoiding these common mistakes, you can ensure a successful and aesthetically pleasing transformation of your deck into a screened-in porch.
What is the Cheapest Way to Screen in a Deck?
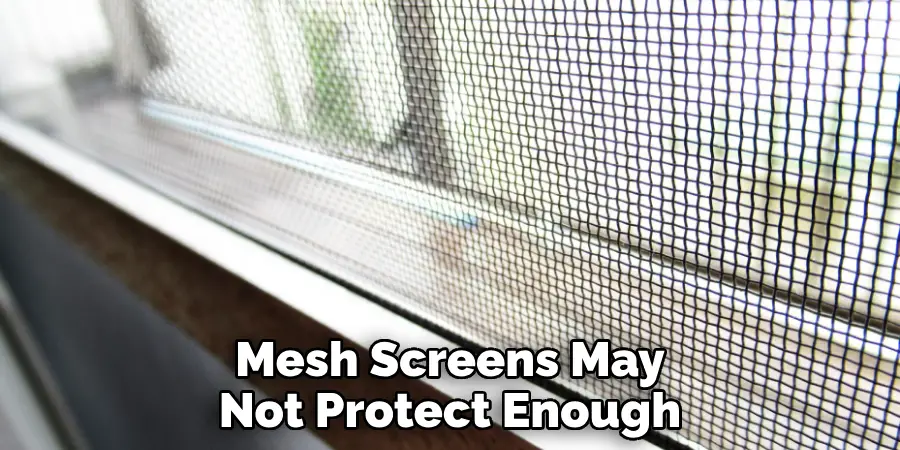
One of the most cost-effective ways to screen in a deck is using mesh screens. This type of screening material is affordable and easy to install. It also allows for good airflow and visibility while keeping insects out. However, remember that mesh screens may not protect enough from elements like wind or rain.
Additionally, some homeowners opt for DIY solutions, such as using a staple gun to attach the screens themselves. However, this method requires precision and can be challenging for beginners. Hiring a professional may cost more upfront, but it can save time and ensure proper installation.
Ultimately, the cheapest way to screen in a deck will depend on your budget, skills, and preferences. Consider all options carefully before making a decision.
What is the Difference Between a Deck, a Patio, and a Porch?
While all three terms are often used interchangeably, there are some key differences between a deck, patio, and porch.
- A deck is typically an elevated platform made of wood or composite materials that extends from the house. It can be attached to the house or freestanding.
- A patio is usually a paved outdoor area on ground level that can be made of various materials like concrete, brick, or stone.
- A porch is a covered outdoor space usually attached to the front of a house and can be either screened-in or open.

The main differences between these structures are their location, size, and level of elevation. Each has its own benefits and can be used for different purposes.
Ultimately, the decision on whether to build a deck, patio, or porch will depend on your specific needs and preferences. Overall, turning a deck into a screened-in porch is an excellent way to add value, functionality, and comfort to your home.
Conclusion
To sum things up, creating a screened-in porch from your deck is an easy and cost efficient project with many great benefits. Transforming your outdoor space to a screened-in porch is what you need to create the perfect hangout spot for warm summer nights.
To get started on this project, all you need is time, materials, and know-how, or hire a professional if the task seems daunting. You are now ready to begin planning how you can transform your deck into a screened-in porch and finally have that backyard oasis you’ve always wanted. Onward towards porch perfection!
Hopefully, the article on how to turn a deck into a screened in porch has provided you with valuable information and inspiration to tackle this project. Remember, proper planning, quality materials, and attention to detail are crucial to creating a beautiful and functional screened-in porch that will enhance your home.
Avoiding common mistakes and considering different options will ensure a successful transformation within your budget. Enjoy your new outdoor space! So what are you waiting for?
You Can Check It Out How to Deice Wood Deck
About
Outdoor Fixes is a distinguished figure in the world of Diy design, with a decade of expertise creating innovative and sustainable Diy solutions.
His professional focus lies in merging traditional craftsmanship with modern manufacturing techniques,
fostering designs that are both practical and environmentally conscious. As the author of diy,
outdoorfixes delves into the art and science of outdoorfixes-making, inspiring artisans and industry professionals alike.
Education RMIT University
(Melbourne, Australia) Associate Degree in Design (Outdoor Fixes) Focus on sustainable design, industry-driven projects,
and practical craftsmanship. Gained hands-on experience with traditional and digital manufacturing tools, such as CAD and CNC software.
Nottingham Trent University
(United Kingdom) Bachelor’s in outdoorfixes.com and Product Design (Honors) Specialized in product design with a focus on blending creativity with production
techniques. Participated in industry projects, working with companies like John Lewis and Vitsoe to gain real-world insights.
Publications and Impact
In diy, Outdoor Fixes his insights on indoor design processes, materials, and strategies for efficient production.
His writing bridges the gap between artisan knowledge and modern industry needs, making it a must-read for both budding designers and seasoned professionals.

