A broken garden hose doesn’t have to mean the end of your watering routine or an expensive trip to the hardware store for a full replacement. Learning how to use a hose mender is a simple, cost-effective skill that restores the integrity of your watering equipment in minutes, ensuring your lawn and garden never go thirsty due to leaks or severed lines.
By mastering this quick repair, you protect the efficiency of your intricate sprinkler systems and drip irrigation setups, which rely on consistent water pressure to function correctly. A well-mended hose prevents water waste and maintains the precise flow needed for keeping your landscape lush and healthy throughout the growing season.
Understanding Sprinkler Systems and Drip Irrigation
To truly appreciate the value of a solid hose repair, it helps to understand the systems that rely on that water delivery. Sprinkler systems and drip irrigation setups are the lifeblood of modern gardening, designed to deliver hydration exactly where it is needed. However, these systems are highly sensitive to fluctuations in pressure. A sprinkler system relies on specific water pressure to pop up heads and distribute water across a radius. If your feeder hose has a leak or a burst section, the pressure drops significantly. This results in dry patches on your lawn because the sprinklers can’t reach their intended distance, leaving your grass vulnerable to heat stress and disease.

Drip irrigation is even more precise, delivering water directly to the root zones of plants through a network of tubes and emitters. While it operates at lower pressure than sprinklers, it requires a consistent, leak-free supply to ensure every plant in the line receives its share. A compromised hose leading to your drip system can cause the entire line to fail, starving plants at the end of the row. Using a hose mender effectively ensures that the primary conduit—your garden hose—remains a reliable vessel for transporting water from the spigot to these delicate distribution systems. It is the backbone of your garden’s hydration infrastructure.
6 Simple Step-by-step Guidelines on How to Use a Hose Mender
Step 1: Assess the Damage and Prepare the Hose for Repair
Before you can fix the problem, you must clearly identify the extent of the damage to your hose, which often involves locating the exact source of the leak or burst. Start by turning on the water to pressurize the hose, marking the damaged area with a piece of tape or a marker so you don’t lose track of it once the water is off. Once identified, shut off the water supply and drain the hose completely to prevent getting soaked during the cutting process.
You need a clean, dry surface to work with. Select a sharp cutting tool, such as a utility knife, heavy-duty garden shears, or a specialized hose cutter, to ensure you can make a clean, straight cut. A jagged or uneven edge will make it incredibly difficult to insert the mender and could compromise the seal later on, leading to future leaks.
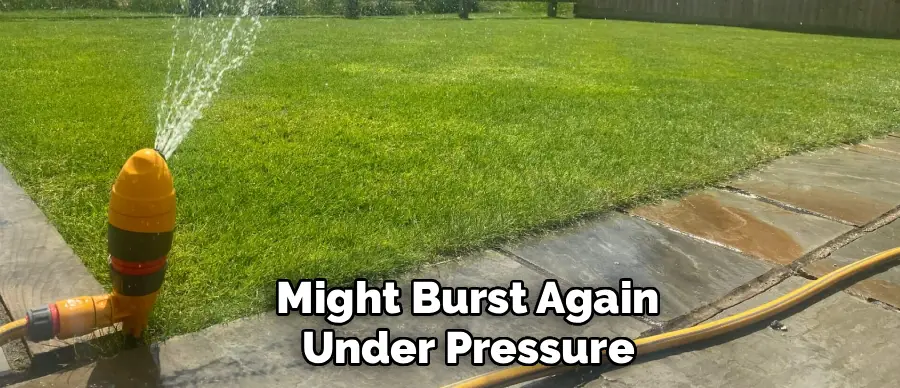
After you have your tools ready, cut the hose on both sides of the damaged section to completely remove the bad piece. Be generous with your cuts; it is better to lose an extra inch of hose than to leave behind weakened material that might burst again under pressure. You want to be left with two clean, square ends that show no signs of splitting or dry rot.
Inspect the inner lining of the remaining hose ends to ensure they are smooth and free of debris. If the hose is old and the rubber has become hard or brittle, you may need to soak the ends in hot water for a few minutes. This simple trick softens the rubber, making the next steps of inserting the mender significantly easier and ensuring a tighter fit around the repair fitting.
Step 2: Select the Correct Hose Mender Size and Type
Choosing the right mender is perhaps the most critical step in the entire process, as an ill-fitting connector will inevitably fail under water pressure. Garden hoses typically come in standard diameters—usually 1/2 inch, 5/8 inch, or 3/4 inch—and you must match the mender size exactly to your hose’s internal diameter.
If you are unsure, look for markings printed on the hose itself, or measure the inside opening with a ruler. Buying a mender that is too small will result in leaks and low pressure, while one that is too large simply won’t fit into the hose. Additionally, consider the material of the mender; brass is generally more durable and resistant to crushing than plastic, though high-quality plastic menders are often easier to install and resist corrosion well.
Once you have determined the size, you need to decide on the connection type based on where the damage occurred. If the hose is severed in the middle, you need a standard mender with two male ends (often called a coupler) that joins two raw hose ends together. If the damage is near the end of the hose, close to the spigot or the nozzle, you might be better off replacing the threaded end entirely with a male or female clincher mender.
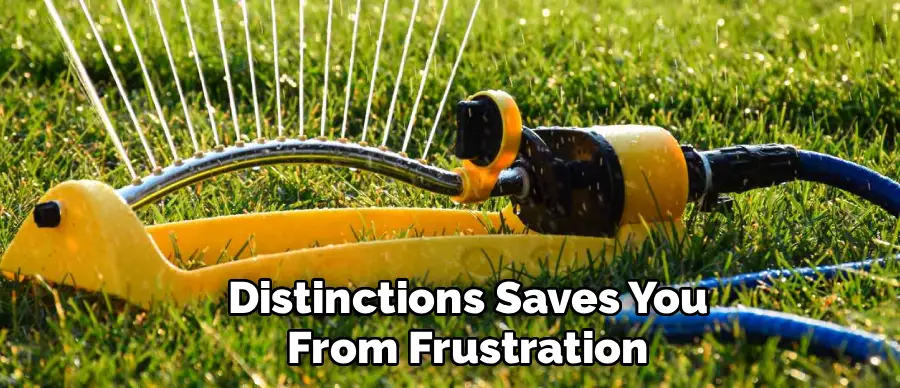
Understanding these distinctions saves you from frustration. Take the piece of hose you cut out with you to the hardware store if you are in doubt; physically comparing it to the products on the shelf ensures you walk away with the exact component required for a permanent, watertight fix.
Step 3: Insert the Mender into the Hose Ends
With your hose prepared and the correct mender in hand, it is time to join the pieces together, a process that requires a bit of physical effort and attention to detail. If you are using a clamp-style mender, remember to slide the metal clamps onto each hose end before you insert the mender fitting; forgetting this step is a common mistake that forces you to pull everything apart and start over.
Take the mender fitting—the piece with the barbed ends—and push it firmly into one of the cut hose ends. The barbs are designed to grip the inside of the hose, so it will be a tight fit. You need to push until the hose end is flush against the center collar or the stop of the mender. If the resistance is too high, use a small amount of dish soap as a lubricant or revisit the hot water soaking method to make the rubber more pliable.
Repeat this insertion process for the other side of the hose, pushing the second cut end onto the other side of the barbed mender until they meet in the middle. It is crucial that the mender is seated fully inside the hose; if it is only partially inserted, the water pressure will eventually blow the connection apart. Check to ensure the hose hasn’t twisted during this process; you want the natural curve of the hose to remain aligned to prevent kinks later. O
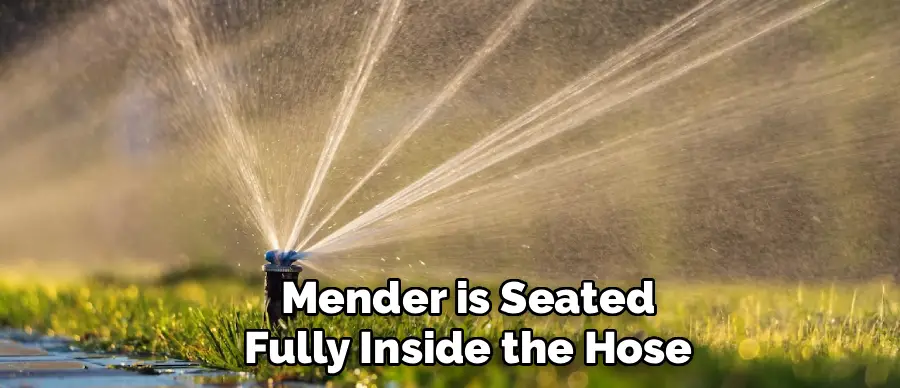
nce both sides are fully seated against the center stop of the mender, you have established the internal structure of your repair. The barbs are now providing resistance against the hose being pulled off, but they aren’t enough to hold water pressure on their own, which brings us to the crucial step of securing the connection.
Step 4: Secure the Clamps or Compression Collars
Now that the internal fitting is in place, you must secure the connection externally to create a watertight seal that can withstand high pressure. If you are using a mender with metal hose clamps, slide the clamps you placed earlier over the section where the hose overlaps the barbed fitting.
Position the clamp carefully so it sits right in the middle of the barbed area—not too close to the edge of the hose, where it might slip off, and not too close to the center stop, where it might interfere with the hose’s flexibility. Using a screwdriver or a nut driver, tighten the screws on the clamps. You want them tight enough to compress the rubber into the barbs of the mender, but be careful not to overtighten to the point where the clamp cuts into the rubber of the hose, which would cause a new leak.
For compression-style menders, the process involves tightening external collars rather than screws. These menders usually have threaded caps that you slide onto the hose ends before inserting the central piece. Now, bring those caps up over the repair area and thread them onto the central mender body.

As you twist these collars, “righty-tighty,” they squeeze plastic fingers down onto the hose, compressing it against the internal barb. This often requires significant hand strength; you may need to use a pair of channel-lock pliers to get that final half-turn that ensures a solid seal. Ensure you tighten both sides evenly. This type of connection is excellent because it provides 360-degree pressure around the hose, minimizing the risk of uneven spots where water could squirt out.
Step 5: Test the Repair Under Pressure
The visual inspection is done, but the true test of your handiwork is seeing how it performs under actual water pressure. Before you roll up the hose or attach a sprinkler, connect the hose to the faucet and ensure the nozzle end is closed or blocked to build up maximum pressure within the line. Slowly turn on the water spigot—do not blast it full force immediately.
Watch the repair site closely as the hose expands and pressurizes. You are looking for any signs of weeping water, dripping, or fine mist spraying from the edges of the mender. A small drip might mean the clamp needs another quarter turn of tightening, or that the hose wasn’t pushed far enough onto the barbs.
If the connection holds under low pressure, proceed to open the spigot fully to subject the repair to standard operating pressure. Leave it pressurized for a few minutes while you inspect it from all angles. Wiggle the hose gently near the repair to ensure that movement doesn’t break the seal. This dynamic testing is vital because hoses are constantly dragged, pulled, and twisted during use.

If the mender holds tight with no leaks, you have successfully restored the hose. If it bursts off or leaks significantly, you likely need to cut the ends again and try re-seating the mender, or perhaps the mender size was incorrect. Passing this stress test confirms that your repair is robust and ready for daily garden duties.
Step 6: Reinforce and Protect the Repaired Section
While the mender itself is functional, taking an extra step to protect the repair can significantly extend the lifespan of your fixed hose. The hard plastic or metal of the mender creates a rigid spot in an otherwise flexible hose. This rigid point is prone to getting caught on rocks, roots, or the corners of your house when you drag the hose across the yard.
To mitigate this, consider wrapping the entire repair area with high-quality electrical tape or self-fusing silicone tape. Start wrapping a few inches before the mender and continue a few inches past it. This creates a tapered transition that helps the mender slide over obstacles rather than snagging on them.
Furthermore, on how to use a hose mender, this layer of tape adds weatherproofing to the metal components, protecting screws and clamps from rusting due to exposure to rain and mud. If you used a plastic mender, the tape protects the plastic from UV degradation, which can make it brittle over time.
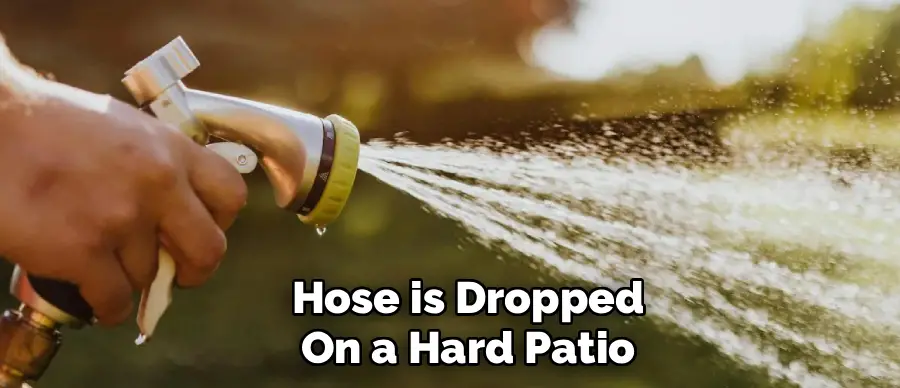
This extra padding also serves as a shock absorber if the hose is dropped on a hard patio or driveway. By smoothing out the profile of the mender and adding a protective layer, you ensure that your repair doesn’t become a new weak point. It transforms a simple patch job into a professional-grade reinforcement that can last as long as the hose itself, giving you peace of mind every time you water.
Maintenance and Care
To keep your mended hose in top condition, avoid dragging the repaired section over rough concrete or sharp edges, as the added bulk can snag and loosen the clamps. Drain the hose after every use to reduce internal pressure and prevent water from expanding during freezing temperatures, which can crack the mender.
Periodically check the tightness of the screws or collars, as temperature changes can cause expansion and contraction that loosen the fitting. Store the hose coiled properly on a reel or hanger to prevent kinks near the rigid mender zone. Finally, keep the mender clean from mud and debris to prevent corrosion on metal parts.
Safety Considerations
Safety might not be the first thing on your mind when fixing a garden hose, but it is important to handle tools and pressure responsibly. Always use a sharp blade and cut away from your body when slicing through thick rubber hoses to avoid slipping and injuring yourself. Be cautious when working with old, sun-baked hoses, as they can shatter or snap unexpectedly during cutting.
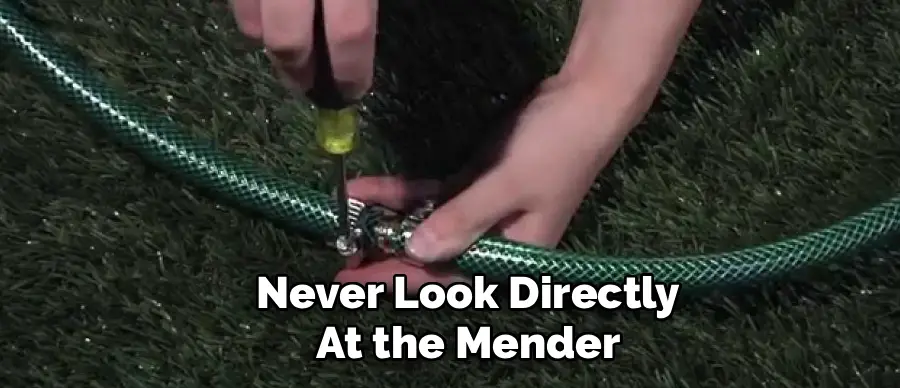
When testing the hose, never look directly at the mender or place your face near it while pressurizing the line; if the repair fails, the mender can blow apart with significant force, or a high-pressure jet of water could cause eye injury. Wear safety glasses during the repair and testing phases. Additionally, be mindful of metal clamps with protruding tails, as these can be extremely sharp; wrapping them with tape protects your hands from nasty cuts during future use.
Frequently Asked Questions
Q1: Can I Use A Hose Mender On A Soaker Hose?
A1: Yes, you can use a hose mender on a soaker hose, but it requires specific fittings designed for the smaller, porous material usually found in soaker lines. Standard garden hose menders are often too large and rely on high pressure, whereas soaker hoses operate on low pressure and have different wall thicknesses.
You should look for compression fittings specifically labeled for 1/2-inch or 5/8-inch drip or soaker tubing. These fittings use a compression nut to squeeze the tubing rather than a barb and clamp, ensuring a seal without crushing the delicate porous material that allows the water to weep out.
Q2: Why Does My Hose Mender Keep Leaking?
A2: A leaking hose mender is usually caused by one of three issues: an incorrect size match, improper installation, or a degraded hose end. If the mender barb is too small for the hose diameter, water will easily pass around it, regardless of how tight you clamp it.
Similarly, if the hose end was not cut straight or has jagged edges, a proper seal cannot form against the mender’s stop. Finally, if the rubber of the hose is dry-rotted or cracking, it will crumble under the pressure of the clamp rather than sealing; in this case, you must cut further back to find healthy, pliable rubber before attempting the repair again.
Q3: Are Plastic Or Metal Hose Menders Better?
A3: Both materials have their pros and cons, but metal menders, typically made of brass or zinc, generally offer superior durability and longevity compared to plastic. Metal can withstand higher water pressure, is less likely to crack if stepped on, and resists the UV damage that eventually makes plastic brittle.
However, plastic menders are often cheaper, non-corrosive, and easier to install because they frequently use hand-tightened collars rather than screws. For a heavy-duty rubber hose used daily, brass is the best investment, but for a light-duty vinyl hose, a high-quality plastic mender is often perfectly sufficient and less heavy to drag around.
Conclusion
Mastering the use of a hose mender is a fundamental skill for any homeowner or gardener, transforming a frustrating equipment failure into a minor, five-minute fix. By understanding the critical role your hose plays in feeding sprinkler and drip irrigation systems, you can appreciate why a high-quality repair is essential for the health of your landscape. Following the six simple guidelines on how to use a hose mender—from precise cutting and sizing to secure clamping and testing—ensures that your repaired hose will function just as well as a new one.
Proper maintenance and attention to safety considerations further guarantee that your watering equipment remains reliable season after season. Rather than discarding a hose at the first sign of a leak, using a mender promotes sustainability and saves money. With these steps in your toolkit, you are fully equipped to handle leaks confidently, ensuring your garden remains lush, green, and well-hydrated without interruption.
About
Outdoor Fixes is a distinguished figure in the world of Diy design, with a decade of expertise creating innovative and sustainable Diy solutions.
His professional focus lies in merging traditional craftsmanship with modern manufacturing techniques,
fostering designs that are both practical and environmentally conscious. As the author of diy,
outdoorfixes delves into the art and science of outdoorfixes-making, inspiring artisans and industry professionals alike.
Education RMIT University
(Melbourne, Australia) Associate Degree in Design (Outdoor Fixes) Focus on sustainable design, industry-driven projects,
and practical craftsmanship. Gained hands-on experience with traditional and digital manufacturing tools, such as CAD and CNC software.
Nottingham Trent University
(United Kingdom) Bachelor’s in outdoorfixes.com and Product Design (Honors) Specialized in product design with a focus on blending creativity with production
techniques. Participated in industry projects, working with companies like John Lewis and Vitsoe to gain real-world insights.
Publications and Impact
In diy, Outdoor Fixes his insights on indoor design processes, materials, and strategies for efficient production.
His writing bridges the gap between artisan knowledge and modern industry needs, making it a must-read for both budding designers and seasoned professionals.