One of the biggest challenges for any plant owner, from novice to expert, is mastering the art of watering. Overwatering is the number one cause of houseplant death, leading to root rot and fungal diseases, while underwatering causes wilting and stunted growth. The common advice to “water when the top inch of soil is dry” is a decent starting point, but it doesn’t account for the moisture deep within the pot where the roots actually live. This is where a simple, inexpensive tool can revolutionize your plant care routine. A soil moisture meter takes the guesswork out of watering, giving you a precise, data-driven look at the conditions your plant’s roots are experiencing.
It’s like giving yourself a superpower to see beneath the surface. This guide will walk you through exactly how to use a moisture meter, empowering you to provide the perfect amount of hydration every time and help your green friends truly thrive.
Using a soil moisture meter is straightforward yet incredibly effective. With just a few simple steps, you can gain valuable insights into the moisture levels of your plant’s soil, ensuring they receive the right amount of water. This tool helps prevent both underwatering and overwatering, common issues that can harm your plants. By incorporating a moisture meter into your plant care routine, you’ll cultivate healthier, happier plants with ease.
Step-by-Step Guide on How to Use a Moisture Meter
Step 1: Choose the Right Meter for Your Needs
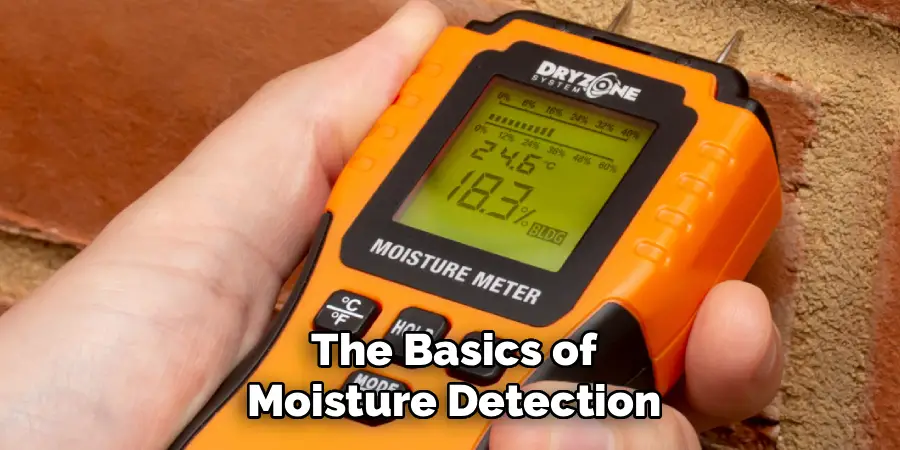
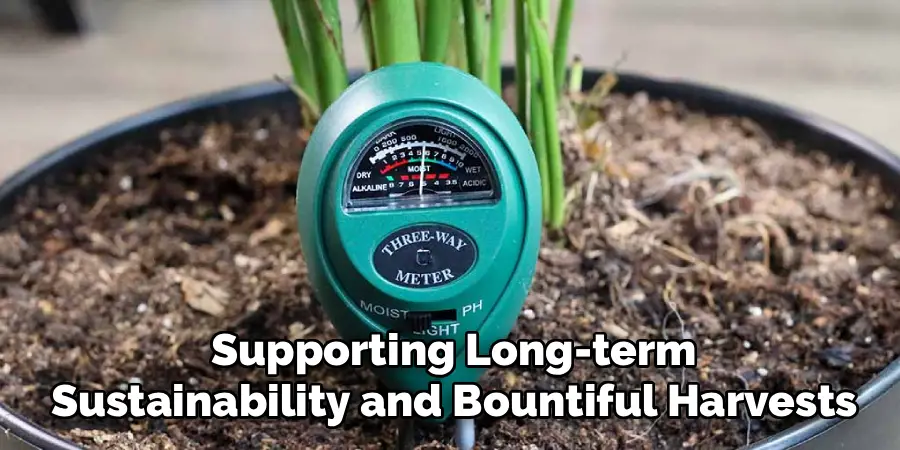
Before you can take a reading, you need to select the appropriate tool. Most soil moisture meters designed for houseplants are analog, meaning they have a single long probe and a display that uses a needle to indicate moisture on a scale of 1 to 10. These are simple, battery-free, and perfect for beginners. For more advanced gardeners or for outdoor use, you might find digital meters that provide a numerical percentage or multi-function devices that also measure pH and light levels. For the purpose of learning the basics of moisture detection, a simple analog meter is all you need. Make sure the probe is long enough to reach the root zone of your largest pots.
Step 2: Calibrate and Prepare Your Meter
While most simple analog meters do not require formal calibration, it is a good habit to ensure your tool is clean and ready for an accurate reading. Before the first use, and between each plant, wipe the metal probe with a clean, dry cloth. This prevents cross-contamination of soil-borne pests or diseases between different pots. If the probe is particularly dirty, you can use a bit of rubbing alcohol on the cloth. This simple cleaning step ensures that residue from a previous reading does not interfere with the electrical conductivity the meter relies on, giving you a more precise measurement of the soil you are currently testing.
Step 3: Insert the Probe into the Soil Correctly
The goal of using a moisture meter is to understand the conditions around the plant’s root ball, not just at the surface. Gently insert the probe vertically into the soil, aiming for a spot about halfway between the plant’s stem and the edge of the pot. Push the probe down until it is about two-thirds of the way into the depth of the pot. Be careful to avoid pushing directly into the main root ball or against large, established roots, as this can cause damage. The probe should slide in with gentle, firm pressure. If you hit a hard obstruction, pull it out and try a slightly different spot.
Step 4: Take the Reading
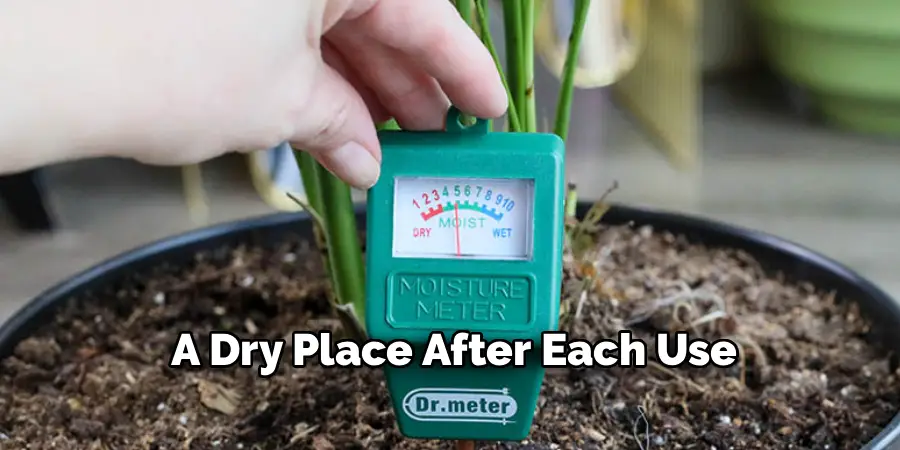
Once the probe is properly inserted into the soil, let the meter sit for about 60 seconds. This allows the sensor at the tip of the probe to acclimate and provide a stable, accurate reading. The needle on the analog display will move to a number on the scale, typically ranging from 1 (very dry) to 10 (very wet). The scale is often color-coded, with red indicating dry, green indicating moist, and blue indicating wet. This immediate visual feedback is the core function of the device, telling you precisely what is happening deep inside the pot where your eyes cannot see.
Step 5: Interpret the Reading Based on Plant Needs
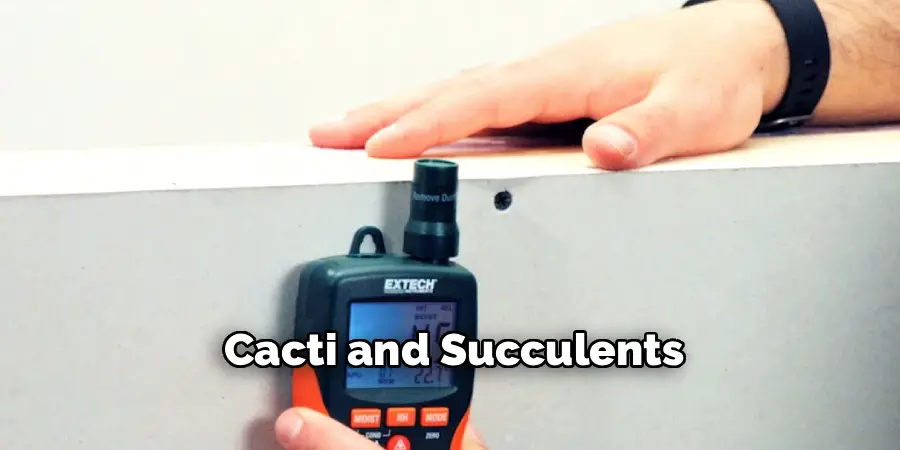
A reading of “5” does not mean the same thing for every plant. The next crucial step is to interpret the number in the context of your specific plant’s watering preferences. Cacti and succulents, for example, prefer to dry out completely, so you would wait until the meter reads 1 or 2 before watering. Tropical plants like ferns and calatheas, on the other hand, prefer consistently moist soil, so you would water them when the meter dips to a 3 or 4. Learning your plants’ individual needs is a key part of mastering how to use a moisture meter effectively. Research each plant or use the general guide that often comes with the meter.
Step 6: Test Multiple Spots for an Accurate Picture
A single reading gives you data for only one spot in the pot. Soil can dry out unevenly, especially in larger containers. To get a comprehensive understanding of the overall moisture level, it is a good practice to take readings from two or three different locations around the pot. Insert the probe near the front, back, and one side to see if there are any significant variations. If one side is consistently wetter, it might indicate poor drainage or that you are watering unevenly. Averaging the readings from a few spots gives you a much more reliable basis for your decision to water or wait.
Step 7: Clean and Store the Meter Properly
After you have finished checking all your plants, your work with the meter is done. It is essential that you clean it and store it correctly to ensure its longevity. Never leave the probe sitting in the soil of a plant, as the continuous exposure to moisture and minerals can corrode the sensitive metal tip over time, leading to inaccurate readings. Wipe the probe clean with a dry cloth, ensuring all soil residue is removed. Hang it up or store it in a dry location, like a drawer with your other gardening tools, so it is ready for your next watering day.
Advanced Gardening Techniques
Once you’ve mastered the basics of gardening, incorporating advanced techniques can elevate the health and productivity of your plants. Methods such as crop rotation, companion planting, and soil testing allow you to optimize your garden’s performance while maintaining ecological balance. Crop rotation involves systematically changing where you plant different crops each season to prevent soil depletion and reduce pests and diseases. Companion planting pairs certain plants together to enhance growth, deter pests, or improve flavor. For instance, planting marigolds near tomatoes can help ward off harmful insects. Taking your soil care further with nutrient tests ensures your plants receive the precise conditions they need to thrive, supporting long-term sustainability and bountiful harvests.
Frequently Asked Questions
Are Soil Moisture Meters Accurate?
For the average home gardener, yes, they are accurate enough to be an incredibly useful tool. They work by measuring the electrical conductivity of the soil, which correlates with water content. While a professional-grade meter might be more precise, a basic analog meter is far more reliable than just using your finger. They excel at telling you the difference between slightly damp and wet deep in the pot, which is where most watering mistakes are made.
Why Is My Moisture Meter Not Working?
If your meter isn’t giving a reading, there are a few common causes.
- The soil is completely dry: In bone-dry soil, there is no conductivity for the meter to read.
- The probe is oxidized: If the metal tip is corroded, it cannot make a good connection. Try cleaning it gently with a fine-grit sandpaper or a scouring pad.
- The meter is broken: If it fails to read even when placed in a glass of water, the internal mechanism is likely damaged.
Can I Use a Moisture Meter for Outdoor Gardens?
Yes, but you will need a more robust model. Most inexpensive houseplant meters have probes that are too short and fragile for compacted outdoor soil. Look for a meter specifically designed for outdoor use, which will have a longer, more durable probe to reach the deeper root systems of garden plants and shrubs.
How Do I Know What Moisture Level My Plant Needs?
The general rule is a good starting point:
- 1-3 (Red Zone): For succulents, cacti, and other plants that need to dry out completely.
- 4-7 (Green Zone): The ideal range for the majority of common houseplants like pothos, monsteras, and philodendrons.
- 8-10 (Blue Zone): For bog plants or those that love “wet feet,” which are very few.
Always research your specific plant for the most accurate information.
Should I Leave My Moisture Meter in the Pot?
No, you should never leave the meter in the soil. The continuous exposure to moisture and minerals in the soil will quickly corrode and damage the sensitive metal probe. This will ruin the meter and cause it to give inaccurate readings. Always remove, clean, and store your meter in a dry place after each use.
Conclusion
Watering your plants should be a joyful act of care, not a source of stress and uncertainty. By removing the guesswork, a moisture meter transforms your relationship with your plants, turning you from a nervous owner into a confident caretaker. This simple device provides the data you need to respond to your plants’ actual needs, preventing the common pitfalls of over- and underwatering. Following the steps of proper insertion, reading, and interpretation ensures that you are giving each plant the precise hydration it needs to flourish. Now that you know how to use a moisture meter, you have gained a powerful new skill in your gardening toolkit. You are ready to listen to what your plants are telling you and watch them grow healthier than ever before.
About
Outdoor Fixes is a distinguished figure in the world of Diy design, with a decade of expertise creating innovative and sustainable Diy solutions.
His professional focus lies in merging traditional craftsmanship with modern manufacturing techniques,
fostering designs that are both practical and environmentally conscious. As the author of diy,
outdoorfixes delves into the art and science of outdoorfixes-making, inspiring artisans and industry professionals alike.
Education RMIT University
(Melbourne, Australia) Associate Degree in Design (Outdoor Fixes) Focus on sustainable design, industry-driven projects,
and practical craftsmanship. Gained hands-on experience with traditional and digital manufacturing tools, such as CAD and CNC software.
Nottingham Trent University
(United Kingdom) Bachelor’s in outdoorfixes.com and Product Design (Honors) Specialized in product design with a focus on blending creativity with production
techniques. Participated in industry projects, working with companies like John Lewis and Vitsoe to gain real-world insights.
Publications and Impact
In diy, Outdoor Fixes his insights on indoor design processes, materials, and strategies for efficient production.
His writing bridges the gap between artisan knowledge and modern industry needs, making it a must-read for both budding designers and seasoned professionals.