
Do you want to create some stunning garden decorations that will stand out from the crowd? If so, making large concrete garden balls is an easy and creative way to add a unique look and feel to your backyard.
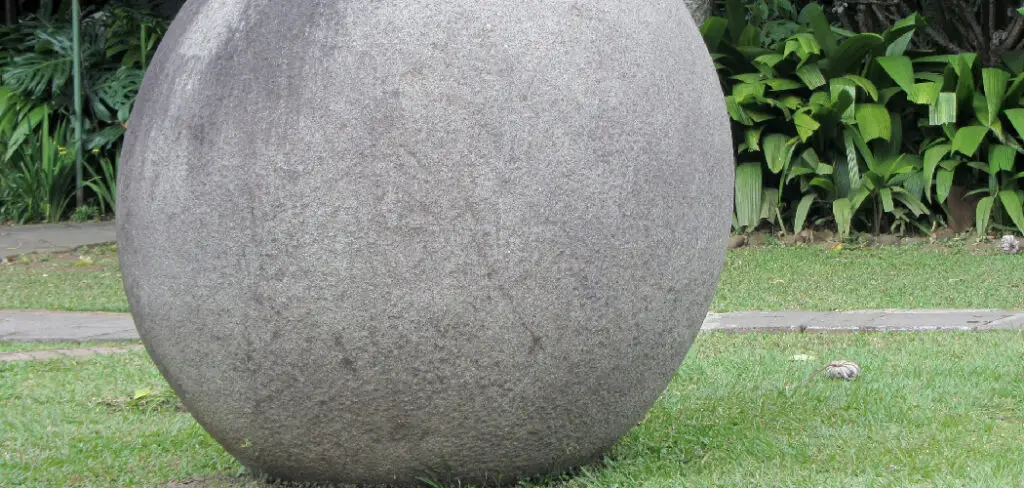
With just a few tools, items you can find at any home improvement store, and a bit of time spent on construction, you’ll have beautiful decorative pieces that will last for years! In this blog post, we’ll walk through all the steps on how to make large concrete garden balls yourselves.
What Causes Balls in Concrete?
When concrete is mixed, it is made up of two components: cement and aggregate. The aggregate can be as small as sand, gravel, or dirt or larger pieces such as crushed stone. The bigger the aggregate particles are, the more likely it is that balls will form when concrete is poured into a mold.
This happens because the large chunks of aggregate are suspended in the cement mixture and can move around easily, creating round shapes when released.
The size of the balls that form depends on how much water is added to the mix and how quickly it is poured into the mold. If too much water is used or if the concrete is poured too quickly, larger balls will form.
Additionally, if the mold is not properly leveled, balls can form due to uneven surfaces.
In order to prevent large balls from forming in concrete when making garden spheres, it is important to use the correct water-cement ratio and make sure that the mold is level. Additionally, using finer aggregate can help reduce the chance of balls forming because the small particles won’t be able to move around as much.
Lastly, it is important to pour the concrete slowly and evenly into the mold in order to create a uniform shape. With these tips, you should be able to make beautiful large concrete garden balls with no problem!
10 Methods How to Make Large Concrete Garden Balls
1. Gather Materials:
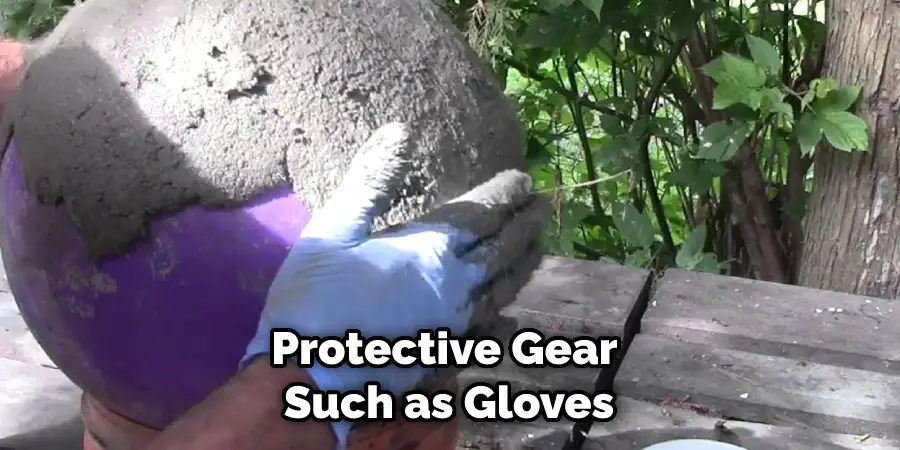
To make large concrete garden balls, you will need a plastic ball of your desired size, cement mix, water, and an acrylic sealer. You will also need a drill with a paddle bit and protective gear such as gloves, a face mask, and safety glasses. If you are making multiple concrete garden balls, you may want to invest in a mixing tub.
2. Prepare the Ball:
Before you begin to mix the cement, make sure the plastic ball is smooth and free from any bumps or ridges that could prevent the concrete from adhering properly. If there are any imperfections on the surface of the plastic ball, sand them down until they are smoothed out. If you are using a foam ball, make sure to wrap it in plastic sheeting before you begin.
Although it is not necessary, you can also apply a thin layer of mold release to the surface of the plastic ball. This will help to make it easier to remove the concrete ball from the mold once it is fully cured.
3. Mix the Cement:
In a large bucket or bowl, mix together two parts of cement with 1 part of water until you have achieved a thick paste-like consistency. You may need to gradually add a small amount of water until you reach this ideal consistency. To make sure your concrete is strong, stir in 2 parts of sand.
For a smoother finish, you can add 1 part of perlite.
Mix all the ingredients with a large spoon or electric drill mixer until they are thoroughly combined. If you like, you can add pigment or dye to the mixture to give it a unique color. Although this isn’t necessary, it can help make your garden balls stand out in the yard.
4. Apply the Cement to the Ball:
Once the cement has reached its desired consistency, use a rubber spatula or trowel to apply it evenly onto the surface of your plastic ball. Make sure that each layer is completely dried before applying another layer of cement, as this will help ensure that your finished product is strong and durable.
Allow the cement to dry completely before moving on to the next step. Although the drying time will depend on the temperature, humidity, and thickness of your layers, it’s best to err on the side of caution and wait at least 24 hours before continuing.
5. Add Texture to Your Ball:
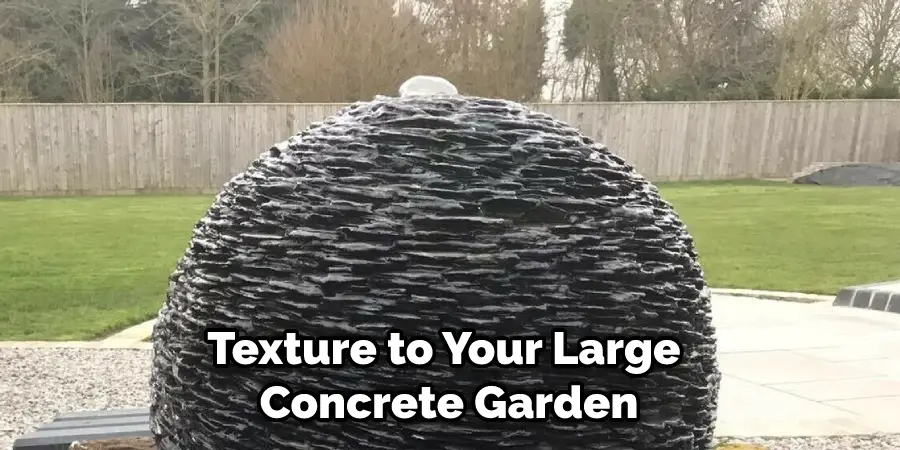
After every other layer has been applied and dried, use a kitchen scrubber or a brush to add texture to your large concrete garden balls for added dimension and visual appeal. You can also add shells or decorative stones to the surface of your balls while they are still wet. Once you have added texture, let your garden ball dry completely.
If you want, you can spray-paint your creations with waterproof paint. While this isn’t necessary for the integrity of your large garden balls, it can add colorful accents to your design. Enjoy your creativity and ingenuity!
6. Build up Layers:
Continue building up multiple layers of cement in this manner until your desired thickness is achieved for each individual garden ball – usually, at least 4-5 layers should be sufficient for most applications! Once all the layers are on, you can use a damp cloth to smooth out any rough patches or bumps that may be present.
Finally, make sure to allow each layer of cement plenty of time to dry before adding the next one! Once all layers are completely dried, your garden balls are ready for placement in their intended locations. With just a few simple steps, you can create unique and eye-catching garden decorations that will be the envy of your neighborhood! Enjoy!
7. Let dry Thoroughly:
Allow your large concrete garden balls enough time to dry fully before continuing with any additional steps – this may take several days, depending on humidity levels in your area and overall temperatures outside! Be patient and let the concrete dry completely, or risk your garden balls cracking later.
You can test the dryness of your large concrete garden balls by lightly tapping them with a hammer – if they make a hollow sound, then your garden balls are still wet. If the hammer bounces off the concrete and its sound is more solid, then your ball has been properly dried and is ready for further steps.
8. Seal with an Acrylic Sealer:
When all of your large concrete garden balls have fully dried and cooled off (at least 24 hours later), it’s important to protect them from potential weather damage by applying an acrylic sealer over each one individually using a paintbrush or roller brush – doing so will also give them a glossy finish!
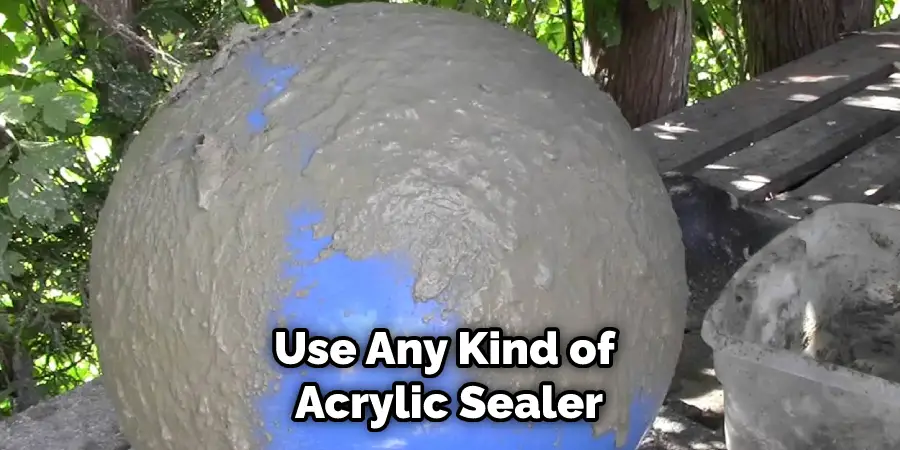
You can use any kind of acrylic sealer that’s designed for outdoor use, and it’s best to do this step on a day when the temperature is above 60 degrees Fahrenheit. Once you’ve covered each ball with a coat of sealer, let it dry completely before moving on to the next step.
9. Place in Gardens or Yards:
Once all steps have been completed successfully, it’s time to place your beautiful new creations into their desired areas! Whether it be in gardens for decoration purposes or yards for extra seating/stool options. It’s important to remember to have a base layer of sand or gravel in the desired area before placing your concrete garden balls.
This will help keep them in place and provide a more secure foundation. Make sure to space them evenly apart, and enjoy your hard work! Have fun admiring your new creations, and invite friends and family over to show off your masterpiece!
10. Clean off Any Excess Residue:
Finally, always remember to clean off any residual adhesive remaining from working on your project before moving on to something else – simply wiping it away with some warm water should do just fine!
This will prevent any messes from getting out of hand and make a bigger job for you in the future. You can also use some mild soap if necessary. Once you’re satisfied that the surface is clean, then your large concrete garden balls will be good to go! Enjoy the results of your hard work.
Things to Consider Making Large Concrete Garden Balls
1. Materials Needed:
To make large concrete garden balls, you’ll need several bags of ready-mixed concrete, a bucket to mix the concrete in, and a large round mold, such as an inflatable beach ball or an old tire. You’ll also need some sort of reinforcement material to give the ball strength and durability (such as wire mesh, rebar, burlap strips, etc.).
2. Working Surface:
Make sure you have a flat, level surface to work on when making your large concrete garden balls.
3. Time:
Depending on the size of your ball and weather conditions, it may take several days for your project to dry completely before you can move it.
Conclusion
Now that you know how to make large concrete garden balls, get out there and start crafting! These are fun and easy projects that can really liven up any outdoor space. With just a few simple supplies and a little bit of time, you can create beautiful decorations for your yard or garden. So what are you waiting for? Get started today!
About
Outdoor Fixes is a distinguished figure in the world of Diy design, with a decade of expertise creating innovative and sustainable Diy solutions.
His professional focus lies in merging traditional craftsmanship with modern manufacturing techniques,
fostering designs that are both practical and environmentally conscious. As the author of diy,
outdoorfixes delves into the art and science of outdoorfixes-making, inspiring artisans and industry professionals alike.
Education RMIT University
(Melbourne, Australia) Associate Degree in Design (Outdoor Fixes) Focus on sustainable design, industry-driven projects,
and practical craftsmanship. Gained hands-on experience with traditional and digital manufacturing tools, such as CAD and CNC software.
Nottingham Trent University
(United Kingdom) Bachelor’s in outdoorfixes.com and Product Design (Honors) Specialized in product design with a focus on blending creativity with production
techniques. Participated in industry projects, working with companies like John Lewis and Vitsoe to gain real-world insights.
Publications and Impact
In diy, Outdoor Fixes his insights on indoor design processes, materials, and strategies for efficient production.
His writing bridges the gap between artisan knowledge and modern industry needs, making it a must-read for both budding designers and seasoned professionals.