
A well-maintained hedge acts as the frame for your entire garden, providing privacy, structure, and a lush green backdrop for your flowers. However, keeping those lines crisp and the foliage dense requires more than just enthusiasm; it requires the right technique. Many homeowners feel intimidated by the noise and sharp blades of power tools, often resigning themselves to manual shears or hiring professionals.
But mastering this landscaping essential is easier than you might think. Whether you have overgrown boxwoods that need taming or privets that require shaping, learning the proper method can transform a chore into a satisfying creative outlet. This guide is designed to strip away the fear and replace it with skill. We will walk you through exactly how to use hedge trimmer equipment safely and efficiently, empowering you to take control of your landscape and achieve those sharp, clean lines that make neighbors stop and stare.
Step-by-Step Guide on How to Use Hedge Trimmer
Step 1: Prioritize Safety Gear and Equipment Inspection
Before you even think about cutting a single leaf, your personal safety must be the absolute priority. Hedge trimmers are powerful cutting tools that demand respect. Start by putting on safety goggles to protect your eyes from flying debris and twigs. Heavy-duty work gloves are essential to shield your hands from thorns and blisters, while sturdy, closed-toe shoes provide stability on uneven ground.
Ear protection is also a must, especially if you are operating a gas-powered model. Once you are suited up, inspect the machine itself. Check that the blades are sharp and free of rust, as dull blades will tear the plant tissue rather than slice it, leading to brown tips and disease. Ensure all safety guards are in place and that the handle is clean and dry for a secure grip.

Step 2: Clear the Area and Plan Your Cut
Rushing into the job is a recipe for mistakes. Take a moment to walk along the length of the hedge you intend to trim. You are looking for hidden obstacles that could damage your tool or cause injury. Remove any metal wire, thick dead branches, garden hoses, or large rocks that might be concealed within the foliage.
This is also the time to visualize your desired shape. Do you want a formal box shape or a more natural curve? If you are aiming for a straight top edge, a great professional trick is to set up a string line. Drive stakes into the ground at either end of the hedge and tie a string taut between them at your desired cutting height. This simple guide ensures you don’t accidentally dip or rise as you move along the row.
Step 3: Start from the Bottom Up
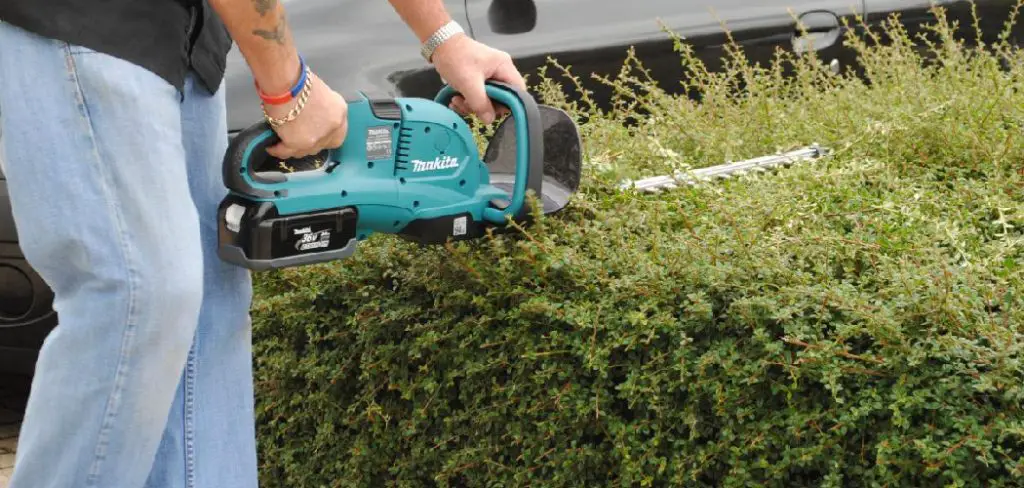
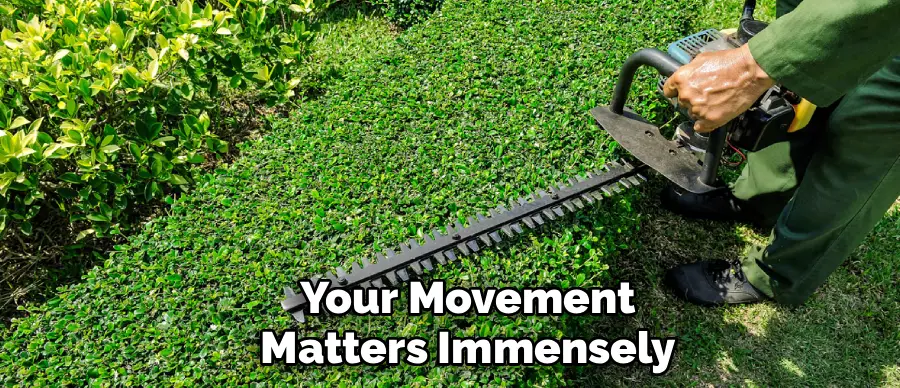
When you are ready to begin cutting the vertical sides of the hedge, the direction of your movement matters immensely. Position yourself comfortably with feet shoulder-width apart. Engage the throttle and begin cutting at the bottom of the hedge, sweeping the blade upwards in a smooth, controlled arc.
This upward motion is critical because it allows the cut debris to fall away from the hedge rather than getting caught in the lower branches. If you cut from the top down, the trimmings will snag on the foliage below, obscuring your view and making it difficult to see your progress. By working from the ground up, you maintain a clear line of sight, ensuring an even and consistent surface across the entire face of the plant.
Step 4: Create a Tapered Shape for Plant Health
One of the most common mistakes beginners make is cutting the hedge perfectly vertical or, worse, wider at the top than the bottom. If the top is wider, it casts a shadow over the lower branches, preventing sunlight from reaching them. Over time, this causes the bottom of the hedge to become sparse, woody, and brown.
To prevent this, you must shape the hedge so that the base is slightly wider than the top. As you trim the sides, angle your blade slightly inward as you move up. This trapezoidal shape allows sunlight to hit the foliage evenly from top to bottom, ensuring the plant stays lush, green, and healthy all the way to the ground. This structural consideration is vital for long-term garden health.
Step 5: Leveling the Top
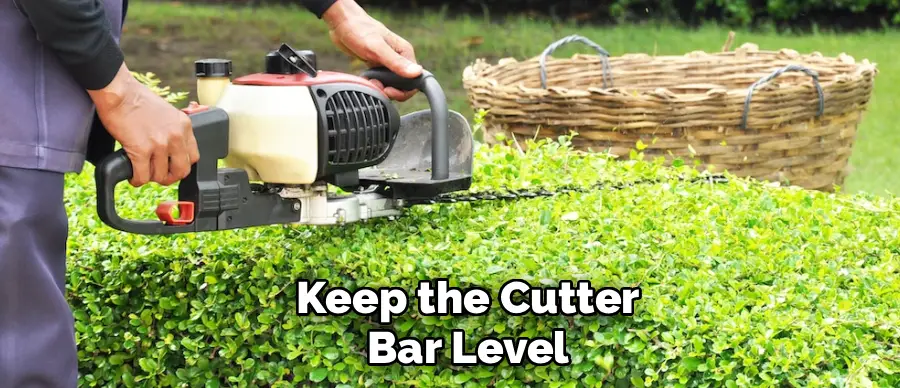
Once the sides are shaped to perfection, turn your attention to the top of the hedge. This is where your string guide becomes invaluable. Hold the trimmer flat and horizontal. Unlike the vertical sides, where you use a sweeping arc, cutting the top requires a different motion. Use a wide, sweeping, scything motion, moving the blade from left to right and back again.
Keep the cutter bar level and let the machine do the work; do not force it through thick branches. Ideally, you want to hold the trimmer blade at a very slight angle—about 10 degrees—in the direction of your cut. This helps to throw the clippings off the top of the hedge rather than letting them settle inside the plant structure.
Step 6: Check for Uneven Spots and Refine
After you have completed the initial pass on the sides and top, step back at least ten feet to assess your work. Viewing the hedge from a distance gives you a better perspective on the overall symmetry and reveals any spots you might have missed. You will likely see a few straggler branches sticking out or areas that look slightly uneven.
Return to the hedge for a second, lighter pass to tidy up these imperfections. This is the time for finesse rather than bulk removal. Use a hand pruner or manual shears to snip any thick branches that the power trimmer couldn’t handle cleanly. This final polishing stage distinguishes a rushed job from a professional-looking finish.
Step 7: Clean Up Debris and Maintain the Tool
The job isn’t finished when the cutting stops. Leaving clippings on top of the hedge can block sunlight and promote rot, while trimmings left on the lawn can smother the grass. Use a leaf rake or a blower to collect all the green waste. Once the area is clear, turn your attention back to the trimmer.
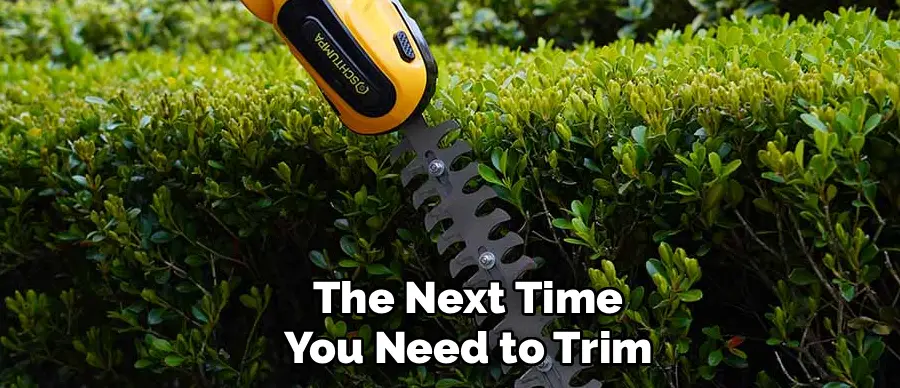
Sap and resin from the plants can gum up the blades, making them sticky and less effective for the next use. Wipe the blades down with a rag and a specialized resin solvent or a bit of soapy water. Dry them thoroughly to prevent rust, and apply a light coat of lubricating oil. Proper maintenance ensures that the next time you need to trim, your tool is ready to perform safely and effectively.
Common Trimming Mistakes
While trimming can enhance the health and appearance of your plants, making certain mistakes can cause more harm than good. One common error is trimming too much at once. Over-pruning can weaken a plant, making it susceptible to diseases and pests. It’s crucial to follow the “one-third rule,” which suggests removing no more than a third of the plant’s growth at a time. Another mistake is using dull or dirty tools.
Blunt blades can tear rather than cut, leaving plants more vulnerable to infections, while dirty tools can spread diseases between plants. Additionally, trimming at the wrong time of year, especially during periods of active growth or flowering, can stress plants and reduce their vigor. Understanding your plants’ specific needs and taking care to avoid these mistakes will ensure they thrive after every session of trimming.
Frequently Asked Questions
When Is the Best Time to Trim Hedges?
The ideal timing depends on the plant variety, but generally, late spring or early summer is best for maintenance trimming.
- Flowering Hedges: Trim these immediately after they have finished blooming to avoid cutting off next year’s buds.
- Evergreens: Early spring is great for shaping before new growth really takes off.
- Avoid: Do not trim during extreme heat or drought, as this stresses the plant, and avoid very late autumn, as new growth won’t harden off before winter.
Can I Use a Hedge Trimmer on Thick Branches?
Most standard hedge trimmers are designed for new growth and thin twigs, typically up to 3/4 of an inch in diameter.
- Check the Gap: Look at the spacing between the teeth on your blade; do not try to cut anything wider than that gap.
- Forcing It: Jamming the blade onto a thick branch can damage the motor or bend the teeth.
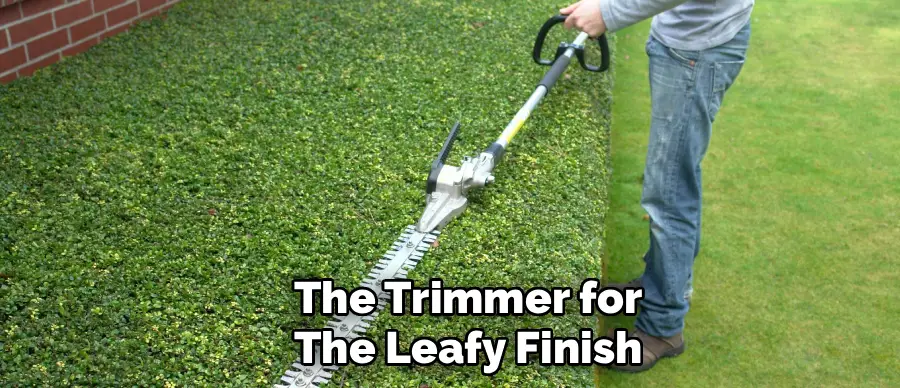
- Alternative: Use loppers or a pruning saw for thick, woody stems, then use the trimmer for the leafy finish.
Is an Electric or Gas Hedge Trimmer Better?
The choice depends on the size of your property and your physical strength.
- Electric (Corded): Lightweight, quiet, and unlimited runtime, but tethered by an extension cord. Great for small gardens near the house.
- Battery: Excellent mobility and low noise, but runtime is limited by the battery charge. Perfect for medium-sized yards.
- Gas: Most powerful and completely mobile, but heavier, louder, and requires fuel mixing. Best for large properties or heavy-duty jobs.
How Do I Clean Sticky Sap Off the Blades?
Sap acts like glue and can ruin your trimmer’s performance.
- Solvents: Use a resin remover spray, WD-40, or rubbing alcohol to dissolve the sap.
- Scrub: Use a stiff brush to clean between the teeth.
- Lubricate: After cleaning, always apply a lubricant spray to keep the blades moving smoothly and prevent rust.
Why Are My Hedge Leaves Turning Brown After Trimming?
Brown tips usually indicate dull blades.
- Tearing vs. Cutting: Dull blades shred the leaf tissue rather than slicing it cleanly. The shredded edges die back and turn brown.
- Sunscald: If you trim too much during a heatwave, the sudden exposure of inner leaves to harsh sun can cause burning.
- Solution: Sharpen your blades regularly and try to trim on cloudy days or in the cooler evening hours.
Conclusion
Taking charge of your garden maintenance is a rewarding journey that connects you deeper with your outdoor space. While the roar of a power tool can initially be intimidating, understanding the mechanics and techniques removes the mystery and risk. By prioritizing safety, cutting in the correct direction, and shaping your plants to encourage healthy growth, you can achieve results that rival any professional landscaping service.
The key is patience and regular care—both for your plants and your equipment. As you practice these steps, you will find your confidence growing alongside your greenery. Now that you have mastered how to use hedge trimmer tools properly, you are ready to step outside and sculpt a landscape that is neat, healthy, and beautifully uniquely yours.
About
Outdoor Fixes is a distinguished figure in the world of Diy design, with a decade of expertise creating innovative and sustainable Diy solutions.
His professional focus lies in merging traditional craftsmanship with modern manufacturing techniques,
fostering designs that are both practical and environmentally conscious. As the author of diy,
outdoorfixes delves into the art and science of outdoorfixes-making, inspiring artisans and industry professionals alike.
Education RMIT University
(Melbourne, Australia) Associate Degree in Design (Outdoor Fixes) Focus on sustainable design, industry-driven projects,
and practical craftsmanship. Gained hands-on experience with traditional and digital manufacturing tools, such as CAD and CNC software.
Nottingham Trent University
(United Kingdom) Bachelor’s in outdoorfixes.com and Product Design (Honors) Specialized in product design with a focus on blending creativity with production
techniques. Participated in industry projects, working with companies like John Lewis and Vitsoe to gain real-world insights.
Publications and Impact
In diy, Outdoor Fixes his insights on indoor design processes, materials, and strategies for efficient production.
His writing bridges the gap between artisan knowledge and modern industry needs, making it a must-read for both budding designers and seasoned professionals.