Maintaining a pristine landscape involves meticulous care, and when it comes to rock-filled areas, keeping them free from debris is essential for both aesthetic appeal and overall cleanliness.

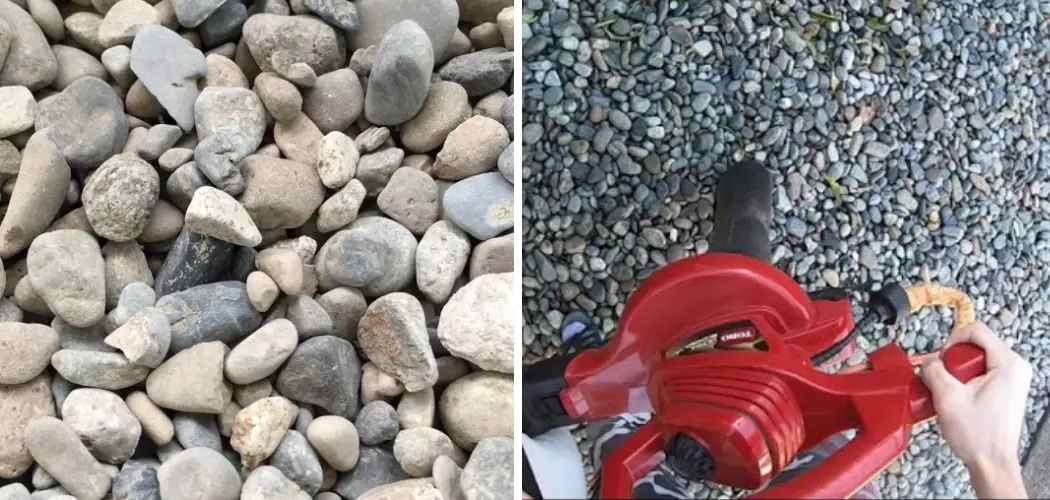
Vacuuming landscape rocks might sound unconventional, but it’s a practical solution to ensure your outdoor spaces remain inviting. In this guide, we’ll explore the art of how to vacuum landscape rocks effectively.
From selecting the right equipment and understanding the intricacies of the process to addressing specific challenges like dirt and debris accumulation, we’ll provide you with comprehensive insights.
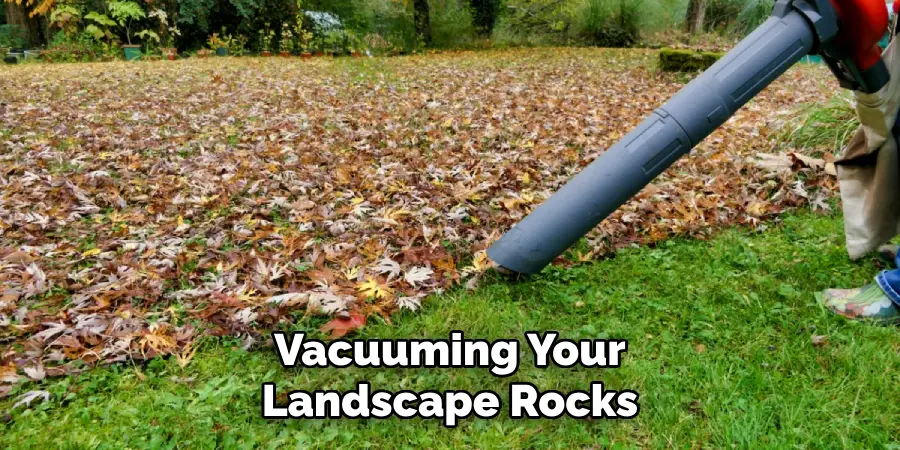
Whether you’re aiming for a polished garden, need to clear fallen leaves, or simply want to eliminate accumulated dust, learning the proper techniques for vacuuming landscape rocks will help you maintain a well-groomed outdoor environment effortlessly.
Join us as we unveil the steps and tips to streamline this unconventional yet effective approach to landscape maintenance.
Benefits of Regular Vacuuming for Landscape Rocks
After completing the task of vacuuming landscape rocks, you may be wondering if it is really necessary to do it on a regular basis. The answer is yes, there are many benefits to regularly vacuuming your landscape rocks that you may not even realize.
Keep Your Landscape Area Clean and Tidy
One of the main reasons why people choose to vacuum their landscape rocks is to keep the area clean and tidy. This can be especially important if you have a garden or outdoor seating area near your landscape rocks. Regular vacuuming will remove any debris, leaves, or other natural debris that may accumulate on the rocks over time.
Improve the Aesthetics of Your Landscape
Regularly vacuuming your landscape rocks can also greatly improve the overall aesthetics of your outdoor space. By removing any dirt or debris, you will be left with clean and vibrant rocks that can enhance the beauty of your landscape.
Prevent Damage to Your Landscape
Another benefit of vacuuming landscape rocks is that it can help prevent damage to your landscape. Over time, debris and dirt can build up on the rocks and cause them to become discolored or even cracked.
Maintain a Healthy Environment
Vacuuming your landscape rocks also helps to maintain a healthy environment in your outdoor space. By removing any debris, you are preventing the growth of mold and bacteria that can be harmful to both humans and plants.
10 Methods How to Vacuum Landscape Rocks
1. Wet Vacuuming
Wet vacuuming is one of the most effective methods for removing dirt and debris from landscape rocks. To use this method, you will need a wet/dry vacuum with an appropriate nozzle attachment.
Start by positioning the nozzle over the rock and slowly moving it around in a circular motion to suck up any dirt or debris that is on the surface. Once you have vacuumed all of the rocks, empty out the contents of your vacuum into a bucket or trash can.
2. Pressure Washing
Pressure washing is another effective method for cleaning landscape rocks. This method requires a pressure washer with an appropriate nozzle attachment.
Start by setting your pressure washer to its lowest setting and then slowly move it around in a circular motion over each rock to remove any dirt or debris that is on the surface. Be sure to keep your pressure washer at least 6 inches away from each rock to avoid damaging them.
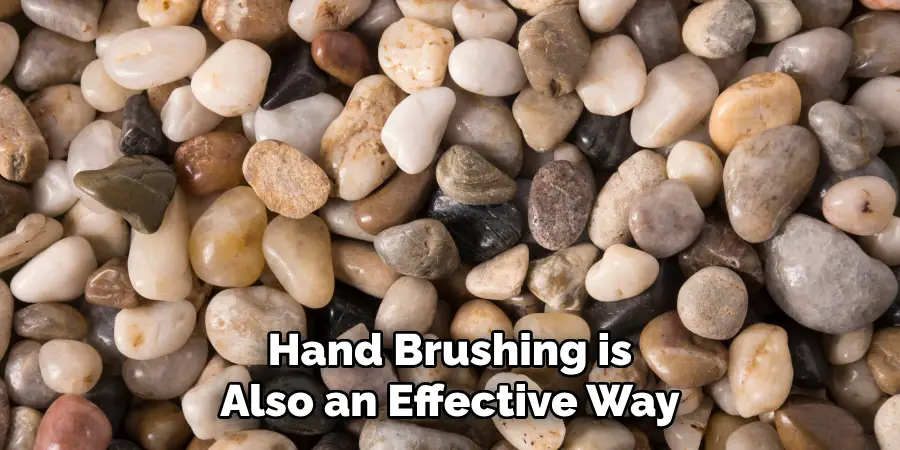
3. Hand Brushing
Hand brushing is also an effective way to clean landscape rocks but can be very time-consuming depending on how many rocks are present in your landscape. To use this method, start by selecting a stiff-bristled brush and then begin scrubbing each rock in a circular motion until all of the dirt and debris has been removed from its surface.
4. Hot Water Cleaning
Hot water cleaning is another great option for cleaning landscape rocks as it helps to break down stubborn stains and grime more effectively than cold water does. To use this method, start by filling up a bucket with hot water and adding some dish soap or laundry detergent to it for extra cleaning power.
Then, dip your brush into the solution and begin scrubbing each rock until all of the dirt and debris has been removed from its surface before rinsing them off with cold water afterward.
5. Baking Soda Paste Cleaning
Baking soda paste cleaning is also an excellent option for cleaning landscape rocks as it helps to break down stubborn stains without damaging their surfaces like some harsher chemicals can do.
To use this method, start by mixing together equal parts baking soda and water in a bowl until you create a thick paste-like substance before applying it directly onto each rock with either your hands or a brush, depending on how large they are, before leaving it on for 10 minutes before rinsing off with cold water afterward.
6. Vinegar Solution Cleaning
Vinegar solution cleaning is another great option for removing stubborn stains from landscape rocks as vinegar has natural disinfectant properties that help to break down grime more effectively than other cleaners do without causing damage to their surfaces, like some harsher chemicals can do if used incorrectly.
To use this method, start by creating a mixture of equal parts white vinegar and warm water before dipping your brush into it and scrubbing each rock until all of the dirt and debris has been removed from its surface before rinsing off with cold water afterward.
7. Boiling Water Cleaning
Boiling water cleaning is another effective way to clean landscape rocks as boiling water helps to break down stubborn stains more effectively than cold or warm water does without causing damage to their surfaces like some harsher chemicals can do if used incorrectly.
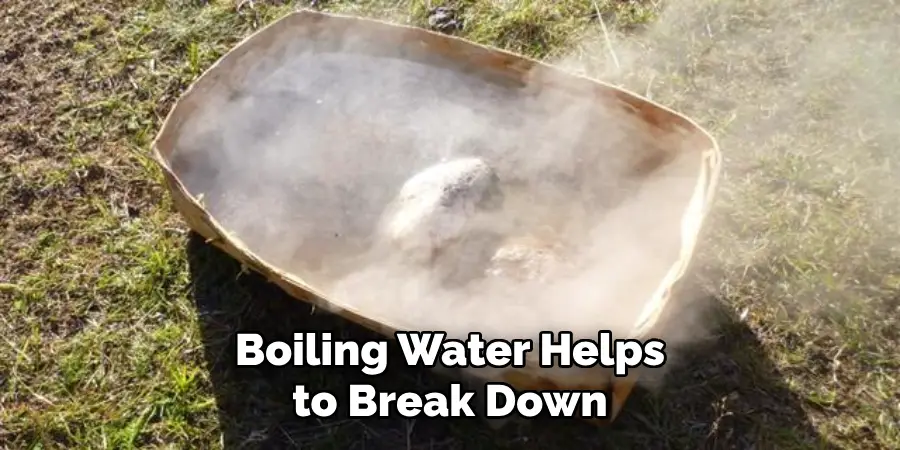
To use this method, start by bringing several pots of water to boil before pouring them over each rock one at a time until all of the dirt and debris has been removed from its surface. Rinse off with cold water afterward.
8. Sandblasting
Sandblasting is another great option for removing tough stains from landscape rocks as sandblasting uses pressurized air combined with abrasive materials such as sand or glass beads, which help to break down grime quickly without causing damage to their surfaces like some harsher chemicals can, if used incorrectly.
9. Soda Blasting
Soda blasting is similar to sandblasting but instead uses baking soda, which helps remove tough stains more effectively than other abrasive materials without causing damage to their surfaces, like some harsher chemicals can do if used incorrectly.
To use this method, start by positioning your soda blaster over each rock while wearing protective gear such as goggles, gloves, etc., then turn on the machine while slowly moving it around in a circular motion until all of the dirt and debris has been removed from its surface before turning off when finished.
10. Chemical Cleaners
Many homeowners use chemical cleaners when cleaning landscape rocks. Chemical cleaners can be used to remove stubborn oils and grease stains or to clean algae, mold, or dirt buildup on rocks.
However, it is important to note that chemicals can harm both your landscape rocks and the environment. Some of these cleaning agents contain harsh ingredients that are toxic to plants, animals, and humans. When using chemical cleaners, it is essential to follow the instructions carefully and wear protective gear such as gloves and goggles.
Common Mistakes to Avoid When Vacuuming Landscape Rocks
Vacuuming landscape rocks is an effective way to remove debris, dirt, and leaves from your outdoor space. It not only improves the appearance of your yard but also prevents potential hazards such as tripping or slipping on loose rocks.
While vacuuming may seem like a straightforward task, there are some common mistakes that people make when it comes to vacuuming landscape rocks. In this guide, we will discuss these mistakes and how to avoid them.
Not Removing Large Debris First
One of the most common mistakes people make when vacuuming landscape rocks is not removing large debris first. Rocks can easily get stuck in your vacuum’s hose or clog the machine if you try to suck them up without clearing the area first. Before you start vacuuming, take a few minutes to remove any larger debris such as branches, twigs, or large stones from the surface.
Using the Wrong Type of Vacuum
Using a regular household vacuum cleaner is not suitable for cleaning landscape rocks. These vacuums are designed for use on carpets and may not have enough suction power to effectively clean rocks.
Additionally, small rocks may damage the motor or get stuck in the hose, causing it to clog. Instead, opt for a wet/dry vacuum specifically designed for outdoor use or a shop vac with a larger capacity and stronger suction power.
Conclusion
The benefits of knowing how to vacuum landscape rocks are clear. Besides the aesthetic factor, creating a clean and healthy landscape helps prevent potential issues caused by unsightly debris, pests, or water contamination. It may seem intimidating to attempt this task yourself but by following our simple instructions we’ve highlighted, the job can be accomplished with relative ease.
So don’t delay your project any longer- invest in a quality shop vac and get ready to start vacuuming! With these steps, you will perfectly clean up your landscape rocks in no time. Good luck and happy vacuuming!
About
Outdoor Fixes is a distinguished figure in the world of Diy design, with a decade of expertise creating innovative and sustainable Diy solutions.
His professional focus lies in merging traditional craftsmanship with modern manufacturing techniques,
fostering designs that are both practical and environmentally conscious. As the author of diy,
outdoorfixes delves into the art and science of outdoorfixes-making, inspiring artisans and industry professionals alike.
Education RMIT University
(Melbourne, Australia) Associate Degree in Design (Outdoor Fixes) Focus on sustainable design, industry-driven projects,
and practical craftsmanship. Gained hands-on experience with traditional and digital manufacturing tools, such as CAD and CNC software.
Nottingham Trent University
(United Kingdom) Bachelor’s in outdoorfixes.com and Product Design (Honors) Specialized in product design with a focus on blending creativity with production
techniques. Participated in industry projects, working with companies like John Lewis and Vitsoe to gain real-world insights.
Publications and Impact
In diy, Outdoor Fixes his insights on indoor design processes, materials, and strategies for efficient production.
His writing bridges the gap between artisan knowledge and modern industry needs, making it a must-read for both budding designers and seasoned professionals.