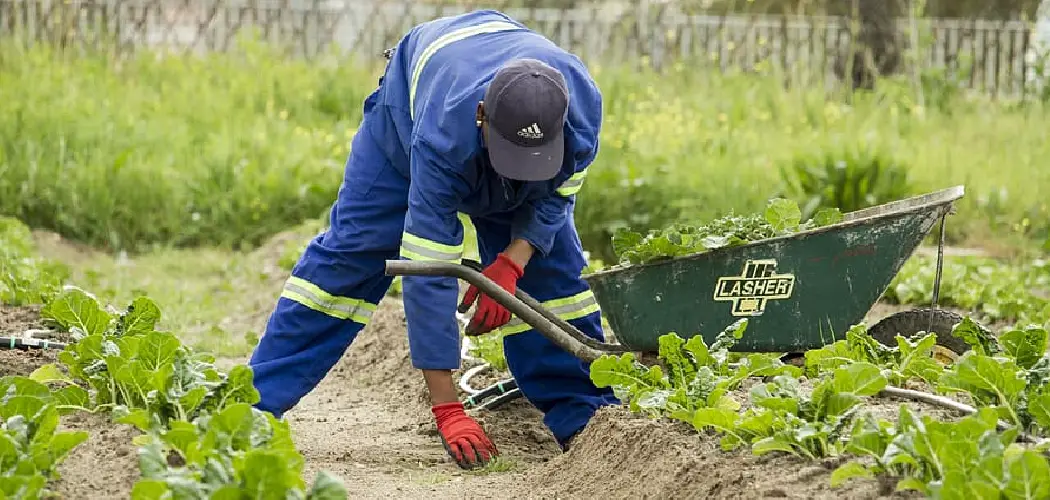
Gardening is a rewarding activity that connects you with nature, but it often involves getting your hands dirty. Gardening gloves are essential for protecting your hands from dirt, thorns, and chemicals, making your work safer and more enjoyable. However, after hours of digging, planting, and weeding, these gloves can become caked with soil, plant residue, and moisture, turning them into a breeding ground for bacteria and fungi.
Properly cleaning and maintaining your gardening gloves not only extends their lifespan but also ensures they remain a protective barrier rather than a source of contamination. Washing them regularly prevents the transfer of plant diseases and keeps them comfortable to wear. This comprehensive guide on how to wash gardening gloves will walk you through everything you need to know about washing your gardening gloves, from understanding the different materials to step-by-step cleaning instructions and long-term care.

Understanding Gardening Gloves
Gardening gloves are more than just a simple accessory; they are a crucial piece of personal protective equipment designed specifically for horticultural tasks. Their primary purpose is to shield your hands from a variety of potential hazards. This includes protection from sharp objects like thorns, splinters, and jagged rocks, as well as from skin irritants found in certain plants, fertilizers, and pesticides. They also keep your hands and fingernails clean, preventing soil and grime from getting deeply embedded, which can be difficult to remove. By creating a barrier, gloves help prevent cuts, scrapes, and blisters that can result from repetitive tasks like digging or pruning.
The benefits of wearing gloves extend to hygiene and health. Soil can contain bacteria, fungi, and other microorganisms, such as those that cause tetanus. A small cut on an unprotected hand can become a gateway for infection. Gloves significantly reduce this risk. Furthermore, different types of gloves are designed for specific tasks, enhancing both safety and efficiency.
For example, durable leather gloves are ideal for heavy-duty jobs involving thorny bushes, while waterproof nitrile or rubber gloves are perfect for working with wet soil or chemicals. Lighter fabric gloves offer breathability and dexterity for delicate tasks like seeding or transplanting. Understanding the material of your gloves is the first step toward cleaning them correctly, as each type requires a different approach to washing and care to maintain its integrity and protective qualities.
Tools and Materials You’ll Need
- Cleaning solution (dish soap, laundry detergent, or specialized glove cleaner)
- Soft-bristle brush or sponge
- Towel
- Newspaper or drying rack
- Optional: hand moisturizer or lotion
6 Simple Step-By-Step Guidelines on How to Wash Gardening Gloves
Step 1: Pre-Clean and Remove Debris
The first and most critical step in the washing process is to thoroughly pre-clean your gloves. Attempting to wash gloves that are still covered in caked-on mud and plant matter will only create a bigger mess, turning dry dirt into a sludgy paste that is much harder to remove. This initial dry cleaning prepares the gloves for a more effective and less messy wet wash.
Put the gloves on your hands to provide a firm surface for scrubbing. This makes it easier to target dirty areas and apply the necessary pressure without the gloves collapsing. Once they are on, take your stiff-bristled brush and begin to systematically scrub the entire surface of each glove.
Focus on the areas that typically accumulate the most grime, such as the fingertips, the palms, and the spaces between the fingers. Use vigorous, short strokes to dislodge any dried soil, bits of leaves, and other debris. Pay close attention to the seams, where dirt can become deeply embedded.

Continue brushing until you have removed as much of the loose, dry material as possible. Once the exterior is clean, take the gloves off and turn them inside out if the material allows. Shake them vigorously to remove any loose dirt, sand, or plant debris that has fallen inside. This step is important for comfort and hygiene, ensuring the interior is as clean as the exterior.
Step 2: Prepare the Washing Solution
Once your gloves are free of loose debris, it’s time to prepare the cleaning solution. The type of soap you use is dependent on the material of your gloves. For most fabric gloves, including those made from cotton, canvas, or synthetic blends like nylon and polyester, as well as rubber or nitrile-coated gloves, a mild solution is best.
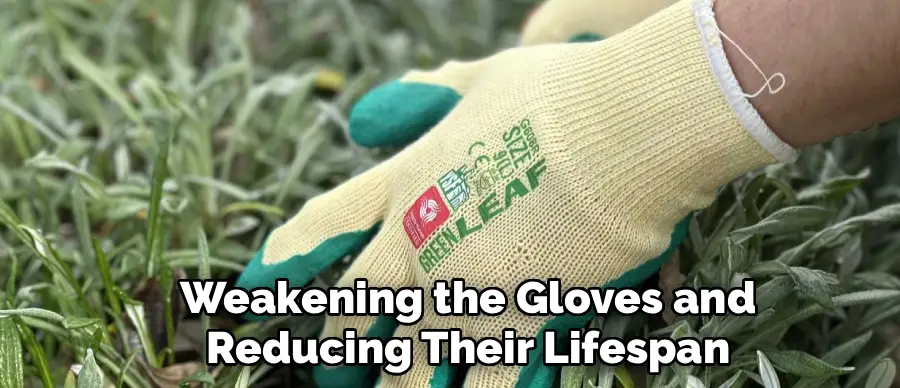
Fill a bucket or your sink with warm, not hot, water. Add a small amount of mild dish soap or gentle laundry detergent—about a teaspoon per gallon of water is usually sufficient. Swish the water around with your hand to create a sudsy solution. Avoid using bleach or harsh chemical cleaners, as they can break down the fibers and coatings, weakening the gloves and reducing their lifespan.
If you are washing leather or suede gloves, the process is different. These materials are sensitive to water and can be easily damaged by conventional soaps. For these, saddle soap is the ideal choice. Instead of creating a soapy bath, you will apply the saddle soap directly.
Slightly dampen a clean cloth or a soft brush, rub it over the surface of the saddle soap bar to work up a light lather, and then apply it to the gloves. You are not submerging the leather gloves, but rather spot-cleaning them with the prepared lather. This method cleans the leather effectively while its conditioning agents help preserve the material’s natural oils.
Step 3: The Gentle Washing Process
With the gloves pre-cleaned and your washing solution ready, you can now begin the main washing step. The technique will vary slightly based on the glove material. For fabric, synthetic, or rubber gloves, fully submerge them in the bucket of warm, soapy water. It’s helpful to put the gloves on your hands again for this stage.
This allows you to wash them as if you were washing your own hands, ensuring you clean all the surfaces thoroughly. Rub your gloved hands together, paying special attention to the palms, fingertips, and the areas between the fingers. The friction will help lift the remaining dirt from the fabric.
Gently squeeze the fingertips to work the soapy water into the material and force out any embedded grime. You can use your stiff-bristled brush again on any particularly stubborn stains, but use a gentler touch this time to avoid damaging the wet fibers. Continue this washing motion for a few minutes until you are satisfied that the gloves are clean.
For leather gloves, you will not be submerging them. Instead, with the gloves on your hands, use the cloth or soft brush with the saddle soap lather you prepared. Work the lather into the leather in small, circular motions, covering the entire surface. This method lifts dirt without oversaturating the leather with water, which is key to preventing it from becoming stiff and brittle once dry.

Step 4: Thorough Rinsing
Rinsing is just as important as washing, as any leftover soap residue can attract more dirt and irritate your skin. Soap left in the fibers can also degrade the material over time, particularly in leather and coated fabrics.
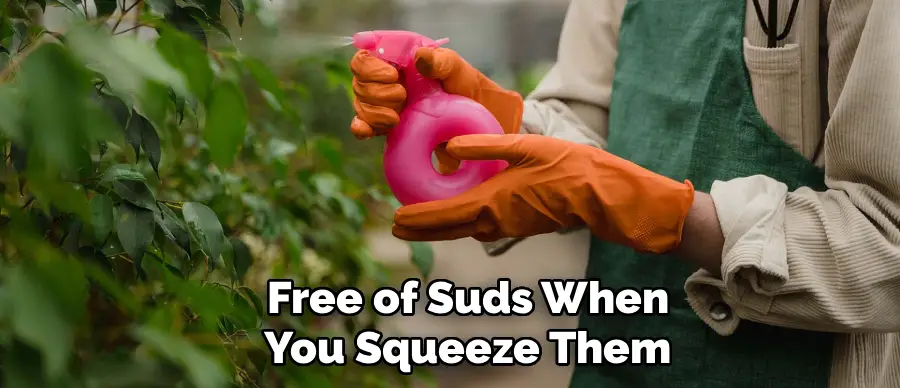
After you have finished washing your fabric, synthetic, or rubber gloves, it’s time to rinse them completely. The best method is to drain your soapy water and refill the bucket or sink with clean, cool water. Submerge the gloves in the clean water and agitate them by squeezing and swishing them around. Continue to squeeze the material, especially the fingertips and thicker palm areas, to ensure all the soap is flushed out.
You may need to change the water two or three times to get a thorough rinse. A good indicator that the gloves are fully rinsed is when the water remains clear and free of suds when you squeeze them.
For leather gloves, the rinsing process must be handled with more care to avoid soaking the material. Instead of submerging them, take a clean, damp cloth and wipe away all the saddle soap lather and lifted dirt from the surface. You will likely need to rinse the cloth itself multiple times with clean water to ensure you are removing the soap and not just spreading it around. Continue wiping until no trace of lather remains on the leather.
Step 5: Removing Excess Water
Properly removing excess water is a crucial step that directly impacts the drying time and the final shape of your gloves. A waterlogged glove will take a very long time to dry, increasing the risk of developing mildew or a musty smell.
Additionally, improperly handled wet gloves, especially leather ones, can stretch out of shape. For all types of gloves, the first action after rinsing is to gently squeeze out as much water as possible. Start from the fingertips and work your way down to the cuff, carefully pressing the water out without wringing or twisting the material. Wringing can damage the fibers, stretch the fabric, and cause leather to deform or crack.
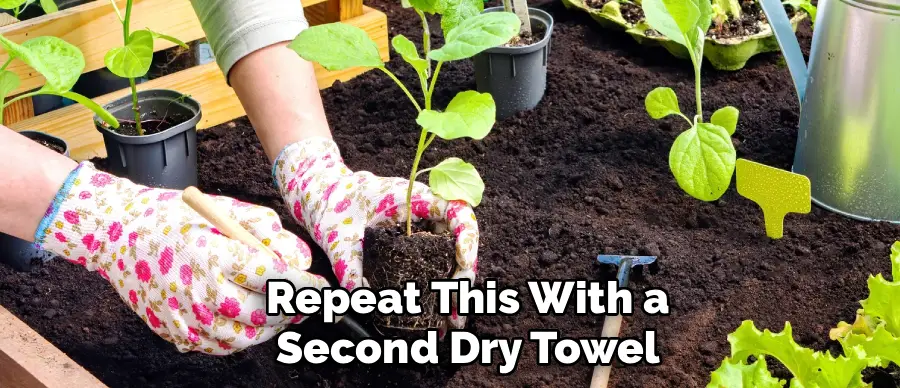
After the initial squeeze, lay the gloves flat on a clean, dry towel. Fold the towel over the gloves and press down firmly to blot and absorb more moisture. You can roll the towel up with the gloves inside and press on the roll to maximize water absorption.
For fabric and synthetic gloves, you can repeat this with a second dry towel if the first one becomes saturated. For leather gloves, this blotting step is especially important to remove surface water quickly. Be gentle but firm. Getting as much water out at this stage will significantly speed up the air-drying process and help the gloves maintain their original shape and size.
Step 6: Air-Drying for Longevity
The final step is to dry your gloves completely, and the only safe method is air-drying. Never place your gardening gloves in a machine dryer or near a direct heat source like a radiator, fireplace, or space heater. Intense heat can have disastrous effects on all glove materials.
It can cause leather to shrink, crack, and become irreparably stiff. For synthetic materials like nitrile or latex, heat can make them brittle and cause them to break down. Fabric gloves can also shrink and lose their shape. The best practice is to hang the gloves to dry in a well-ventilated area, away from direct sunlight, which can fade colors and degrade materials over time.
Use clothespins to clip the gloves by their cuffs to a clothesline or a drying rack. Hanging them from the cuffs allows water to drain out and promotes optimal air circulation both inside and out. To help the gloves maintain their shape and to speed up the internal drying process, you can stuff them with a dry, clean cloth or some paper towels.
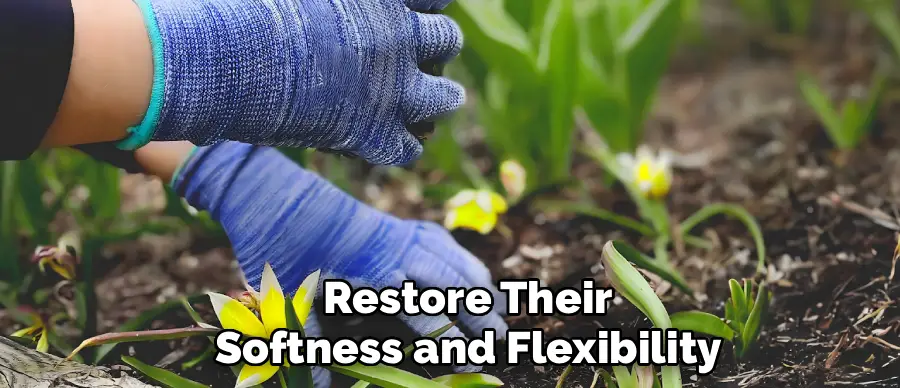
This helps to absorb moisture from the inside and prevents the fingers and palm from collapsing and sticking together. Depending on the material and the humidity, it may take 24 to 48 hours for the gloves to dry completely. Once the gloves are fully dry, apply a leather conditioner to your leather gloves to restore their softness and flexibility.
Following these steps on how to wash gardening gloves, you can ensure that your gloves stay clean and in good condition for a longer period of time. It is important to regularly wash your gardening gloves to prevent the build-up of dirt and bacteria, which can cause skin irritation or even infections.
Tips for Maintenance and Care
Proper maintenance goes beyond just washing and can significantly extend the life and performance of your gardening gloves. Always store your gloves in a dry, sheltered place like a shed, garage, or utility closet, away from direct sunlight and moisture. Leaving them outside exposes them to UV rays and rain, which will degrade the materials quickly. After each use, take a moment to knock off any loose dirt and debris before putting them away. For leather gloves, regular conditioning is key.
Even if they don’t need a full wash, applying a small amount of leather conditioner or mink oil every month or so will keep the material supple and prevent it from drying out and cracking. If your gloves get wet from morning dew or light rain, be sure to air-dry them thoroughly before storing them to prevent mildew. Finally, consider owning multiple pairs of gloves. This allows you to rotate them, giving each pair ample time to dry out completely between uses and reducing wear and tear on a single pair.
Common Mistakes to Avoid
Many well-intentioned gardeners make simple mistakes that can ruin a good pair of gloves. The most common error is using a machine dryer or direct heat for drying; this is the fastest way to shrink, warp, and destroy them. Another frequent mistake is using harsh chemicals like bleach, which can dissolve coatings and weaken fabric and leather fibers.
Avoid wringing or twisting the gloves to remove water, as this action stresses the seams and can permanently stretch or tear the material. Storing gloves while they are still damp is another critical error that leads to mildew, unpleasant odors, and material breakdown. Lastly, never leave your gloves balled up in a bucket or garden trug after use; always hang them up or lay them flat to air out.
Frequently Asked Questions
Q1: How Often Should I Wash My Gardening Gloves?
A1: The frequency of washing depends on the type of gloves and how you use them. For heavy-duty use involving a lot of mud, soil, or chemicals, you should aim to wash them after every few uses. If they become visibly soiled or start to feel stiff, it’s time for a wash. For light-duty gloves used for tasks like potting or light weeding, a wash every couple of weeks might be sufficient. A good rule of thumb is to wash them whenever they develop a noticeable odor or have visible grime that can’t be brushed off, as this indicates a buildup of bacteria and dirt.

Q2: Can I Put My Fabric Gardening Gloves in the Washing Machine?
A2: Some durable fabric gloves, like those made from canvas or certain cotton blends, may be machine washable on a gentle cycle with cold water. However, it’s crucial to check the manufacturer’s care label first. If you do use a washing machine, place the gloves in a mesh laundry bag to prevent them from getting snagged. Use a mild detergent and never include them with delicate clothing. Despite being machine washable, you should never put them in the dryer. Always air-dry them to prevent shrinking and damage.
Q3: What Is the Best Way to Restore Stiff Leather Gloves?
A3: If your leather gloves have become stiff, it’s usually because their natural oils have been depleted by water or dirt. To restore them, first give them a gentle cleaning with saddle soap as described above and allow them to dry completely. Once dry, apply a generous amount of a quality leather conditioner or mink oil.
Use a soft cloth to work the conditioner into the leather in circular motions, paying extra attention to the fingers and seams. Let the gloves sit for several hours or overnight to allow the leather to fully absorb the conditioner. This process should soften them up and restore their flexibility.
Conclusion
Your gardening gloves are a vital tool, protecting your hands and making your time in the garden more productive and enjoyable. Treating them with the same care you give your other gardening tools is essential for their longevity and effectiveness. Regular and proper washing not only keeps them looking and feeling good but also maintains a hygienic barrier between your skin and the soil.
By following the detailed steps on how to wash gardening gloves for cleaning, rinsing, and drying, and by incorporating good maintenance habits, you can significantly extend the life of your gloves, whether they are rugged leather, versatile synthetics, or simple cotton. A clean, well-cared-for pair of gloves is always ready for the next task, ensuring your hands remain protected season after season. Taking these extra few minutes for glove care is a small investment that pays off in durability, comfort, and safety.
About
Outdoor Fixes is a distinguished figure in the world of Diy design, with a decade of expertise creating innovative and sustainable Diy solutions.
His professional focus lies in merging traditional craftsmanship with modern manufacturing techniques,
fostering designs that are both practical and environmentally conscious. As the author of diy,
outdoorfixes delves into the art and science of outdoorfixes-making, inspiring artisans and industry professionals alike.
Education RMIT University
(Melbourne, Australia) Associate Degree in Design (Outdoor Fixes) Focus on sustainable design, industry-driven projects,
and practical craftsmanship. Gained hands-on experience with traditional and digital manufacturing tools, such as CAD and CNC software.
Nottingham Trent University
(United Kingdom) Bachelor’s in outdoorfixes.com and Product Design (Honors) Specialized in product design with a focus on blending creativity with production
techniques. Participated in industry projects, working with companies like John Lewis and Vitsoe to gain real-world insights.
Publications and Impact
In diy, Outdoor Fixes his insights on indoor design processes, materials, and strategies for efficient production.
His writing bridges the gap between artisan knowledge and modern industry needs, making it a must-read for both budding designers and seasoned professionals.