A garden hose is one of those essential tools that every homeowner relies on, whether you’re watering the petunias, washing the car, or just hosing down the patio after a summer barbecue. But let’s be honest: wrestling with a tangled, kinked hose is a chore nobody enjoys. We’ve all been there—dragging a heavy rubber snake across the lawn, only to find the water won’t flow because of a hidden crimp somewhere near the spigot. Learning how to wrap up a hose properly isn’t just about neatness; it’s about preserving your sanity and your equipment.

A well-coiled hose is ready for action the moment you need it, deploying smoothly without fighting back. By taking a few extra moments to store your hose correctly, you transform a frustrating task into a satisfying, simple routine.
In this guide, we will walk you through the perfect technique to ensure your hose stays kink-free and lasts for years to come.
What are the Benefits?
Taking the time to coil your hose correctly offers several significant payoffs that go beyond just aesthetic appeal.
- Extended Lifespan: Hoses are prone to cracking and leaking if they are left bent at sharp angles or exposed to harsh sunlight for prolonged periods. Proper coiling prevents stress points that eventually turn into holes.
- Kink Prevention: The biggest benefit is the elimination of kinks. A hose that is thrown into a pile develops “memory” in the wrong shapes. Wrapping it correctly trains the material to lie flat and uncoil smoothly.
- Safety and Space Saving: A loose hose is a major tripping hazard for kids, pets, and distracted gardeners. Coiling it up keeps your yard safe and maximizes your storage space, making your garden shed or garage look organized and professional.
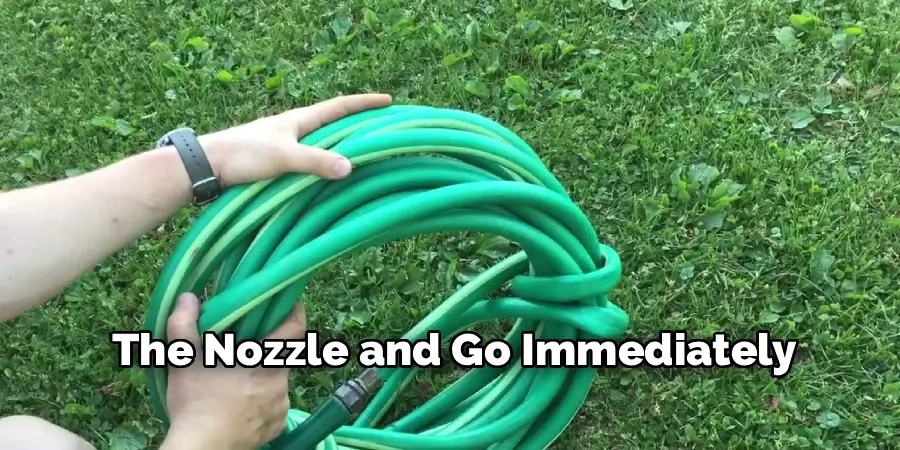
- Time Efficiency: Think about how much time you waste untangling knots before you can even start watering. Proper storage means you can grab the nozzle and go immediately.
What Will You Need?
You don’t need a professional landscaping crew to get this right. You likely have everything you need already.
- Your Garden Hose: Obviously! Ideally, ensure it is drained of water before you start deep storage.
- A Hose Reel or Hanger (Optional): While you can coil a hose on the ground, a wall-mounted hanger or a reel makes the job much easier and keeps the hose off the damp ground.
- Velcro Straps or Bungee Cords: These are great for securing the finished coil so it doesn’t unravel the moment you set it down.
- Gloves: If your hose is dirty or rough, a pair of gardening gloves will protect them.
10 Easy Steps on How to Wrap Up a Hose
Mastering the perfect coil—often called the “roadie wrap” or “over-under” technique by professionals—is the secret to a tangle-free life. Here is how to do it.
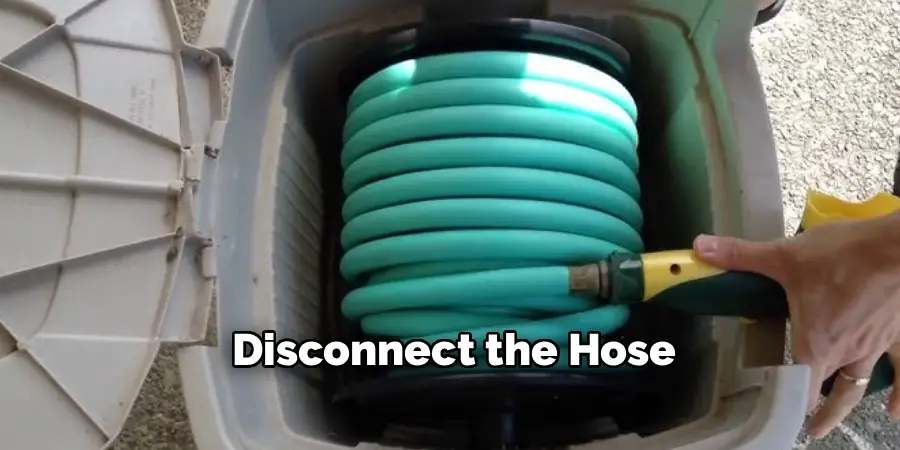
Step 1: Disconnect and Drain
Before you even think about coiling, you need to remove the water weight. Turn off the spigot and disconnect the hose. Lift one end of the hose (usually the end near the house) and walk slowly toward the nozzle end, elevating the hose as you go. This uses gravity to force the remaining water out. A lighter hose is much easier to manipulate.
Step 2: Straighten Out the Kinks
Lay the hose out in a long, straight line across your yard or driveway. Trying to coil a hose that is already twisted is a recipe for disaster. Walk the length of the hose and manually untwist any loops or kinks you see. This resets the hose’s natural orientation, giving you a “clean slate” to work with.
Step 3: Start at the Female End
Grab the female end of the hose—the part that connects to the water spigot. This is your starting anchor point. If you are using a wall hanger, loop this end over the hook first. If you are coiling it on the ground to carry later, hold this end securely in your left hand (if you are right-handed).
Step 4: Make the First Loop (The “Over” Loop)
Reach out with your right hand and grab the hose about two to three feet away from your anchor hand. Bring this section toward your body to create a circle. This is a standard loop. The hose should naturally want to curl in a specific direction; don’t fight it. If you force it against its natural curve, it will just twist again later.
Step 5: The Critical Twist
This is the secret sauce. As you bring the hose toward your holding hand to complete that first loop, give the hose a slight quarter-turn or twist with your fingers. You are essentially rolling the hose slightly between your thumb and forefinger. This action aligns the hose’s internal structure so it lies flat against the previous loop rather than fighting it.
Step 6: Create the Second Loop (The “Under” Loop)
For the next loop, instead of bringing the hose over the top as you did before, you are going to twist it in the opposite direction (under). Reach out, grab the next section, and as you bring it in, twist your wrist so the loop forms underneath the coil. This alternating “over-under” method cancels out the twisting tension that causes kinks.
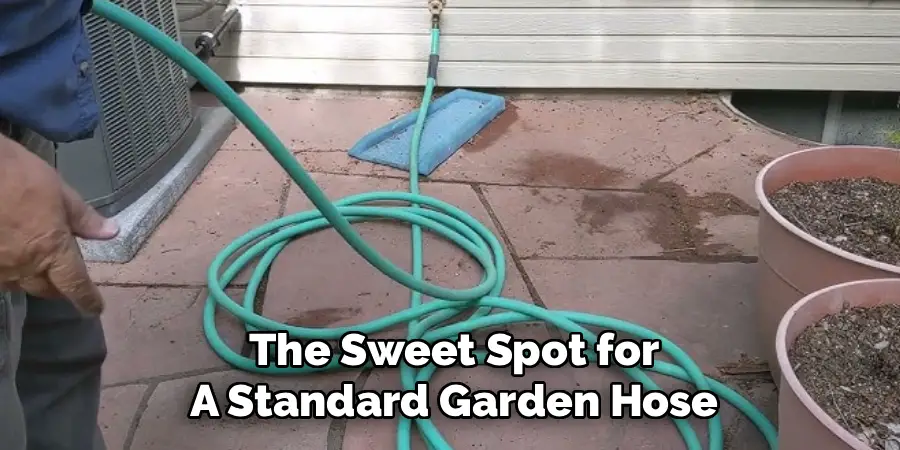
Step 7: Maintain Consistent Loop Size
As you continue this pattern—one normal loop, one reversed loop—try to keep the circles the same size. A uniform coil is much easier to carry and hang. If you make the loops too large, they become floppy and hard to manage; too small, and you put unnecessary strain on the rubber. A diameter of about two to three feet is usually the sweet spot for a standard garden hose.
Step 8: Adjust as You Go
You might feel the hose resisting you occasionally. If a loop tries to figure-eight or twist awkwardly, stop. Don’t force it. Step back, untwist that section of the hose on the ground, and try the loop again. The coil should feel relaxed in your hand. If it feels like a coiled spring ready to jump, you haven’t twisted it correctly.
Step 9: Secure the Ends
Once you reach the nozzle end (the male end), bring it up to join the rest of the coil. It’s helpful to connect the male and female ends if possible, as this keeps dirt out of the interior and prevents drips. If they don’t reach, simply tuck the nozzle end through the center of the coil to lock it in place temporarily.
Step 10: Tie and Store
Now that you have a perfect circle, use your velcro strap or bungee cord to wrap around the top of the loops. This keeps the whole bundle tight and prevents it from exploding into a mess when you move it. Hang it on your hose caddy or place it flat on a shelf, away from direct, baking sunlight.
5 Things You Should Avoid
Even with the best intentions, it’s easy to make mistakes that damage your equipment.
- Don’t Wrap It Around Your Elbow: We see people doing this with extension cords and hoses all the time. Wrapping a hose tightly around your elbow and hand creates tight, repetitive twists that ruin the internal mesh of the hose. It guarantees a tangled mess when you unwind it.
- Avoid Leaving It Pressurized: Never store a hose with water pressure still inside. Under the hot sun, the water expands, and the pressure builds up, which can cause the hose to burst or the fittings to blow off. Always turn off the spigot and squeeze the nozzle to release pressure.
- Don’t Drag the Nozzle on Concrete: When straightening the hose, be careful not to drag the metal nozzle across rough concrete or asphalt. This grinds down the threads, making it difficult to attach sprinklers or spray guns later.
- Avoid Tight Coils: Coiling the hose too tightly (small circles) puts immense strain on the material. Over time, this causes the rubber or vinyl to weaken and crack. Let the hose dictate the size of the loop—it knows how big it wants to be.
- Don’t Leave It in the Sun: UV rays are the enemy of garden hoses. The sun degrades the outer casing, making it brittle and prone to cracking. Always try to store your coiled hose in the shade or a garage.
Frequently Asked Questions
Q: Why Does My Hose Kink Every Time I Use It?
A: This usually happens because the hose has developed “memory” from being stored incorrectly. If you coil it haphazardly or leave it in a heap, the material sets in that shape. Using the “over-under” coiling method described above helps retrain the hose to lay flat and unroll straight.
Q: Can I Leave My Hose Outside During the Winter?
A: Generally, no. Water left inside the hose can freeze and expand, splitting the hose wall. Even “frost-proof” hoses last longer if stored indoors. Before winter hits, drain every drop of water from the hose and store it in a garage or shed where temperatures are more stable.
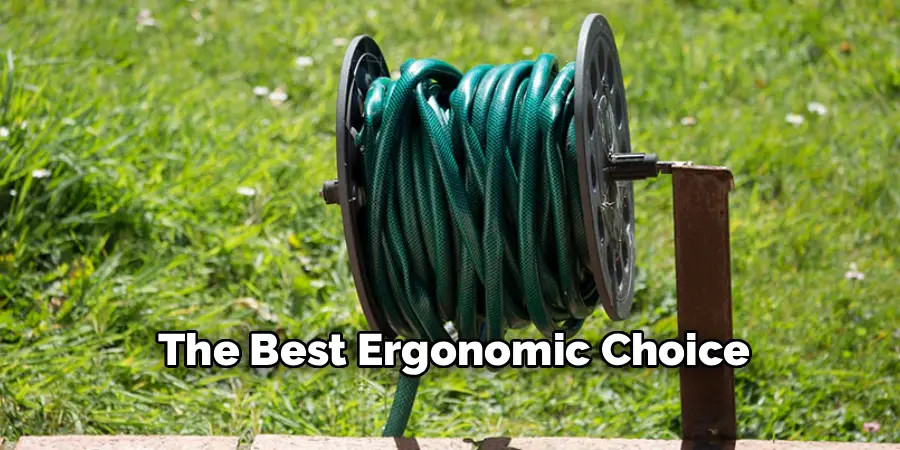
Q: Is a Hose Reel Better Than Coiling by Hand?
A: A hose reel is certainly convenient and keeps things tidy, but it doesn’t automatically prevent kinks. In fact, if you wind a reel too fast without guiding the hose, you can create tight crimps inside the reel. However, for managing very long, heavy hoses, a reel is often the best ergonomic choice
Conclusion
Learning how to wrap up a hose properly is a small skill that pays big dividends. It might feel like a bit of extra work to learn the “over-under” twist at first, but your future self will thank you every time you head out to water the garden.
By following these 10 easy steps and avoiding common pitfalls like tight elbow-wrapping, you extend the life of your hose and eliminate the frustration of kinks.
Take care of your tools, and they will take care of your garden for seasons to come.
About
Outdoor Fixes is a distinguished figure in the world of Diy design, with a decade of expertise creating innovative and sustainable Diy solutions.
His professional focus lies in merging traditional craftsmanship with modern manufacturing techniques,
fostering designs that are both practical and environmentally conscious. As the author of diy,
outdoorfixes delves into the art and science of outdoorfixes-making, inspiring artisans and industry professionals alike.
Education RMIT University
(Melbourne, Australia) Associate Degree in Design (Outdoor Fixes) Focus on sustainable design, industry-driven projects,
and practical craftsmanship. Gained hands-on experience with traditional and digital manufacturing tools, such as CAD and CNC software.
Nottingham Trent University
(United Kingdom) Bachelor’s in outdoorfixes.com and Product Design (Honors) Specialized in product design with a focus on blending creativity with production
techniques. Participated in industry projects, working with companies like John Lewis and Vitsoe to gain real-world insights.
Publications and Impact
In diy, Outdoor Fixes his insights on indoor design processes, materials, and strategies for efficient production.
His writing bridges the gap between artisan knowledge and modern industry needs, making it a must-read for both budding designers and seasoned professionals.