
Attaching a fairy door to a tree is a great way to bring a little magic into your yard and garden. There are many benefits of doing so, such as adding an element of whimsy and mystery to the outdoors, creating a place for fairies and other imaginary creatures to enter our lives, and providing an enchanted entrance that can be used for storytelling and imaginative play. A fairy door also serves as a focal point in any landscaping project or garden, making it a great way to add a little extra interest and charm to your space.
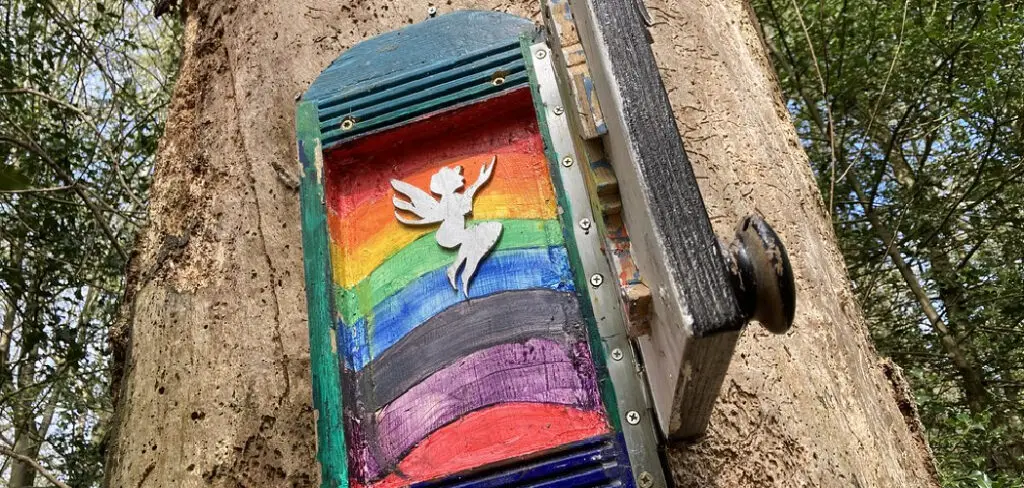
The main advantage of attaching a fairy door to a tree is that it creates a magical and enchanting sanctuary for imaginary fairies. Attaching the door to a tree helps bring the fantasy world of fairies to life, giving children an imaginative way to play. It also encourages outdoor play and exploration in nature, as kids can look for the fairy door. In this blog post, You will learn how to attach a fairy door to a tree in detail.
Tools You Will Need
- A fairy door
- Hammer
- Nails
- Tape measure
- Pencil or marker to mark where the nails should go
- Safety glasses and gloves for protection
- Drill and drill bits if necessary (e.g., If you are attaching a metal door)
- Sandpaper or emery cloth to smooth the tree bark and protect it from damage
- Wood glue
- Paint or another sealant (optional, to give your fairy door an extra-special look)
Step-by-step Instructions for How to Attach a Fairy Door to a Tree
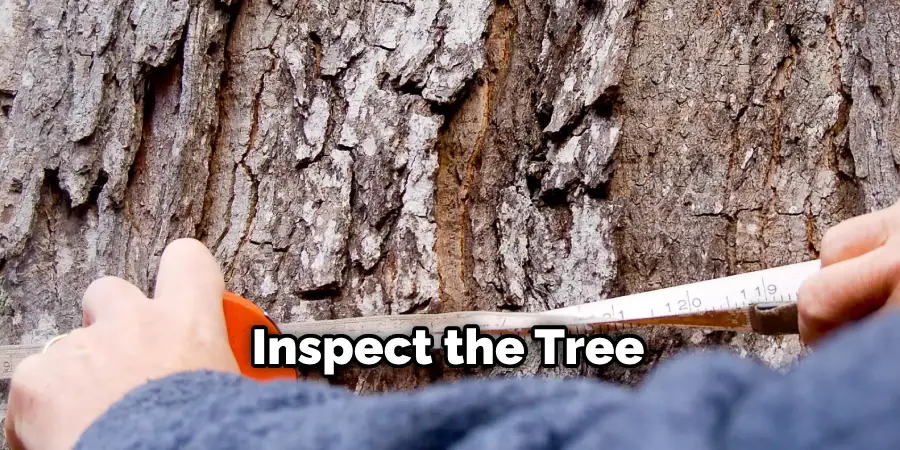
Step 1: Inspect the Tree
Before you attach your fairy door, be sure to inspect the tree to you plan to attach it to. Make sure that the chosen tree is strong and healthy enough to support the weight of a fairy door. After inspecting the tree, find an appropriate spot for your fairy door. Look for a spot at a child’s eye level and one not too close to other branches.
Step 2: Measure the Opening
Once you have chosen the fairy door spot, measure where you’d like to attach it. Mark your measurements with a pencil onto the tree and ensure they are even.
Step 3: Secure the Fairy Door
Before attaching your fairy door, drill two small holes at the top of your door. This is where you will attach the fairy door to the tree with screws. Be sure to use only small screws made for outdoor use, and ensure they are not too long, or else they will come through the other side of your fairy door.
Step 4: Drill Holes in Tree
Use the marked measurements to drill two holes in the tree. Make sure that these holes are slightly larger than your small outdoor screws. Once you have drilled your holes in the tree, carefully insert your small outdoor screws into each hole. Securely tighten the screws with a screwdriver or a drill.
Step 5: Attach the Fairy Door
Now that your screws are in place, it’s time to attach the fairy door. Line up the holes at the top of your fairy door with the screws and secure them tightly together by screwing them together. Make sure not to overtighten as this could damage the fairy door.
Step 6: Secure with Glue

Once your fairy door is securely attached to the tree, use strong outdoor glue to reinforce the connection between the door and the tree. This will ensure that your fairy door is firmly attached to the tree. Once your fairy door is securely attached to the tree, it’s time to personalize it! Paint the door in colors of your choice and add decorations such as glitter or small trinkets.
Step 7: Add a Welcome Note
Once you have decorated your fairy door, add a welcome note with instructions for its magical inhabitants. You can include instructions on how to enter and exit the fairy door, what type of treats should be left for fairies or other creatures, and any rules that should be followed while using the door.
Once you have completed your fairy door installation, it’s time to enjoy its beauty. Invite your family, friends, and neighbors to witness the magical power of your new fairy door.
By following these steps, you can successfully attach a fairy door to a tree.
Tips for How to Attach a Fairy Door to a Tree

- Ensure that you select a tree with low foot traffic and limited contact with people or animals. The fairy door should only be installed in a location where it will not be disturbed easily, such as far away from walkways or any places visitors frequent.
- Make sure to inspect the area around the tree for hazards, such as large roots, rocks, or stinging insects. If any of these are present, it is best to choose another tree.
- Take the time to measure the base of the tree where you plan to mount the fairy door. Make sure there is enough space for it, and no branches will be in their way.
- When installing the door, drill appropriate holes into the tree to accommodate the screws you plan to use. Make sure that the screws are not too long, as this can cause damage to your tree, and cover them with caulk once they are in place.
- Before attaching the fairy door, it is important to waterproof the door and any parts that will be in direct contact with the tree, such as hinges. This will help to protect them from moisture and extend their lifespan.
- Make sure to use non-toxic materials for all aspects of installing a fairy door on a tree, including screws, glue, paint, etc.
- Ensure that the door is securely attached to the tree and that all screws are tightened properly. Check periodically to make sure they stay secure.
- If possible, use a ladder or other device to reach higher parts of the tree while installing the fairy door. This will help ensure your safety when working with a taller tree.
Following these tips will help you to successfully attach a fairy door to a tree safely and securely.
How Should You Drill Into a Tree Without Damaging It?
When attaching a fairy door to a tree, it is important to consider the health of the tree and how it will be affected by drilling into its bark. Fortunately, there are several steps you can take to ensure that you drill into the tree in a safe and non-destructive manner. One way to do this is to use a countersink bit. This will drill a shallow hole into the tree, allowing you to attach your fairy door without harming the tree’s health.
You should also use a screwdriver or other tool with a smooth handle rather than one with sharp edges that could damage the bark as you drill. Once you have drilled the hole, be sure to use non-rusting screws or fasteners so that the door will remain securely attached. If you are using a countersink bit, ensure that the screws fit within the pocket created by the bit.

What Kind of Sealant Should You Use to Make Sure That Your Fairy Door is Waterproof?
When attaching a fairy door to a tree, you should use a waterproof sealant to ensure that it stays secure and won’t fall off in inclement weather. The best sealants for this purpose are 100% silicone caulk or polyurethane adhesive. Both products offer superior water resistance and will not be affected by rain or snow.
When applying the sealant, ensure you cover all areas of the fairy door and tree where they connect. Allow the sealant to dry completely before reattaching the door, creating a stronger bond.
Use painter’s tape to secure the door while it dries if needed. Once your fairy door is securely attached, it should be able to withstand the elements and stay affixed to the tree for many years. By attaching your fairy door with a waterproof sealant, you can ensure that it will remain in place despite changing weather conditions and last for many years.
How Often Should You Check on the Fairy Door to Make Sure That It is Still Secure and Undamaged?
Once the fairy door is securely attached to the tree, it should not need to be adjusted or replaced. However, it’s always a good idea to check on the door occasionally just to ensure it is still secure and undamaged. Depending on your location and the frequency of storms, you may want to check on the door every month or two to ensure it has not been damaged or dislodged. If the door does come loose, you can simply reattach it following the same steps outlined above.
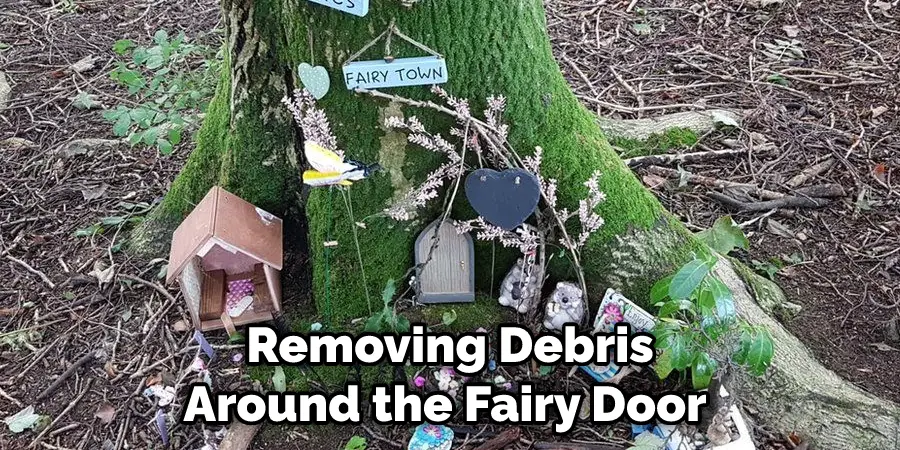
It is also important to watch for any damage caused by insects or animals that may be attracted to the door. Removing debris around the fairy door regularly may help ward off unwelcome visitors. Finally, if you notice any rot or damage on the tree itself, it may signify decay and necessitate replacing the fairy door with a new one. No matter what, it’s important to check in regularly on your fairy door to ensure that it is still secure and undamaged. Doing so can help ensure that your fairy door remains a safe and comfortable home for any fairies who might choose to use it.
How Do You Protect the Tree From Being Damaged by Attaching a Fairy Door?
The most important thing to consider when attaching a fairy door to a tree is protecting the tree from any damage. Firstly, you should make sure the size of the doorway is appropriate for where it will be placed; it’s best to hang small doors on thin branches and bigger doors on thicker ones. You should also use a soft material to attach the door, such as leather or fabric ties, rather than nails or screws. If you need to use a hammer, make sure it is not sharp enough to damage the tree’s bark.
You can also consider using other materials to provide additional protection for your tree and fairy door. For example, you can place a thin sheet of plastic or fabric between the door and the tree. This will help protect the bark from scratching when opening and closing the door. Finally, it’s important to check on your fairy door often throughout the year to ensure that it is still firmly attached to the tree and causing no harm. Doing regular inspections will help you keep an eye out for any potential damage and address it quickly.
How Long Does It Typically Take to Attach a Fairy Door to a Tree?
Attaching a fairy door to a tree typically takes anywhere from 15 minutes to an hour, depending on the door size and how securely you want it affixed. The first step is finding the right spot for your door—near the base of the tree trunk. It’s important that you don’t damage any branches or tree bark when attaching the door.
Next, use a drill to make two holes in the tree trunk (one for each screw) and then secure the fairy door into place with screws. If you don’t have a drill handy, using a hammer can also work; simply pound nails into the pre-drilled holes to secure the door. Finally, you’ll want to ensure that the fairy door is secured tightly against the tree by using a sealant or silicone adhesive. Allow it to dry completely before moving on to decorate your door.

Conclusion
One of the main disadvantages of attaching a fairy door to a tree is that if the tree is not properly cared for, it can cause damage to the door. If you attach the fairy door directly to the bark of a living tree, then there’s potential for the bark to crack and split when exposed to changing temperatures or weather conditions.
This can weaken the adhesive used to attach the door and eventually cause it to come off. To avoid this, ensure you place the fairy door on a section of bark that is low or far away from direct sunlight, wind, or rain.
In conclusion, attaching a fairy door to a tree is an easy and fun way to bring some magic into your backyard. With the right materials, tools, and a bit of creativity, you can create a doorway that will give your children’s imaginations their own little world of wonder.
Whether it’s for decoration or storytelling, attaching a fairy door to a tree is an easy and fun project that’s sure to create a memorable experience for the whole family. I hope reading this post has helped you learn how to attach a fairy door to a tree. Make sure the safety precautions are carried out in the order listed.
About
Outdoor Fixes is a distinguished figure in the world of Diy design, with a decade of expertise creating innovative and sustainable Diy solutions.
His professional focus lies in merging traditional craftsmanship with modern manufacturing techniques,
fostering designs that are both practical and environmentally conscious. As the author of diy,
outdoorfixes delves into the art and science of outdoorfixes-making, inspiring artisans and industry professionals alike.
Education RMIT University
(Melbourne, Australia) Associate Degree in Design (Outdoor Fixes) Focus on sustainable design, industry-driven projects,
and practical craftsmanship. Gained hands-on experience with traditional and digital manufacturing tools, such as CAD and CNC software.
Nottingham Trent University
(United Kingdom) Bachelor’s in outdoorfixes.com and Product Design (Honors) Specialized in product design with a focus on blending creativity with production
techniques. Participated in industry projects, working with companies like John Lewis and Vitsoe to gain real-world insights.
Publications and Impact
In diy, Outdoor Fixes his insights on indoor design processes, materials, and strategies for efficient production.
His writing bridges the gap between artisan knowledge and modern industry needs, making it a must-read for both budding designers and seasoned professionals.