
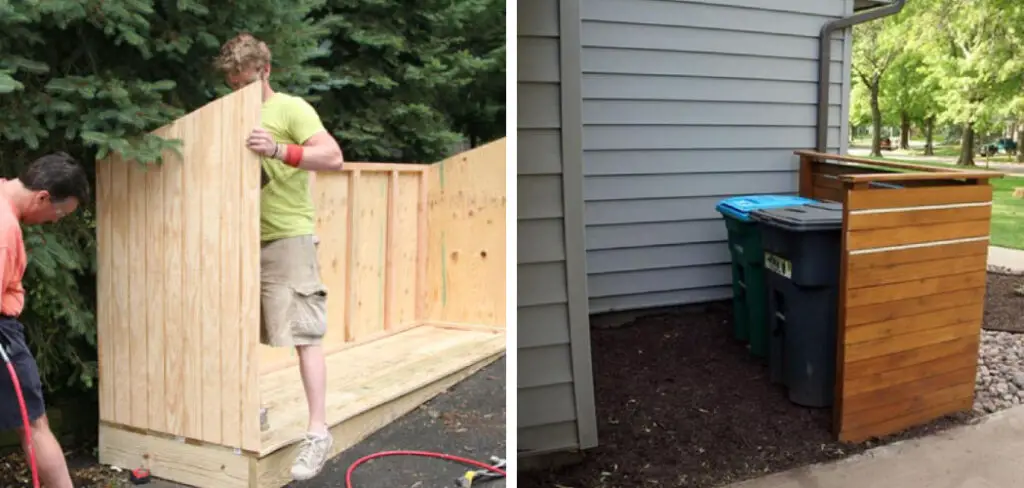
Do you want to keep your garbage cans out of sight but still readily available for when you need them? Look no further than creating your own Outdoor Garbage Can Holder! With the right tools, materials, and a little bit of know-how, you can easily construct your own holder that is both aesthetically pleasing and practical.
In this blog post, we’ll walk you through all of the steps on how to build an outdoor garbage can holder – from measuring and cutting the pieces to putting them together in a secure fashion. So let’s get started!
How Do You Secure Outdoor Garbage Can Lids?
Securing outdoor garbage can lids is essential to keeping critters out of the garbage and preventing odors from escaping.
There are a few different methods you can use to ensure your lids remain secure and in place.
The first method is to simply latch the lid onto an adjacent wall or fence using a hook-and-loop strap, rope, or bungee cord. You can run the rope through a large eyehook on the wall and then loop it into the handle of your garbage can lid for a secure fit.
If you don’t have an existing wall or fence to attach to, you can build your own outdoor garbage holder using pressure-treated wood.
Another method that works well is to use a specialized device called a “Garbage Can Lid Lock.” These locks are specially designed to fit around the edge of most outdoor garbage cans, providing an effective barrier against critters and odors alike.
Simply insert two screws into the side of your trashcan (pre-drilled holes may already be in place), thread one end of the lock through each screw, and finally, close the lid.
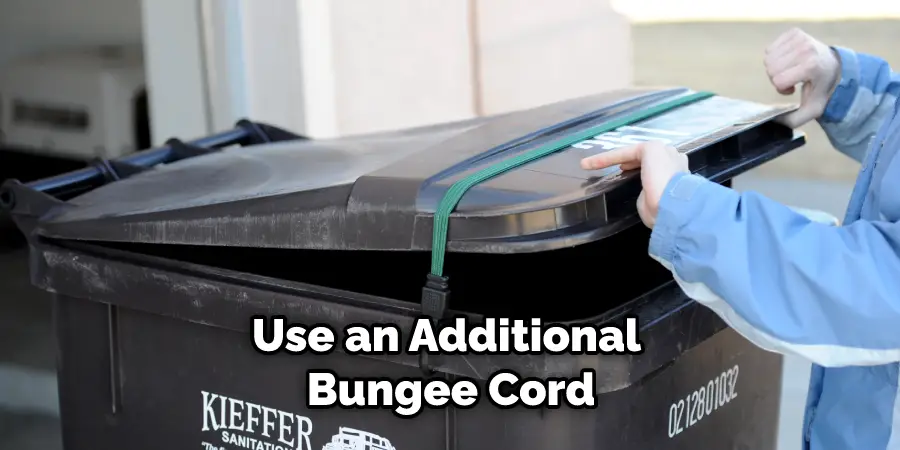
Finally, you can use a bungee cord or wire to secure your garbage can lids in place. Simply loop one end of the bungee or wire around one handle on the garbage can lid, stretch it tightly across the top of the can and then hook it onto another handle on the opposite side for a snug fit.
Alternatively, you could also purchase specialized locking straps made specifically for securing outdoor trashcan lids.
Whatever method you choose to secure your outdoor garbage can lids, make sure that whatever device you are using is securely fastened and won’t come undone or be easily removed by an animal or person. By taking these steps, you can ensure that your garbage can lids remain secure, and you won’t have to worry about critters or odors getting into your trash.
10 Methods How to Build an Outdoor Garbage Can Holder
1. Cut the Lumber to Size
You will need two pieces of lumber that are 48” long and six pieces that are 24” long. Cut these pieces using a saw. Make sure that the edges are smooth so that they fit together nicely.
If you need help with this step, ask the staff at your local hardware store for assistance. Although you can use any type of wood for this project, pressure-treated lumber or cedar is best.
2. Drill Pilot Holes
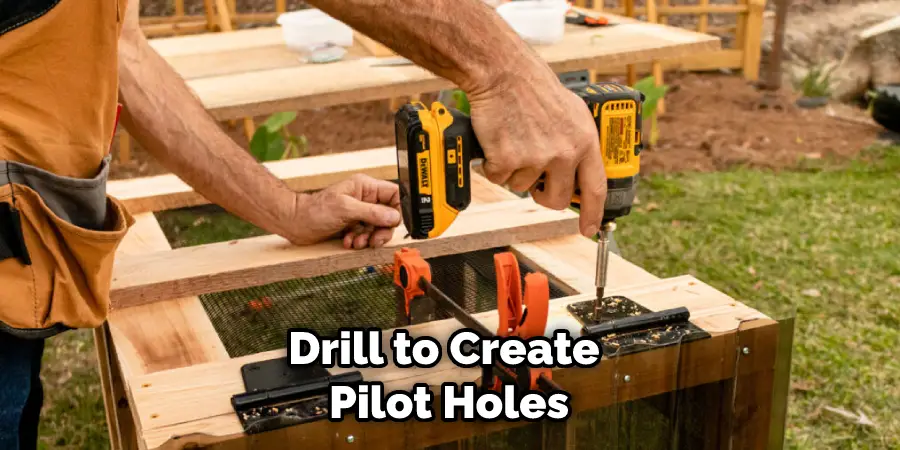
Use a drill to create pilot holes in the 48” pieces of lumber. These holes will be used to screw in the 24” pieces of lumber. Make sure to measure and mark the spots where you will drill the holes. This should be about 10” from the top and bottom of the 48” pieces.
Drill through both sides of one piece, then line up the other piece accurately with the first so that it lines up perfectly when placed together. Repeat this process for each pair of boards. When finished, use sandpaper to smooth out the edges of the wood. Make sure to wear protective eyewear when drilling.
3. Attach the 24” Pieces of Lumber to the 48” Pieces of Lumber
Using screws, attach the 24” pieces of lumber to the 48” pieces of lumber. Make sure that the pilot holes are lined up before screwing them together. The 24” pieces of lumber should be set evenly spaced along the length of the 48” piece.
There should be four total attachments, two on each side. Once the pieces are attached, they should form the sides of the garbage can holder. You can also decide to add a top or bottom piece for extra stability.
4. Cut the Wire Mesh to Size
Using a pair of wire cutters, cut the wire mesh to fit the opening between the two 48” pieces of lumber. Cut the mesh a few inches larger than the opening so that you can overlap it with itself for added stability.
If the mesh is too difficult to cut with the wire cutters, you may need to use a hacksaw or bolt cutters instead. However, be careful not to cut yourself when using these tools. Though the mesh is made of metal, it can be sharp. Try to wear gloves or wrap the mesh in a cloth when cutting it.
5. Attach the Wire Mesh to the Frame
Using screws or zip ties, attach the wire mesh to the frame. Make sure that the mesh is tight so that it will be able to hold garbage bags without tearing. If needed, use additional screws or zip ties to secure the mesh in place.
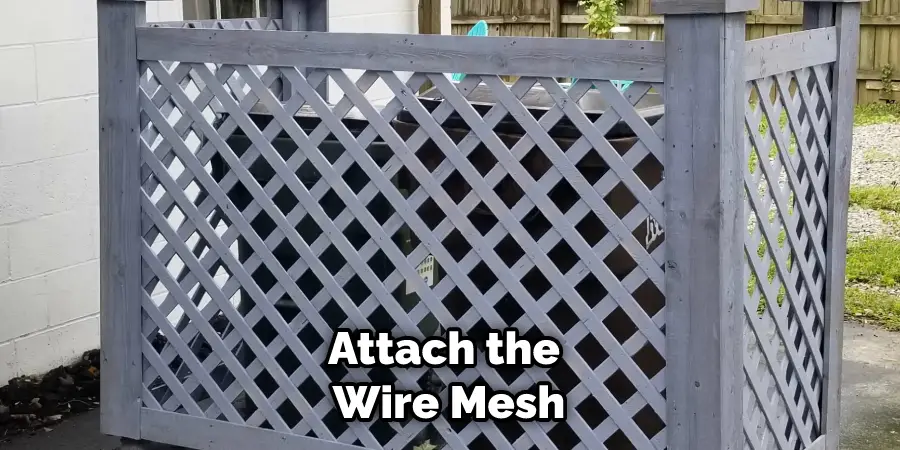
When finished, the frame and wire mesh should be securely attached together. Though the wire mesh may be visible, it will offer a strong outer layer that is essential for holding garbage bags. Make sure that the wire mesh is secured with enough tension in order to hold even heavier garbage bags.
6. Add Support Braces (Optional)
If you want, you can add support braces to the frame by attaching additional pieces of wood. This is not necessary but may make the holder more sturdy. To do this, cut two pieces of wood to size and attach them perpendicular to the side boards.
Use two screws for each board. Then, use a drill to create two pilot holes in the bottom boards and attach the braces with screws. That’s it – your outdoor garbage can holder is now complete! You can use it to easily store and access your garbage cans. It’s a great way to keep your outdoor space looking neat and organized.
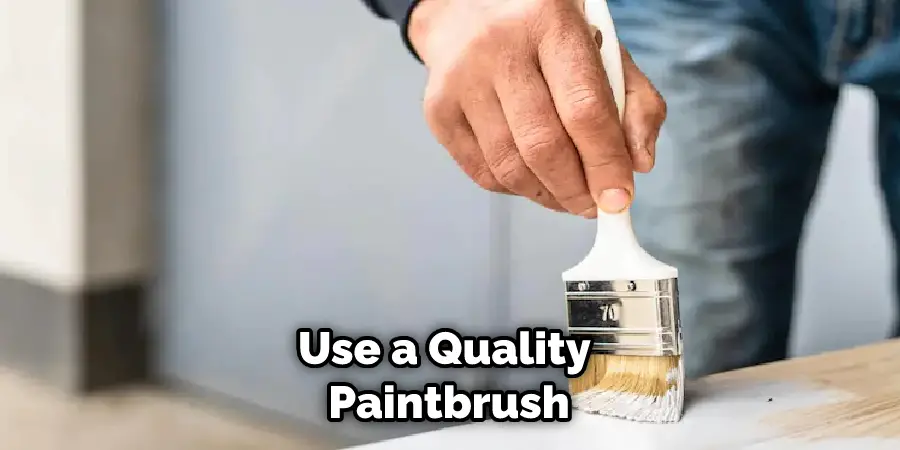
7. Paint or Stain the Holder (Optional)
If you want, you can paint or stain the holder before using it. This is not necessary, but it will make it look nicer. Before you start painting or staining, make sure that the wood is clean and dry. Use a quality paintbrush or stain to cover all surfaces of the garbage can holder. Let the paint or stain dry completely before you proceed to the next step.
Lastly, enjoy your new garbage can holder and make sure to keep it clean and in good condition. However, even if you don’t paint or stain the holder, it will still protect your garbage cans and keep them in place. It is a simple DIY project that anyone can do with a few simple tools. With just a little effort, you will have an attractive and useful outdoor garbage can holder.
8. Secure the Holder to the Ground
Using screws or nails, secure the holder to the ground. Make sure that it is secure and won’t wobble when the garbage cans are placed inside it. You may want to use two screws per hole for extra support. You can also use concrete anchors, depending on the type of soil in your area.
Be sure to leave some room between the holder and the ground so air can flow freely underneath. This will help reduce moisture buildup around your garbage cans. Though it will look nicer if you can bury the holder, make sure that it is still secure and won’t move.
9. Place Garbage Cans in the Holder
Finally, place your outdoor garbage cans inside the holder. You can use an additional bungee cord or rope to help keep them secure if necessary. Make sure the cans are completely situated in the holder and that no portion of them is sticking out.
This will help to keep your area tidy and orderly. Additionally, it will help to protect other items from being knocked over, as well as keep animals out of the cans. However, you may need to periodically check the holder for any loose objects and make sure that everything is secure.
10. Secure Lids with a Device (Optional)
If desired, you can use a device such as a Garbage Can Lid Lock to make sure that the lids remain securely fastened when not in use. This will help prevent critters from getting into your trash and odors from escaping.
Make sure to purchase the correct size lock for your specific garbage can lids.

Install it according to the manufacturer’s instructions, and you’ll be good to go. Make sure to keep the key or combination in a safe, secure place so that you can access it when needed.
Once you’ve completed these steps, you should have a sturdy and reliable outdoor garbage can holder. Make sure to periodically check that all the pieces are secure and tight, especially after inclement weather. Enjoy a cleaner, more organized outdoor space!
Things to Consider Before Building an Outdoor Garbage Can Holder
1. Location:
Where you plan to build the outdoor garbage can holder will influence the design and materials you’ll need for the project. If the holder is located in a sheltered area, such as the corner of your garage, you can use lighter-weight materials.
If it’s going to be exposed to elements like sun and rain, use heavier-duty materials that can stand up to weathering.
2. Accessibility:
When designing your outdoor garbage can holder, think about how easy it will be to access the cans. Will you need a way to keep lids on tight so animals and pests don’t get into them? Also consider whether there’s enough room around the holder for people to collect garbage easily, or if it needs to be placed in an area with more space.
3. Size:
The size of your garbage can holder should depend on how many cans you’ll need to store.
If you have a large family or multiple pets, then you’ll want something much bigger than if you live alone or only have one pet. Measure out the amount of space available for your project before choosing a design, as this will help ensure that your holder is built correctly and fits comfortably in its designated spot.
4. Visibility:
If you’re concerned about the aesthetic look of your outdoor garbage can holder, then consider how visible it will be from the outside. Will it be in plain sight or tucked away in a corner? This might influence the type of material and design you choose for your project, as more intricate patterns may not be appropriate for areas with high visibility.
What Keeps Flies Out of Outdoor Garbage Cans?
Flies are one of the most common pests in the summer months, and they can quickly take over an outdoor garbage can. Luckily, there are a few simple steps you can take to keep them away.
1. Cover Your Garbage Can:
Make sure your outdoor garbage can is covered at all times, even when it’s in use. The lid will help keep flies from laying eggs on food scraps and other organic materials inside the garbage can.
2. Use A Garbage Can Holder:
If you have an outdoor garbage can holder, make sure to keep it closed when not in use. This will help keep flies and other insects out of the area where your garbage can is stored.
3. Use Garbage Bags That Are Insect Repellent:
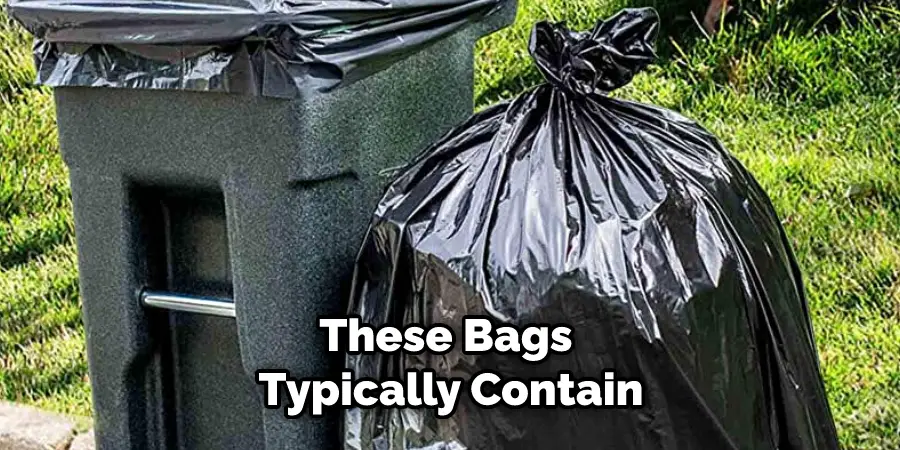
To further reduce the number of flies in your garbage can, use bags that are insect repellent. These bags typically contain a chemical that helps repel flies and other pests from coming into contact with the garbage inside.
Conclusion
Now that you know how to build an outdoor garbage can holder, put your talents to the test and see what other woodworking projects you can tackle. This helpful guide provides step-by-step instructions so that even beginner woodworkers can succeed in building this simple yet essential item for any home.
With a little time, effort, and planning, anyone can create an outdoor garbage can holder that will make life just a little bit easier.
About
Outdoor Fixes is a distinguished figure in the world of Diy design, with a decade of expertise creating innovative and sustainable Diy solutions.
His professional focus lies in merging traditional craftsmanship with modern manufacturing techniques,
fostering designs that are both practical and environmentally conscious. As the author of diy,
outdoorfixes delves into the art and science of outdoorfixes-making, inspiring artisans and industry professionals alike.
Education RMIT University
(Melbourne, Australia) Associate Degree in Design (Outdoor Fixes) Focus on sustainable design, industry-driven projects,
and practical craftsmanship. Gained hands-on experience with traditional and digital manufacturing tools, such as CAD and CNC software.
Nottingham Trent University
(United Kingdom) Bachelor’s in outdoorfixes.com and Product Design (Honors) Specialized in product design with a focus on blending creativity with production
techniques. Participated in industry projects, working with companies like John Lewis and Vitsoe to gain real-world insights.
Publications and Impact
In diy, Outdoor Fixes his insights on indoor design processes, materials, and strategies for efficient production.
His writing bridges the gap between artisan knowledge and modern industry needs, making it a must-read for both budding designers and seasoned professionals.