
If your fire pit has recently developed a hole in the bottom and you’re wondering how to fix it, don’t worry. It is important to know how to fix hole in bottom of fire pit. With a few simple steps (and perhaps some extra materials), you can easily repair the damage and make sure that your treasured fire pit lasts for many seasons to come.
In this blog post, we’ll walk you through exactly what supplies you need, basic instructions on how to patch up the bottom of your fire pit, safety tips for operating the repaired piece of equipment properly, and other helpful advice so that you can get back to gathering around warm fires with friends and family as soon as possible.
So if your backyard summer plans involve fireside chats but have been dampened by an unexpected cracked or split bottom in your fire pit, read on!
Tools You Will Need
- A hammer
- Hand saw or jigsaw
- Level
- Putty knife
- Cement caulk
- Waterproof sealer
6 Steps Guide on How to Fix Hole in Bottom of Fire Pit
1. Cut a Piece of Metal
To repair the hole in the bottom of your fire pit, you’ll need to cut a piece of metal that is slightly larger than the hole itself. A hammer and saw or jigsaw can be used for this process, depending on the size and shape of the metal. Make sure that whatever material you’re using is heat-resistant and appropriately rated for fire pits.
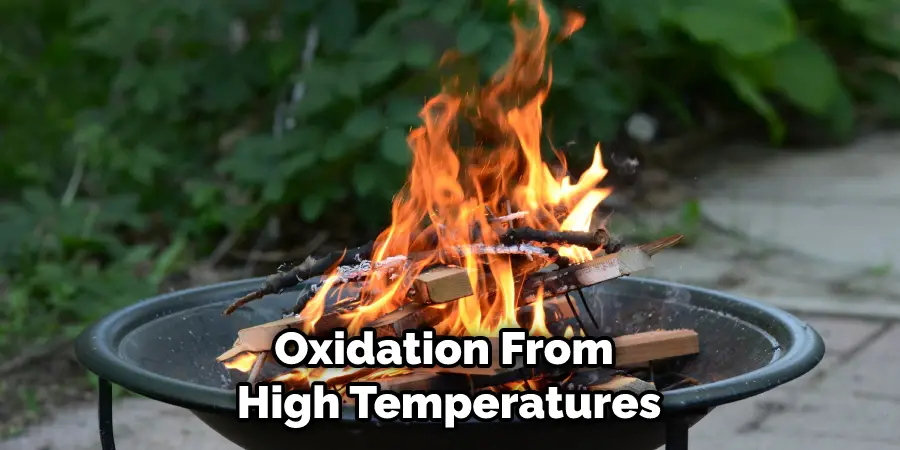
For example, stainless steel should do the job very well as it’s naturally resistant to corrosion and oxidation from high temperatures. Additionally, wear safety gear such as gloves, protective eyewear, and a mask when cutting metal to avoid any potential accidents.
Once your patch material is cut and tested for heat resistance, use a file to smooth out any sharp edges before placing it over the hole and securing it with bolts or rivets.
2. Place the Patch Over the Hole
Fixing the hole in the bottom of a fire pit can be an easy job. Start by laying the patch directly over the top of the hole, and make sure it is level with the rest of the fire pit’s bottom by using a level. It is important to ensure that there are no gaps between the patch and the existing surface.
If needed, use a hammer to lightly tap down any bumps or uneven surfaces. Once leveled, place concrete adhesive around both sides of the patch on each surface and let it dry for at least 24 hours before adding any additional materials such as mortar or cement.
3. Make Sure It is Permanently Secured
To ensure that your fire pit patch remains firmly in place, use a putty knife to spread a thick layer of cement caulk across the edges of the patch. The caulk creates an airtight seal between the patch and the surrounding wall, preventing water or other debris from getting underneath and causing further damage.
Before using a sealant, be sure to clean and dry the area first, removing any dirt, rust, or peeling paint that may interfere with its adhesive quality. You can then apply the sealant to effectively make sure that your fire pit hole repair is structurally sound and permanently secure.
4. Allow the Caulk to Dry Completely
After applying the caulk to repair the hole in the bottom of your fire pit, make sure you give it plenty of time to dry completely. This will ensure that the repair provides a strong and secure bond that won’t come loose over time.
Depending on the type of caulk you used and the environment, drying times can range from one hour to several days.
So be sure to follow all instructions provided by the manufacturer! Once your caulk is dried and ready to go, you can confidently proceed with step 5 in this handy guide to fix your hole.
5. Apply Waterproof Sealer
Applying a coat of waterproof sealer to the bottom and sides of your fire pit can be an easy and cost-effective way to keep it looking and performing its best. The sealer will protect the pit from weather conditions like direct sunlight, rain, snow, sleet, hail, and wind. It’s also great for preventing corrosion and keeping any rust away.
The strong seal created by the waterproof sealer helps fix any hole in the bottom of your fire pit that could otherwise disrupt the flow of air or let out smoke and ash. Applying the sealer is simple; simply wait until the base is dry before using a brush to ensure even coverage. Let it dry for 1-2 hours before covering it up or lighting a fire.
This way, you’ll be sure that your fire pit is properly sealed for optimal performance!
6. Be Persistent
It’s always satisfying to see a project come together, and now that your fire pit fix is complete there’s nothing left to do but get the party started. Firing up your repaired pit not only warms up the atmosphere but also serves as a reminder of a job well done; you did it!
And you can rest assured knowing that after taking the time to patch up the hole in the bottom, you have a safe and functional fire pit ready for many nights of entertaining around your backyard bonfires. So why wait? Gather some wood, light it up, and relish in the comfort of getting it just right.
Additional Tips
- Make sure the hole is no bigger than 3 inches in diameter. If the hole is any bigger, it will be difficult to patch and may result in an uneven surface.
- Clean the area around the hole with a wire brush or sandpaper to rough up the surface and remove any debris. This will help the patching material adhere better.
- Cut a piece of metal mesh that is slightly larger than the hole. The mesh will act as reinforcement for the patch.
- Apply a layer of high-temperature silicone caulk around the edges of the hole. This will help to seal the patch and prevent leaks.
- Place the piece of metal mesh over the hole and press it into the caulk to secure it in place.
- Apply a layer of fireproof mortar over the metal mesh, using a trowel or putty knife to smooth it out. The mortar should be about ¼ inch thick.
- Allow the mortar to dry for 24 hours before using the fire pit again.
- If you want a permanent fix, you can apply a second layer of mortar after the first layer has dried.
How to Seal and Secure the Base of Your Fire Pit for Maximum Durability?
Sealing and securing the base of your fire pit will help ensure its long-lasting durability. Start by determining the best foundation for your fire pit.
A concrete pad is a great surface that provides excellent support and helps keep heat away from nearby combustible materials or items to prevent any potential hazards.
Once you’ve laid the base, seal it with compound waterproofing sealant made specifically for outdoor fire pits.
Make sure to apply the sealant evenly and thoroughly so that no area is left unprotected. To bolster the security of your fire pit’s base, consider placing bricks around the perimeter of the concrete pad and filling them with fine gravel.
This will provide extra stability while helping to protect grass or other delicate surfaces nearby which may be exposed to heat and water damage. With all these precautions in place, you can enjoy years of outdoor fires without having to replace or repair your fire pit’s foundation.
How to Ensure That Your Fire Pit is Properly Waterproofed After Patching a Hole?
Patching up your fire pit can be an easy and cost-effective way to handle small problems, but it is important to make sure that the patch job is done properly.
To ensure waterproofing post-patch, begin by applying a thick layer of high-quality sealant around the patched area. Once the sealant has dried, inspect the patch and clear away any rough edges or bumps with sandpaper.
Finally, finishing off with a layer of waterproof coating should provide enough protection against any water damage in and around the fire pit. Keep in mind that any cracks or chips should be taken care of as soon as possible to guarantee safety and a better finish for your fire pit.
How to Make Sure You Have a Safe and Functional Fire Pit After Fixing the Bottom?
After fixing the bottom of your fire pit, it is important to take extra steps to ensure that your fire pit will be safe and functional while in use. First, start with a clean slate before building a fire by clearing away debris and combustible materials such as dried leaves and limbs.
Significantly reduce the risk of an uncontrolled fire by making sure there are at least twenty feet of the cleared area around the fire pit. Additionally, construct your fire sensibly, so that it is manageable and easily able to be extinguished if necessary.
Regularly check for overhanging branches or other dangers nearby — keeping safety and comfort in mind — when deciding upon a suitable location for the fire pit.
Finally, after each use be sure to extinguish all coal or wood within the fire pit and allow adequate time for cooling before starting a new one. By following these precautions, you can ensure that your post-repair fire pit remains both safe and functional while in use.
You Can Check It Out to the Smokeless Fire Pit Work
Conclusion
While a hole in the bottom of your fire pit may seem like a cause for alarm, it is an easy fix. You should carefully determine how to fix hole in bottom of fire pit. Simply follow the steps outlined in this blog post and you will have your fire pit back up and running in no time.
So don’t worry, if you find yourself with a hole in the bottom of your fire pit, simply follow these steps and enjoy many more fires to come!
You Can Check It Out to Hook Up Propane Tank to Fire Pit
About
Outdoor Fixes is a distinguished figure in the world of Diy design, with a decade of expertise creating innovative and sustainable Diy solutions.
His professional focus lies in merging traditional craftsmanship with modern manufacturing techniques,
fostering designs that are both practical and environmentally conscious. As the author of diy,
outdoorfixes delves into the art and science of outdoorfixes-making, inspiring artisans and industry professionals alike.
Education RMIT University
(Melbourne, Australia) Associate Degree in Design (Outdoor Fixes) Focus on sustainable design, industry-driven projects,
and practical craftsmanship. Gained hands-on experience with traditional and digital manufacturing tools, such as CAD and CNC software.
Nottingham Trent University
(United Kingdom) Bachelor’s in outdoorfixes.com and Product Design (Honors) Specialized in product design with a focus on blending creativity with production
techniques. Participated in industry projects, working with companies like John Lewis and Vitsoe to gain real-world insights.
Publications and Impact
In diy, Outdoor Fixes his insights on indoor design processes, materials, and strategies for efficient production.
His writing bridges the gap between artisan knowledge and modern industry needs, making it a must-read for both budding designers and seasoned professionals.