
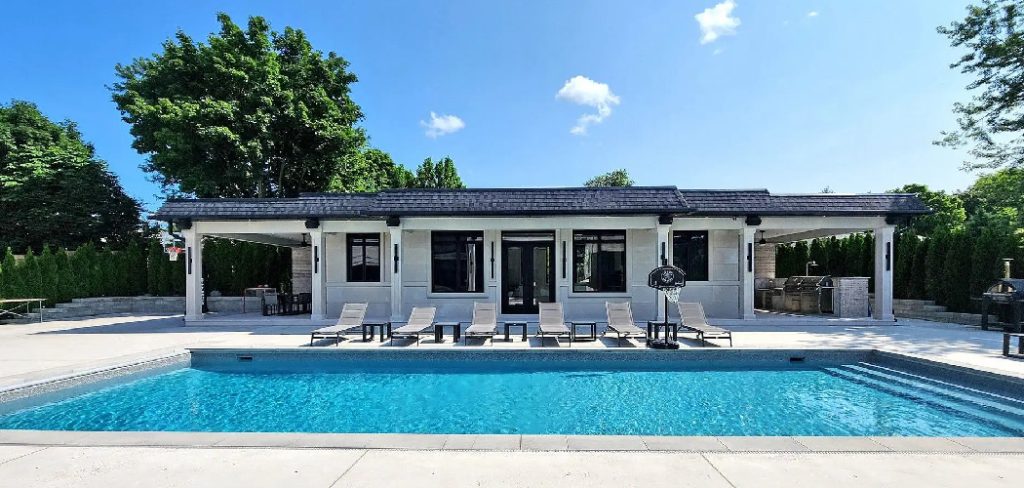
Adding a pool cabana to your backyard can completely transform your outdoor living space. It offers a stylish, shaded retreat from the sun, a convenient changing area, and a perfect spot for entertaining guests. A well-designed cabana enhances not just your pool area but your entire property value.
This structure serves as a functional and luxurious extension of your home. Building one yourself can be a rewarding project that allows you to customize the design to fit your specific needs and style. This guide on how to build a pool cabana will walk you through the entire process, from planning to the final touches.
What is a Pool Cabana?
A pool cabana is a freestanding outdoor structure, typically located near a swimming pool. Unlike a simple umbrella or gazebo, a cabana is more substantial, often featuring at least one solid wall for privacy and protection from the elements. Its primary purpose is to provide a comfortable, shaded area for relaxation, changing, and storage.
Modern cabanas can range from simple, open-air shelters with a roof and a back wall to elaborate structures complete with electricity, plumbing, a small kitchenette, a bathroom, and entertainment systems. Essentially, it’s a versatile poolside room that combines the comfort of the indoors with the beauty of the outdoors.
Tools and Materials You’ll Need
Before you start, gathering the right tools and materials is crucial for a smooth construction process. The specific materials will depend on your design, but this list covers the essentials for a standard wooden cabana.
Tools:
- Circular saw and miter saw
- Power drill with various bits
- Level (4-foot and torpedo)
- Tape measure and chalk line
- Speed square and framing square
- Hammer and nail gun (optional)
- Shovel and post-hole digger
- Wheelbarrow for mixing concrete
- Ladders
- Safety gear (gloves, safety glasses, ear protection)
Materials:
- Pressure-treated lumber for posts and framing (e.g., 4×4 or 6×6 posts, 2×6 or 2×8 joists and beams)
- Decking boards or concrete for the flooring
- Plywood or OSB for sheathing
- Siding material of your choice (e.g., wood panels, stucco, vinyl)
- Roofing materials (e.g., shingles, metal roofing, polycarbonate panels)
- Concrete mix for setting posts
- Joist hangers and other metal connectors
- Galvanized screws, nails, and bolts
- Wood stain or exterior paint and primer
- Gravel for drainage
7 Simple Step-By-Step Guidelines on How to Build a Pool Cabana
Step 1: Plan and Design Your Cabana
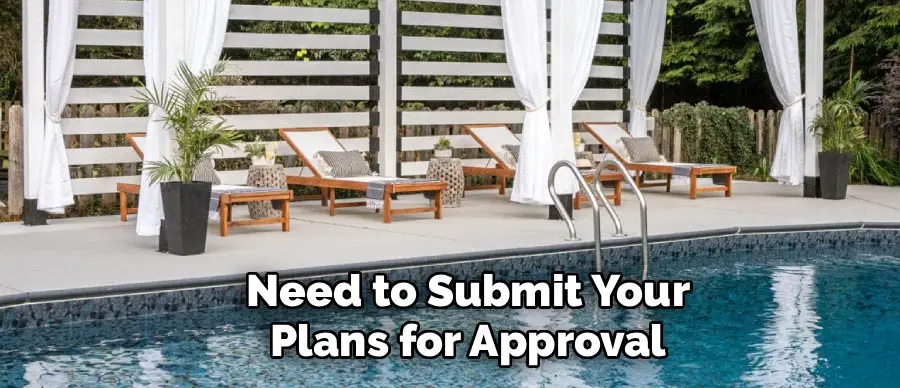
The first and most critical step is creating a detailed plan. Decide on the size, location, and style of your cabana. Consider how you will use the space—is it for lounging, changing, or entertaining? This will influence design elements like walls, windows, and electrical outlets. Sketch your design, including dimensions for the foundation, walls, and roof. Before you dig, check with your local building department about necessary permits. Many municipalities have regulations regarding the size, height, and location of accessory structures, and you may need to submit your plans for approval.
Proper planning also involves selecting the right location. Choose a spot that is level and has good drainage. Think about its proximity to the pool and your house, as well as how it will affect sun exposure and privacy. For instance, positioning the back wall to block the harsh afternoon sun or face away from a neighbor’s view can greatly enhance its comfort and utility. Finalize your material list based on this detailed plan to ensure you can budget accurately and purchase everything you need upfront.
Step 2: Prepare the Site and Foundation
Once your plan is approved, it’s time to prepare the site. Clear the chosen area of any grass, rocks, and debris. Use a shovel and rake to level the ground as much as possible. A level foundation is essential for a stable and square structure. For a simple cabana, a foundation can be created using concrete deck blocks or by setting posts directly into concrete footings. Mark the corners of your cabana using stakes and string, and use a builder’s line and level to ensure your layout is perfectly square and level before you start digging.
If you’re using concrete footings, dig holes below the frost line for your main support posts using a post-hole digger. This depth prevents the structure from shifting during freeze-thaw cycles. Place a few inches of gravel at the bottom of each hole for drainage. Then, place your pressure-treated posts into the holes, use a level to ensure they are perfectly plumb, and brace them temporarily. Mix your concrete according to the manufacturer’s instructions and pour it into the holes, sloping the top away from the posts to shed water. Let the concrete cure completely, which typically takes 24-48 hours.
Step 3: Build the Floor Frame and Decking
With your posts securely in place, you can begin building the floor frame. This frame will provide the base for your flooring and walls. Start by attaching the outer rim joists to the support posts using galvanized lag bolts. These joists will form the perimeter of your floor. Ensure the frame is square by measuring the diagonals; they should be equal. Once the outer frame is secure, install the inner floor joists. These are typically spaced 16 or 24 inches on center, depending on the span and the type of decking you plan to use. Attach the joists to the rim joists using joist hangers for a strong connection.
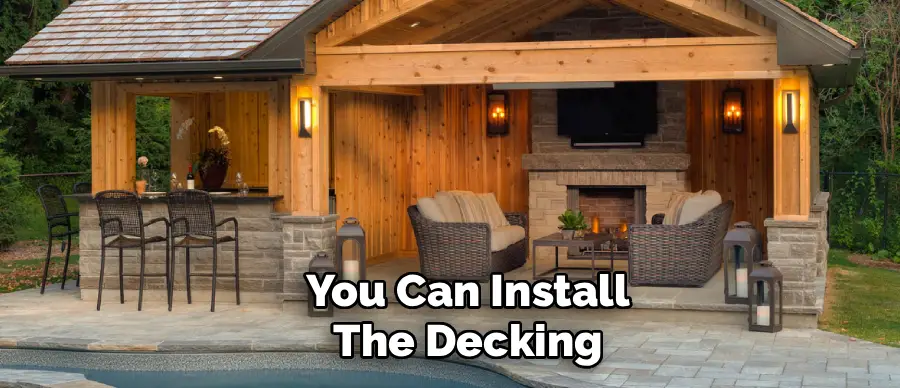
After the frame is complete, you can install the decking. Whether you choose wood, composite, or another material, start at one end and work your way across. Lay the first board perpendicular to the joists, ensuring it’s perfectly straight, and secure it with deck screws. Leave a small, consistent gap (about 1/8 inch) between each board to allow for expansion, contraction, and water drainage. Use a saw to cut boards as needed to fit around the support posts. Continue this process until the entire floor is covered, creating a solid and durable surface for your cabana.
Step 4: Frame the Walls and Openings
Now it’s time to build the vertical structure. You will frame the walls one at a time on the cabana floor, then lift them into place. Following your design, build each wall frame using 2×4 or 2×6 lumber. A standard wall frame consists of a top plate, a bottom plate (sole plate), and vertical studs spaced 16 inches on center. If your design includes windows or a door, you will need to frame these openings by adding headers above them to support the load, along with king studs and jack studs on the sides for reinforcement.
Once a wall frame is assembled, carefully lift it into position. Brace it temporarily with scrap lumber to keep it plumb while you secure it. Fasten the bottom plate to the floor decking and frame using long screws or bolts. Check that the wall is perfectly vertical with a level before moving on to the next one. After all the walls are raised, connect them at the corners and install a second top plate that overlaps the corners. This double top plate ties all the walls together, creating a strong and rigid structure.
Step 5: Construct and Install the Roof
The roof provides essential protection from the sun and rain. The style of roof you choose—whether it’s a simple shed roof (single slope), a gable roof (A-frame), or a hip roof—will determine the complexity of this step. For a basic shed roof, you will cut rafters from 2×6 or 2×8 lumber at a slight angle to create a slope for water runoff. The rafters will span from the higher back wall to the lower front wall. Attach them to the top plates of the walls using hurricane ties or other appropriate connectors, spacing them 24 inches on center.
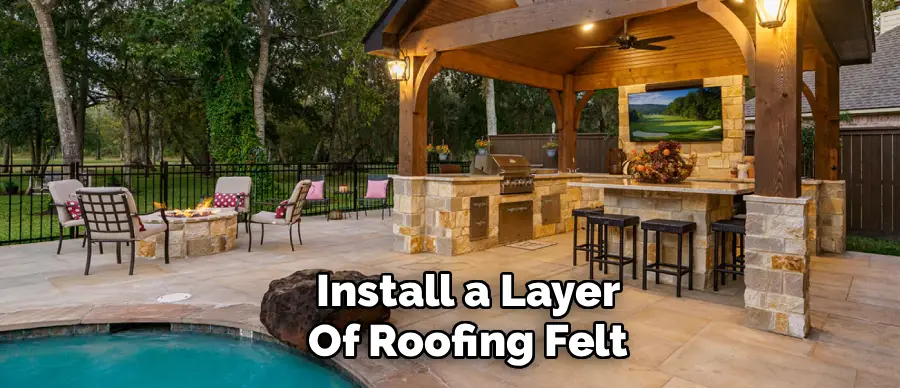
With the rafters in place, cover the roof frame with plywood or OSB sheathing. This creates a solid deck for your roofing material. Nail the sheathing securely to every rafter. Next, install a layer of roofing felt or a synthetic underlayment over the sheathing to act as a water barrier. Finally, install your chosen roofing material, such as asphalt shingles or metal panels, following the manufacturer’s instructions. Start from the bottom edge and work your way up to the peak, overlapping each course to ensure it is completely waterproof.
Step 6: Add Siding, Trim, and Finishes
Now that the main structure is complete, you can focus on the exterior finishes that will define your cabana’s look. Install the exterior siding on the walls, starting from the bottom and working your way up. Whether you’re using wood planks, vinyl siding, or paneling, ensure each piece is level and securely fastened. Cut pieces carefully to fit around window and door openings. This layer not only adds aesthetic appeal but also protects the underlying frame from weather damage, so take your time to ensure a tight, professional finish.
Next, add the trim around corners, windows, and doors to cover gaps and give your cabana a polished appearance. You can also add decorative elements like fascia boards along the roofline. Once all the siding and trim are installed, it’s time to paint or stain the exterior. Apply a high-quality exterior primer first, followed by at least two coats of paint or stain designed for outdoor use. This will protect the wood from moisture and UV rays, ensuring your cabana looks great for years to come.
Step 7: Install Interior Features and Furnishings
The final step is to finish the interior and furnish your new space. If your design includes electricity, now is the time for a licensed electrician to run wiring for lights, outlets, and a ceiling fan. You can finish the interior walls with drywall, beadboard, or wood paneling for a more refined look. Consider adding built-in benches or shelves for convenient storage. Painting the interior with a light color can make the space feel larger and brighter.
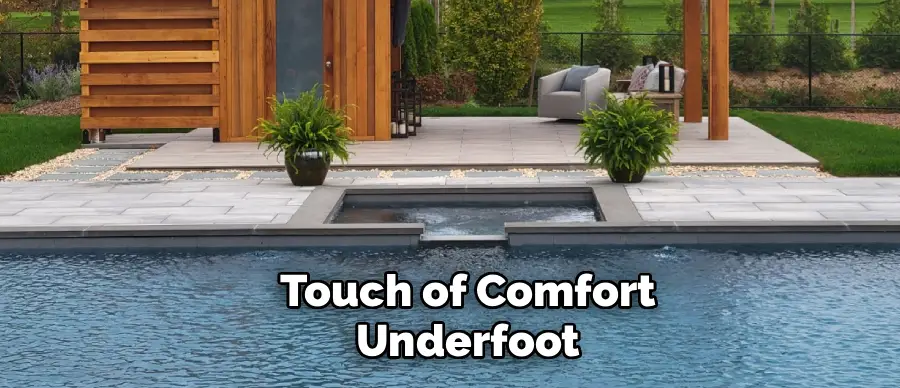
Once the interior construction is done, the fun part begins: furnishing your cabana. Bring in comfortable outdoor furniture like lounge chairs, a small sofa, or a daybed. Add a small table for drinks and snacks, and consider an outdoor rug to define the space and add a touch of comfort underfoot. Install curtains or blinds for added privacy and sun control. Finally, add personal touches like cushions, throws, decorative lighting, and potted plants to make your pool cabana a true backyard oasis.
Following these steps on how to build a pool cabana can help you create a stylish and functional space that will enhance your outdoor living experience.
Common Mistakes to Avoid
- Skipping the permit process, which can lead to fines and forced teardowns.
- Building on an unlevel foundation causes structural instability.
- Using untreated lumber for ground-contact posts or framing.
- Forgetting to account for proper water drainage around and off the structure.
- Underestimating the total project cost and not having a contingency fund.
Do You Need to Use Professionals?
Whether to hire professionals depends on your skill level, the complexity of your design, and your budget. For a simple, open-air cabana, a handy DIYer with basic carpentry skills can likely manage the project. However, if your design involves complex rooflines, plumbing for a bathroom or wet bar, or electrical work, hiring licensed professionals is strongly recommended.
A professional contractor ensures the structure is built to code, is safe, and will last. An electrician is essential for any wiring to prevent fire hazards, and a plumber is needed for any water or sewer lines. Even if you build the main structure yourself, consider subcontracting these specialized tasks.
How Much Will It Cost?
The cost of building a pool cabana can vary dramatically, from a few thousand dollars for a simple DIY kit to over $50,000 for a high-end custom structure with all the amenities. For a basic 10×12-foot wooden cabana built yourself, you can expect to spend between $3,000 and $8,000 on materials alone.
This includes lumber, roofing, concrete, and fasteners. If you hire a contractor to build a similar structure, the total cost could range from $10,000 to $25,000, including labor. Adding features like electricity, plumbing, high-end finishes, and built-in appliances will significantly increase the final price.
Frequently Asked Questions
Q1: What Is The Best Location For A Pool Cabana?
A1: The ideal location depends on your priorities. For convenience, place it close to the pool for easy access. For privacy, position it in a corner of your yard or use a solid wall to block views from neighbors. Consider the path of the sun; placing the open side away from the intense afternoon sun will keep it cooler. Also, ensure the site is level and has good drainage to prevent water pooling.
Q2: Do I Need A Permit To Build A Pool Cabana?
A2: In most cases, yes. Many municipalities consider a pool cabana an “accessory structure,” which requires a building permit. Regulations often depend on the structure’s size, height, and whether it will have utilities like electricity or plumbing. Always check with your local building department before you start construction to understand the specific requirements and avoid potential legal issues.
Q3: What Is The Difference Between A Gazebo And A Cabana?
A3: The main difference lies in their structure and purpose. A gazebo is typically an open-sided, octagonal, or round structure with a roof, designed primarily to provide a shaded viewpoint of a garden. A pool cabana is usually square or rectangular and has at least one, and often three, walls for privacy, changing, and protection from the wind. Cabanas are more room-like and are specifically associated with poolside lounging.
Conclusion
Building a pool cabana is a significant but achievable project that adds immense value and enjoyment to your home. By carefully planning your design, gathering the right materials, and following a step-by-step process of how to build a pool cabana, you can create a beautiful and functional backyard retreat.
Whether you tackle it as a DIY endeavor or hire professionals for certain tasks, the result will be a perfect spot to relax, entertain, and make the most of your poolside lifestyle for years to come.
About
Outdoor Fixes is a distinguished figure in the world of Diy design, with a decade of expertise creating innovative and sustainable Diy solutions.
His professional focus lies in merging traditional craftsmanship with modern manufacturing techniques,
fostering designs that are both practical and environmentally conscious. As the author of diy,
outdoorfixes delves into the art and science of outdoorfixes-making, inspiring artisans and industry professionals alike.
Education RMIT University
(Melbourne, Australia) Associate Degree in Design (Outdoor Fixes) Focus on sustainable design, industry-driven projects,
and practical craftsmanship. Gained hands-on experience with traditional and digital manufacturing tools, such as CAD and CNC software.
Nottingham Trent University
(United Kingdom) Bachelor’s in outdoorfixes.com and Product Design (Honors) Specialized in product design with a focus on blending creativity with production
techniques. Participated in industry projects, working with companies like John Lewis and Vitsoe to gain real-world insights.
Publications and Impact
In diy, Outdoor Fixes his insights on indoor design processes, materials, and strategies for efficient production.
His writing bridges the gap between artisan knowledge and modern industry needs, making it a must-read for both budding designers and seasoned professionals.