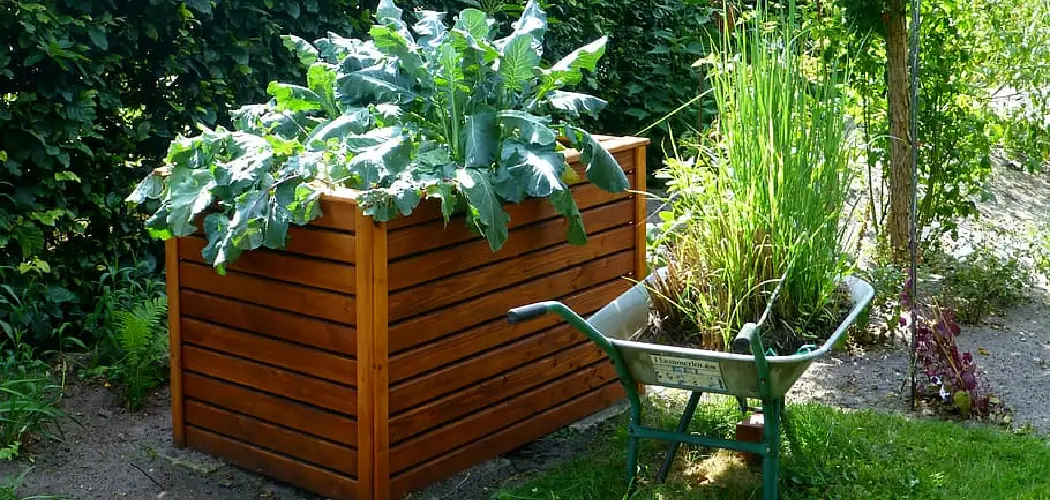
Are you a gardening enthusiast looking to deepen your green thumb? Building a raised garden bed on a slope is an ambitious but rewarding undertaking that will give your plants plenty of space and nutrients for healthy growth.
Not only does it look great, but constructing such an elevated bed will yield some visible results quickly through flourishing vegetables and flowers. If you feel intimidated at the thought of building something like this on uneven terrain, fear not!
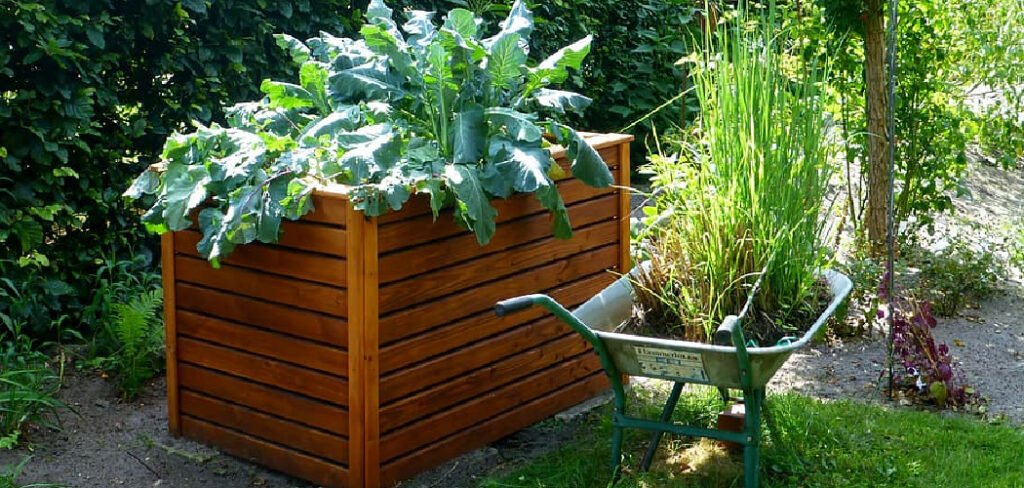
Whether you’re a DIY novice or an experienced carpenter, following these steps will help make building your raised garden bed on a slope easy and enjoyable.
In this blog post, we’ll provide step-by-step instructions about how to build a raised garden bed on a slope – so you can build a stunning raised garden bed with ease.
What Will You Need?
Before you start building, you must ensure you have everything you need. Here are some of the essential materials for this project:
- Wood for framing, such as cedar or pressure-treated lumber
- Soil and compost (enough to fill your bed)
- Landscape fabric or mulch
- Gravel or rock to line the perimeter of the bed
- Plants and seeds of your choice
You’ll also need basic tools, including a level, measuring tape, shovels, drill with bits, saws (hand or electric), and landscape stakes.
Now that you have everything you need, it’s time to start!
10 Easy Steps on How to Build a Raised Garden Bed on a Slope
Step 1. Building the Frame
The frame will form the foundation of your raised garden bed. Start by determining how big you want your bed to be – typically, 3 – 4 feet wide is the most common size for a raised garden bed. Once you’ve decided on the dimensions, cut your wood accordingly.
Step 2. Assembling the Frame
Next, assemble the frame pieces using nails or screws to secure them. Make sure that all of your joints are tight and secure before moving on to the next step. As you assemble the frame, use a level to ensure that each side is even.
Step 3. Leveling Out The Bed
Now that you have a sturdy frame, use a level to ensure it’s even and parallel with the slope of your yard. If necessary, adjust it so it sits flat against the ground and slopes gently toward one side. If it’s not, you may need to add more soil or rocks underneath the frame.
Step 4. Preparing the Soil
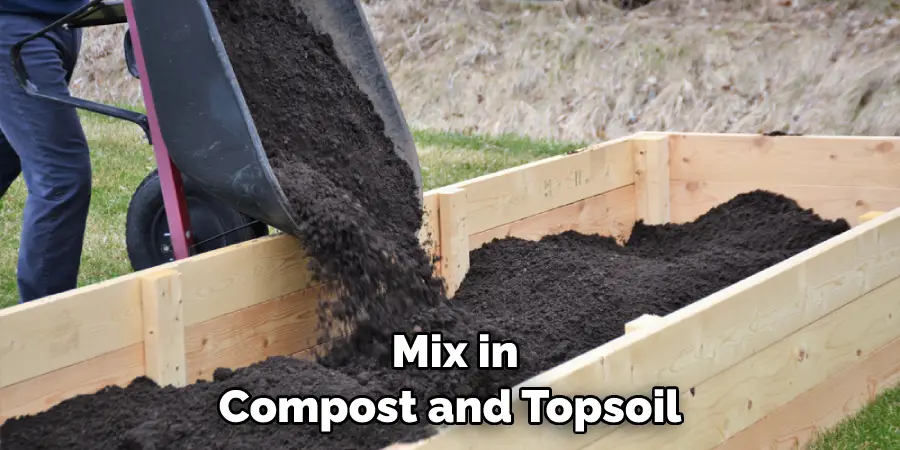
Remove any weeds or debris from your chosen area, and then till the soil to a depth of 8-10 inches. Then mix in compost and topsoil before compacting it down lightly with a shovel or flat board. Additionally, add gravel to the bottom of your frame for drainage.
Step 5. Adding Gravel
To improve drainage and prevent erosion, line the perimeter of your bed with gravel or rocks. This will also add stability so that your bed won’t move around when gardening in it. Try and cover at least 2 inches of the edge with gravel.
Step 6 . Laying Down Landscape Fabric
Once you have added gravel to the perimeter, lay landscape fabric over the soil. Secure it in place with landscape stakes, making sure it is stretched tight for maximum coverage. If you don’t have access to landscape fabric, you can also use mulch for this step.
Step 7. Filling in the Bed
Now that your bed is ready to go, it’s time to fill it with soil and compost. Make sure you mix them together so that they are distributed evenly throughout the bed. Don’t forget to add in any amendments, such as fertilizer or lime, if needed – this will help give your plants an extra boost of nutrients!
Step 8. Planting Your Seeds
Once your raised garden bed is filled, it’s time for planting! Be sure to research what kind of plants and seeds will work best in your area and then get planting according to the instructions on each seed pack – be careful not to overcrowd them or plant too deep under the soil.
Step 9. Watering
Water your newly planted seeds thoroughly and monitor them daily to ensure they have enough water until they become established. Make sure to water in the morning or evening when temperatures are cooler, and always avoid overwatering, as this can lead to root rot. Look for any signs of disease or pests which can damage your plants.
Step 10. Adding Mulch
After your plants have been watered, add a layer of mulch or organic matter around each plant to help retain moisture and prevent weeds from popping up. This will also give your raised garden bed an attractive finished look! Remember to check the mulch occasionally and replenish it if necessary.

By following these simple steps, you can easily build a beautiful and functional raised garden bed on a slope in no time. Now that your bed is complete, all that’s left to do is sit back and enjoy the fruits of your labor – literally!
5 Additional Tips and Tricks
- secure the frame to the ground with stakes, and use bricks or stones to create a retaining wall around each side of your bed. This will provide additional stability.
- Build multiple terraces if you have a steep slope; this will create more level surfaces for your plants and reduce the soil needed for each level.
- Make sure to line the garden bed with something, such as burlap, plastic sheeting, or landscape fabric, to keep weeds and erosion at bay.
- Water deeply and slowly so that moisture reaches the roots but doesn’t wash away all of your
- hard work! Consider installing a drip irrigation system if watering manually is not feasible.
- Add mulch around plants to help retain moisture and prevent weeds from popping up between your plants and disrupting growth patterns.
Building a raised garden bed on a slope can be challenging, but with patience and perseverance, you’ll have a beautiful garden in no time! With these five tips and tricks, a sturdy garden bed will stand the test of time.
5 Things You Should Avoid
- Don’t use soil from your garden; it might be too dense and compacted, making it difficult to work with.
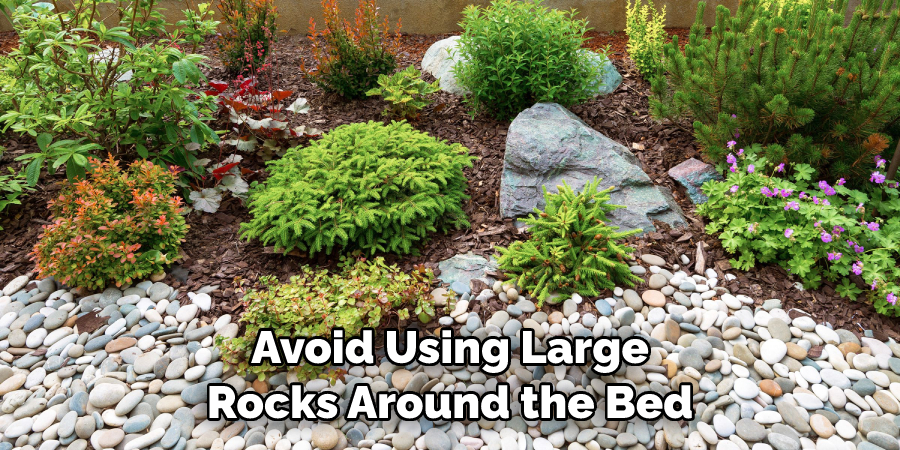
- Avoid using large rocks around the bed; they can be difficult to move, and they could also break your frame if not properly secured.
- Don’t leave any gaps between the soil and the sides of the bed; this will reduce drainage efficiency and could harm plants due to waterlogging.
- Avoid overcrowding when planting; allowing enough space will help maximize air circulation, which is important for plant growth.
- Don’t forget to add mulch! Not only does it provide additional nutrients, but it also helps retain moisture, keeps weeds at bay, and improves soil texture.
- Avoid using treated wood for the framing; it could potentially leach chemicals into your soil that are harmful to plants.
By following these five tips and avoiding common pitfalls, you can successfully build a raised garden bed on a slope that will last for years. With the right materials and preparation, you’ll have an eye-catching and productive garden in no time.
What is the Best Bottom for Raised Beds?
When it comes to the best bottom for raised beds, there are a few options. For example, you can use gravel or stones as your base material; this will help with drainage and provide air circulation.
You can also line the bottom of your beds with landscape fabric, which will prevent weeds from growing in the bed while still allowing water to drain through. Finally, don’t forget to add compost! Compost provides essential nutrients that plants need in order to thrive.
No matter what bottoms you choose for your raised bed on a slope, be sure to monitor it throughout the season and make adjustments according to your plant’s needs.
How Do You Mix Soil for Raised Beds?
When it comes to soil for raised beds, you should always mix in organic matter like compost and aged manure. This will help improve the structure of your soil as well as provide essential nutrients that plants need to thrive. Additionally, adding vermiculite or perlite can help retain moisture and promote air circulation.
It’s important to note that different types of soils may require different proportions of these ingredients, so be sure to do your research before mixing your soil together. With the right preparation, you’ll have productive raised beds on a slope in no time!

Conclusion
After reading this post, we hope you are confident in building a raised garden bed on a steep slope. Now that you have learned how to design and construct your raised beds properly, you are ready to watch your garden blossom. To ensure that your garden remains healthy, pay attention to the necessities such as moisture, light, and soil composition – all key elements for producing high-quality produce.
Of course, the best part of all is being able to enjoy the beauty of nature and savor the taste of fresh-grown vegetables in the comfort of your own home. We believe that anyone can reap the rewards from creating a raised garden bed on a steep slope, and it does not have to be difficult or overwhelming – just get creative and explore!
Hopefully, the article on how to build a raised garden bed on a slope has been helpful and informative. Thanks for reading! Have fun with your gardening adventure as you enjoy the fruits of your labor! Good luck and happy planting!
About
Outdoor Fixes is a distinguished figure in the world of Diy design, with a decade of expertise creating innovative and sustainable Diy solutions.
His professional focus lies in merging traditional craftsmanship with modern manufacturing techniques,
fostering designs that are both practical and environmentally conscious. As the author of diy,
outdoorfixes delves into the art and science of outdoorfixes-making, inspiring artisans and industry professionals alike.
Education RMIT University
(Melbourne, Australia) Associate Degree in Design (Outdoor Fixes) Focus on sustainable design, industry-driven projects,
and practical craftsmanship. Gained hands-on experience with traditional and digital manufacturing tools, such as CAD and CNC software.
Nottingham Trent University
(United Kingdom) Bachelor’s in outdoorfixes.com and Product Design (Honors) Specialized in product design with a focus on blending creativity with production
techniques. Participated in industry projects, working with companies like John Lewis and Vitsoe to gain real-world insights.
Publications and Impact
In diy, Outdoor Fixes his insights on indoor design processes, materials, and strategies for efficient production.
His writing bridges the gap between artisan knowledge and modern industry needs, making it a must-read for both budding designers and seasoned professionals.

