Are you overwhelmed by the work required to keep your garden healthy and thriving? Do you want an easy way to provide your plants with all the nutrients they need without spending hours tending to them?
If so, worm castings could be just what you’re looking for! Worm castings are a valuable soil amendment that offers multiple benefits—from providing essential plant nutrients to improving drainage.
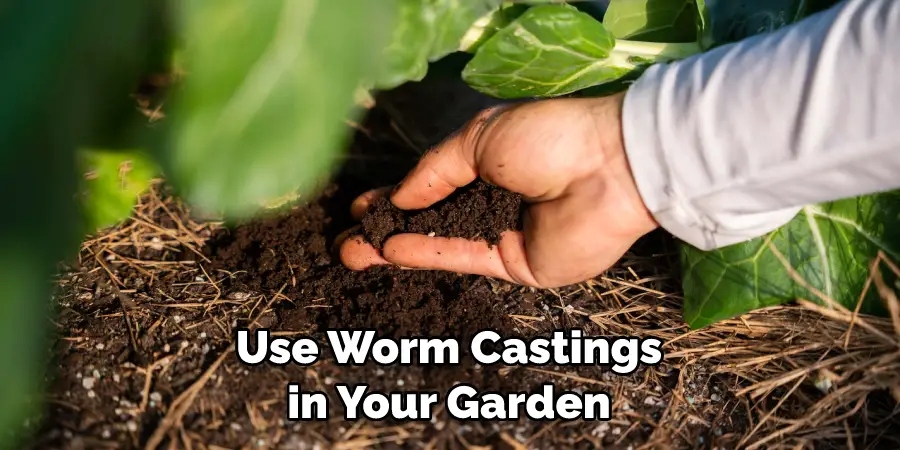
Whether you’re a gardening novice or an experienced green thumb, here are some tips to help get you started using worm castings in your garden.
In this blog post, we will explore how you can use these miraculous creatures to help create healthier soils in your garden and give your plants everything they need. So let’s dive right in and learn more about how to use worm castings in garden!
What are the Benefits of Worm Castings?
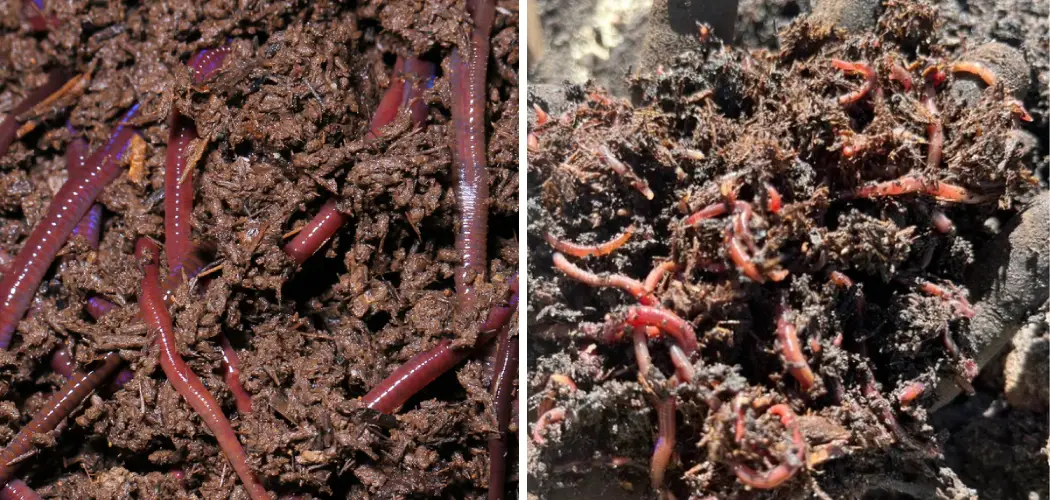
Worm castings are a natural soil amendment of beneficial microorganisms, humic and fulvic acids, and trace minerals. These powerful ingredients improve your soil’s structure, drainage, nutrient availability, and more.
Worm castings can help reduce stress on your plants by providing them with the essential nutrients they need. This is especially beneficial for plants that are in nutrient-deficient soil or struggling with common diseases and pest infestations.
What Will You Need?
You’ll need a few basic supplies to use worm castings in your garden. You’ll need the followings:
1. Worm castings (can be purchased online or at your local garden center)
2. A shovel
3. Watering can (or hose)
4. Protective gloves
Once you’ve gathered all the necessary supplies, it’s time to start. Before applying the worm castings, make sure that you water your plants thoroughly. This will allow the casts to penetrate deep into the soil and reach the roots where they are most beneficial.
10 Easy Steps on How to Use Worm Castings in Garden
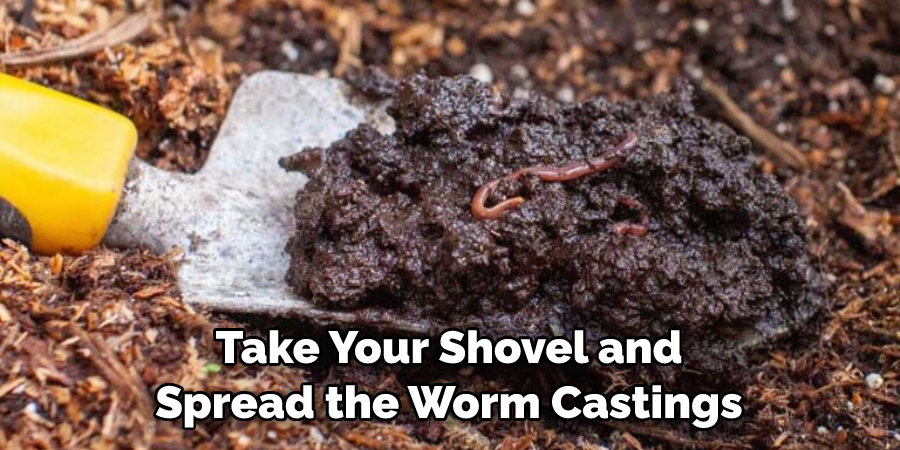
Step 1. Spread Evenly:
Take your shovel and spread an even layer of worm castings over the top of the soil in your garden. If you’re using a raised bed, evenly spread the worm castings throughout the entire area. Generally, aim for about 1/8 to ¼ inch of coverage.
Step 2. Water the Soil:
After spreading the worm castings, you’ll want to water the soil thoroughly. This will help to ensure that the casts can penetrate deep into the soil and reach your plants’ roots if you’re using a hose, water the entire area.
Step 3. Add more Castings over Time:
Worm castings can be used as a regular amendment for your garden soil. Over time, you should increase the amount of worm castings you add to your garden. This will help ensure your plants have an ongoing supply of beneficial nutrients.
Step 4. Compost:
You can also use worm castings as a compost additive. Simply mix them into existing compost piles or create new piles with alternating layers of organic matter and worm castings. As the compost breaks down, it will release additional nutrients into your soil.
Step 5. Make Tea:
Worm casting “tea” is another great way to apply these powerful little creatures to your plants. To make this nutrient-rich brew, simply steep a handful of worm castings in five gallons of water for several hours or overnight, then strain the solids before using it on your plants. You can also add a bit of molasses to help promote beneficial microbial activity.
Step 6. Use as a Mulch:
Worm castings can also be applied directly to the top of the soil as mulch. This will help to retain moisture and protect your plants’ roots from temperature extremes. Try to use a thin layer of castings — about ¼ inch — and keep them away from the stems of your plants.
Step 7. Fertilize Indoor Plants:
If you have houseplants, worm castings are an excellent fertilizer option! Mix a handful into your potting soil every few weeks or months for ongoing nutrition. It’s safe to use around pets and children, too!
Step 8. Make Compost Cakes:
To make compost “cakes” that you can use on individual plants, combine a scoopful of worm castings with some water until it forms a paste-like consistency. Then shape the mixture into small cakes and place them around your plants. Be careful not to put them too close to the stems.
Step 9. Feed Your Worms:
If you’re raising worms for vermicomposting, they will need a balanced diet of food scraps and worm castings. Simply mix some casts into their bedding every few weeks to keep them healthy and happy. Keep in mind that the amount you feed your worms will depend on their size and activity level.
Step 10. Apply Every Few Weeks:
For best results, apply a layer of worm castings to your garden every few weeks throughout the growing season. This will ensure your plants have an ongoing supply of beneficial nutrients for optimal health and growth! Remember to water thoroughly after each application.
By following these simple steps, you can use worm castings in your garden to give your plants the nutrition they need without spending hours tending to them.
5 Additional Tips and Tricks
- Use worm castings to mix in with soil before planting. This helps improve the soil’s nutrient content and promotes better plant root development.
- Make a liquid fertilizer with worm castings by adding some of the material to water. Let it steep for a few days, and then strain off the solids before applying it to plants.
- Add small amounts of worm castings directly to plant beds or around individual plants as you’re planting them to give them an added boost.
- Use worm castings as a top dressing on existing plants to help provide additional nutrients throughout the growing season. This can be applied anytime during spring, summer, or fall months when necessary.
- Create a “tea” made from worm castings by soaking some of the material in water overnight and then straining it out before using it as a liquid fertilizer. This can be applied directly to the plant’s leaves or soil and help get nutrients into the plants quickly.
By following these tips, you can maximize the benefits of worm castings in your garden and ensure that your plants get the nutrition they need to thrive!
5 Things You Should Avoid
- Avoid overfertilizing. Worm castings are full of nutrients and should be used sparingly to avoid burning plants.
- Avoid burying the worm castings too deep in the soil as they take longer to break down and will not benefit your plants quickly enough.
- Avoid using fresh, unprocessed worm castings around delicate seedlings or new transplants, as it can have a strong odor that may harm them.
- Avoid applying worm castings directly to your vegetables or fruits, which could result in an unpleasant flavor if ingested.
- Do not apply too much nitrogen-rich material, such as manure or grass clippings, along with the worm castings, as this can create an overabundance of nitrogen in the soil, leading to unwanted growth within the garden.

By avoiding these common mistakes and ensuring proper usage of worm castings, you can maximize your garden’s potential for growth and productivity!
Are Worm Castings Better Than Fertilizer?
The short answer is yes – worm castings are generally better than fertilizer. Worm castings provide readily available nutrients for plants to absorb, which can help improve the health of your garden and increase yields.
Additionally, they contain beneficial microbes that can promote root growth and fight off diseases, providing a gentle slow release of nutrients into the soil. On the other hand, fertilizers often contain harsh chemicals or salts that can easily build up in the soil over time and cause damage to plants if misused.
Worm castings also provide an ideal balance of macro- and micronutrients that most plants need to survive and thrive, making them a more sustainable choice for fertilizing your garden!
What Are the Disadvantages of Worm Castings?
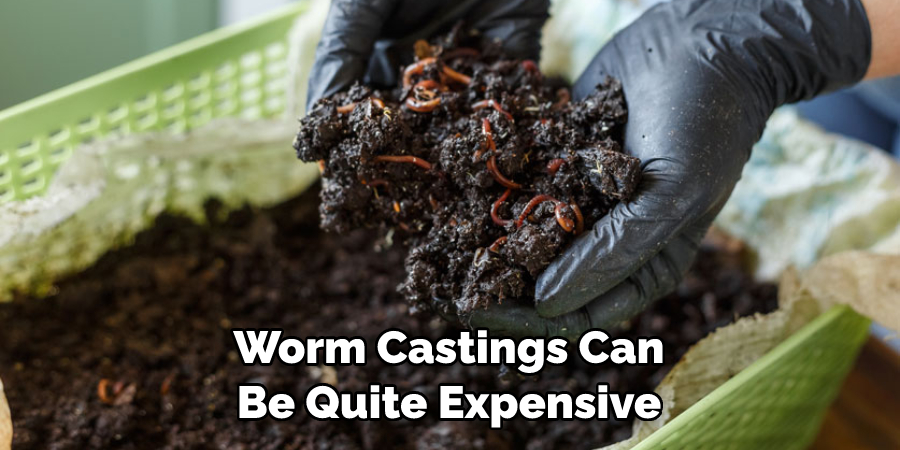
- Worm castings can be quite expensive and are not always easily accessible, meaning they may not be a viable option for some gardeners.
- Overuse of worm castings can lead to an overload of nitrogen in the soil, which can burn or kill plants and harm beneficial organisms like earthworms that help maintain healthy soil.
- Without proper care and maintenance, worm castings can become contaminated with weed seeds or disease-causing pathogens, making them less than ideal for certain types of gardens where these risks must be minimized.
- Worm castings can take longer than other fertilizers to break down in the soil and provide nutrients to plants, so they may not be the best option for quick results.
- worm castings can be quite smelly and may attract pests if used in large quantities or without proper care.
Although worm castings have some drawbacks, they can still be a great addition to any garden when used correctly and with proper maintenance. By understanding the advantages and disadvantages of using this type of fertilizer, you can ensure that your garden benefits the most!
Conclusion
Worm castings are incredibly beneficial for your garden and an easy way to add more nutrition without any extra work. Adding the right amount of worm castings will help plants grow bigger and brighter, providing improved taste, higher nutrient content, and healthier plants.
Understanding how much you need and what type of worm castings to use can make all the difference in having a thriving garden. Using these strategies as guidance can help any gardener get the most out of their garden’s soil by adding worm casting.
Hopefully, the article on how to use worm castings in garden has helped you understand the benefits of this amazing organic material. With proper care and maintenance, you can ensure that your garden will thrive for years. Happy gardening!
About
Outdoor Fixes is a distinguished figure in the world of Diy design, with a decade of expertise creating innovative and sustainable Diy solutions.
His professional focus lies in merging traditional craftsmanship with modern manufacturing techniques,
fostering designs that are both practical and environmentally conscious. As the author of diy,
outdoorfixes delves into the art and science of outdoorfixes-making, inspiring artisans and industry professionals alike.
Education RMIT University
(Melbourne, Australia) Associate Degree in Design (Outdoor Fixes) Focus on sustainable design, industry-driven projects,
and practical craftsmanship. Gained hands-on experience with traditional and digital manufacturing tools, such as CAD and CNC software.
Nottingham Trent University
(United Kingdom) Bachelor’s in outdoorfixes.com and Product Design (Honors) Specialized in product design with a focus on blending creativity with production
techniques. Participated in industry projects, working with companies like John Lewis and Vitsoe to gain real-world insights.
Publications and Impact
In diy, Outdoor Fixes his insights on indoor design processes, materials, and strategies for efficient production.
His writing bridges the gap between artisan knowledge and modern industry needs, making it a must-read for both budding designers and seasoned professionals.