
Are you looking for an easy and economical way to grow your herbs home? A herb garden box is a great option if you have little outdoor space or are trying to avoid the bother of traditional gardening.
Whether you’re looking to spruce up your outdoor living space or just want a way to keep your culinary herbs close at hand, building a herb garden box is an easy and fun DIY project that won’t take more than a few hours.
With the right materials and guidance, creating an enviable oasis of fragrant herbs for all your cooking needs is possible – no green thumb required!
In this blog post, we’ll walk you through how to build a herb garden box from start to finish so you can quickly get growing.
What Will You Need?
Before you get started, it’s important to have all of the necessary materials and tools on hand. Here’s what you’ll need:
- Wooden boards or planks (2-by-4s, 1-by-6s, etc.)
- Hammer
- Nails
- Drill
- Screws
- Saw
- Landscape fabric (optional)
- Soil
- Herbs of your choice
Once you have the necessary materials, you can build your herb garden box.
10 Easy Steps on How to Build a Herb Garden Box
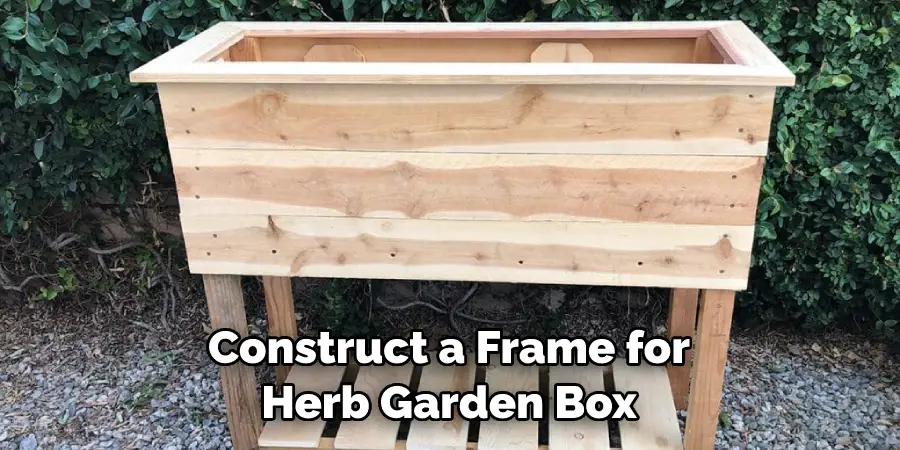
Step 1: Construct the Frame of the Box
The first step is to construct a frame for your herb garden box. Measure and cut the wood into two long pieces and four shorter pieces, creating a rectangular shape with 90-degree angles at each corner. Secure the pieces together with nails or screws, measuring twice and cutting once for accurate measurements.
Step 2: Line the Inside of the Box (Optional)
If you’re planning to put your herb garden box on a patio or other hard surface, it’s a good idea to line the inside of the box with landscape fabric. This will help keep weeds from growing up through the bottom of your box and prevent soil from spilling out when you water your herbs. If you’re placing your box directly on the ground, you may not need to line it.
Step 3: Fill the Box With Soil
Once you have finished constructing your frame and lining it with landscape fabric (if desired), fill it with an appropriate potting soil mix. Ensure enough drainage holes at the bottom of the box allow excess water to escape. Keep the soil tight enough, as this can prevent oxygen and moisture from reaching the roots of your herbs.
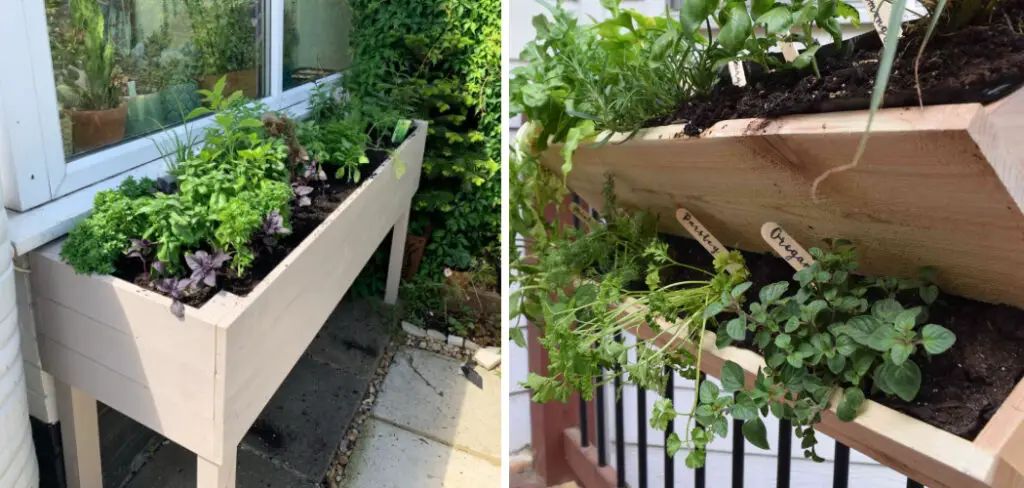
Step 4: Plant Your Herbs
Now it’s time to plant your herbs! Choose whatever type of herb you’d like, such as basil, chives, oregano, thyme, rosemary, or sage. Make sure to keep the herbs manageable – each one should have enough space for adequate air circulation and proper root development—water well after planting.
Step 5: Place in Desired Location
Once your herb garden box is filled with soil and herbs, place it in a location that will receive plenty of sunshine throughout the day (at least 6 hours). It’s best to choose an area that is sheltered from strong winds. Be careful when moving your box – it will be quite heavy once filled with soil and plants.
Step 6: Water Regularly
Your herbs will require regular watering in order to thrive. Aim to water your herb garden box at least twice a week, making sure not to overwater as this can lead to root rot and other problems. You can tell when it’s time to water by sticking your finger into the soil – if it feels dry, then it’s time for a drink!
Step 7: Prune Your Herbs
In order for your herbs to remain healthy and productive, you’ll need to prune them regularly. This will help keep the plants from becoming too leggy or woody and encourage new growth. Ensure you use clean and sharp pruning shears to cut dead or damaged leaves.
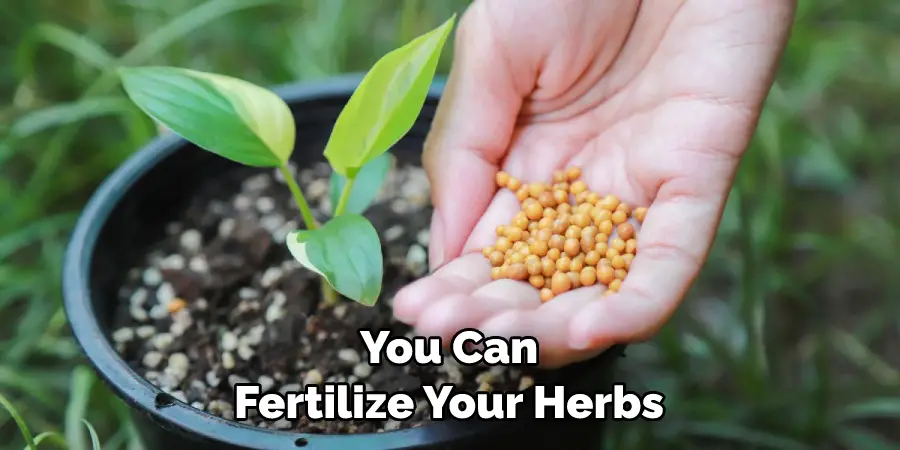
Step 8: Fertilize (Optional)
If desired, you can fertilize your herbs once every two weeks with an organic fertilizer formulated specifically for herbs. This will give them the nutrients they need to remain healthy and productive. There are many commercially available fertilizers that you can choose from.
Step 9: Harvest Your Herbs
Once your herbs have grown large enough, you can start harvesting them for use in cooking and other recipes. Make sure not to over-harvest, as this could cause the plant to become stressed or even die off. Keep in mind that most herbs will benefit from regular pruning and harvesting.
Step 10: Enjoy!
It’s time to enjoy the fruits of your labor – literally! Now that you know to build a herb garden box, you can use fresh herbs whenever desired. Bon appétit!
With these simple steps, you now know to build a herb garden box that provides abundant fragrant herbs for many seasons ahead. Whether for decorative purposes or culinary delights, you can now create a beautiful and productive garden that will add life to your outdoor living space.
5 Additional Tips and Tricks
- Before building your herb garden box, make sure to lay down a weed mat or landscape fabric to prevent weeds from growing.
- Choose a location that gets plenty of direct sunlight, as that is essential for most herbs.
- Lining the bottom of your herb garden box with gravel helps to improve drainage and prevents root rot.
- Make sure to test the soil before planting so you know what type of amendments you need to add in order to give your herbs the best growing conditions.
- Once your herb garden box is complete, water it regularly and give your plants sufficient space between them, as crowded plants can lead to fewer yields.

With these five tips in mind, you can build an herb garden box that will produce delicious herbs for many years! Enjoy!
5 Things You Should Avoid
- Don’t build your herb garden box in a location that gets too much shade, as this will prevent your herbs from thriving.
- Avoid using treated lumber, as the chemicals in it can be toxic to vegetables and herbs.
- Don’t space your plants too close together; they will need more room to grow properly.
- Make sure not to overwater the soil, as this can cause issues with root rot and other diseases.
- Lastly, don’t use soil from outside, as it may contain pests or diseases that could harm your plants!
Avoiding these five mistakes will help you build the perfect herb garden box so you can enjoy fresh herbs for years to come! Happy gardening!
What is the Best Layout for an Herb Garden?
The best layout for an herb garden depends on a few factors, such as the size of your garden box and how much sunlight it receives.
Generally speaking, it is best to group herbs with similar growing needs. For example, basil, cilantro, parsley, mint, and oregano all require six hours of direct sunlight daily and should be placed together in one area.
Other herbs that do well in partial shade can also be grouped together accordingly.
Finally, leave enough space between plants to ensure they receive enough air circulation for healthy growth. With proper planning and design, you can create the perfect herb garden!
What Are Some Common Herbs You Can Grow?
Common herbs in your herb garden box include basil, chives, cilantro, dill, oregano, mint, parsley, rosemary, sage, and thyme. Depending on your climate and growing conditions, you may also grow lavender and other herbs like bay leaf or fennel.
Herbs are relatively low-maintenance plants with a lot of flavor and few calories. They are perfect for adding taste to dishes without adding salt or fat—making them a great choice for anyone looking to maintain a healthy diet.
Growing herbs in your garden box is a great way to enjoy fresh ingredients and make your meals more flavorful without all the added sodium or fat. With these tips, you can create an herb garden that can provide delicious flavor for years to come!
Do Herbs Grow Better in Pots or Ground?
The best option for growing herbs depends on the climate and conditions of your particular area. In climates that experience extreme temperatures, such as hot summers or frigid winters, it may be better to grow herbs in pots since they can be easily moved.
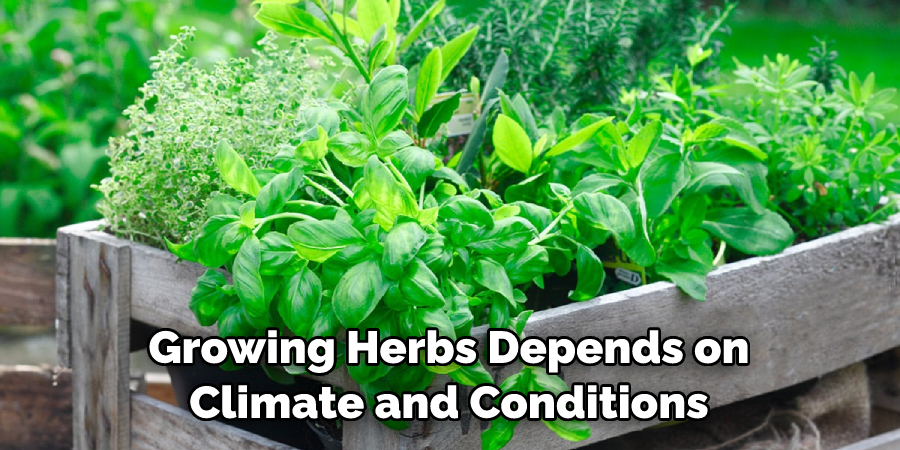
However, there is no one-size-fits-all answer in more temperate climates or areas with milder weather. For some types of herbs, growing them directly in the ground may be better because it provides better drainage and increased access to nutrients from the soil. Other herb varieties do better in containers where you can easily control the moisture level.
Overall, it is best to research the herb you are interested in growing and determine which option works best for that specific variety.
Conclusion
How to build a herb garden box is a great way to add fresh flavor to your meals while also enjoying the satisfaction of growing them yourself. With the right materials, tools, and basic knowledge of carpentry and composting.
you can build your herb garden box in no time! Not only is it rewarding to be able to pick your herbs for various dishes, but growing your herbs also produces healthier crops.
Furthermore, not only are they cost effective when grown yourself, but they also come with multiple health benefits. In conclusion, anyone can build their own herb garden box if given the necessary resources and space.
Not only does it save money on groceries and provide excellent flavor to any meal you prepare, but having a green thumb offers countless possibilities for improving our physical and mental health.
About
Outdoor Fixes is a distinguished figure in the world of Diy design, with a decade of expertise creating innovative and sustainable Diy solutions.
His professional focus lies in merging traditional craftsmanship with modern manufacturing techniques,
fostering designs that are both practical and environmentally conscious. As the author of diy,
outdoorfixes delves into the art and science of outdoorfixes-making, inspiring artisans and industry professionals alike.
Education RMIT University
(Melbourne, Australia) Associate Degree in Design (Outdoor Fixes) Focus on sustainable design, industry-driven projects,
and practical craftsmanship. Gained hands-on experience with traditional and digital manufacturing tools, such as CAD and CNC software.
Nottingham Trent University
(United Kingdom) Bachelor’s in outdoorfixes.com and Product Design (Honors) Specialized in product design with a focus on blending creativity with production
techniques. Participated in industry projects, working with companies like John Lewis and Vitsoe to gain real-world insights.
Publications and Impact
In diy, Outdoor Fixes his insights on indoor design processes, materials, and strategies for efficient production.
His writing bridges the gap between artisan knowledge and modern industry needs, making it a must-read for both budding designers and seasoned professionals.