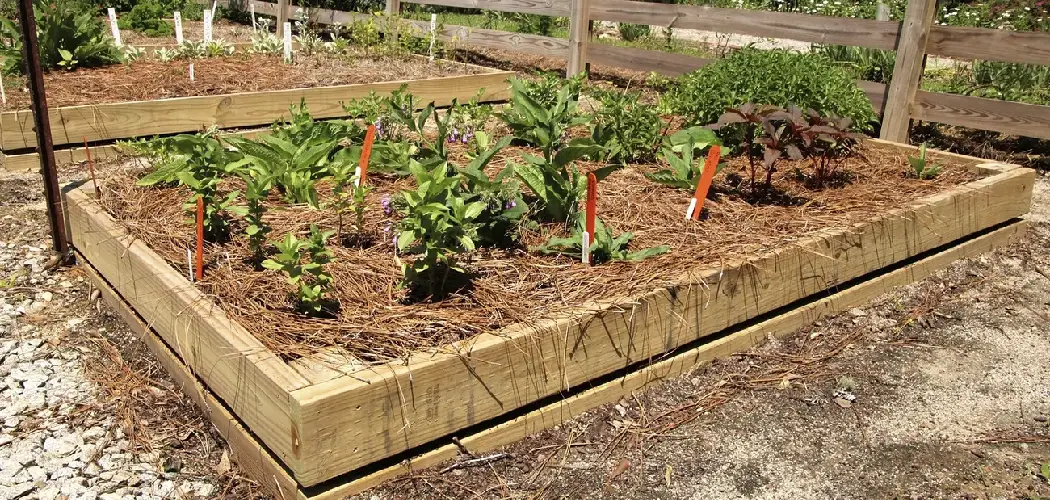
Are you looking to spruce up your garden with a layered look? Layering your garden bed can add depth and texture, as well as defining different areas for planting. Here’s how to layer a garden bed in just six easy steps!
Creating a layered garden bed filled with beautiful plants can add color and texture to your outdoor space.

Not only is it visually pleasing, but layers also serve an important purpose: different planting levels offer varying temperatures and soil conditions for various plants, as well as runoff protection from heavy rain or irrigation.
Knowing how to layer a garden bed properly will ensure that the plants you’ve chosen carefully have the best chance of growing healthy flowers and foliage that can be enjoyed all season long. In this blog post, we’ll discuss the steps necessary for planning and building your perfect layered garden bed!
What Will You Need?
Before you start, it’s important to ensure you have everything you need on hand. Here are the items and materials that you’ll need for your layered garden bed:
- A shovel
- Compost or soil amendment (like sand or peat moss)
- Organic material (straw, leaves, grass clippings, etc.)
- Rocks or gravel (optional)
- Plants of your choice
Once you have all these items, you can start layering your garden bed!
10 Easy Steps on How to Layer a Garden Bed
Step 1: Choose a Location
The first step in layering your garden bed is to choose a location. Make sure that the area you’ve chosen has enough sunlight and access to water, and also be mindful of any potential drainage issues or existing plants that may be affected by your new garden bed. If you’re dealing with a larger area, planning out your garden bed before digging may be beneficial.
Step 2: Prepare the Soil
Now it’s time to get started on prepping the soil for planting. Start by turning over the top layer of soil with a shovel and loosening up any clumps or hardened dirt. This will help ensure that moisture can penetrate evenly throughout the entire bed.
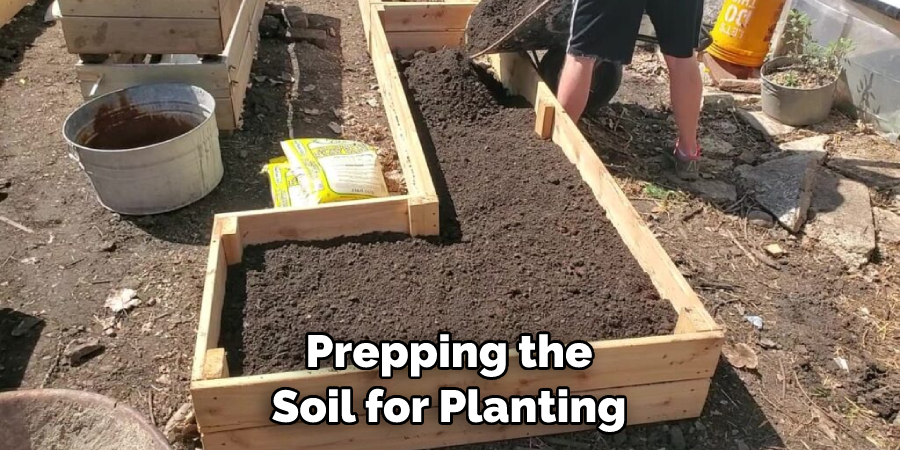
Step 3: Add Compost/Soil Amendment
Once you’ve prepared the soil, you can add compost or other soil amendments if needed. Compost is a great way to add essential nutrients to the soil and improve its overall structure and drainage. As for soil amendments, you can use sand or peat moss to adjust the texture and moisture levels further.
Step 4: Add Organic Material
Now you can add organic material like straw, leaves, or grass clippings. This helps create air pockets in the soil that will help promote drainage and aeration while providing food for beneficial microorganisms. Mix the material evenly throughout the bed, and make sure not to pile it too thickly.
Step 5: Add Rocks or Gravel (Optional)
You can also add rocks or gravel as a layer if desired. This optional step can help prevent runoff from heavy rain or irrigation. Another added benefit is that it can help retain warmth in the soil, benefiting certain plants.
Step 6: Plant Your Plants of Choice
And finally, you’re ready to plant your chosen plants! If needed, add a bit more compost or soil amendment around the plants to give them a little extra cushion. Additionally, adding a thin layer of mulch can also help with moisture retention and protect the plants from weeds. It’s important to ensure the plants are firmly in the ground and their roots have plenty of room to spread.
Step 7: Keep the Soil Moist
Once your plants are in, keeping the soil moist is important. Depending on where you live and your climate, this might mean adding more water or compost as needed. Try to keep the soil evenly moist but not saturated, as this can lead to root rot.
Step 8: Mulch
Mulching can also effectively conserve moisture in the soil and protect plant roots from extreme temperatures. When mulching, ensure you don’t cover up any of your newly planted plants! Don’t forget to monitor the soil level and adjust your mulch layer as needed.
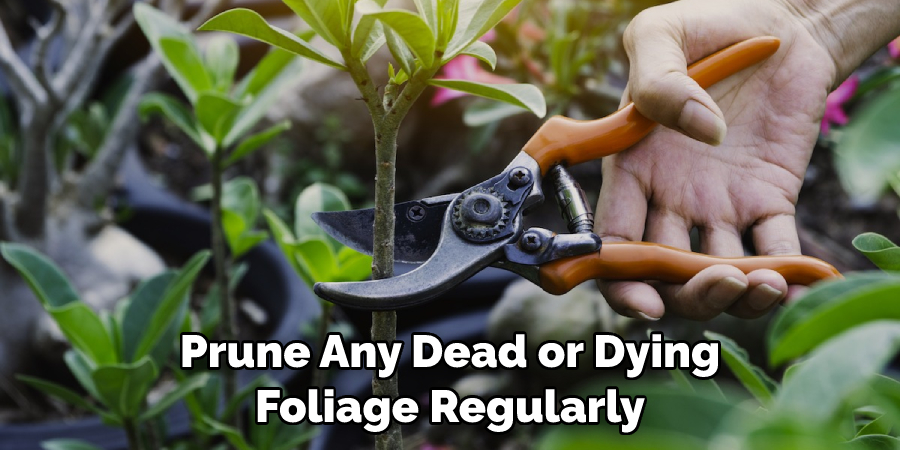
Step 9: Prune Regularly
Finally, it’s important to prune any dead or dying foliage regularly. This will help promote new growth and make your garden bed neat. Another added benefit is that it can also help reduce the risk of pests or diseases.
Step 10: Enjoy the Results!
Once you’ve completed the steps above, you can sit back and enjoy the beautiful results of your layered garden bed! Monitor the soil moisture levels and add water or compost as needed. With a little effort and patience, your garden bed will flourish in no time.
Congratulations! You now have a better understanding of how to layer a garden bed. With some planning and preparation, you can achieve stunning results that bring life to your outdoor space.
5 Additional Tips and Tricks
- If you plan to plant various plants in your garden bed, start by adding the soil type best suited for each species. This will ensure that each plant is given the right environment to thrive.
- Consider using compost as a top layer of soil to improve drainage and provide nutrients for your plants. Compost can also act as a mulch and help retain moisture in your garden bed.
- To avoid compaction, use raised beds or layers of cardboard between the soil layers for extra aeration. This will allow oxygen to reach deeper levels of the soil and reduce water runoff from heavy rains.
- If you want faster drainage, add sand or gravel to the bottom layer of your garden bed before adding the soil. This will also help create a more porous environment for your plant’s roots to reach deeper into the soil.
- If you have clay-heavy soil, add compost and coarse materials such as bark chips or leaves to improve drainage and aeration. Clay can hold too much water, so adding these extra layers will help reduce this problem and give your plants a better chance of survival.
By following these tips when layering your garden bed, you can ensure that all of your plants get the best start possible in their new home!
6 Things You Should Avoid
- Avoid using too much topsoil when layering. Excessive topsoil can lead to compaction and poor drainage due to the lack of aeration.
- Don’t use garden soil or potting mix in your layering, as it will not provide enough nutrients for your plants to thrive.
- Avoid using soils with a high clay content, which can lead to poor drainage and compaction problems.
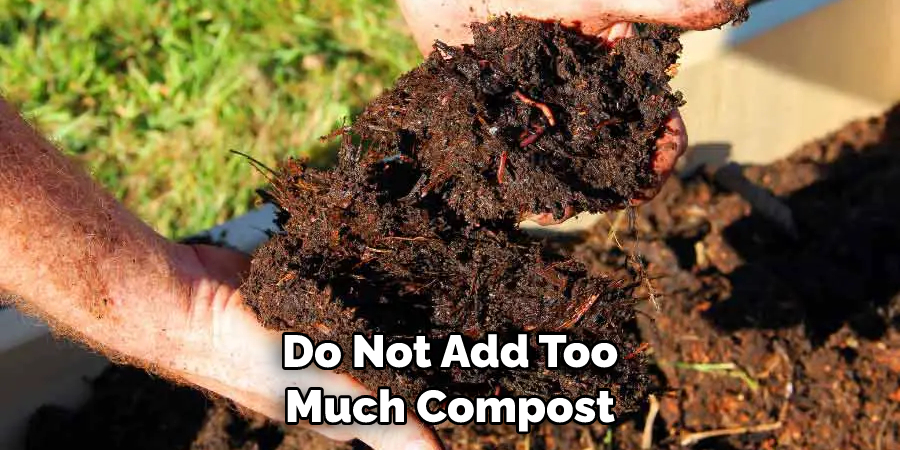
- Do not add too much compost or mulch when layering, as this can create an unhealthy environment for the roots of your plants by trapping moisture and preventing oxygen from entering the soil.
- Do not layer too deep – generally, no more than 12 inches is recommended for most plants. Otherwise, they may struggle to absorb all the necessary nutrients from such a deep soil level.
- Do not use soil from unknown sources. Make sure the soil you are using is free of pests, weeds, and diseases that can affect your garden bed.
By avoiding these common mistakes when planning and layering your garden bed, you can ensure that your plants will be given the best environment to thrive in and flourish!
What is the Best Soil Mix for Raised Beds?
The best soil mix for raised beds will depend on the type of plants you are growing and the environment in which your garden bed is located. Generally, it is recommended to use a mix of topsoil, compost, manure, or other organic matter such as shredded leaves. Adding coarse materials such as sand or gravel can also help improve drainage and aeration. Additionally, consider adding a slow-release fertilizer to provide extra nutrients for your plants throughout the season. By mixing the right ingredients for your raised bed, you’ll be sure to give your plants what they need to thrive!
Follow these tips when planning and layering your garden bed, and you’ll be sure to achieve optimal results! With these simple steps, you’ll be well on your way to creating the perfect environment for your plants.
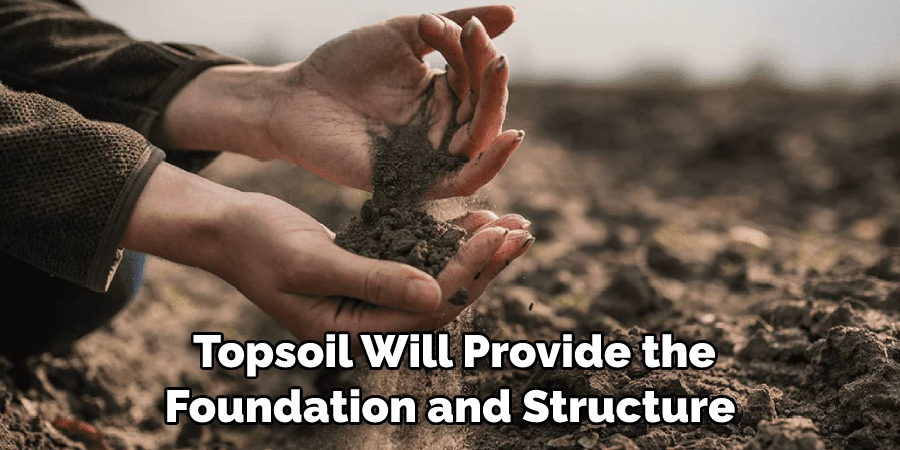
What Goes First Top Soil or Compost?
When layering your garden bed, it is best to start with topsoil followed by compost. The topsoil will provide the foundation and structure for your plant’s roots, while the compost will give extra nutrients and improve drainage.
For additional aeration, coarse materials, such as sand or gravel, should be added before the compost layer. Carefully layer each material to get the best results for your garden bed.
Properly layering your garden bed is the key to achieving optimal results! With a little planning and research, you’ll be sure to give your plants the best environment possible for them to thrive.
Conclusion
In conclusion, how to layer a garden bed can be an easy process when you have the right supplies. Starting with the bottom layer of cardboard to help suppress weeds, you must create multiple layers filled with compost and soil.
Improve the soil in your garden bed through organic material such as leaves, mulch, and seaweed, or add amendments, including peat moss or aged manure. Finally, install plants such as flowers, grasses, vegetables, and herbs by seed or starter plants.
With the right supplies and a little bit of knowledge, layering a garden bed just became easier! Plus, you are satisfied knowing that you freshened up your outdoor space without spending extra money on costly landscaping services.
Make your summer more beautiful by using these tips to help layer your garden bed today!
You Can Check It Out to Organize Garden Seeds
About
Outdoor Fixes is a distinguished figure in the world of Diy design, with a decade of expertise creating innovative and sustainable Diy solutions.
His professional focus lies in merging traditional craftsmanship with modern manufacturing techniques,
fostering designs that are both practical and environmentally conscious. As the author of diy,
outdoorfixes delves into the art and science of outdoorfixes-making, inspiring artisans and industry professionals alike.
Education RMIT University
(Melbourne, Australia) Associate Degree in Design (Outdoor Fixes) Focus on sustainable design, industry-driven projects,
and practical craftsmanship. Gained hands-on experience with traditional and digital manufacturing tools, such as CAD and CNC software.
Nottingham Trent University
(United Kingdom) Bachelor’s in outdoorfixes.com and Product Design (Honors) Specialized in product design with a focus on blending creativity with production
techniques. Participated in industry projects, working with companies like John Lewis and Vitsoe to gain real-world insights.
Publications and Impact
In diy, Outdoor Fixes his insights on indoor design processes, materials, and strategies for efficient production.
His writing bridges the gap between artisan knowledge and modern industry needs, making it a must-read for both budding designers and seasoned professionals.