
Creating an attractive and functional shed ramp can be a daunting project, but with the right tools and know-how, it’s within reached! It is important to know how to build a shed ramp with pavers. With pavers as your base material, you can take the guesswork out of building a sturdy outdoor ramp that won’t crack or break under pressure.
From selecting the correct paver type to angling for stability to making sure your materials are up to code, this article will walk you through each step of designing and constructing a durable shed ramp with pavers. In no time at all, you’ll have an efficient access point between your home and storage area – ready for use!
Tools You Will Need
- Hammer
- Tape Measure
- Level
- Paver Saw
- Hand Shovel
- Wheelbarrow
- Edging Tool
- Bag of Sand
- Pavers (make sure they are rated for load capacity)
- Tamper or Compactor (optional)
6 Steps Guide on How to Build a Shed Ramp With Pavers
1. Use the Right Type of Paver
When building a shed ramp with pavers, make sure you know exactly what type of paver to use. Different pavers are rated for different load capacities – not all can support the weight of people and heavy equipment. Before you start your project, it is wise to do the proper research to pick the correct pavements for your ramp.
Ensure that you have an understanding of exactly how much weight and pressure each paver can handle before you embark on the construction of your shed ramp. Taking these precautions will protect both you and your ramp as well as ensure that it looks great in its finished form.
2. Lay a Bed of Sand
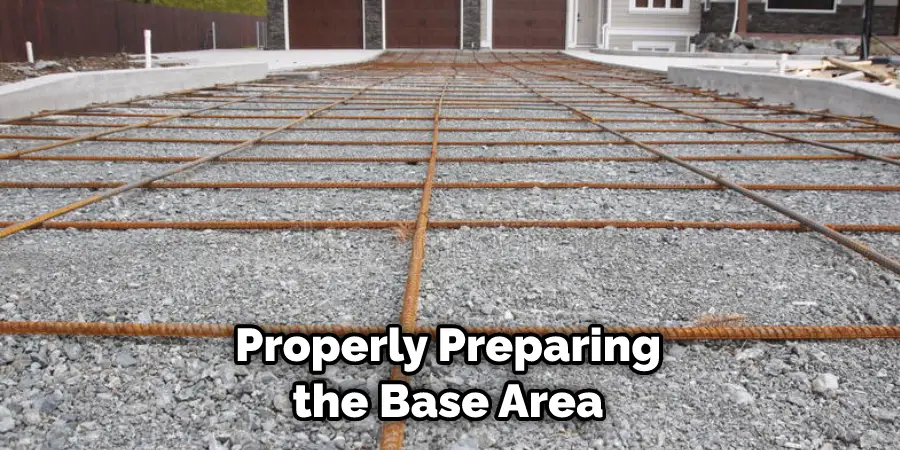
To build a shed ramp with pavers, the first step is to lay out a bed of sand in the area that you’re planning to use. This layer of sand will provide a level and even foundation for the pavers to securely adhere together.
Additionally, it helps keep weeds away, provides support for heavier loads such as mowers or wheelbarrows, avoids sinking and shifting, and assists with drainage since pavers tend to have large openings between them. Properly preparing the base area is key to building a strong ramp that can last for many years.
3. Check That Your Finished Ramp Meets Safety Standards
Before putting your shed ramp to use, it is essential to ensure that it meets safety standards. Double-checking that your ramp abides by all building codes and regulations is an important step before inviting guests and family onto the ramp.
Proper weight-bearing abilities, proper slope measurements, and top-notch craftsmanship all come together to calculate the highest level of safety while using the new addition to your shed’s landscape. Investing the time and energy now will give you peace of mind should anyone ever need to use your handicapped-accessible ramp in the future.
By double-checking that all regulations have been followed when building this structure with pavers, you can be confident in knowing you have done due diligence in ensuring every user’s safety.
4. Create an Even Surface
When building a shed ramp with pavers, it’s important to be mindful of which side is up when laying them, as well as make sure that they fit together snugly. This will create an even surface for the ramp and prevent any shifting or sliding of the pavers.
Additionally, it might be wise to add a base layer of sand or gravel beneath the pavers so that you can fill any gaps and reduce the risk of shifting or sliding further. By considering these measures when using interlocking pavers, you’ll have a sturdy, durable ramp that should last.
5. Compact All Surfaces of the Ramp
Building a shed ramp with pavers involves a few simple steps and can make a great addition to any backyard shed. Before laying down the pavers, however, you must use a compactor or tamper to evenly bed and vibrate them into the base.
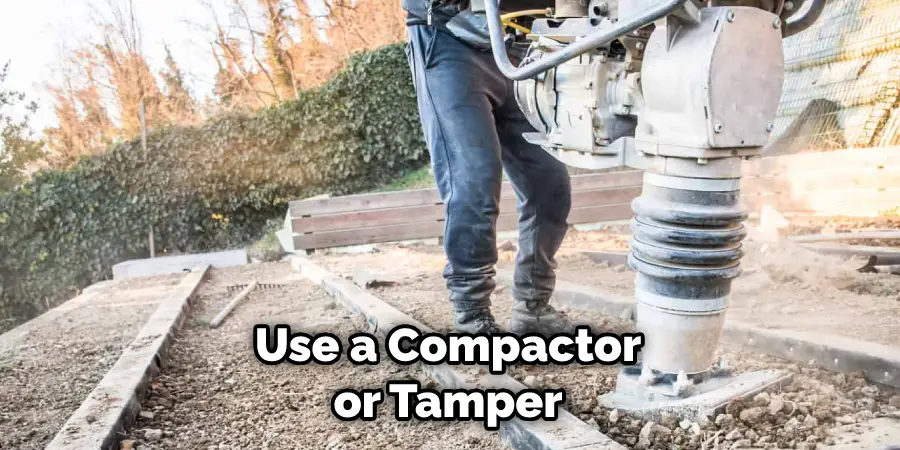
This will create an even surface for the ramp and ensures that the pavers are securely held in place making for an attractive and reliable walkway that stands up to wear and tear over time. Make sure to take your time in this step for the best results!
6. Be Persistent
After hours of hard work and careful planning, your ramp is complete. Now it’s time to sit back, admire the results of your labor, and start to enjoy the convenience of having a shed ramp built with pavers.
Whether you plan to use it for storage or as an extra outdoor workspace, your new ramp will be a great addition to any property.
With the right materials and construction methods, you have created a safe and attractive ramp that should last for years with proper maintenance. Enjoy all the uses of your newly constructed shed ramp!
Tips for Building a Shed Ramp With Pavers
- Before you begin construction of your shed ramp, it is important to plan the project layout. Measure the distance between your shed and ground level to determine how much space you need for the ramp. The ideal design will be long enough to provide a gradual angle of incline, while still being short enough to fit in the available space.
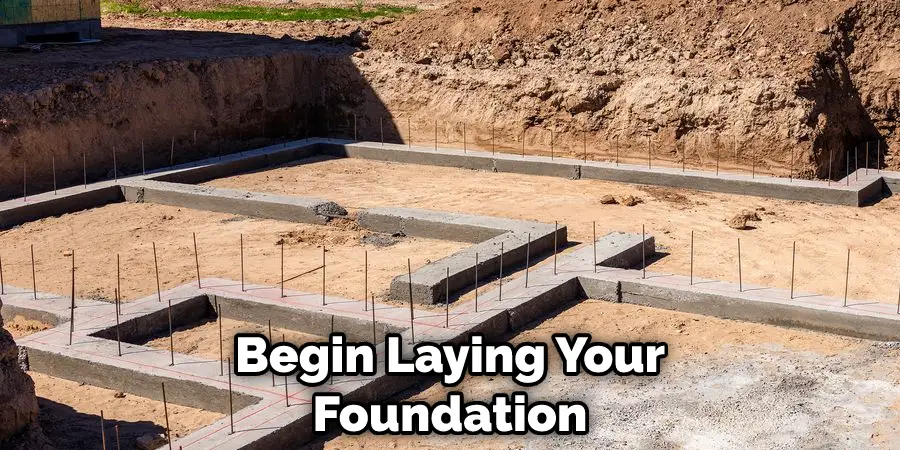
- Once you have your measurements and design figured out, it is time to begin laying your foundation. Begin by spreading a bed of sand onto the area where you plan to build the ramp. Using a level, make sure that the surface of the sand is even and flat. Then, sprinkle a layer of sand over the entire area and use an edging tool to create a stable border for the pavers.
- Now that you have your foundation ready, it is time to start installing the pavers. Begin by laying out your pavers in the desired pattern. If you are using interlocking pavers, be sure to use the right side up and that the pieces fit together snugly. For added stability, add a layer of sand between each paver as you go.
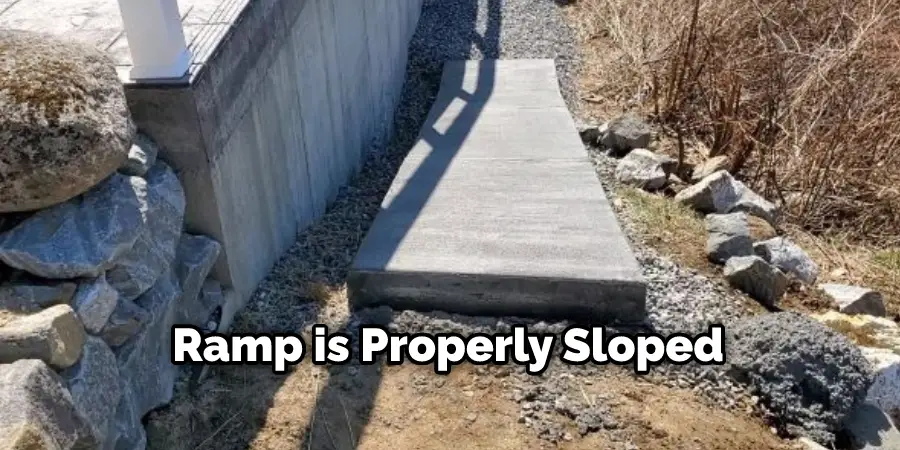
- Once all the pavers are in place, it is time to create a gradual slope for the ramp. To do this, use a level to determine how much of an incline you will need. Then, shovel out any excess sand from the lower parts of the ramp and fill in any low spots with additional sand until the desired gradient is achieved.
- Once your ramp is properly sloped, it is time to secure the pavers in place. To do this, use a paver saw to cut any pieces that overlap and fit the pieces together tightly. Then, tamp or compact all surfaces of the ramp with a tamper or compactor. This will ensure that your pavers are securely fastened to one another and that the ramp is level.
- The final step in building your shed ramp with pavers is to make sure that all materials are up to code. Check that your paver type is rated for load capacity and make sure that the gradient of the ramp meets safety standards. Once everything passes inspection, you are ready to enjoy your new ramp!
Building a shed ramp with pavers is an easy and effective way to create an attractive and durable outdoor access point. With the right tools and knowledge, you can quickly have a sturdy structure that will provide years of reliable use. So what are you waiting for? Get started on your project today!
How to Create the Perfect Ramp for Your Shed Using Pavers?
Building the perfect ramp for your shed can be done from pavers with just a few simple steps. First, measure and mark out the area for the ramp based on the size and material you desire for better accuracy. Secondly, excavate enough ground for the depth of paver blocks you will need to build your ramp.
Finally, begin building the sides first so that you have a solid base and then begin stacking pavers adding weights on top (such as gravel or soil) to keep the layer tight and prevent any shifting during use.
Make sure all paver stones fit snugly until you reach the desired height of the ramp while simultaneously creating a stable structure. With these simple steps, you can create a stylish and robust entrance to your shed!
Make Your Backyard Accessible with an Attractive and Durable Shed Ramp Built with Pavers
If you want to make your backyard more accessible, consider installing a shed ramp built with pavers. Using pavers to build a shed ramp allows you to get creative and design an aesthetically pleasing structure that fits the look and style of your home.
Not only will the brightness and texture from the pavers add visual appeal to your outdoor space, but they are also incredibly durable and can withstand any weather conditions if properly sealed.
To ensure maximum protection for your home, ensure that the design of the shed ramp is sturdy and well-engineered, keeping up with industry-wide safety standards. With this in mind, you’ll be able to build yourself an attractive and dependable shed ramp made with pavers that’s sure to last for years to come!
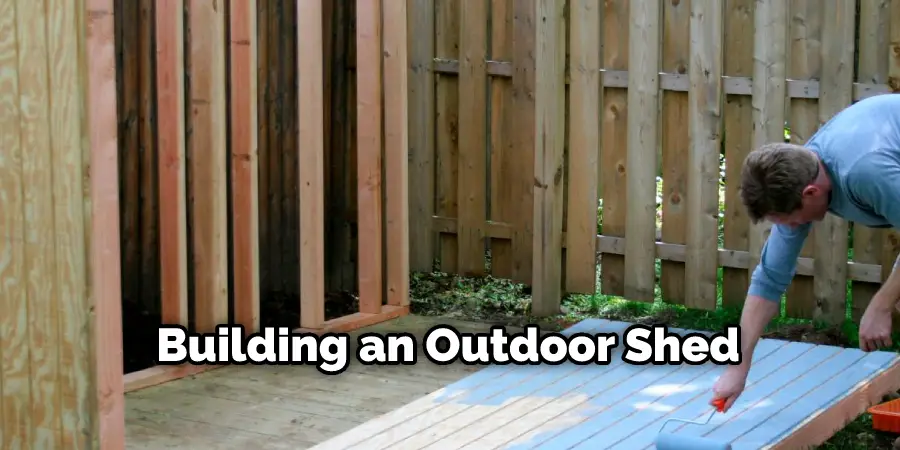
How To Ensure Your Paver Shed Ramp Is Up To Code And Safe For Use?
When building an outdoor shed, it is important to ensure the ramp you construct is both up to code and safe for use. Start by contacting your local zoning office to confirm the required slope for your ramp.
Make sure that the size of the ramp conforms with whatever regulations are in place locally. Additionally, consider installing guardrails along all sides of the ramp and at each end for extra protection.
Using non-slip pavers on top of a solid foundation can help reduce injury from falls. Finally, always test the ramp’s weight capacity before using it to ensure that it won’t buckle under heavier loads. By adhering to these safety measures, you will be able to guarantee your paver shed ramp is compliant and secure for use.
Conclusion
Building a shed ramp with pavers is not as difficult as it may seem. You should carefully determine how to build a shed ramp with pavers. With the proper tools and materials, you can easily complete this project in a few hours. By following these simple steps, you will have a sturdy and reliable ramp that will make accessing your shed much easier.
You Can Check It Out to Hang Things on Aluminum Patio
About
Outdoor Fixes is a distinguished figure in the world of Diy design, with a decade of expertise creating innovative and sustainable Diy solutions.
His professional focus lies in merging traditional craftsmanship with modern manufacturing techniques,
fostering designs that are both practical and environmentally conscious. As the author of diy,
outdoorfixes delves into the art and science of outdoorfixes-making, inspiring artisans and industry professionals alike.
Education RMIT University
(Melbourne, Australia) Associate Degree in Design (Outdoor Fixes) Focus on sustainable design, industry-driven projects,
and practical craftsmanship. Gained hands-on experience with traditional and digital manufacturing tools, such as CAD and CNC software.
Nottingham Trent University
(United Kingdom) Bachelor’s in outdoorfixes.com and Product Design (Honors) Specialized in product design with a focus on blending creativity with production
techniques. Participated in industry projects, working with companies like John Lewis and Vitsoe to gain real-world insights.
Publications and Impact
In diy, Outdoor Fixes his insights on indoor design processes, materials, and strategies for efficient production.
His writing bridges the gap between artisan knowledge and modern industry needs, making it a must-read for both budding designers and seasoned professionals.