
Are you looking to add a bit of softness and life to your landscape? Replacing pavers with grass is a great way to create a lush area in your garden.
If you are looking for an inexpensive way to refresh your outdoor space without sacrificing style and landscaping, then removing your current pavers and replacing them with fresh grass might just be the perfect solution.
Not only will this give your garden or patio a classic look that is sure to impress, but it can also save you money in the long run by making it easier to take care of than having pre-existing pavers.
This blog post will cover how to remove pavers and replace with grass. Keep reading to learn the steps needed for those interested in reinvigorating their outdoor areas without spending too much time or money!
What Will You Need?
Before you can begin replacing your pavers with grass, here are the items you will need:
- Garden Hoe
- Shovel or Spade
- Wheelbarrow or Bucket
- Edging Tool (optional)
- Grass Seed
- Topsoil/Fertilizer (optional)
- Roundup Weed Killer (optional)
Once you have all of the necessary items, it is time to begin your project.
10 Easy Steps on How to Remove Pavers and Replace With Grass
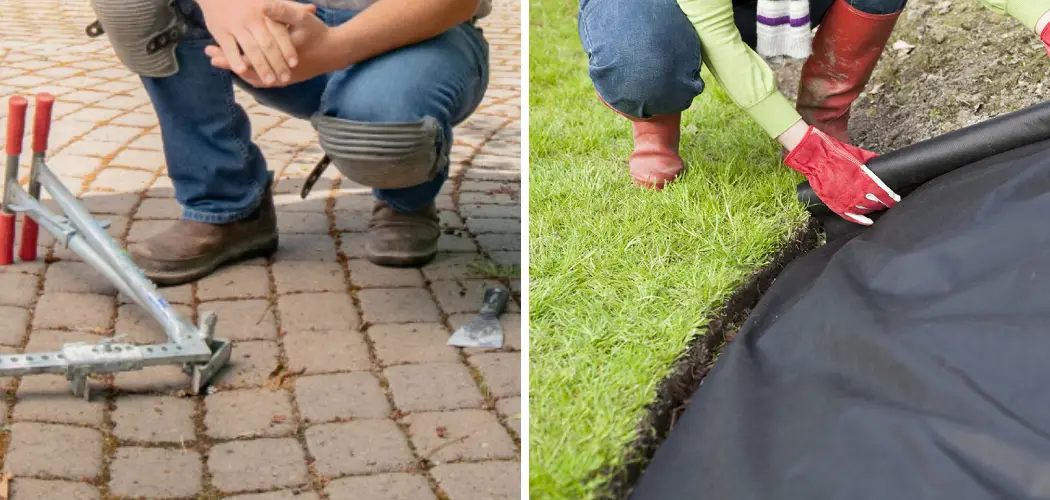
Step 1: Removing Pavers
Start by using a garden hoe to loosen the ground around the pavers. This will make it easier to pull up the stones without damaging the surrounding area. Once you have loosened the soil, use your shovel or spade to lift each individual paver from its place and place them in a wheelbarrow or bucket for later disposal.
Repeat this step for every paver that needs to be removed until all of your selected pavers are gone.
Step 2: Preparing Soil
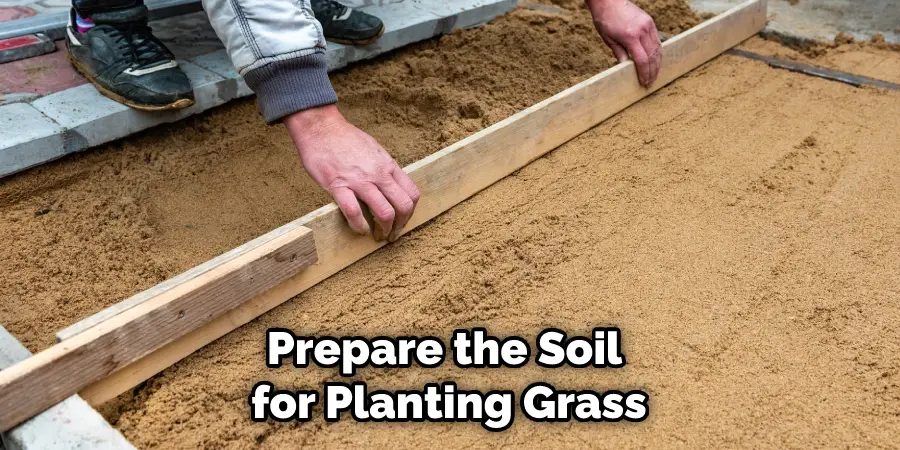
Now that you have removed all of your unwanted pavers, it’s time to prepare the soil for planting grass. Depending on how big an area you are covering, you may want to use an edging tool to ensure that the edges of your area are neat and straight. Be careful not to disturb any of the roots or bulbs of nearby plants as you dig and smooth out the area.
Step 3: Adding Fertilizer and Topsoil
If desired, you can add a layer of fertilizer and topsoil to give the soil a bit more nutrients for the grass seed to grow. This step is not necessary, but it can help ensure the healthy growth of your grass over time. Don’t forget to mix it in with the existing soil before moving on to the next step!
Step 4: Planting Grass Seed
Once the area is ready, spread a thin layer of grass seed over the entire area evenly. You may need to rake or tamp down the ground after planting so that all of the seeds have good contact with the soil. Ensure that any areas without grass are covered by sprinkling some additional seed over them.
Step 5: Applying Weed Killer (optional)
To help prevent the growth of weeds later on, you can apply a weed killer solution over the entire area. This will give your grass a better chance to grow without worrying about pesky weeds taking over. Use a Roundup Weed killer or other similar product and follow the directions on how to apply it correctly.
Step 6: Watering
Water your newly planted grass as often as necessary according to how much rain falls in your area. Don’t water too much or too little- it should be just enough to keep the soil moist and provide adequate nutrients for the grass seedlings to emerge. If there’s not enough rain, use a garden hose or sprinkler system to provide the right amount of moisture.
Step 7: Maintaining Growth
Once the initial planting is finished, it’s important to maintain its growth with regular mowing and weeding. Make sure that any threatening weeds are removed immediately, so they don’t take over your grass. Also, don’t forget to fertilize your new lawn every few weeks to help it stay healthy and vibrant.
Step 8: Patience
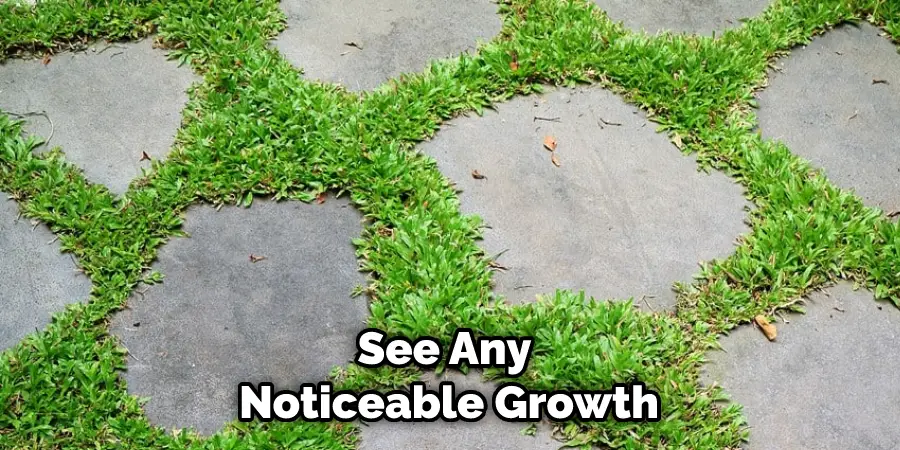
The grass may take a while to start sprouting and growing, so be patient! Depending on how much sun or shade your area gets, how often you water, or how well-conditioned the soil is, it could take up to a month before you see any noticeable growth. It will be worth it in the end!
Step 9: Pruning & Replanting
When the initial batch of grass starts to appear, make sure to prune it regularly and replant any areas that have dead patches. This will ensure that your lawn stays lush and green all year round! Be careful not to prune over, though, as this can cause damage to the grass and soil.
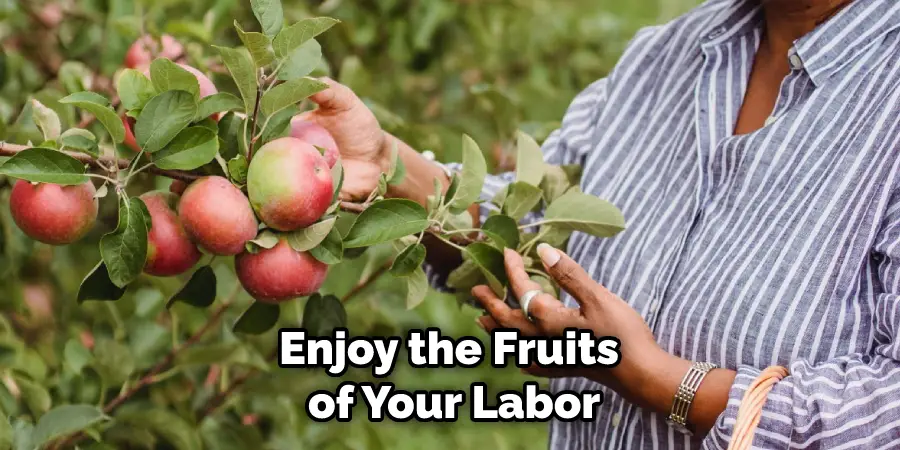
Step 10: Enjoy!
Once your lawn is healthy and filled with grass, it’s time to sit back and enjoy the fruits of your labor! With some hard work and dedication, you now have a nice green patch of grass that family and friends can enjoy. Congratulations on creating an oasis in your backyard-you deserve it!
We hope this guide was useful in helping you remove pavers and replace them with grass. If done correctly, you should have an attractive lawn that will last for years to come! Good luck!
5 Additional Tips and Tricks
- Make sure you have all the necessary tools to remove pavers before starting to avoid unnecessary delays. This includes a shovel, pry bar, wheelbarrow, protective gloves, and safety goggles.
- Start by using the shovel to dig around the edges of the pavement and underneath it to loosen it up.
- Once you’ve loosened up some of the pavers, use a pry bar to remove them from their current locations.
- After removing all the existing pavers, prepare the ground for planting grass by tilling and leveling out the soil surface with a rake or hoe.
- Finally, add fertilizer and grass seed according to package instructions as needed, then water regularly until the grass is established. With some patience and dedication, you’ll be able to enjoy a beautiful lawn in place of your paved area.
Following these steps carefully can easily remove pavers and replace them with grass. Doing so will give you a beautiful, lush lawn that can be enjoyed for years to come!
5 Things You Should Avoid
- Don’t leave the pavers in a pile. It can be dangerous for children and pets to walk around or play on a pile of pavers.
- Don’t forget to dispose of the debris properly. You should separate the pavers, dirt, and other debris so that they can be recycled or disposed of safely.
- Don’t try to move too much at once. Take your time when removing the pavers, and don’t rush through the process in order to avoid injury or damage to property.
- Don’t neglect proper preparation for grass installation (i.e., tilling and amending soil). Proper soil preparation is essential for a healthy lawn in the long run and will save you from frustration down the road.
- Don’t forget about drainage concerns when replacing with grass, as it needs water. Make sure your plan includes how you’ll manage water runoff and drainage.
Following these tips will help ensure that you remove the pavers and replace them with grass safely and effectively. Good luck!
Can Concrete Be Poured Over Pavers?
Yes, concrete can be poured over pavers. However, it is important to note that there are some considerations to consider when doing so.
Firstly, the surface of the paver underneath must be prepared properly for it to support the weight of the concrete. This includes removing weeds between pavers and filling in low spots with coarse sand or gravel.
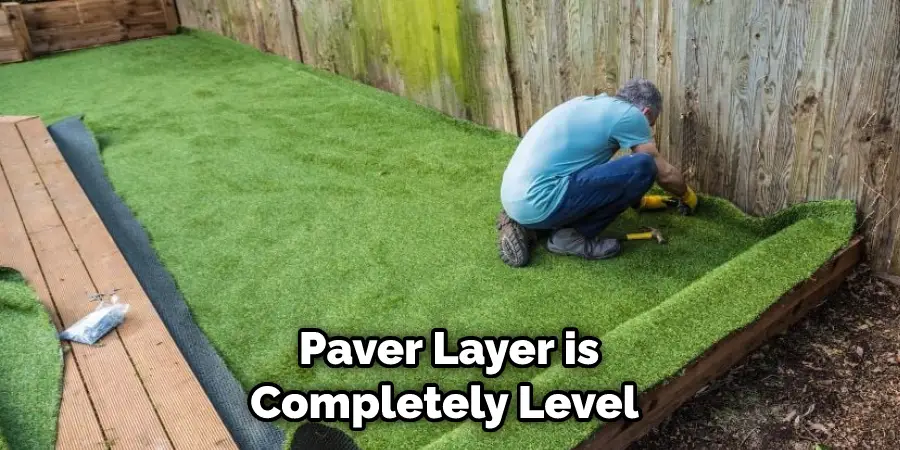
Secondly, you will need to ensure that your paver layer is completely level before pouring concrete on top of them.
Lastly, a base layer of crushed stone should be added before the concrete is poured in order to prevent settling later on. Following these steps will ensure that your new concrete layer lasts for years and looks great!
Once you have considered all these considerations, concrete can be poured over the pavers to create a flat and level surface that will last for years.
Conclusion
Removing pavers and replacing them with grass is an excellent way to add a fresh, green look to your outdoor space. Not only does it create a beautiful environment for your family, friends, and guests to socialize in, but it also saves you time and money over the long term.
With just a little preparation and planning, you can easily learn how to remove pavers and replace with grass. From gathering the correct tools, renting a jackhammer, or even hiring professionals for the job – there are several options for anyone looking to turn their outdoor area into something new.
It’s important to remember the different steps involved when removing pavers from any outdoor space so that the entire project goes as smoothly as possible. And after all of the hard work put into this project – what’s left is a beautiful yard with fresh green grass!
You Can Check It Out to Keep Grass From Growing Between Pavers
About
Outdoor Fixes is a distinguished figure in the world of Diy design, with a decade of expertise creating innovative and sustainable Diy solutions.
His professional focus lies in merging traditional craftsmanship with modern manufacturing techniques,
fostering designs that are both practical and environmentally conscious. As the author of diy,
outdoorfixes delves into the art and science of outdoorfixes-making, inspiring artisans and industry professionals alike.
Education RMIT University
(Melbourne, Australia) Associate Degree in Design (Outdoor Fixes) Focus on sustainable design, industry-driven projects,
and practical craftsmanship. Gained hands-on experience with traditional and digital manufacturing tools, such as CAD and CNC software.
Nottingham Trent University
(United Kingdom) Bachelor’s in outdoorfixes.com and Product Design (Honors) Specialized in product design with a focus on blending creativity with production
techniques. Participated in industry projects, working with companies like John Lewis and Vitsoe to gain real-world insights.
Publications and Impact
In diy, Outdoor Fixes his insights on indoor design processes, materials, and strategies for efficient production.
His writing bridges the gap between artisan knowledge and modern industry needs, making it a must-read for both budding designers and seasoned professionals.