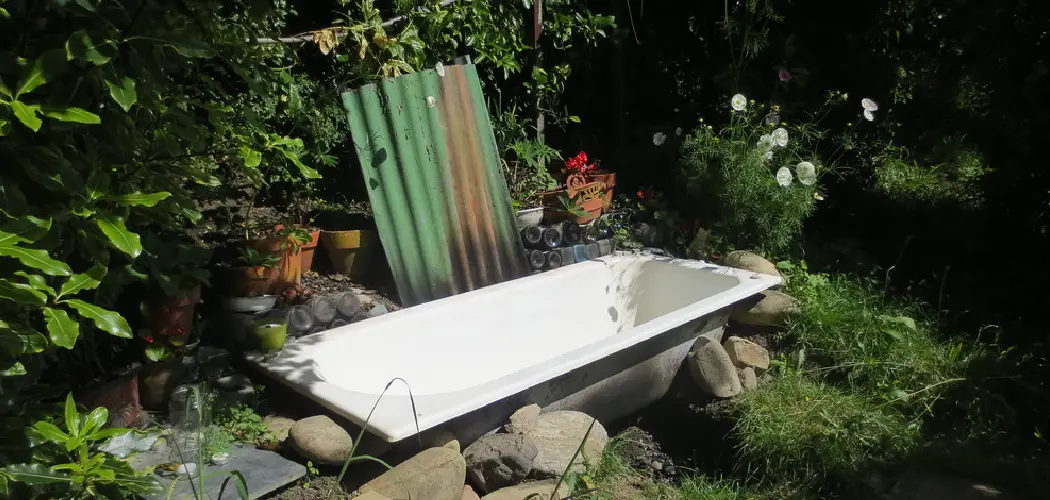
Creating an outdoor bathroom can be a great way to add convenience, style, and value to your backyard setup. Whether you’re considering building an outhouse or something even more luxurious, it’s not as daunting of a project as you may think.

With careful consideration and planning – such as finding the right spot for placement, deciding on materials, and coordinating with professionals – you’ll soon have an outdoor oasis where friends and family alike can get ready for poolside barbecues or just take a dip in the hot tub after dark.
Read on to find out all the tips and tricks on how to build an outdoor bathroom needed to build your very own outdoor bathroom with ease!
Why Do You Need an Outdoor Bathroom?
Before you jump into the nitty gritty of how to make an outdoor bathroom, take a step back and ask yourself why you need one. Are you planning on hosting events at your house? Do you have an outdoor pool or hot tub that needs servicing? How often will guests be using your outdoor bathroom? These are all important questions to consider before making a plan for how to build an outdoor bathroom.
Once you have a clear vision of why you need an outdoor bathroom, the next step is to decide on the location and materials. Depending on the type of project you’re completing (an outhouse, full-sized shower stall, etc.), you’ll want your spot in the yard to be far away from any windows or outdoor seating areas.
You’ll also need to decide on the materials you’ll use – whether it’s concrete, tile, stone, or any other material that can withstand weather conditions in your area. Once you’ve decided on a location and materials, then it’s time to consider getting help from a professional.
Working with a contractor or builder can help simplify the process and ensure that your project goes smoothly. They’ll be able to provide advice on things like plumbing and electrical wiring, as well as advise you on any local regulations or permits that may be necessary.
Finally, once all of these steps are complete, you can begin constructing your outdoor bathroom. Depending on the complexity of your project, this could take anywhere from a few days to several weeks (or even months) to complete.
Required Tools & Materials

- Shovel
- Tape measure
- Gravel or pea stone
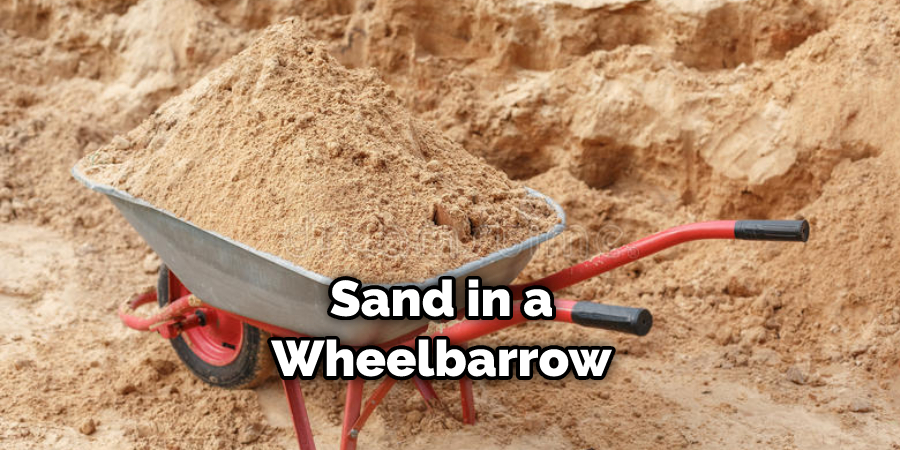
- Concrete mix and wheelbarrow
- Cement blocks or bricks
- Portland cement and sand
- Leveler and trowel
- Finishing materials (tile, wood, etc.)
10 Steps on How to Build an Outdoor Bathroom
Step 1: Choose a Level Site
Before you start building, make sure the area is level and free of debris. A level surface will help the structure remain sturdy and stable over time. Choose it wisely and make sure it has enough space to accommodate the size of your bathroom.
Step 2: Lay Down Gravel or Pea Stone
Once the site is ready, spread gravel or pea stone about two inches thick all around the area you have chosen. This will provide a foundation for the flooring and will help with drainage once the bathroom is complete.
Step 3: Create a Concrete Base
Using the concrete mix and wheelbarrow, make sure to spread an even layer with your trowel over the gravel. Then use a leveler to make sure it is completely flat and smooth. Allow this to dry for 24 hours before moving on to step four.
Step 4: Lay Down Bricks or Cement Blocks
Once the concrete base is dry, you can start laying down your bricks or cement blocks. Make sure to use the tape measure to keep an even line and that all of the pieces are securely in place before moving on to the next step.
Step 5: Create a Mortar
Mix together the Portland cement and sand in a wheelbarrow. Then slowly add water until you get a concrete-like consistency. This will be used to create mortar for your next step. Creating the mortar only takes a few minutes, but make sure to allow it to sit for 45 minutes before you move on.
Step 6: Mortar Between Bricks or Cement Blocks
Once the mortar has had time to set, spread it over the bricks or cement blocks with a trowel. Make sure all of the pieces are secure and that the mortar is evenly spread before allowing it to dry.
Step 7: Create a Floor
Once you have laid down your bricks or cement blocks, you can begin creating the floor of your outdoor bathroom. Once again, use the concrete mix and wheelbarrow to lay down a flat layer about two inches thick. Make sure to use the trowel and leveler to create an even surface.
Step 8: Add Finishing Touches
Before you move on to installing plumbing, add any finishing touches like tile, wood paneling, or other accents. This will help give your outdoor bathroom a more polished look and make it feel complete.
Step 9: Install Plumbing
Now it’s time to install the plumbing. If you are working with a professional, they should be able to help you with this part of the project. However, if you are tackling this on your own, make sure to follow all local regulations and permits that may be necessary.
Step 10: Enjoy Your Outdoor Bathroom
Once all of the steps are complete, you can sit back and enjoy your new outdoor bathroom. This is an excellent way to save money on showering and bathing, as well as create a unique space outside your home. Plus, you can be proud that you built it with your own two hands!
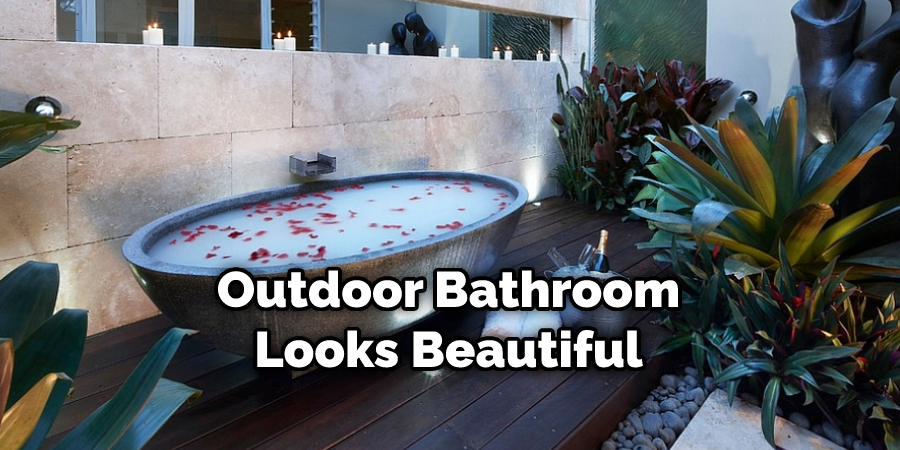
Building an outdoor bathroom is a great way to upgrade and modernize your home without spending a lot of money. With the right tools, materials, and steps, you can have an outdoor bathroom that looks beautiful and functions well. So go ahead – get creative and start constructing your outdoor bathroom today!
8 Safety Measures to Take
- Make sure that you are familiar with local building codes and regulations regarding outdoor bathrooms. Consult with local authorities, if necessary. It may be necessary to obtain a permit before constructing an outdoor bathroom on your property.
- Plan the location of your outdoor bathroom carefully. Make sure that you avoid areas that may require excessive use of water for irrigation or flood drainage. If possible, avoid placing the outdoor bathroom near bodies of water such as lakes and ponds in order to prevent contamination.
- When building an outdoor bathroom, it is important to ensure that the drainage does not lead to any water sources, such as a pond or other bodies of water. Make sure that the sewage disposal system is properly connected and safe from any potential damage caused by flooding or heavy rainfall.
- Choose materials suitable for outdoor bathrooms. Materials such as concrete, metal, and plastic are more suitable than wooden structures in outdoor environments. The tools and materials you choose should be waterproof and weather-resistant.
- When building your outdoor bathroom, make sure that you place it at a safe distance from any other buildings on your property. This will ensure that the waste water is disposed of properly without affecting the occupancy of other buildings on your property.
- Choose fixtures such as toilets and sinks that are designed for outdoor use. These products will be more resistant to the elements, in addition to being easier to clean and maintain.
- Make sure that all electrical cables are installed properly and according to safety regulations. It is important to protect any exposed electrical wires from water damage and ensure that they are safely insulated.
- Install smoke and carbon monoxide detectors in your outdoor bathroom, as well as any other type of fire safety measure you deem necessary. This will ensure the safety of those using the bathroom should an emergency occur.
These safety measures should be taken into consideration when building an outdoor bathroom to ensure the safety and well-being of all users. Proper planning, materials selection, and installation are essential for successful outdoor bathroom construction.
Follow these tips to ensure that you create an outdoor bathroom that is both safe and functional.

Conclusion
An outdoor bathroom is an amazing addition to any backyard, and building one doesn’t have to be a difficult or expensive project.
By following the tips on how to make an outdoor bathroom in this post, knowing your region’s plumbing laws, having a good plan, collecting the materials you need, and following safety guidelines, you can create a beautiful outdoor getaway that combines convenience with luxury.
Outdoor bathrooms provide us with a perfect spot for some alone time or can serve as a great space for relaxation when entertaining family or friends. In addition to the functionality it provides, an outdoor bathroom is a great feature that adds style and value to your backyard.
With some planning and inspiration, you can achieve the perfect outdoor bathroom oasis without breaking the bank.
You can check it out to Keep Cushions on Patio Furniture
About
Outdoor Fixes is a distinguished figure in the world of Diy design, with a decade of expertise creating innovative and sustainable Diy solutions.
His professional focus lies in merging traditional craftsmanship with modern manufacturing techniques,
fostering designs that are both practical and environmentally conscious. As the author of diy,
outdoorfixes delves into the art and science of outdoorfixes-making, inspiring artisans and industry professionals alike.
Education RMIT University
(Melbourne, Australia) Associate Degree in Design (Outdoor Fixes) Focus on sustainable design, industry-driven projects,
and practical craftsmanship. Gained hands-on experience with traditional and digital manufacturing tools, such as CAD and CNC software.
Nottingham Trent University
(United Kingdom) Bachelor’s in outdoorfixes.com and Product Design (Honors) Specialized in product design with a focus on blending creativity with production
techniques. Participated in industry projects, working with companies like John Lewis and Vitsoe to gain real-world insights.
Publications and Impact
In diy, Outdoor Fixes his insights on indoor design processes, materials, and strategies for efficient production.
His writing bridges the gap between artisan knowledge and modern industry needs, making it a must-read for both budding designers and seasoned professionals.