
Aspiring homeowners who are looking to add a touch of appeal and practicality to their patios should look no further than building stone steps. Creating an attractive, natural-looking set of stairs leading up to your patio can totally transform the outdoor space, but it’s important to have a clear plan in order before you begin.
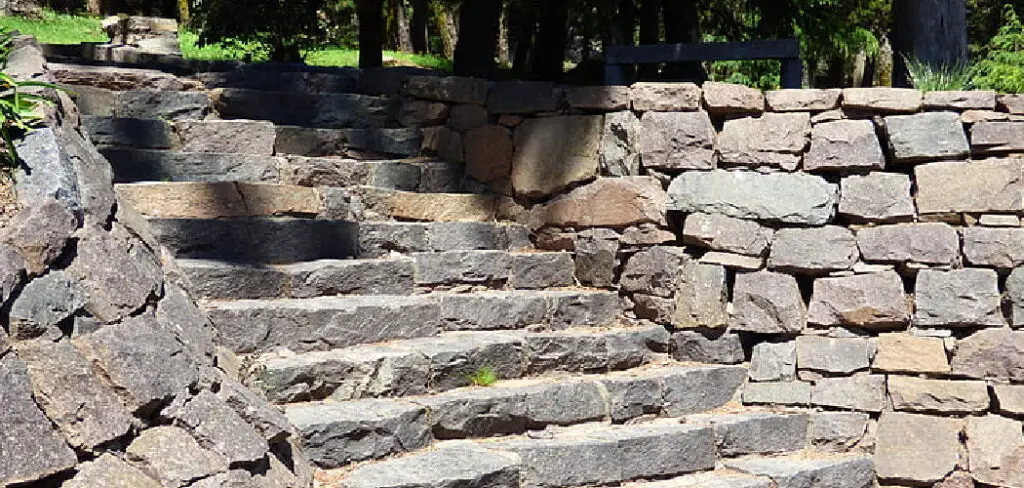
In this blog post, we will provide detailed instructions on how to build stone steps for a patio for your patio that not only matches its existing design but also last for years. Whether you are experienced at DIY projects or just getting started with hardscaping, these step-by-step instructions will help you achieve success!
Which Stone Is Best for Outdoor Steps?
When it comes to building stone steps for an outdoor patio, there is no one-size-fits-all answer. The type of stone you should use depends on a number of factors, such as your aesthetic preferences, the environment in which the steps will be installed, and the materials available in your area.
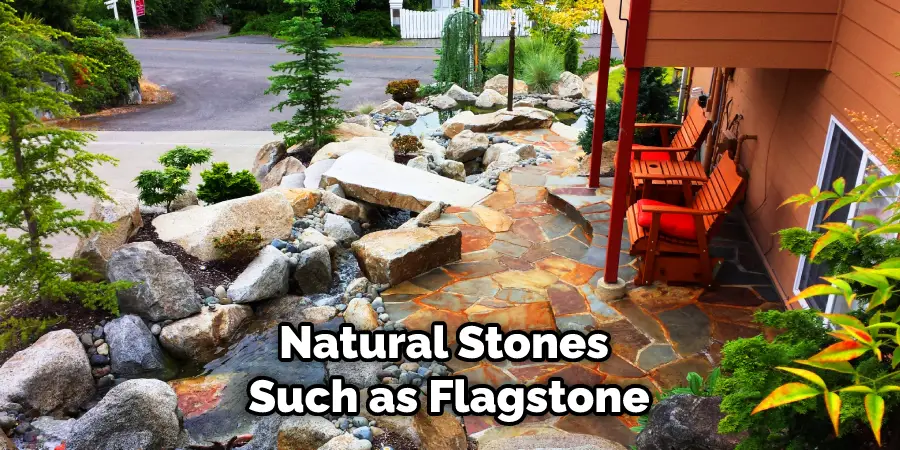
Flagstone is a type of sedimentary stone that comes in various shapes and sizes, making it ideal for customizing the look of your stairs.
It is incredibly durable and requires very little maintenance over time, making it a great choice for outdoor steps.
Slate is another great option for outdoor steps, as it’s more affordable than flagstone and still offers a high level of durability. It is also resistant to weather conditions and comes in various colors, so you can customize the look of your steps.
Sandstone is perhaps the most popular natural stone for Patio steps due to its affordability and the fact that it comes in a variety of colors. It is also easy to work with, so you can customize your stairs’ shape and size. The downside is that sandstone is not as durable as flagstone or slate, so it may require more maintenance over time.
Limestone is another popular option for outdoor steps. It is incredibly strong and durable, making it a great choice if you’re looking for something that will last a long time without needing much maintenance. The downside is that it can be quite expensive compared to other natural stones.
8 Methods on How to Build Stone Steps for a Patio
1. Choose the Right Stone
The first step in building stone steps is to choose the right stone. There are a variety of different stones that can be used for this purpose, but some of the most popular options include flagstone, bluestone, and slate. Each type of stone has its own unique appearance, so be sure to choose one that will complement the design of your patio.
If you’re not sure which type of stone to use, it might be a good idea to consult with a professional.
2. Prepare the Area
Once you have chosen the stone that you want to use, the next step is to prepare the area where the steps will be built. This involves clearing away any vegetation or debris that may be present and leveling out the ground.
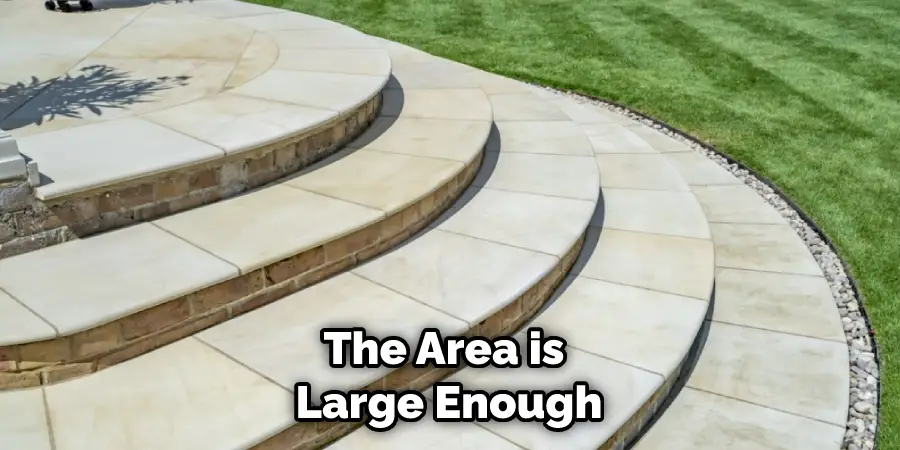
It is also important to make sure that the area is large enough to accommodate the number of steps that you plan on building. If necessary, you may need to use fill dirt or gravel in order to make the area large enough. Use a measuring tape and stakes to ensure that the area is level and even.
3. Mark out the Step Locations
After the area has been prepared, the next step is to mark out where each step will be located. This can be done by using string or chalk to outline the desired shape of the steps.
Once the locations have been marked, it is time to start digging! Additionally, it is important to keep in mind the total height that you would like your steps to be. The dimensions of each step will depend on this height, so it is important to measure accurately.
4. Dig Trenches for Each Step
The next step in building stone steps is to dig trenches for each step. The depth of the trench will depend on the height of the steps, but it should be at least 6 inches deep. Once all of the trenches have been dug, it is time to start laying down stones.
If possible, try to use stones of the same size and shape for each step. This will give your steps a uniform look. Be sure to trowel a layer of sand at the bottom of each trench before placing the stones. This will ensure that your steps are even and secure.
5. Lay Down Stone Slabs
The next step is to lay down stone slabs in each trench. The slabs should be placed so that they are level with one another and flush with the ground surface. It is important to make sure that each slab is securely in place before moving on to the next one. Make sure to use a rubber mallet to firmly secure each slab into the ground.
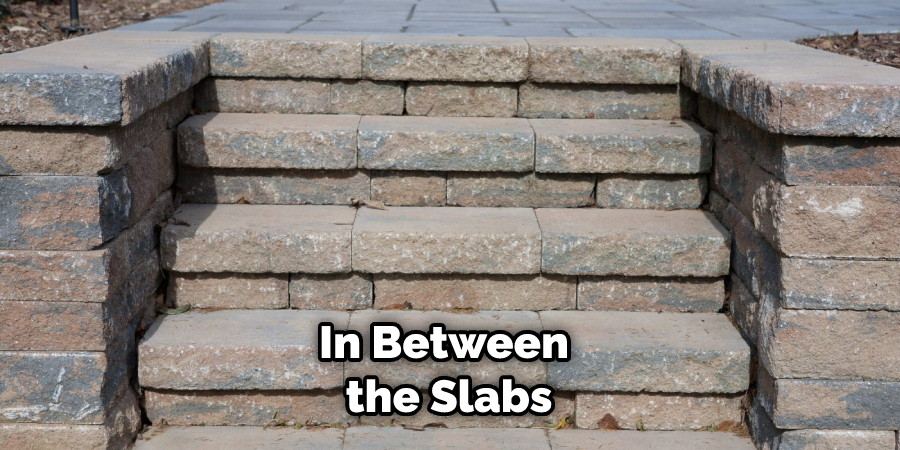
Though it is not necessary, it is recommended to use a bit of mortar or concrete in between the slabs. This will help ensure that they are secure and will not shift over time.
6. Fill in gaps with Gravel or Sand
Once all of the slabs have been laid down, it is time to fill in any gaps between them with gravel or sand. This will help to secure them in place and prevent them from shifting over time. Once all of the gaps have been filled, it is time to start working on the stairs themselves. Use a tamper to compact the gravel or sand before moving on to the next step.
Additionally, you can add a layer of gravel or sand over the entire area to keep weeds from growing. This is not necessary, but it will help to protect your patio in the long run.
7. Build Stairs with Stone Slabs
The next step in building stone steps is to build stairs with stone slabs. To do this, simply stack two slabs on top of each other at each step location. Make sure that they are level with one another and flush with the ground surface before moving on to the next step location. Once all the steps have been constructed, use rebar pins to secure them in place.
Finally, fill any gaps between the slabs with mortar and smooth it out. This will ensure a finished look and provide extra strength to the steps. With these steps, you should have a beautiful set of stone steps for your patio. Enjoy!
8. Finish the Steps with Mortar
Once all of the stone slabs have been laid down and stacked, it is time to finish the steps with mortar. Mix up a batch of mortar according to package instructions and then use it to fill in any gaps between the slabs.
This will help to secure them in place and prevent them from shifting over time.

Once the mortar has dried, your stone steps are complete! Additionally, you can use sealant to protect the steps from weather damage or staining.
With a little bit of patience and effort, you’ve now created a beautiful set of stone steps that will last for years to come! Enjoy your new patio addition!
Now that you know how to build stone steps for a patio, you can begin creating an outdoor space that is both beautiful and durable.
With these tips, you can create stairs that will last for years to come!
Things to Consider When Building Stone Steps for a Patio
1. Determine the Location:
The first step in building stone steps is to determine the location. Depending on the design of your patio, you may need to consider factors such as aesthetic appeal, ease of use, and safety. Take into account any other nearby objects that may need to be avoided, such as trees or outdoor furniture.
2. Choose the Right Stone:
The next step is to choose the right stone for your patio steps. Different types of stone have different characteristics and qualities that you will want to consider when making your selection. Think about the weight of the stone, its durability, and how it will look with your existing patio design.
3. Prepare the Site:
Once you have determined the location and chosen your stone, you need to prepare the site. Clear away any grass or other materials that could interfere with construction and level out the area.
Conclusion
After reading this guide on how to build stone steps for a patio, you should have all the information you need to get started on your stone steps patio project.
Just remember to take your time, measure twice and cut once, and use a level when creating your foundation. With careful planning and execution, you’ll be sure to end up with a beautiful patio that will last for years to come. Thanks for reading!
You Can Check It Out to Extend Patio With Pavers
About
Outdoor Fixes is a distinguished figure in the world of Diy design, with a decade of expertise creating innovative and sustainable Diy solutions.
His professional focus lies in merging traditional craftsmanship with modern manufacturing techniques,
fostering designs that are both practical and environmentally conscious. As the author of diy,
outdoorfixes delves into the art and science of outdoorfixes-making, inspiring artisans and industry professionals alike.
Education RMIT University
(Melbourne, Australia) Associate Degree in Design (Outdoor Fixes) Focus on sustainable design, industry-driven projects,
and practical craftsmanship. Gained hands-on experience with traditional and digital manufacturing tools, such as CAD and CNC software.
Nottingham Trent University
(United Kingdom) Bachelor’s in outdoorfixes.com and Product Design (Honors) Specialized in product design with a focus on blending creativity with production
techniques. Participated in industry projects, working with companies like John Lewis and Vitsoe to gain real-world insights.
Publications and Impact
In diy, Outdoor Fixes his insights on indoor design processes, materials, and strategies for efficient production.
His writing bridges the gap between artisan knowledge and modern industry needs, making it a must-read for both budding designers and seasoned professionals.