
If you’re looking for a way to make outdoor entertaining more enjoyable, installing a patio heater can be the perfect solution. Not only does it allow for gatherings in cooler weather, but it also provides plenty of cozy warmth on chilly summer nights.
Of course, like any other appliance around your home and garden, regular maintenance is needed – including occasionally bypassing the thermocouple on your patio heater.
In this blog post, we’ll walk you through the simple steps on how to bypass a thermocouple on a patio heater. Whether you want to maximize heat output, reduce energy costs or use your patio heater as an easy DIY home décor project – get ready because, by the time you’re finished reading, you’ll be confident and knowledgeable when it comes to safely installing, maintaining and repairing your patio heater.
What Will You Need?
Before you can bypass a thermocouple, there are a few items that you’ll want to have handy:
- Safety glasses
- Electrical tape
- Needle nose pliers
- Allen wrench
- Flat head screwdriver
Once you’ve gathered these items, you can move on to the next step.
10 Easy Steps on How to Bypass a Thermocouple on a Patio Heater
Step 1. Turn off the Power:
Before you start bypassing the thermocouple, it’s important to make sure that the power is off. This will prevent any possible electrical accidents or shocks. Be careful around the wires and ensure you wear safety glasses at all times.
Step 2. Remove the Access Panel:
Once the power has been safely turned off, you can then remove the access panel so that you have a clear view of the thermocouple and other components inside your patio heater. You may need to use an Allen wrench or flathead screwdriver to do this.
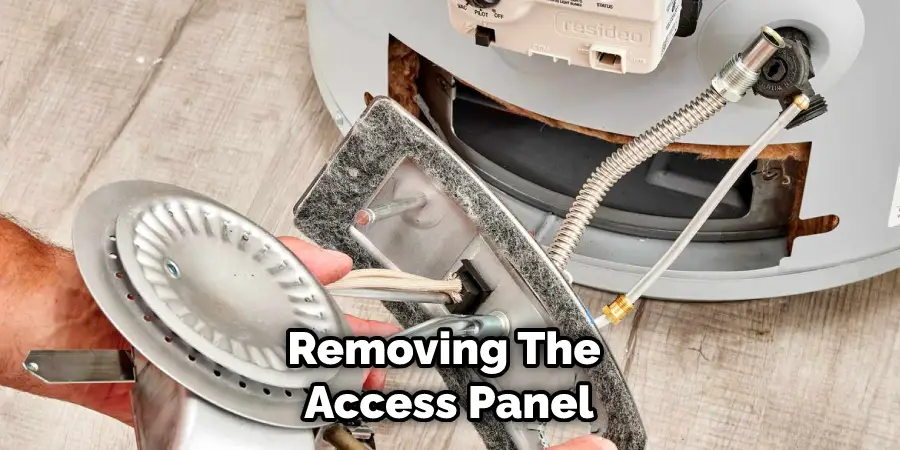
It will vary depending on the make and model of your patio heater, so please refer to the manufacturer’s instructions for removing the access panel.
Step 3. Disconnect Wires:
Using needle nose pliers, carefully disconnect all of the wires from the thermocouple sensor. Be sure to note how they were connected before removing them so that you can easily reattach them afterward. Don’t forget to use electrical tape to secure the wires once they are disconnected.
Step 4. Cut Wires:
Once the wires have been disconnected, you can then proceed to cut the wires using electrical tape carefully. This will ensure a clean and secure connection when returning the thermocouple later. Ensure there are no wires exposed or damaged strands, as this could cause an electrical hazard or fire risk.
Step 5. Remove Thermocouple:
Now that all the wires have been safely secured, you can remove the thermocouple from its port in your patio heater. Be sure to dispose of it in a safe manner according to local regulations. Because it contains hazardous chemicals, it must not be thrown away in the trash or disposed of in a public bin.
Step 6. Clean Contact Points:

Using a clean cloth, make sure to thoroughly clean the contact points inside the port where the thermocouple was connected. This will ensure you have a good connection when reattaching it later. You can use a little bit of rubbing alcohol to help remove any dirt or grime.
Step 7. Reattach Wires:
Once all the contact points have been cleaned, you can carefully reattach all the wires back into their ports. Double-check how they were originally connected and ensure that everything is properly secured with electrical tape. It is best to refer to the manufacturer’s instructions for reattaching the wires properly.
Step 8. Connect Thermocouple:
Now that all the wires are properly connected, you can reattach the thermocouple to its port in your patio heater. Be sure to secure it with electrical tape tightly and make sure that there are no exposed or damaged strands of wire. If there are any exposed wires, be sure to cover them with electrical tape.
Step 9. Replace Access Panel:
Once the thermocouple has been safely installed, you can replace your patio heater’s access panel. Make sure that everything is securely fastened, and double-check how it was originally attached before replacing it. Don’t forget to use the appropriate tools for this step.
Step 10. Turn on Power:
Finally, once all these steps have been completed, you can turn on the power and test your new setup! If everything looks good, then you’ve successfully bypassed the thermocouple on your patio heater. Congratulations!

By following these instructions, you can ensure that your patio heater stays safe and in good condition. Good luck!
5 Additional Tips and Tricks
- Make sure to use high-temperature insulation tape to protect the connections around the thermocouple cable.
- If possible, try to mount the thermocouple in an area with minimal heat or air flow interference from surrounding components.
- Always check that your thermocouple is compatible with your patio heater before installation and ensure it can withstand the temperatures you expect.
- Use pliers or other tools to tighten any screws or nuts on the thermocouple, but be careful not to overtighten them so as not to damage their threads or impair their operation.
- Make sure all thermocouple wires are connected securely and insulated properly before energizing your patio heater’s electrical system after installation.
With these tips in mind, you can ensure that your bypass of a thermocouple on a patio heater project goes smoothly and securely.
5 Safety Precautions You Can Take
- Wear safety glasses and protective gloves when handling the thermocouple or any other parts of the heater.
- Make sure to unplug the patio heater from a power source before attempting to bypass it.
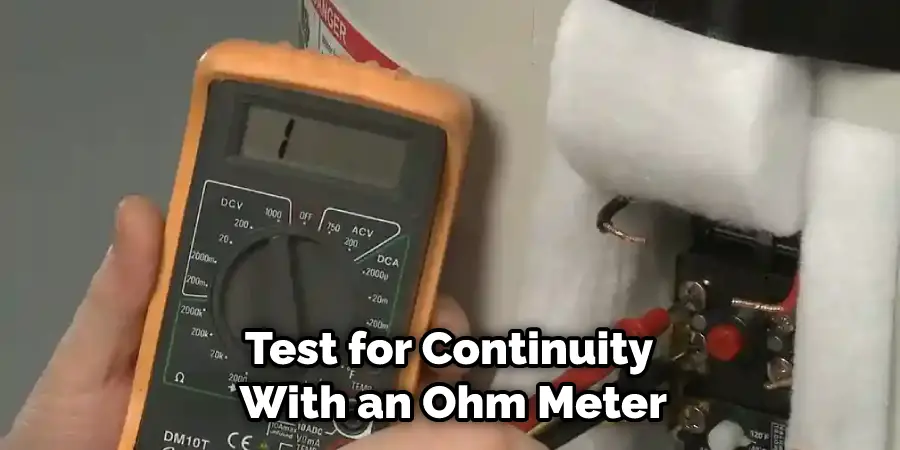
- Test for continuity with an ohm meter before cutting any wires to ensure that no electrical current is running through them.
- Secure the new wiring with electrical tape or wire nuts, ensuring no loose connections.
- After all work is done, use caution when turning on the patio heater and make sure it runs properly before leaving it unattended while in operation.
By following these steps, you can safely bypass a thermocouple on a patio heater without putting yourself or others at risk. If you are still uncertain about bypassing the thermocouple, it is best to contact a professional. Doing so will ensure that your patio heater runs safely and efficiently.
With the right knowledge and care, you can ensure you get the most out of your patio heater for years to come!
Can You Clean a Thermocouple and Make It Work?
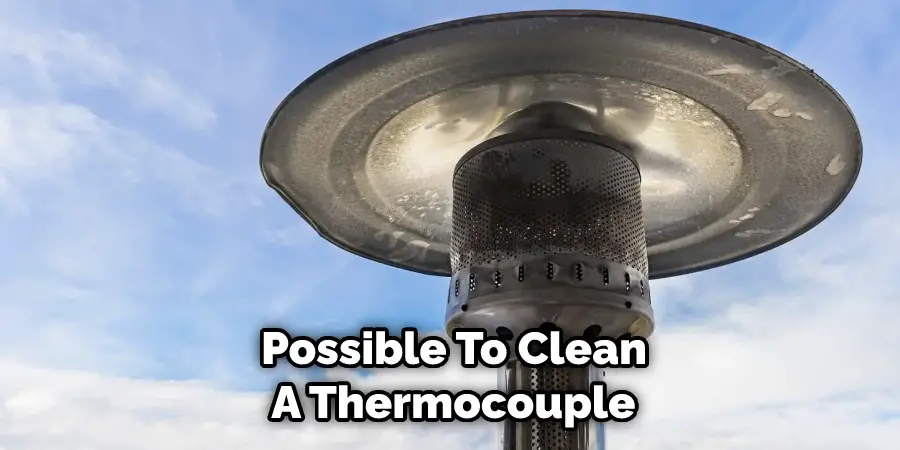
Yes, it is possible to clean a thermocouple and make it work again. First, you should check the manual’s instructions to ensure that cleaning is possible on your particular model. If so, use a mild detergent and warm water to dislodge any dust or debris from the contacts.
Once dry, attach the thermocouple back onto the heater and ensure that all connections are secure before turning on the power source. If necessary, use an ohm meter to test for continuity once everything is reconnected. Doing this can help restore proper functionality and get your patio heater working properly again!
Additionally, If you need to replace the thermocouple, ensure that you purchase one specifically designed for your model of patio heater and follow all wiring instructions carefully. Failure to do so could cause serious damage or even a fire hazard. By taking the time to wire your thermocouple properly, you can keep yourself and your family safe from harm.
What Stops a Thermocouple From Working?
There are several things that could cause a thermocouple to stop working, such as corroded contacts, damaged wiring, a break in the circuit, or poor installation. If your thermocouple is not functioning properly, you should check the contacts and wires for any signs of wear and tear.
Additionally, be sure to test for continuity with an ohm meter before attempting any repairs. If all else fails, it may be best to replace the entire thermocouple to ensure its proper functionality.
Bypassing a thermocouple on a patio heater should be cautiously approached. Following the right safety precautions and cleaning and replacing components where necessary can help ensure that you get the most out of your patio heater while keeping yourself and others safe.
With the correct knowledge and care, you can enjoy your patio heater for years to come!
Conclusion
Completing this project of bypassing a thermocouple on a patio heater is rewarding and quite easy. By following the steps mentioned above, you can ensure your patio heater is properly and meets safety guidelines. With these steps and helpful tips in mind, anyone can easily follow through with bypassing their thermocouple.
Additionally, ensure the right tools and supplies are handy before beginning the job. This way, you won’t be under pressure or stressed when taking on this project. All in all, make sure to stay safe, work slowly, double-check your work periodically throughout the project and enjoy your newly fixed patio heater!
Hopefully, the article on how to bypass a thermocouple on a patio heater has been helpful and informative. With the right care, you can keep your patio heater running properly for years to come. Good luck and happy heating!
About
Outdoor Fixes is a distinguished figure in the world of Diy design, with a decade of expertise creating innovative and sustainable Diy solutions.
His professional focus lies in merging traditional craftsmanship with modern manufacturing techniques,
fostering designs that are both practical and environmentally conscious. As the author of diy,
outdoorfixes delves into the art and science of outdoorfixes-making, inspiring artisans and industry professionals alike.
Education RMIT University
(Melbourne, Australia) Associate Degree in Design (Outdoor Fixes) Focus on sustainable design, industry-driven projects,
and practical craftsmanship. Gained hands-on experience with traditional and digital manufacturing tools, such as CAD and CNC software.
Nottingham Trent University
(United Kingdom) Bachelor’s in outdoorfixes.com and Product Design (Honors) Specialized in product design with a focus on blending creativity with production
techniques. Participated in industry projects, working with companies like John Lewis and Vitsoe to gain real-world insights.
Publications and Impact
In diy, Outdoor Fixes his insights on indoor design processes, materials, and strategies for efficient production.
His writing bridges the gap between artisan knowledge and modern industry needs, making it a must-read for both budding designers and seasoned professionals.