
Maintaining your aluminum patio roof is an important part of keeping its longevity and saving yourself from costly repairs in the future. A leaking aluminum patio roof will not only cause damage to the patio itself, but it can also spoil nearby furniture, plants, and other accessories.
Water dripping into walls and ceilings can even lead to mold growth if left unchecked.
Repairing a leak in your patio roof shortly after discovering it is essential for preventing further damage and maintaining the integrity of your patio. One of the main advantages of repairing a leaking an aluminum patio roof is that it can be done relatively easily and quickly compared to other roofing materials.
Aluminum is lightweight, strong, and durable, so it can handle extreme weather conditions without becoming damaged or deformed. Aluminum also offers excellent insulation against heat and cold, making it an ideal choice for homes in areas with extreme climates. In this blog post, You will learn in detail how to fix a leaking aluminum patio roof.
Step-by-Step Processes for How to Fix a Leaking Aluminum Patio Roof
Step 1: Inspect the Roof
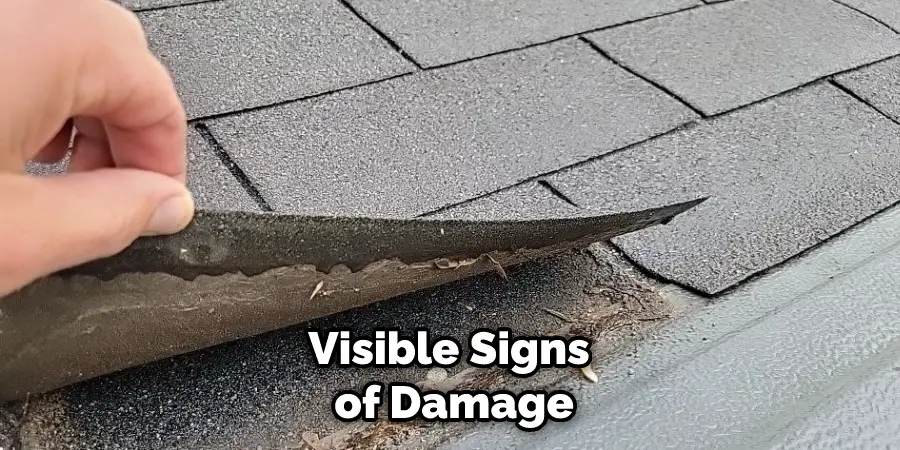
Check for any visible signs of damage, such as dents or holes. Also, look for loose screws and nails that could be causing the leak. If you find any, tighten them or replace them with new ones.
Step 2: Apply Caulk
Using a caulking gun, apply caulk to the seams and around the edges of the aluminum patio roof. Make sure to get into all cracks and crevices. Allow it to dry for at least 24 hours before moving on to the next step. Cover any holes or seams in the aluminum patio roof using a metal patching compound.
Make sure to press it firmly into place so that it adheres properly. Allow this to dry for at least 24 hours before moving on to the next step.
Step 3: Use a Sealant
Once the metal patching compound has dried, apply a sealant to ensure it is properly sealed. Allow this to dry for at least 24 hours before moving on to the next step. If you find any areas of your aluminum patio roof that are weak or sagging, you may need to reinforce them with additional screws or nails. Make sure to use a quality sealant around each screw or nail after it is inserted.
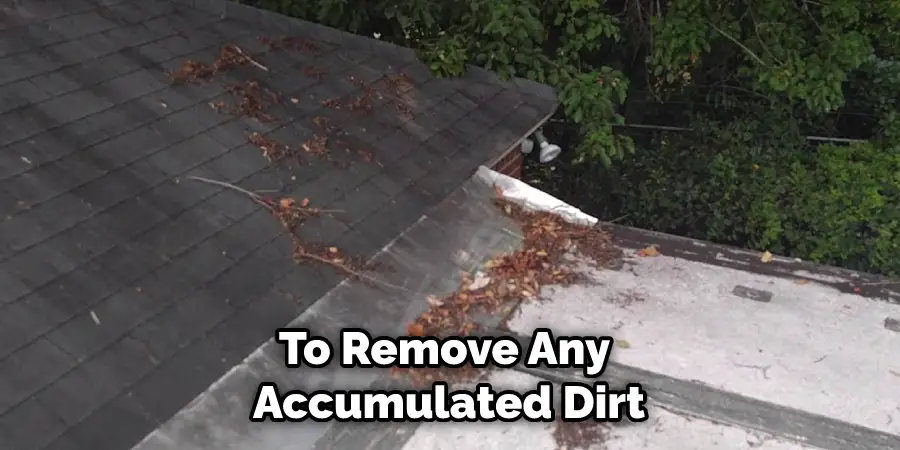
Step 4: Clean the Roof
Using a broom and hose, clean the entire aluminum patio roof to remove any debris or dirt that may have accumulated over time. Using a paint roller, apply a waterproofing coating to the entire surface of the aluminum patio roof. Make sure to cover all seams and edges and allow it to dry for at least 24 hours before moving on to the next step.
Step 5: Re-seal Seams and Edges:
Once the waterproofing coating has dried, re-seal any seams or edges you find. This will help ensure that no water can get in through those areas. Gutters can be a great way to collect rainwater and keep it from seeping into your patio roof. Make sure to place them in a way that will allow the water to flow away from the house and not onto it.
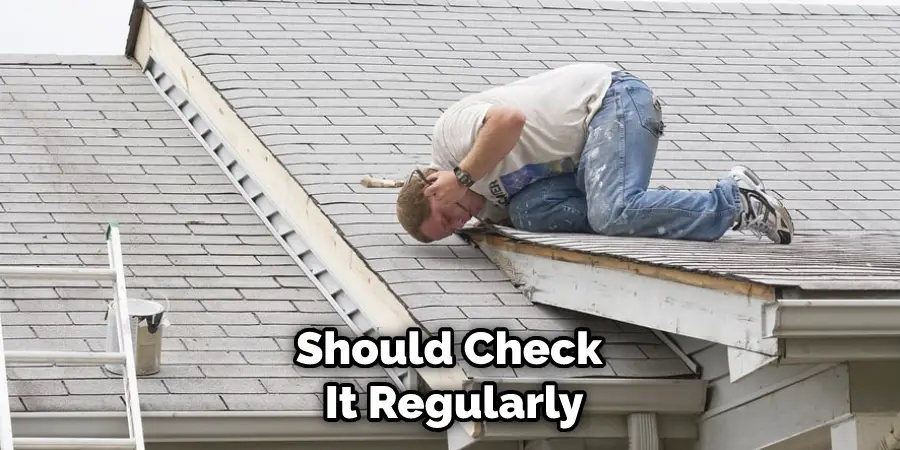
Step 6: Check for Leaks Regularly:
To ensure that your aluminum patio roof remains leak-free, you should check it regularly for any signs of damage or leaks. If you find any, act quickly to repair them and prevent further damage from occurring. By following these steps, you can fix a leaking aluminum patio roof and keep it from causing any further damage.
It is important to stay on top of maintenance to ensure that your patio roof remains leak-free for the long term.
Tips for How to Fix a Leaking Aluminum Patio Roof
- Wear protective gloves, shoes, and eyewear when working on your patio roof to avoid injury from sharp edges or splinters of aluminum.
- Make sure to check the weather forecast before starting any work on your aluminum patio roof, as rain can create dangerous conditions and make it difficult to repair the leaks safely.
- Ensure that all tools and materials needed for the repair are available before beginning the job to avoid potential delays or trips up and down a ladder.
- Securely prop open any access doorways to provide easy access to work on the patio roof without having to disassemble it constantly.
- Ensure that any tools or materials used in the repair process have been properly secured, so they do not become dislodged and cause injury.
- Never attempt to fix leaks while standing on top of the aluminum patio roof, as slipping is a common hazard and could result in serious injury.
- Use clamps or brackets to hold any aluminum sheets firmly in place while the repair is being completed.
- Make sure all parts of your aluminum patio roof are properly secured and sealed with waterproof caulking before replacing any sheeting or panels to ensure a tight seal. This will help to prevent future leaks.
By following these safety tips, you can safely perform repairs on your aluminum patio roof and avoid any hazards or unexpected circumstances.
How Can You Prevent Future Leaks in an Aluminum Patio Roof?
- Inspect the flashing around any skylights, chimneys, or other penetrations for any signs of wear and tear. Replace if necessary.
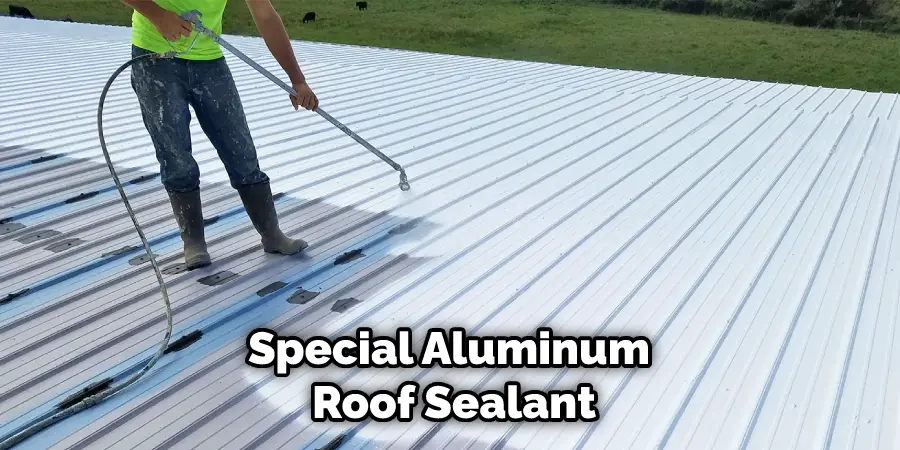
- Check to see if there are any gaps between pieces of sheet metal near structural supports or walls that may need caulking or sealing with a special aluminum roof sealant.
- Trim back any trees or bushes near the roof structure that may be rubbing against the aluminum and causing wear and tear.
- Clear away any debris, such as leaves, branches, or other items that may have accumulated on top of the roof and caused it to sag.
- Inspect all fasteners to ensure they are all secure and not loose or missing. Replace if necessary.
- Clean the roof with a soft brush and soapy water to remove any dirt, grime, or algae that may have built up on it.
- Check the gutters and downspouts for any blockages that may be causing water to overflow onto the roof and eventually cause a leak.
- Apply a sealant, such as silicone caulk or aluminum roof coating, to any areas that may be prone to leaks. This should help prevent future leaks from occurring.
- Re-apply the sealant once a year to ensure it remains effective against the elements and is not compromised by wear and tear.
Regular maintenance and inspection are the key to preventing future leaks in an aluminum patio roof. Taking the steps outlined above can help keep your roof in good condition and free from leaks.
How Should You Maintain Your Aluminum Patio Roof?
- Inspect your aluminum patio roof regularly for signs of wear, damage, or leaks. Look for signs of rust, corrosion, and weathering on the surface and check for any gaps between the flashing and other components.
- Clean the roof regularly to ensure it is free from debris and dirt that can collect over time. Use a brush and a mild soap solution to remove any accumulated dirt, grime, or moss.
- Inspect the flashing areas between joints regularly to ensure they are still properly sealed. If there is any damage or gaps in the sealant, reapply a new layer of sealant to fix the problem.
- Check for any loose nails and screws holding the aluminum panels together. If any are found, tighten them to secure everything back in place.
- Check the gutters regularly to make sure they are draining properly and that there is no blockage or buildup of debris blocking the flow of water.
- Repair any holes or dents in the aluminum surface as soon as possible. Use a patch kit and follow the instructions to repair any holes or damage in the aluminum surface.
- Seal any seams and joints regularly with caulk or another sealant to ensure they stay watertight. Make sure you use a waterproof sealant designed for metal surfaces such as aluminum patio roofs.
By following these tips, you can help ensure that your aluminum patio roof is in good condition and will keep the area below dry and free from leaks. Regular maintenance of your aluminum patio roof will also save you money in the long run by preventing costly repairs or replacements.
What Common Issues Arise With Aluminum Patio Roofs and How Can They Be Resolved?
The most common issue with aluminum patio roofs is leaking. A leak can occur if the roof has been damaged or worn over time due to exposure to weather, debris, or general wear and tear. Fortunately, there are several steps you can take to fix a leaking aluminum patio roof:
- Inspect the Roof: Check the roof’s entire surface for any splits, cracks, or holes. Repairing these is essential to stop further leaking.
- Clean the Roof: Remove any dirt, leaves, and debris from the roof’s surface with a soft brush. This will prevent clogging and allow for easier repairs later on.
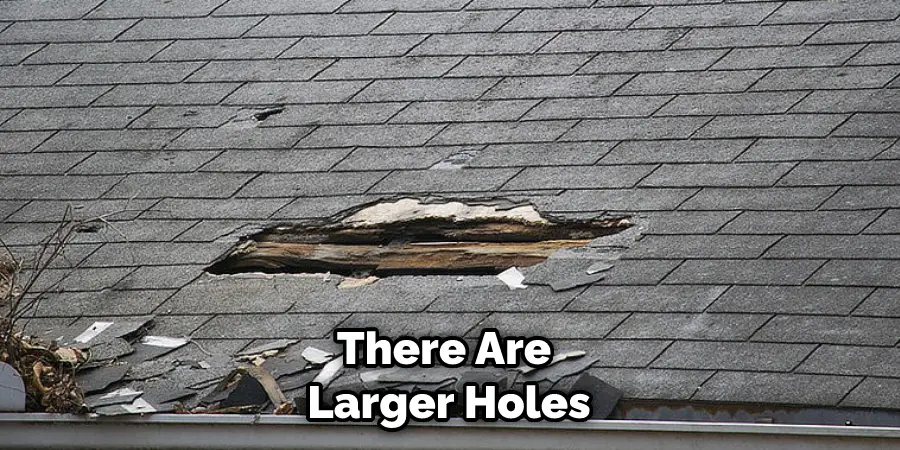
- Repair Damage: Depending on the severity of the damage, you may need to use aluminum tape or a sealant to fix any splits or cracks. If there are larger holes, patch them with a metal sheet and seal them with an adhesive.
- Apply a Sealant: Once all repairs have been made, cover the roof’s entire surface with a waterproof sealant. This will stop any remaining leaks and protect the roof from further damage.
By following these steps, you can easily fix a leaking aluminum patio roof and keep it in optimal condition for years to come. However, if the repairs are too extensive or difficult to do on your own, it is best to call in a professional roofer.
Conclusion
In conclusion, fixing a leaking aluminum patio roof is an important task for homeowners and should not be taken lightly. Following the steps outlined in this blog, you can ensure that your patio roof remains secure, watertight, and free from further damage.
After repairing the leak, take the time to inspect your roof regularly to make sure it is still in good condition.
Regular maintenance will help ensure that your patio remains a safe and pleasant environment for you and your family. With the right tools and knowledge, you can be sure to keep your aluminum patio roof in great shape for many years to come.
I hope reading this post has helped you learn how to fix a leaking aluminum patio roof. Make sure the safety precautions are carried out in the order listed.
About
Outdoor Fixes is a distinguished figure in the world of Diy design, with a decade of expertise creating innovative and sustainable Diy solutions.
His professional focus lies in merging traditional craftsmanship with modern manufacturing techniques,
fostering designs that are both practical and environmentally conscious. As the author of diy,
outdoorfixes delves into the art and science of outdoorfixes-making, inspiring artisans and industry professionals alike.
Education RMIT University
(Melbourne, Australia) Associate Degree in Design (Outdoor Fixes) Focus on sustainable design, industry-driven projects,
and practical craftsmanship. Gained hands-on experience with traditional and digital manufacturing tools, such as CAD and CNC software.
Nottingham Trent University
(United Kingdom) Bachelor’s in outdoorfixes.com and Product Design (Honors) Specialized in product design with a focus on blending creativity with production
techniques. Participated in industry projects, working with companies like John Lewis and Vitsoe to gain real-world insights.
Publications and Impact
In diy, Outdoor Fixes his insights on indoor design processes, materials, and strategies for efficient production.
His writing bridges the gap between artisan knowledge and modern industry needs, making it a must-read for both budding designers and seasoned professionals.