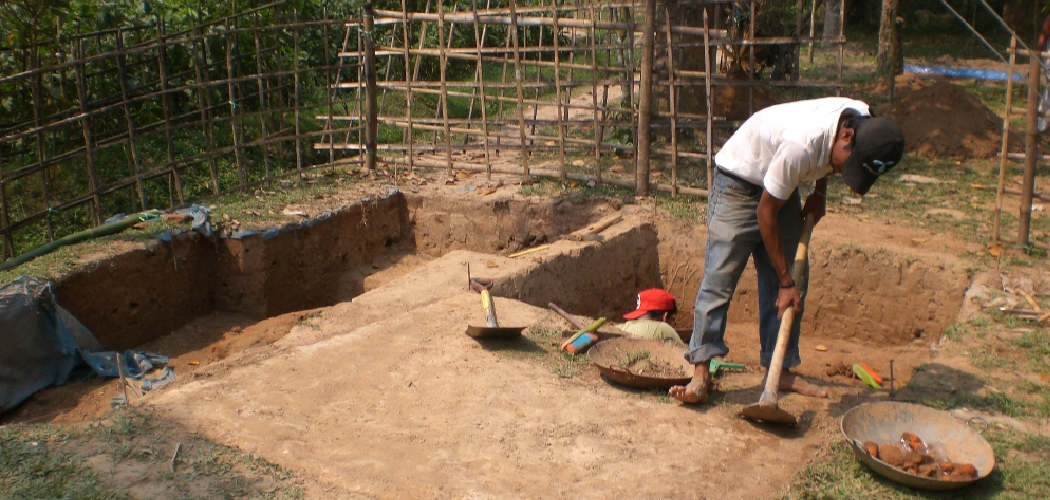
Are you looking to give your outdoor space an upgrade? A patio is a great way to add extra square footage and turn your yard into a more inviting area for friends, family, and guests.
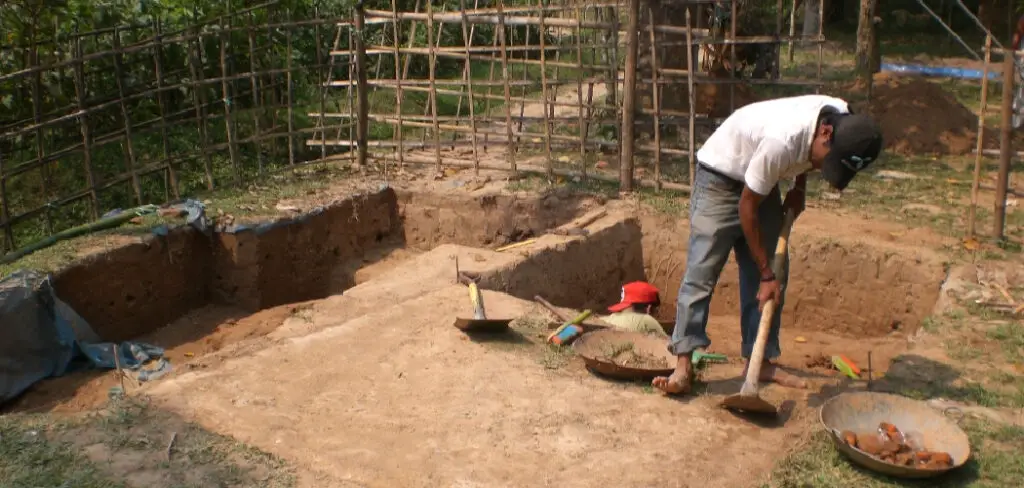
There are many options for choosing the right material for your new patio surface, but excavating is one option that should be considered if you’re thinking about going the DIY route. It not only provides an economical solution, but it can also make room for interesting stonework or other materials that can help lift any landscaping effort from ordinary to extraordinary.
In this blog post, we will discuss how to excavate for a patio and install an attractive stone patio that will last for years. So grab your shovels, and let’s get started!
What Will You Need?
Before starting the excavation process, gathering all the necessary tools and materials is important. Here is a list of items you will need:
- Shovels
- Wheelbarrow
- Leveling tool or a laser level
- Tamper
- Sand or gravel (optional)
Once you have all the necessary tools and materials, it’s time to begin preparations for your patio excavation.
10 Easy Steps on How to Excavate for a Patio
Step 1: Mark Out Your Excavation Area
The first step is to mark out where you want to dig. Measure how much space you need and use marking paint or string and stakes to mark the outline of your future patio. You can use a string line or a level to ensure accuracy.
Step 2: Check for Utilities
Before you start digging, check with your local utility company to ensure there are no buried gas, electrical, water, or other lines in the area. This is a very important step that needs to be done before excavating. Be careful, and always call before you dig.
Step 3: Begin Excavation
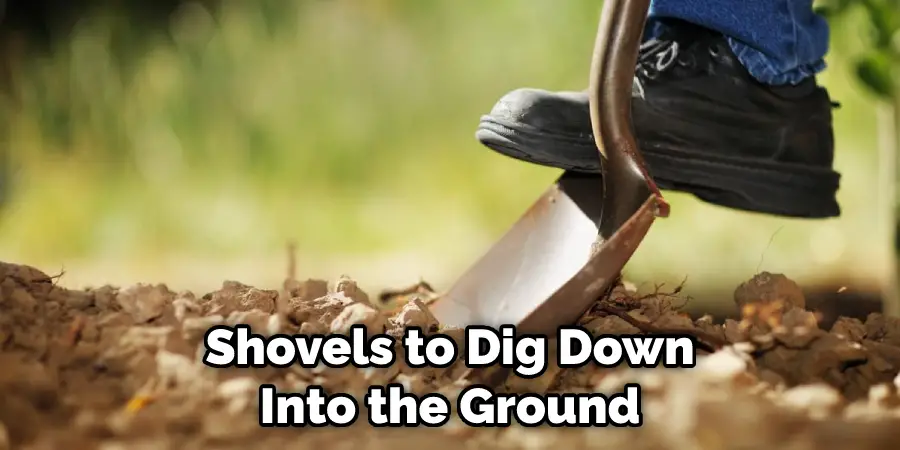
Start by using your shovels to dig down into the ground, making sure to keep the sides of the excavation as even and straight as possible. Depending on how deep you need to go, it may take some time so take breaks when needed. Don’t forget to save the soil you dig out. It will be used later.
Step 4: Level and Pack Down Soil
Once you’ve reached the desired depth, use a leveling tool or laser leveler to ensure that all the excavation edges are even. Then, use a tamper or hand tamp to pack down the soil at the bottom of your excavation. It will provide a more stable base for your patio.
Step 5: Add Sand or Gravel (Optional)
If desired, you can add a layer of sand or gravel across the entire surface area before adding any additional materials, such as pavers or stones. This will help with drainage and provide a solid foundation for your patio. If you choose to do this, ensure the sand or gravel is evenly distributed and packed down.
Step 6: Lay Down Patio Material
Now it’s time to lay down your patio material; this could be anything from concrete pavers to natural stone slabs. Make sure to leave enough space between each piece so that you can later fill it in with sand or gravel.
Step 7: Check for Level
Once you’ve laid down your patio material, use a level to ensure everything is even and flat. Make adjustments as necessary. This is important as it will help to ensure that your patio is strong and stable.
Step 8: Fill in Gaps with Sand or Gravel
If you added sand or gravel during the excavation process, now is the time to fill in any gaps between the patio materials with more of the same material. This will help keep everything secure and looking neat. Ensure that the sand or gravel is tightly packed and level with your patio material.
Step 9: Compact Materials
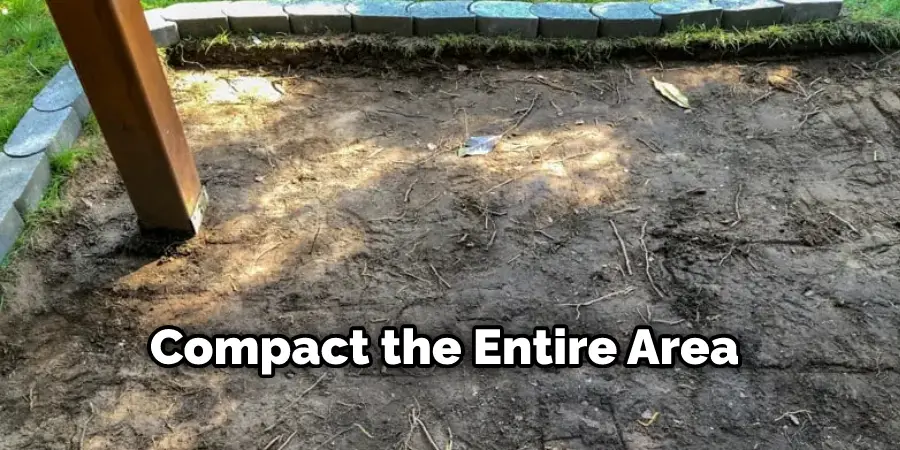
Once all of the gaps are filled in, it’s time to compact the entire area with a tamper or plate compactor to ensure that everything stays nice and secure. This step should be done carefully and slowly to get the best results because of how heavy a plate compactor is, make sure to have a few people on hand to help with this step.
Step 10: Enjoy Your New Patio
You’re almost there! Once your patio is compacted, you can enjoy your newly created outdoor living space. Add some furniture and a few plants for an inviting atmosphere, and it’s time to relax and enjoy.
Excavating for a patio isn’t as intimidating as it may seem. With the right tools and materials, you can easily create a beautiful stone patio that will last for years to come. So grab those shovels, mark out the area, and start digging! Good luck!
You Can Check It Out to Remove Moss from Patio Pavers
5 Additional Tips and Tricks
- If you plan to install a patio, be sure to determine how much soil needs to be removed and how deep the excavation should be.
- When using a shovel to dig, be sure to remove the soil in layers of no more than six inches at a time.
- When digging with heavy machinery, ensure safety precautions are in place to protect those working onsite.
- Using stakes and string can help ensure that the excavated area is consistent throughout.
- After the excavation is complete, ensure that the ground is level before installing your patio or walkway stones. This will prevent any future issues with pavement settling and shifting.
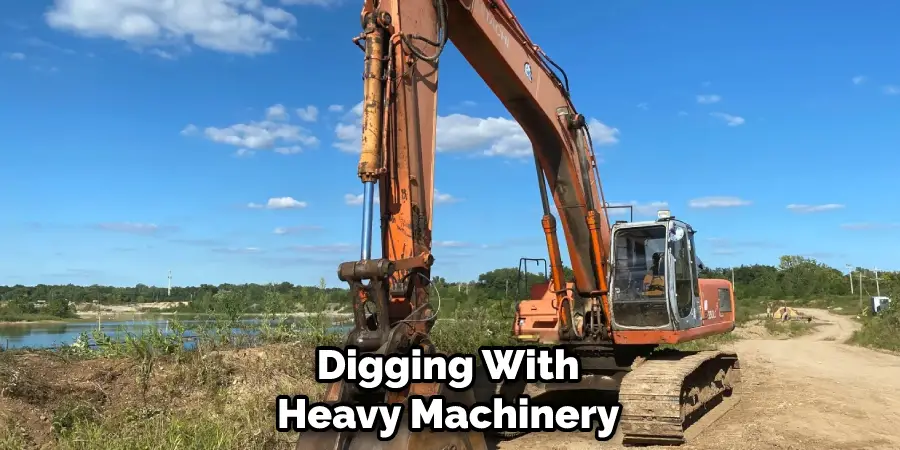
By following these simple tips and tricks, you’ll have a beautiful patio or walkway installed in no time! Have fun and happy digging!
5 Things You Should Avoid
- Incorrectly estimating how deep you need to excavate. Make sure you measure the area and know how much material you need to remove before starting your project.
- Not measuring how wide and long the excavation needs to be. It is important that the trench for your patio’s foundation is properly sized for its purpose, so make sure to take precise measurements when planning out how large it should be.
- Using improper excavation methods. Some methods, such as blasting or burning, can cause serious damage to surrounding structures and increase soil erosion if not done correctly.
- Not using the correct protective gear when digging out a patio’s foundation. Always wear gloves, goggles, and a hard hat when doing any kind of excavation work.
- Avoid the use of any safety equipment. Ensure you have the right tools, such as shovels, wheelbarrows, and tampers, to secure the space and keep workers safe.
By following these tips and taking necessary precautions when excavating for your patio, you can rest assured that it will be secure and long-lasting. Have fun creating your outdoor oasis!
What Are the 3 Types of Excavation?
- Manual excavation is the most traditional and widely used type of excavation. It involves using manual tools such as shovels and pickaxes to dig out small, shallow trenches or large pits by hand.
- Mechanical excavation uses machines to excavate larger areas faster than manual methods. This includes bulldozers, backhoes, trenchers, and other heavy equipment that can quickly remove soil from an area with minimal effort.
- Chemical excavation involves using chemicals to break down hard materials such as concrete or rock to make excavation easier. This method is often used for projects requiring digging out deep foundations or removing stubborn substances from a construction site.
No matter which type of excavation you choose, it is important to take the necessary safety precautions and use the right tools to ensure a successful project. With careful planning and preparation, excavating for your patio will be a smooth and enjoyable experience! Enjoy your new outdoor oasis!
What Type is Best for Your Patio?
When it comes to excavating for your patio, the best type of excavation depends on how large and deep you need to dig. Manual excavation is usually sufficient for smaller patios that don’t require a deep foundation. However, mechanical or chemical excavation may be necessary if you are building a larger patio or one that requires a deeper foundation.
It is also important to consider the soil conditions in your area when selecting an excavation method. For example, sandy or loose soil can be easier to dig out manually since heavier machinery isn’t needed. On the other hand, if you have hard soil or rocks in your yard, it may be necessary to use either mechanical equipment or chemical agents to break them down.
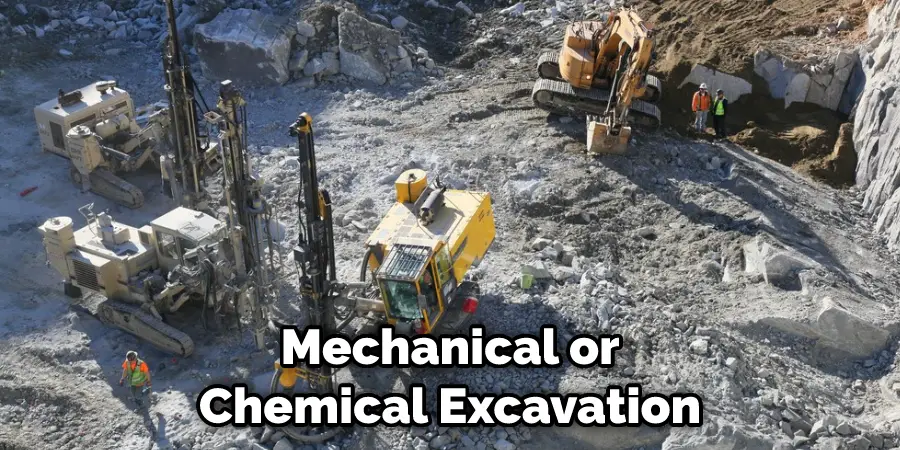
By taking the time to research your excavation needs and plan accordingly, you can ensure that you are using the best method for a successful patio installation! Good luck with your project!
You Can Check It Out To Hang a Blind on a Sloping Patio Cover
Conclusion
By now, you should be much more knowledgeable on how to excavate for a patio and all the items that require consideration, such as soil type and drainage – so what are you waiting for? Grab your shovels, get the right equipment, obtain the necessary permits, and don’t forget to plan and measure properly. With proper guidance, your dream patio won’t simply be a dream but will turn into reality shortly.
Having a good quality and beautiful hardscape can change your house’s look completely while positively affecting its value. So this spring and summer season, enjoy your time with your family around your beautiful patio. After all, it will be worth all the effort!
About
Outdoor Fixes is a distinguished figure in the world of Diy design, with a decade of expertise creating innovative and sustainable Diy solutions.
His professional focus lies in merging traditional craftsmanship with modern manufacturing techniques,
fostering designs that are both practical and environmentally conscious. As the author of diy,
outdoorfixes delves into the art and science of outdoorfixes-making, inspiring artisans and industry professionals alike.
Education RMIT University
(Melbourne, Australia) Associate Degree in Design (Outdoor Fixes) Focus on sustainable design, industry-driven projects,
and practical craftsmanship. Gained hands-on experience with traditional and digital manufacturing tools, such as CAD and CNC software.
Nottingham Trent University
(United Kingdom) Bachelor’s in outdoorfixes.com and Product Design (Honors) Specialized in product design with a focus on blending creativity with production
techniques. Participated in industry projects, working with companies like John Lewis and Vitsoe to gain real-world insights.
Publications and Impact
In diy, Outdoor Fixes his insights on indoor design processes, materials, and strategies for efficient production.
His writing bridges the gap between artisan knowledge and modern industry needs, making it a must-read for both budding designers and seasoned professionals.

