If your garden or outdoor pond is leaking, it can be both a nasty surprise and a real headache to try and find out exactly where the leak is coming from. So, we need to learn how to find leak in pond. Not only will you want to get it fixed as soon as possible so that no further damage is caused, but you also do so in an economical way right away. Fortunately, with the right know-how and a few helpful tools, locating any leaks in your pond doesn’t have to feel like an overwhelming ordeal anymore!

In this blog post, we’ll guide you through the most important steps you need to take when looking for leaks in your garden pond.
What Are the Reasons for Leaking?
There are a few main reasons that you may have a leak in your garden pond.
The most common causes of pond leakage are as follows:
- Unsealed/damaged edges and joins from original construction or repairs
- Root damage to the sides or bottom of the pond caused by nearby trees or shrubs
- Damage to liners or concrete
- Unsealed water pumps and pipes connected to the pond
- Cracks caused by movement of soil near the pond
Once you’ve identified what’s causing the leak, you’ll be able to decide which repair method is best for your situation.
What Will You Need?
To start off with, you’ll need to gather some tools and materials that can be used during the inspection process. These will include:
- A garden spade (or shovel)
- A bucket or plastic container to check for water loss
- A torch light
- A few pieces of wood or plywood to create a temporary dam on both sides of the suspected leaking area.
All of these items should be available from your local hardware store or gardening center. If not, then you may also find them online as well.
10 Easy Steps on How to Find Leak in Pond
Step 1. Visual Inspection:
Visual inspections involve checking all elements of the pond for signs of leakage, such as cracks or missing mortar around joints, damaged liner material, or visibly damp areas near any pumps or pipes connected to the pond. This is the easiest way to spot any potential trouble areas. If you find any signs of water loss, it’s time to move on to the next step.
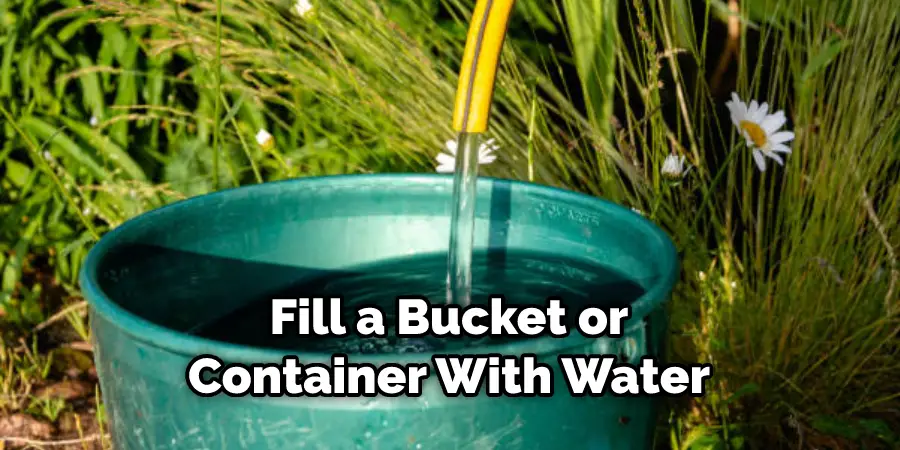
Step 2. Check for Water Loss:
Fill a bucket or container with water and place it at the same level as your pond or slightly below its surface. This will help you quickly identify any water loss that the pond may be experiencing over time. Don’t forget to mark the water level inside the container before you begin.
Step 3. Use the Torch Light:
If you can’t find any signs of visible leakage during the initial inspection, use a torch light to check around all edges and joints of your pond more closely, as well as underneath it. This should allow you to spot any hidden cracks or weak spots which could be causing a leak in your pond’s structure. You can also use a garden spade to investigate any suspicious areas further.
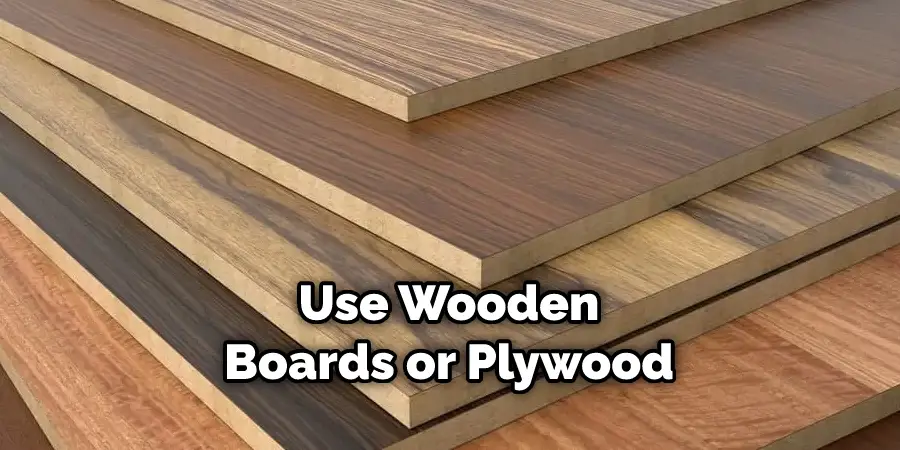
Step 4. Make a Temporary Dam:
If you suspect that the leak is coming from a specific area of the pond, then use wooden boards or plywood to create a temporary dam on either side of this spot and check for any further water leakage. Be careful not to damage the liner or any other parts of the pond when doing this. If there is a noticeable reduction in water loss after you have done this, the leak is likely coming from this area and needs fixing as soon as possible.
Step 5. Check Around Root Damage:
Root damage can cause major problems when it comes to leaking ponds. Carefully inspect any trees or shrubs in your garden and look out for gaps between them and the pond’s structure which could be allowing water to escape. This can be easily fixed by filling the gaps with soil, ensuring that any water loss is minimized.
Step 6. Inspect Liners:
Check all liners, whether PVC or EPDM, for tears or holes which could be causing the leak. If needed, replace the liner altogether in order to ensure that your pond remains waterproofed. Ensure that any repairs or replacements are done to a high standard, which will help prevent future issues.
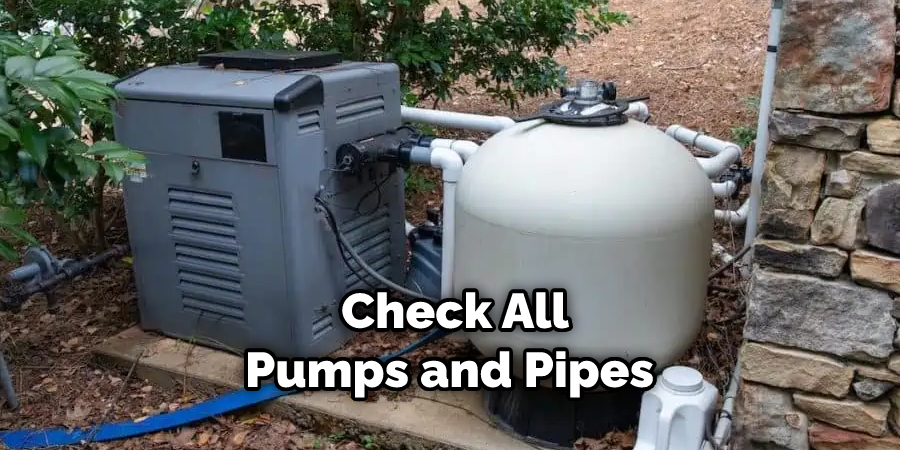
Step 7. Inspect Pumps and Pipes:
Check all pumps and pipes connected to the pond for any unsealed joints which could be allowing water to escape. Again, if necessary, replace these parts in order to prevent further leakage. It is also important to keep all pumps and pipes in good working order, as this will help minimize the chances of any water escaping.
Step 8. Look Out For Soil Movement:
If you live in an area prone to seismic activity, then it’s important to check regularly for any cracks or gaps caused by soil movement near your pond’s structure. This can lead to leaks if not fixed quickly enough! Moreover, if your soil is heavy, then you may need to inspect around the edges of the pond for any signs of subsidence.
Step 9. Identify the Type of Leak:
Once you’ve identified what’s causing the leak, it will help you when deciding which repair method is best for your situation. Try and determine whether the leak is coming from a joint, pipe, or liner, as this will help you choose the right solution.
Step 10. Repair the Problem:
Depending on what kind of leak you have, repairs can be simple or more complex. If it’s minor, then a patch may suffice; however, if it’s major, then replacing the entire liner or structure may be necessary. If in doubt, consult a professional to help with any major repairs.
By following these steps, you should now have all the information needed to identify and repair any leaks in your pond!
5 Additional Tips and Tricks
- Check the water levels regularly. A leaking pond can cause serious damage to your garden quickly if left unchecked, so it’s important to check the water levels often.
- Don’t forget to inspect any rocks or stones around the edge of the pond, as these can cause small leaks too!
- If you have a pump, make sure that it runs efficiently and isn’t blocked by debris or other materials which could cause a leak in the system.
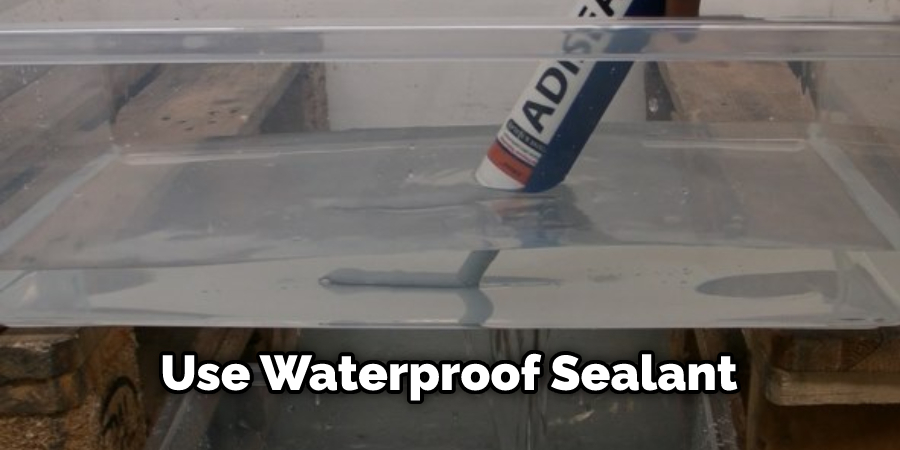
- Use waterproof sealant when replacing liners or making repairs – this will help ensure that your pond is fully sealed off from water loss.
- Regular maintenance is key for preventing future problems with your pond – check for signs of wear and tear each season to avoid costly repairs.
By following these steps, you should now have all the knowledge necessary to find and fix any water leakage in your pond!
5 Things You Should Avoid
- Don’t forget to turn off the pump when inspecting or making repairs – this will prevent any further pressure from being placed on the structure of the pond and can help minimize water loss.
- Avoid using quick fix sealants as they may not be strong enough to last in the long term, leading to more leaks!
- It’s best not to use too many chemicals in your pond, as these can damage liners and other structures, which could lead to leakage issues.
- Don’t overfill your pond, as this could cause strain on its structure and result in more water escaping than necessary.
- Refrain from using gardening tools near the edge of your pond – these can easily cause cracks or holes which can lead to leakage.
By taking the time to follow these steps, you can ensure that your pond is secure and free from water loss for years to come. Don’t forget to regularly assess the condition of your pond and make repairs as needed – this will help keep it in tip top shape!
Conclusion
Finding a leak in a pond can be quite challenging, but the overall process does not need to be expensive. With some careful research and helpful tools, you can accurately determine where the leak is coming from and how to fix it. Additionally, if you’re going to invest in any of these instruments or hire someone, you want to make sure that they are qualified and know what they are doing. Your pond’s health depends on it!
Furthermore, if you have questions or concerns about how to find leak in pond so that your fish stay healthy and live long lives, there are plenty of resources available online, as well as experienced aquaculture technicians that can help guide you in the right direction.
Finally and most importantly, with just a few simple steps and accurate measurements, you can ensure your leaky pond is safely and properly repaired.
About
Outdoor Fixes is a distinguished figure in the world of Diy design, with a decade of expertise creating innovative and sustainable Diy solutions.
His professional focus lies in merging traditional craftsmanship with modern manufacturing techniques,
fostering designs that are both practical and environmentally conscious. As the author of diy,
outdoorfixes delves into the art and science of outdoorfixes-making, inspiring artisans and industry professionals alike.
Education RMIT University
(Melbourne, Australia) Associate Degree in Design (Outdoor Fixes) Focus on sustainable design, industry-driven projects,
and practical craftsmanship. Gained hands-on experience with traditional and digital manufacturing tools, such as CAD and CNC software.
Nottingham Trent University
(United Kingdom) Bachelor’s in outdoorfixes.com and Product Design (Honors) Specialized in product design with a focus on blending creativity with production
techniques. Participated in industry projects, working with companies like John Lewis and Vitsoe to gain real-world insights.
Publications and Impact
In diy, Outdoor Fixes his insights on indoor design processes, materials, and strategies for efficient production.
His writing bridges the gap between artisan knowledge and modern industry needs, making it a must-read for both budding designers and seasoned professionals.