
Adding a ceiling fan to your metal gazebo can be a game-changer, enhancing both comfort and style in your outdoor living space. Whether you want to create a cool breeze on a hot summer day or circulate air during a backyard gathering, installing a ceiling fan is a practical and aesthetic choice. However, the process of installing a ceiling fan in a metal gazebo can be slightly different from installing one indoors due to the unique challenges posed by outdoor environments.

You’ll need to consider factors like weather resistance, electrical connections, and structural support. In this comprehensive guide, we will walk you through the step-by-step process of how to install a ceiling fan in a metal gazebo, ensuring that you can enjoy the benefits of improved ventilation and a more pleasant ambiance in your outdoor oasis. So, let’s get started on turning your gazebo into a comfortable and inviting retreat with a perfectly installed ceiling fan.
The Benefits of Having a Ceiling Fan in a Metal Gazebo
A ceiling fan in a metal gazebo can be a great addition to your outdoor space. It provides extra cooling in hot weather, and helps keep bugs away by circulating the air. The fan also adds fresh air circulation and reduces humidity levels in the area. Plus, it’s relatively easy to install.
Once you’ve installed the fan, one of the most noticeable benefits is how it can help to enhance your outdoor space. For example, if you’re looking for a decorative touch, ceiling fans come in many different designs and styles, from elegant to modern. They also provide improved air flow which helps keep mosquitoes away while keeping your outdoor space comfortable and enjoyable.
Additionally, adding a fan in an enclosed area like a metal gazebo helps to keep the temperature more comfortable. As it uses energy efficiently, it can help reduce your electricity bills during hot summer months. And with better air circulation, you’ll have cleaner air that’s free of pollutants and allergens.
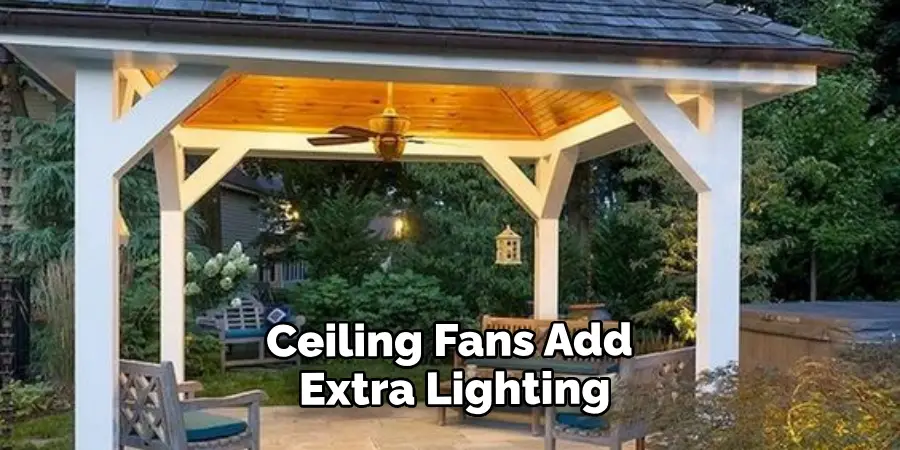
Finally, ceiling fans add extra lighting to an outdoor area too. With select models you can even choose how and when you want the lighting to be used. This is especially helpful for evening activities, such as barbecues or outdoor parties.
Measuring the Dimensions of the Gazebo and the Fan
Before installing the ceiling fan in your metal gazebo, you should measure the dimensions of both. The fan needs to fit within the frame, and it’s important that you have enough room for wiring and air circulation. If the fan is too large for the space, it might not work as efficiently. Measure both the inside width of your metal gazebo and the diameter of your fan, then compare them to ensure that it will fit. However, if the fan is too small for the gazebo, you can always purchase a larger one.
10 Methods How to Install a Ceiling Fan in a Metal Gazebo
Measure the Ceiling
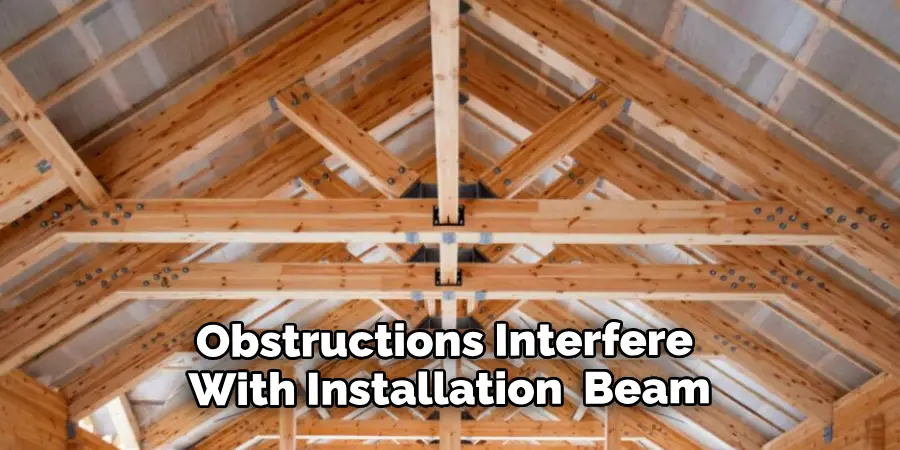
Before installing a ceiling fan in a metal gazebo, you will need to measure the ceiling of the gazebo. This will help you determine what size fan you should purchase, as well as how long it will need to be in order to reach from the ceiling to the floor of the gazebo. Make sure to take into account any obstructions that may interfere with your fan installation such as beams or posts.
Purchase Fan and Hardware
Once you have measured your ceiling, head out and purchase a fan and all necessary hardware for installation. Be sure to read through all instructions carefully before beginning any work. Most fans come with detailed instructions that provide step-by-step guidance on how to install them properly.
Turn Off Power
Before starting any electrical work, make sure that you turn off power at your circuit breaker box or fuse box. This is an important safety precaution and should never be skipped! Once power has been shut off, test it with a voltage tester just to be sure before proceeding with installation.
Mount Bracket and Hang Fan
The next step is to mount your bracket onto the ceiling of your gazebo using screws or lag bolts (depending on what type of fastener is recommended by your particular fan). Once the bracket is securely mounted, hang your fan from it using the included mounting screws and washers. Make sure all connections are tight before moving on to wiring up your fan!
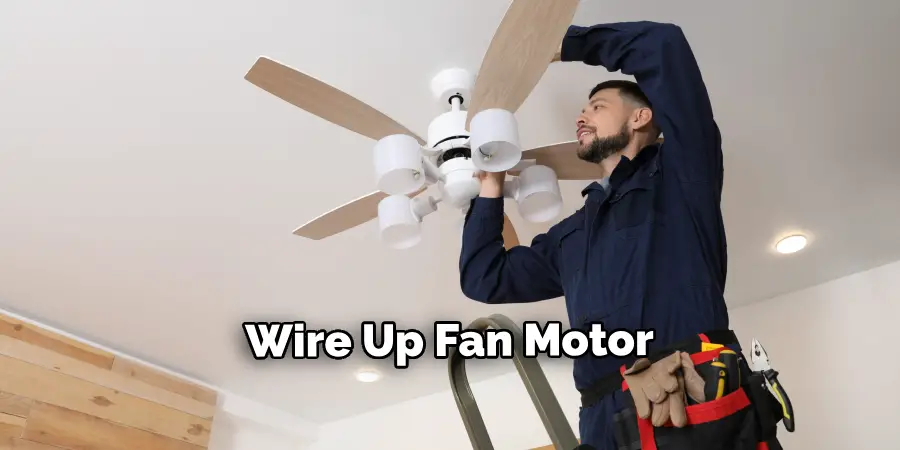
Wire Fan Motor
Now it’s time to wire up your fan motor according to the manufacturer’s instructions. This process can vary depending on whether you’re installing a single-switch or double-switch configuration so make sure you read through all instructions carefully before beginning this step! Additionally, if you have any questions about wiring up your fan motor, always consult an electrician for assistance rather than attempting it yourself without proper knowledge or experience.
Connect Wiring from the Motor to Switch Boxes
Once your motor is wired up correctly, connect wiring from the motor leads (black & white) into one of the switch boxes located near where you plan on installing switches for controlling speed/light settings, etc. Make sure all connections are tight and secure before continuing to connect wires in other switch boxes as needed!
Install Switches
The next step is to install switches for controlling speed/light settings etc. Depending on what type of switch configuration you have chosen (single or double), follow the manufacturer’s instructions for properly mounting them into place within their respective boxes near where they will be used most often (e.g., near entrance/exit doors).
Connect Wiring from Switches To Motor Leads
After the switches are installed properly in their respective boxes, connect the wiring from each switch lead (black & white) to the corresponding leads coming off of the motor (black & white). Again, make sure all connections are tight and secure before continuing to connect wires in other switch boxes as needed!
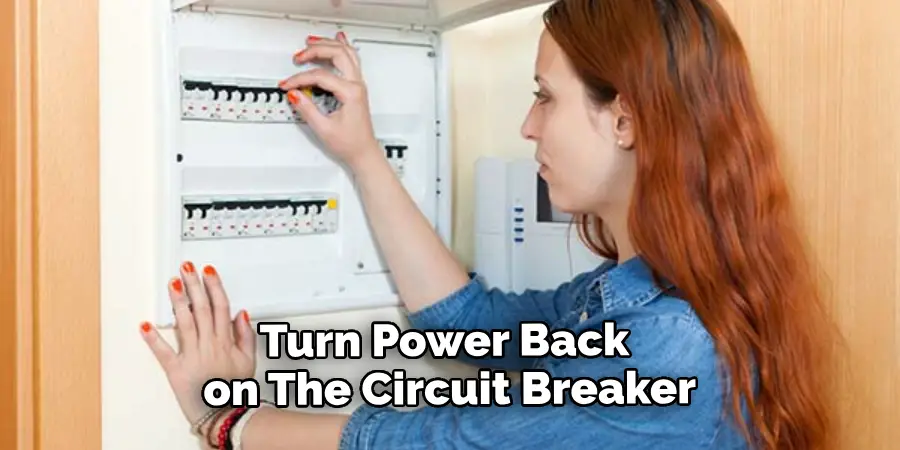
Test Fan Operation Before Final Installation
It’s always best practice to test out the operation of a newly installed ceiling fan before finalizing installation by turning the power back on at the circuit breaker box or fuse box and then flipping light/speed switches accordingly – just make sure not to touch blades while doing so! If everything checks out OK, then proceed to finalize installation by tightening down nuts/bolts, securing brackets/switches, etc.
Finalize Installation
Finally, tighten down nuts/bolts secure brackets/switches etc. Once everything is secured properly, turn the power back on at the circuit breaker box or fuse box, then flip the light/speed switches accordingly – if everything works as expected, then congratulations – you’ve successfully installed a new ceiling fan in a metal gazebo!
Things to Keep in Mind When Installing a Ceiling Fan in a Metal Gazebo
When you have decided to install a ceiling fan in a metal gazebo, it is important to keep a few things in mind to ensure the installation goes as smoothly and safely as possible.
First and foremost, be sure that the wiring is up-to-date and meets local safety codes. This includes checking for proper grounding, using an appropriate outdoor-rated GFCI outlet, and using correctly rated wire gauges for the length of the run.
Second, make sure your chosen fan is designed for use in damp or wet locations. If not, it will need a protective cover to keep moisture out of its motor and wiring. The National Electrical Code (NEC) requires that fans installed in wet or damp locations be certified for use in such areas.
Third, you will need to attach hanger brackets to the underside of the gazebo roof,
Then mount the fan to these brackets using screws and washers that are appropriate for the material your gazebo is made from.
It’s important to make sure that all of your screws have enough threads to provide a secure connection, and that the screws are long enough to penetrate deeply into the gazebo roof.
Common Mistakes to Avoid when Installing a Ceiling Fan in a Metal Gazebo
- Make sure you’re using the right size fan for your gazebo. Some fans are too big or too small to fit properly, so measure the dimensions of your space before buying one.
- Don’t forget to use waterproof sealant around any exposed areas to prevent rust and other weather damage.
- Ensure that any wiring connections are secure and all screws are securely tightened. Loose wires or screws can cause the fan to move and become unstable, posing a safety hazard.
- Make sure your fan is properly balanced before you start using it. An unbalanced fan can cause vibration which will eventually wear down the motor over time.
- Don’t use an extension cord or multiple outlets to power your fan. This could create more of a fire hazard due to the increased voltage and potentially overload the circuit.
- Before you turn on the fan, make sure all screws are secure and that you’ve gone over your installation once more to check for any missed connections or loose wires. Turning on the fan with something loose can cause serious damage.
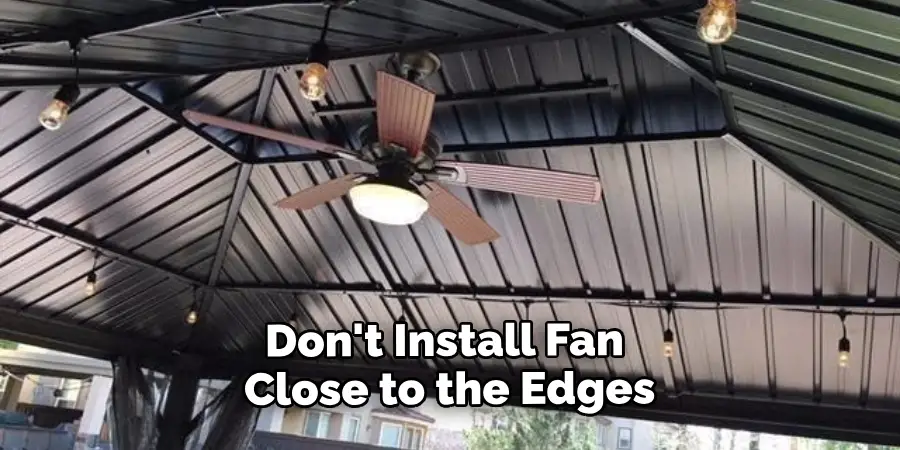
- Don’t install the fan too close to the edges of the gazebo; doing so could make it more vulnerable to wind and other forces that could cause it to become unstable or fall.
Safety Precautions for Installing Ceiling Fan in a Metal Gazebo
When installing a ceiling fan in a metal gazebo, it is important to take some safety precautions to avoid any injury or damage. Here are some tips to follow:
- Make sure the electrical power remains off during installation. Unplug all wires and check that all connections are properly insulated from moisture.
- Inspect the area around the ceiling fan to make sure it is free from obstructions and that the fan can be securely mounted.
- Wear protective gear such as safety glasses or goggles when handling sharp metal objects or power tools.
- Use a drill bit slightly smaller than the mounting screws when drilling pilot holes in the gazebo’s ceiling for the fan mount. This will ensure a secure fit and prevent the screws from protruding through the ceiling.
- If you are unsure of any of the steps in the installation process, contact a professional electrician to help you install your fan securely and safely.
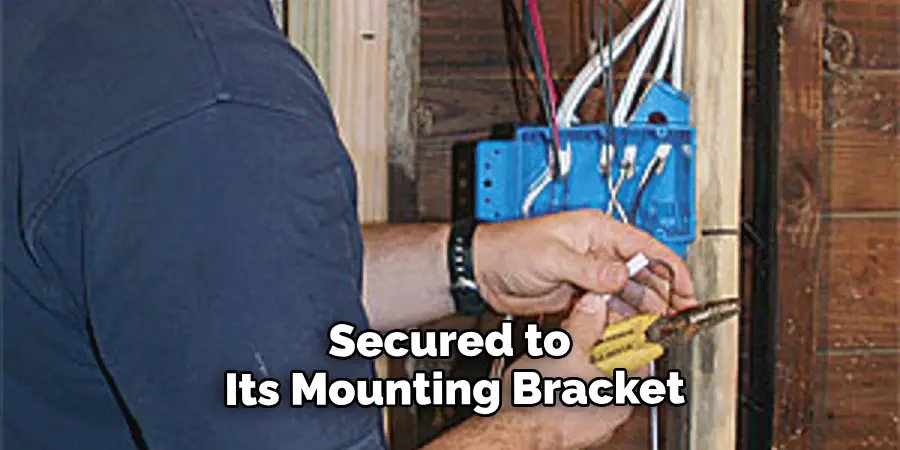
- When operating a ceiling fan, always make sure it is properly secured to its mounting bracket and that all electrical connections are secure and insulated. Never attempt to install a fan without proper safety precautions and knowledge.
- Check the manufacturer’s instructions for your specific model of ceiling fan before attempting any installation procedures. This will help ensure that you are following the correct steps and using the right tools for the job.
Conclusion
To wrap up, installing a ceiling fan in a metal gazebo can be an intricate process. Many variables and factors need to be taken into consideration for the potential success of this task.
Make sure to do your due diligence when it comes to research and preparation as well as staying mindful during the installation itself. It’s better to take your time and think through each step rather than rush the job and end up with a potentially messy outcome. With proper planning, patience, and attention to detail, we can have confidence that the fan will be installed safely and efficiently ensuring our own comfort in the hot summer months while also providing us with that cool breeze of relief. Now armed with all this new knowledge at your disposal, you are ready to take on how to install a ceiling fan in a metal gazebo!
About
Outdoor Fixes is a distinguished figure in the world of Diy design, with a decade of expertise creating innovative and sustainable Diy solutions.
His professional focus lies in merging traditional craftsmanship with modern manufacturing techniques,
fostering designs that are both practical and environmentally conscious. As the author of diy,
outdoorfixes delves into the art and science of outdoorfixes-making, inspiring artisans and industry professionals alike.
Education RMIT University
(Melbourne, Australia) Associate Degree in Design (Outdoor Fixes) Focus on sustainable design, industry-driven projects,
and practical craftsmanship. Gained hands-on experience with traditional and digital manufacturing tools, such as CAD and CNC software.
Nottingham Trent University
(United Kingdom) Bachelor’s in outdoorfixes.com and Product Design (Honors) Specialized in product design with a focus on blending creativity with production
techniques. Participated in industry projects, working with companies like John Lewis and Vitsoe to gain real-world insights.
Publications and Impact
In diy, Outdoor Fixes his insights on indoor design processes, materials, and strategies for efficient production.
His writing bridges the gap between artisan knowledge and modern industry needs, making it a must-read for both budding designers and seasoned professionals.