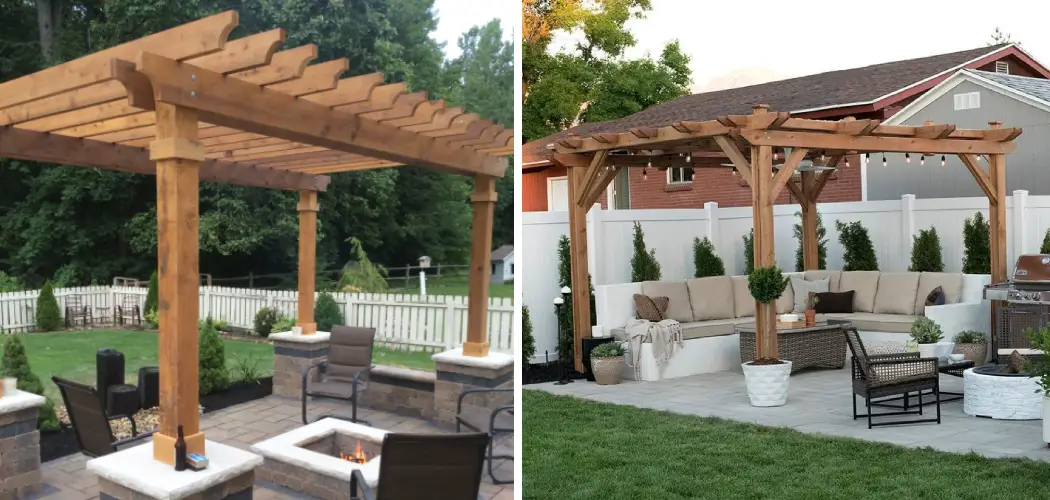
Are you ready to give your outdoor space a stylish and sophisticated makeover but don’t know where to start? Installing a pergola on pavers is an easy and appealing way to give your backyard instant appeal. It will add charm to any garden or patio area, but installing the pergola can be easier than you think!

This project can be completed in a single day if you have the right tools and materials. Just follow these simple steps, and you’ll have a beautiful pergola soon!
Whether you are looking for shade, some more privacy from neighbors, or just want to have somewhere special that looks beautiful outdoors, having a pergola can help. Read on for helpful tips on how to install a pergola on pavers—it’ll be much easier than expected!
What Will You Need?
Before you get started, make sure to have the following items on hand:
- Tape measure
- Circular saw, electric drill, and screws
- Hammer and nails
- Pavers (concrete or brick)
- Weed control fabric and sand
- 4×4 wooden posts (treated lumber is best for outdoor use)
- Attachments (joist hangers, post anchors, straps, etc.)
- Pergola kit or planks of wood for the beams and rafters
Once you have all the necessary materials, you can install your pergola.
10 Easy Steps on How to Install a Pergola on Pavers
Step 1: Prepare Your Site
You must create a level, stable, and even foundation for your pergola. If not, the entire structure may be unstable or collapse. Start by measuring the area where you want to install the pergola, and then mark out the area with a string line.
Using a spirit level to double-check your measurements, prepare the base for your pavers by digging down about 6 inches (15 cm). Make sure you square off the edges of your prepared area so that it’s nice and neat. Once you are done, add a layer of weed control fabric.
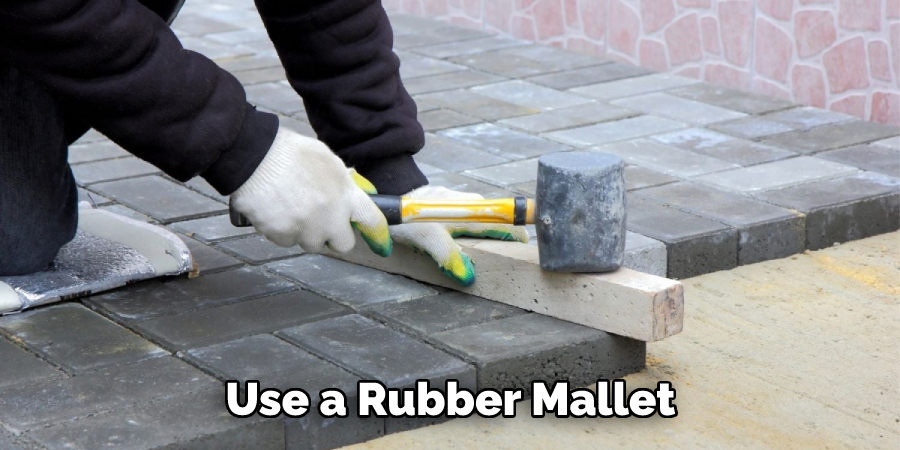
Step 2: Install the Pavers
Next, start laying your pavers in an even pattern. Make sure that all of the edges of your pavers are aligned perfectly, and use sand to fill in any gaps between them. Use a rubber mallet to set each paver into place as you go. Compact them down firmly using a tamper once you have completed laying the pavers.
Step 3: Add a Layer of Sand
Once your pavers are in place, it’s time to add some sand on top. This will help keep the stones secure and stabilize your pergola. Spread the sand evenly across the top of your pavers and use a broom to distribute it. Make sure you sweep the sand into all the cracks between the stones.
Step 4: Mark Out Your Posts
Mark out where you would like your posts to be positioned with string lines or wooden pegs. Drill holes for each post, about 6 inches (15 cm) in diameter and 12 inches (30 cm) deep. Make sure that the holes are slightly bigger than your posts so you can easily slide them into place.
Step 5: Install Posts
Now it’s time to install your posts. Start by inserting the treated wood posts into each hole. Secure them into place with a concrete mix or some other type of anchor. Use a level to ensure that the posts are straight and even.
Step 6: Attach Joist Hangers
Once your posts are in place, it’s time to attach the joist hangers. Start by measuring and cutting the beams and rafters according to your pergola kit or planks of wood. Attach the joist hangers to the posts using galvanized screws or nails and then slide the beams into place.
Step 7: Install Rafters
It’s now time to attach your rafters. Start by measuring and cutting them according to your specifications, then attach them with more nails or screws. Make sure that they are spaced evenly between the beams and that they are perfectly level. Don’t forget to attach post anchors for extra stability.
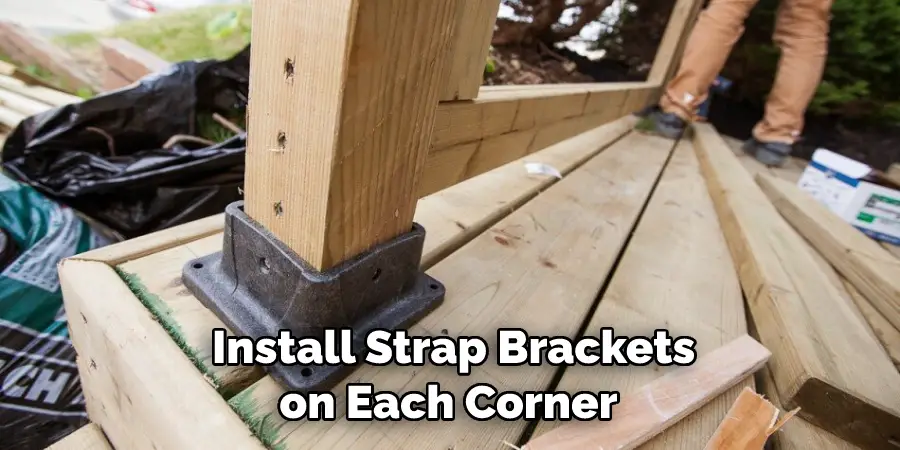
Step 8: Install Strap Brackets
To increase the strength and stability of your pergola, install strap brackets on each corner. Use galvanized screws or nails to secure them in place. This will help to keep the entire structure together and make it much more durable over time. Additionally, you can also add extra brackets for additional support.
Step 9: Finish It Off
Now that your pergola is up, it’s time to finish it off with some wood sealer or paint. This will help protect the wood from the elements and ensure your pergola lasts longer. You can also use a wood stain to give your pergola a more unique look.
Step 10: Enjoy Your Outdoor Area!
Congratulations—you’ve done it! You’ve just installed a brand-new pergola on pavers, and now you can enjoy your outdoor area in style. Add some comfortable furniture, a few plants, and maybe even some lights to create an inviting atmosphere. Now you can sit back, relax and enjoy your newly-transformed outdoor space!
As you can see, installing a pergola on pavers isn’t as difficult as it may seem. This project can be completed in just one day with the right materials and tools. Plus, the results will be worth all of the effort. So, if you’re looking for an easy and attractive way to give your outdoor area a makeover, installing a pergola on pavers is worth considering!
5 Additional Tips and Tricks
- Make sure to level out the area where you’ll be building the pergola, as any inconsistencies can lead to potential installation issues.
- To ensure your pergola is sturdy, add extra weight at the base of each post before setting it in place. Such items could include concrete pavers or sandbags.
- Start with one post and then work your way out, securing each post one at a time. This will ensure that the pergola is properly aligned before continuing on with the installation.
- Leave enough room between the posts and pavers to allow for the expansion and contraction of both materials as temperatures fluctuate throughout the year.
- Add extra support wherever needed by including additional crossbeams and braces. This will ensure that your pergola remains structurally sound for years to come.
With these tips and tricks in mind, you should be well on your way to successfully installing a pergola on pavers. Remember to take the necessary precautions and use the right materials for an optimal outcome.
5 Things You Should Avoid
- Don’t forget to check for electrical or plumbing lines before drilling any holes.
- Avoid using nails or screws that are too long, as this can lead to structural instability.
- Skip the concrete mix when setting posts in place, as it could damage the pavers and cause them to crack over time.
- Refrain from skipping any steps, as this could result in an installation that is not secure.
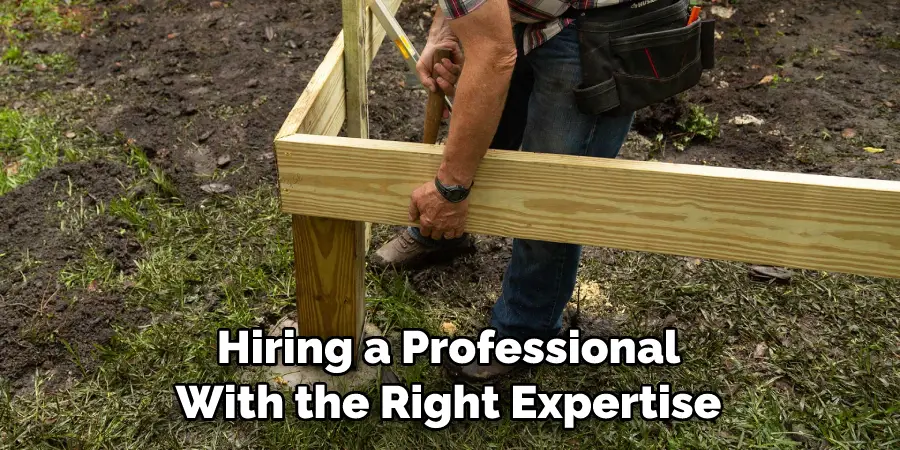
- Don’t attempt to install a pergola on your own if you don’t have the necessary skills and experience. Hiring a professional with the right expertise will ensure a safe and successful installation.
Now that you know what techniques to use – and which ones to avoid – you can confidently install your pergola on pavers. With the right tools and materials, and a bit of hard work, you’ll be able to enjoy your new outdoor addition in no time!
How Do You Anchor a Pergola Without Drilling?
For those who are looking for an option that doesn’t require drilling, there is a simple solution: anchoring your pergola to the ground. All you need are some weighty objects such as sandbags or concrete blocks and some sturdy rope or tie-down straps. Place the heavy items on each corner of the pergola and use the straps to secure them in place.
This method will ensure that your pergola is securely anchored without the need for any drilling.Installing a pergola on pavers doesn’t have to be difficult – just follow these simple steps, and you’ll be able to enjoy your outdoor space in style! With the right materials and tools, combined with the tips and tricks outlined above, you can create a backyard oasis that will last for years. So, go ahead – get started on your pergola installation today!

Conclusion
Installing a pergola on pavers is not as difficult. It’s a great way to spruce up your outdoor patio or deck and add character to your home. Plus, if you take the right precautions and use the proper materials, you can be assured that your DIY pergola will last for years. Whether you plan on doing it yourself or hiring someone else, the result will be worth it – a beautiful pergola everyone will enjoy!
Hopefully, this article on how to install a pergola on pavers has given you the information and insights you need to install a pergola on pavers successfully. Remember to take your time with each step, measure twice and cut once, and use quality materials for optimal results.
As always, consult with an expert in your area if you have further questions or need additional advice on installing a pergola on pavers. With their help, you can confidently and successfully tackle this project like a pro!
About
Outdoor Fixes is a distinguished figure in the world of Diy design, with a decade of expertise creating innovative and sustainable Diy solutions.
His professional focus lies in merging traditional craftsmanship with modern manufacturing techniques,
fostering designs that are both practical and environmentally conscious. As the author of diy,
outdoorfixes delves into the art and science of outdoorfixes-making, inspiring artisans and industry professionals alike.
Education RMIT University
(Melbourne, Australia) Associate Degree in Design (Outdoor Fixes) Focus on sustainable design, industry-driven projects,
and practical craftsmanship. Gained hands-on experience with traditional and digital manufacturing tools, such as CAD and CNC software.
Nottingham Trent University
(United Kingdom) Bachelor’s in outdoorfixes.com and Product Design (Honors) Specialized in product design with a focus on blending creativity with production
techniques. Participated in industry projects, working with companies like John Lewis and Vitsoe to gain real-world insights.
Publications and Impact
In diy, Outdoor Fixes his insights on indoor design processes, materials, and strategies for efficient production.
His writing bridges the gap between artisan knowledge and modern industry needs, making it a must-read for both budding designers and seasoned professionals.