
Installing an aluminum fence is an excellent way to enhance the beauty, security, and value of your property. Known for its durability, low maintenance, and versatile design options, aluminum fencing has become a popular choice among homeowners and property managers. Whether you’re looking to define your property boundaries, secure a pool area, or simply add an elegant touch to your landscape, learning how to install aluminum fence can be a rewarding DIY project.
In this comprehensive guide, we’ll take you through the essential steps of installing an aluminum fence, from planning and preparation to assembling and securing each component. With the right tools, materials, and a systematic approach, you can transform your outdoor space with a professionally installed aluminum fence that will stand the test of time.
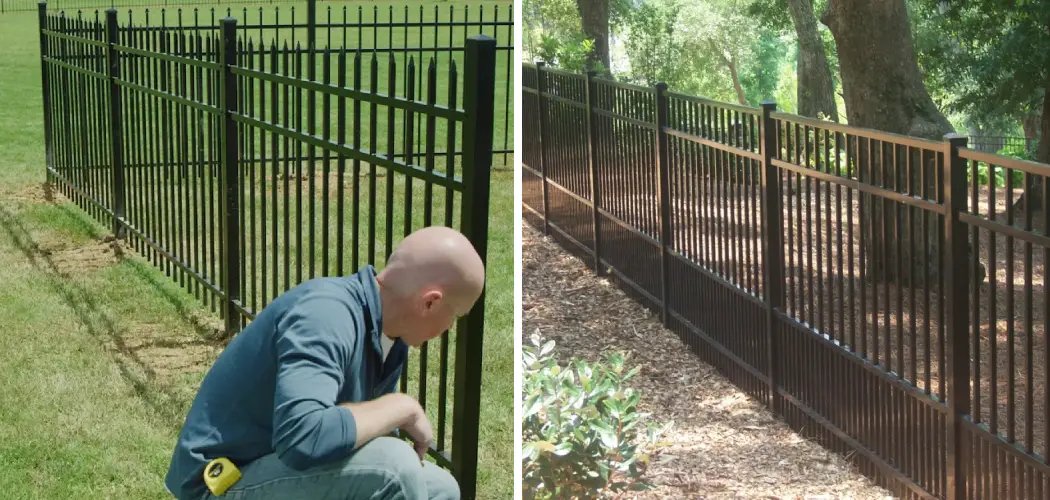
Importance of an Aluminum Fence
Aluminum fencing has become increasingly popular in the last few years due to its durability and attractive look. Installing an aluminum fence for your home can provide added security, privacy, and value to your property. However, it is important to remember that proper installation of an aluminum fence is essential for making sure that you get the most out of this investment.
Benefits of Choosing Aluminum for Fencing
Installing an aluminum fence provides many benefits to homeowners. Aluminum fencing is a versatile and durable option that adds style and beauty to any home. It is also easy to install, making it a great choice for do-it-yourselfers.
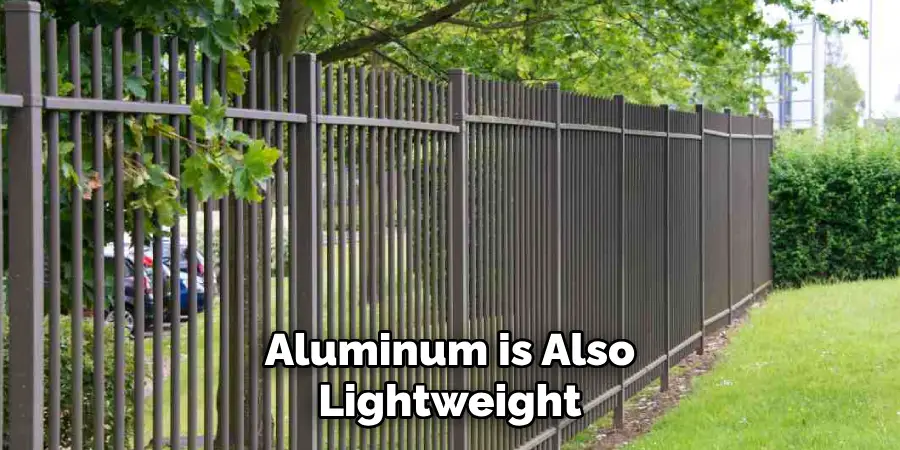
Aluminum fencing offers several advantages over other types of fences. It’s low-maintenance and long-lasting, making it an economical and practical choice. Aluminum is also lightweight, easy to install, and sturdy enough to withstand harsh weather conditions. It’s also rust-resistant and won’t rot like wood or vinyl fencing.
Aluminum fence installations are also very attractive. The metal is available in a variety of colors and designs so you can create a custom look for your home. The metal won’t crack or warp like wood, and it won’t require frequent maintenance.
Aluminum fencing is also an excellent choice if you need to secure a pool or other outdoor area. It creates a safe and secure barrier that will keep children and pets away from dangerous areas of the property. It also enhances the security of your home while adding aesthetic appeal.
When choosing aluminum for fencing, it’s important to consider the size of your space and the type of fence panel you want. Aluminum fencing is available in several heights and widths so you can customize the look of your fence to fit your needs. When installing an aluminum fence, it’s important to use the right materials and follow instructions carefully.
10 Steps How to Install Aluminum Fence
Gather Necessary Materials
Before installing an aluminum fence, it is important to gather all of the necessary materials and tools. This includes the aluminum fence posts, panels, screws, bolts, drill bits, level, drill, post hole digger or auger, and a wrench. It is also important to check local building codes to ensure that the fence meets all regulations.
Measure and Mark Fence Line
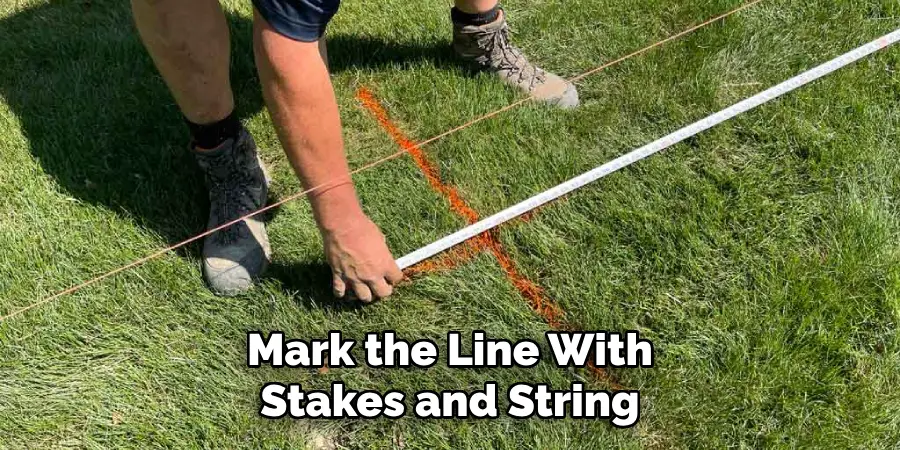
The next step is to measure out the area where the fence will be installed and mark the line with stakes and string. This will help to ensure that the fence is installed in a straight line and at the correct height.
Dig Post Holes
Once the area has been marked out, it is time to start digging post holes for each of the aluminum fence posts. The depth of each hole should be at least 24 inches deep for stability purposes. If desired, concrete can also be used to further stabilize each post hole before inserting the post into place.
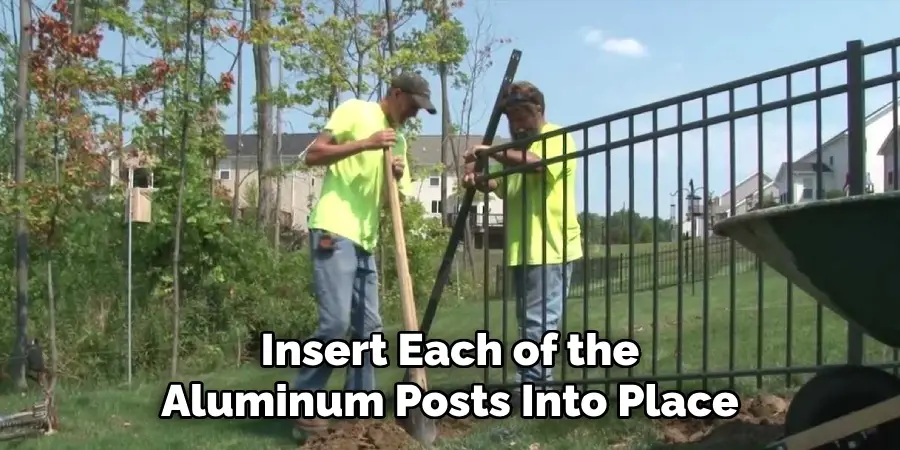
Install Posts Into Holes
Once all of the post holes have been dug, it is time to insert each of the aluminum posts into place. It is important to make sure that each post is level before securing them in place with concrete or soil backfill material around each post hole.
Attach Panels
Now that all of the posts are in place, it’s time to attach each panel onto them using screws or bolts as needed depending on how many panels are being used per section of fencing. It’s important to make sure that each panel fits securely onto its respective post before moving on to attaching additional panels if necessary for larger sections of fencing.
Secure Posts With Brackets
Once all of the panels have been attached to their respective posts it’s time to secure them in place using brackets or other hardware as needed depending on what type of fencing system you are using (e.g., privacy fences may require more support than picket fences). Make sure that each bracket is firmly secured in place so that there won’t be any movement once you’re finished installing your fence system.
Add Finishing Touches
At this point, you can add any finishing touches, such as gates or additional decorative elements like finials or lattices as desired for aesthetic purposes or functionality (e..g., adding a gate so people can access your backyard). Once these elements have been added, it’s time for one final check around your entire fence system just to make sure everything looks good and functions properly before moving on to step 8 below!
Check For Stability
Before calling your aluminum fencing installation project complete, it’s important to take some time and check for stability around your entire fence system by pushing against different areas with your hand (or foot) just to make sure nothing moves too much or shifts out of alignment due to loose hardware or uneven ground levels beneath certain sections of fencing material itself!
Apply Protective Coating
If desired, you can also apply a protective coating such as paint primer or sealant over the top of your newly installed aluminum fencing system just as an extra layer of protection from weathering elements such as rain/wind/sunlight, etc. This will help keep your new fence looking great for years down the road without having to worry about rusting/corroding etc.
Enjoy Your New Fence!
Lastly, after taking care of all nine steps above, you should now be able to enjoy your new aluminum fencing system knowing that everything was done correctly & safely – Congratulations on completing this project & we hope you enjoy your new outdoor space!
Lastly
Determining the Fence Style and Design
Once you have chosen the right material for your fence, it is time to decide on the style and design. Aluminum fencing is available in various colors, sizes, designs, and configurations. Consider how much privacy you need from your fence and any other needs that must be addressed such as noise reduction or safety requirements. You may even choose to add decorative elements like finials or scrolls for a unique look.
Installing the Posts and Rails
Before you can install your aluminum fence, you will need to set and level your posts in the ground. When doing so, be sure to use concrete to secure them in place. If posts are not secured properly, they may shift or even break due to heavy winds or from other structural pressures on the fence. Once the posts are in place, you can begin installing the rails. Rails typically come pre-assembled and are attached directly to the posts with screws or brackets.
Adding Pickets and Finishing Touches
Finally, pickets can be added to create your desired design and level of privacy. Depending on which style you choose, pickets may come pre-assembled and ready to install. If not, they can be easily attached to the rails with screws or specialized fasteners. After the pickets are in place, you may want to add decorative elements like finials or scrolls for a distinctive look. Finally, check your fence over for any loose posts or pickets that may need tightening before enjoying your new aluminum fence.
Painting or Sealing Your Aluminum Fence
If you want your aluminum fence to last longer and be even more resistant to extreme weather conditions, you can paint or seal it. Painting and sealing will also help protect against rust and other types of corrosion. If you decide to go this route, there are several types of paints and sealants that are specifically designed for metal surfaces. Make sure to use the right product and carefully follow all instructions for the best results.
Conclusion
Installing an aluminum fence is a great way to improve the security and aesthetics of your property. Not only will it increase the value of your home, but it can also make it easier for you to contain pets within a certain area. Plus, aluminum fencing is durable yet easy to maintain over time. With our helpful steps, you’ll be able to successfully install your aluminum fence in no time at all with minimal effort and expense.
Now that you have all the information you need on how to install aluminum fence, why not get started today? Projects like these don’t just have to be difficult and require a lot of special tools or skills. With simple DIY chemical knowledge and some basic tools, installing an aluminum pneumatic retractor can easily provide a professional-looking result with fewer delays and costs. It’s an investment that once completed will serve you for many years to come!
About
Outdoor Fixes is a distinguished figure in the world of Diy design, with a decade of expertise creating innovative and sustainable Diy solutions.
His professional focus lies in merging traditional craftsmanship with modern manufacturing techniques,
fostering designs that are both practical and environmentally conscious. As the author of diy,
outdoorfixes delves into the art and science of outdoorfixes-making, inspiring artisans and industry professionals alike.
Education RMIT University
(Melbourne, Australia) Associate Degree in Design (Outdoor Fixes) Focus on sustainable design, industry-driven projects,
and practical craftsmanship. Gained hands-on experience with traditional and digital manufacturing tools, such as CAD and CNC software.
Nottingham Trent University
(United Kingdom) Bachelor’s in outdoorfixes.com and Product Design (Honors) Specialized in product design with a focus on blending creativity with production
techniques. Participated in industry projects, working with companies like John Lewis and Vitsoe to gain real-world insights.
Publications and Impact
In diy, Outdoor Fixes his insights on indoor design processes, materials, and strategies for efficient production.
His writing bridges the gap between artisan knowledge and modern industry needs, making it a must-read for both budding designers and seasoned professionals.