If you’re a homeowner with a garden or small farm, then you know the challenge of keeping birds from eating your crops! Installing bird netting over your garden can be an effective way to protect your plants and produce while also allowing other beneficial wildlife like bees & butterflies to benefit from them.
In this blog post on how to install bird netting over garden, we’ll explain the importance of bird netting and how to install it on your own. You’ll learn useful tips about choosing the best type of bird netting for your garden as well as how to ensure it’s installed correctly so that wildlife is not harmed in the process. Read on for more helpful information on installing bird netting over the garden!
11 Step-by-step Guidelines on How to Install Bird Netting Over Garden
Step 1: Measure and Choose the Right Size
Before you start to install bird netting over your garden, it’s important that you choose the right size. Measure your garden so that you know the exact measurements you need for your netting.
Make sure to leave some extra space around the garden’s edges since birds may still be able to get in if there are any gaps between the netting and the ground. It’s best to choose a size that covers the entire area of your garden.
Step 2: Choose the Right Type of Bird Netting
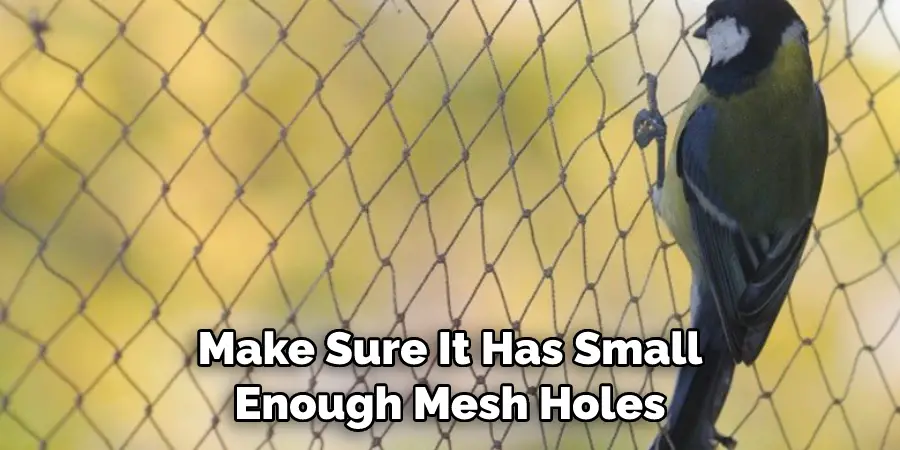
When choosing a type of bird netting, look for one that is made from durable materials such as polyethylene or nylon, and make sure it has small enough mesh holes so that smaller birds won’t be able to get through it. If you’re installing it over a large area, consider using two or more layers of bird netting instead of one.
This will help to prevent birds from finding a way to get into your garden area. But be sure to space the two layers apart to allow enough air and light in.
Step 3: Get All Necessary Supplies
Once you have chosen the right size and type of bird netting, next comes gathering all of the necessary supplies. You’ll need a ladder, stakes to hold the netting in place, and tools such as scissors or wire cutters.
It’s also a good idea to have some zip ties on hand and extra pieces of bird netting in case you need to patch any holes. If you’re using two layers of bird netting, make sure to have enough supplies for both.
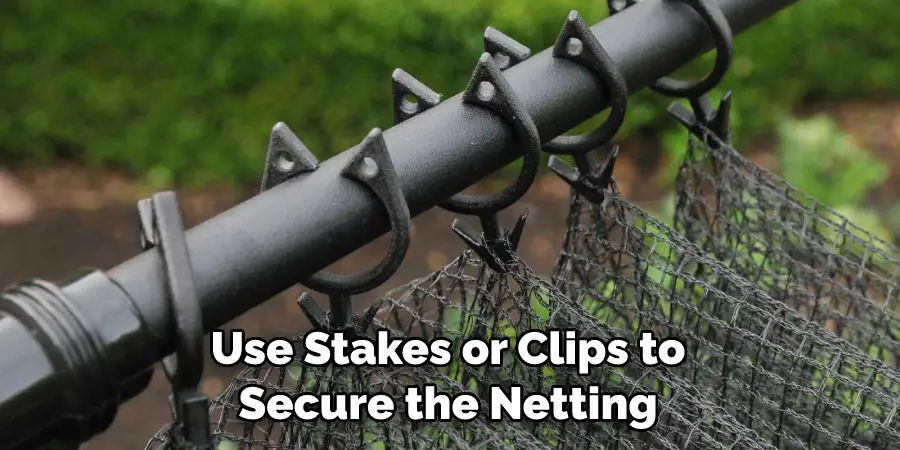
Step 4: Secure the Netting to Stakes
Once you have gathered all of your supplies, begin by securing the netting to stakes that are pushed into the ground around your garden area. This will help keep it in place while you work on installing it properly.
But make sure to leave some slack near the ground so that air and light can still get inside. If you’re using two layers of netting, start with the bottom layer first and then cover it with the top layer.
Step 5: Attach the Top Edge of the Bird Netting
Next, attach the top edge of bird netting to something sturdy like a fence or tree branch using clips or ties that can be purchased from most hardware stores. Make sure that this attachment is secure and won’t easily come undone. Otherwise, birds may be able to get in through any gaps.
It is also helpful to check the top edge of your bird netting every once in a while for any holes or tears that may need mending. It’s also a good idea to use zip ties around the perimeter of your garden area to help secure the netting in place.
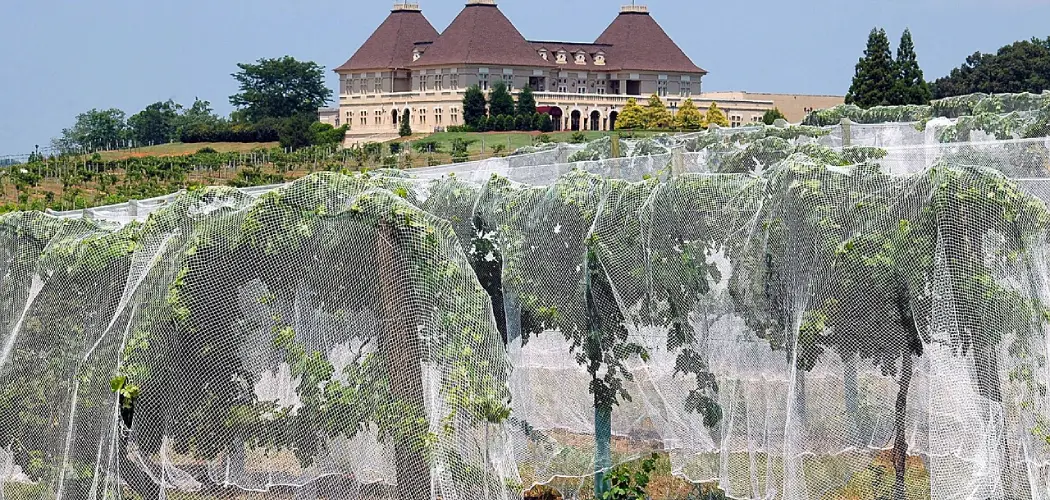
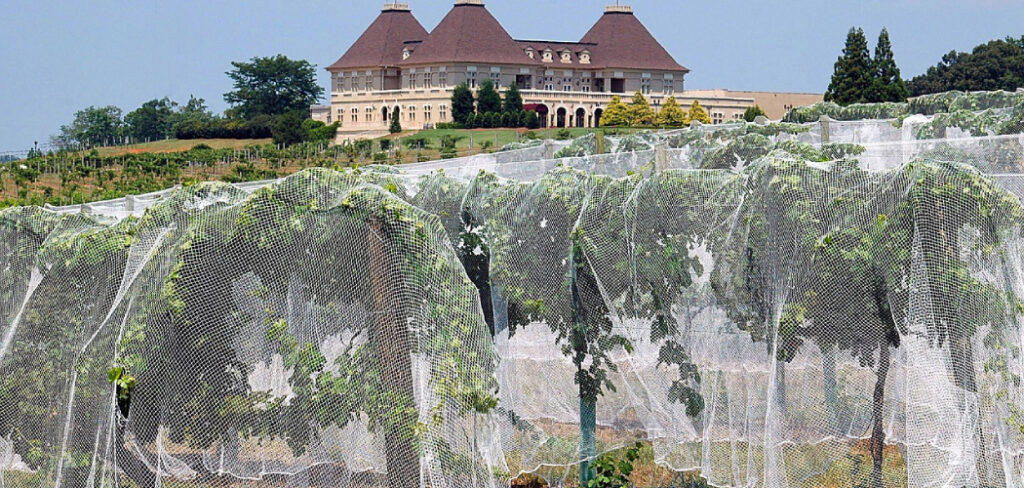
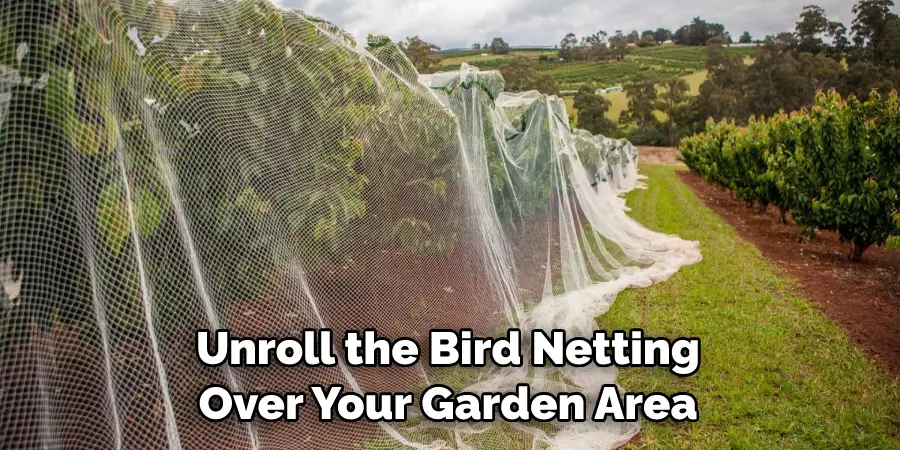
Step 6: Unroll the Bird Netting and Secure It in Place
Now, unroll the bird netting over your garden area and secure it in place with stakes or clips. Make sure that there are no gaps between the netting and the ground, as this could still allow birds to get through. But also be sure to leave some slack near the ground so that air and light can still get in.
If you’re using two layers, make sure the bottom layer is securely attached before putting on the top layer. Otherwise, birds could get in through any gaps. This is especially important with larger gardens.
Step 7: Tie Off Ends of Bird Netting
Once you have successfully secured the bird netting to your garden area, use scissors or wire cutters to trim off any excess material so that it is neat around all edges. Then, tie off each end so that it won’t come undone easily.
It’s also a good idea to check the edges periodically throughout the season for any signs of wear and tear that may need repairing. Although bird netting is made to be durable, it can still become damaged over time. It’s best to patch any holes as soon as they appear.
Step 8: Add Weights Along the Bottom Edge of Bird Netting
To ensure that the bird netting stays in place and doesn’t move during windy conditions, add weights along the bottom edge such as sandbags or rocks. This will help keep it secure and prevent birds from entering through any gaps. But, be sure to leave enough slack near the bottom so that air and light can still enter.
You may also want to consider adding a few lines of string along the edges for extra stability. This will help keep the netting from sagging or getting torn.
Step 9: Check for Holes or Weaknesses
Now that you have installed your bird netting, check for any holes or weaknesses where birds could get through. If you find any, use a patching material to cover them up and make sure they are securely fastened so that birds can’t get through them.
This is especially important if you’re using two layers of bird netting. It will help protect your garden from unwanted birds and other wildlife so that you can enjoy the harvest. However, make sure to check for any patches regularly throughout the season.

Step 10: Monitor Daily
Once you have successfully installed bird netting over your garden, monitor daily to make sure it is still in place and there are no weaknesses or gaps. Always check for any signs of wear and tear that may need repairing, as birds could still find a way in if the netting is not secure. But be sure to leave some slack near the ground so that air and light can still get in.
It’s also important to monitor weekly for any birds that may be trapped inside so that you can release them safely. This is one of the most important steps in maintaining your bird netting.
By following these steps on how to install bird netting over garden, you can protect your crops without harming beneficial wildlife. Installing bird netting is a great way to ensure that birds stay out of your garden while allowing beneficial insects such as bees & butterflies to continue enjoying it. For more information about how to choose the right type of bird netting for your particular
Frequently Asked Questions
Q: What Type of Bird Netting Should I Use?
A: Look for bird netting that is made from durable materials such as polyethylene or nylon, and make sure it has small enough mesh holes so that smaller birds won’t be able to get through it. This type of material is lightweight and will last for a long time.
Q: How Do I Secure the Netting in Place?
A: Use stakes or clips to secure the netting to something sturdy like a fence or tree branch, then use weights such as sandbags or rocks along its bottom edge. You can also tie off each end of the netting so that it won’t come undone easily. This will help keep the netting in place and prevent birds from entering through any gaps.
Q: How Should I Monitor Bird Netting?
A: After you install bird netting over your garden, monitor daily to make sure it is still in place and there are no weaknesses or gaps. If you find any holes or weaknesses, patch them up with a material that will prevent birds from getting through.
Q: Are There Any Other Tips for Installing Bird Netting?
A: Yes! Make sure to leave some extra space around the garden’s edges since birds may still be able to get in if there are any gaps between the netting and the ground. Additionally, try to choose a type of bird netting that’s camouflaged so it blends in with your garden’s landscape.
Conclusion
Installing bird netting over your garden is a great way to protect it from birds while still allowing light and rain in. With a few helpful tips and several tools, you can easily install the bird netting in no time. It’s important to use high-quality materials for the installation so that it lasts longer and can withstand its intended purpose effectively.
Furthermore, to ensure proper setup of the bird netting, you should take your time laying it out and use a measuring tape to accurately gauge the length or width above the vegetables or fruits.
Finally on how to install bird netting over garden, after installation be sure to check periodically for any damages or weakened areas that need replacement or repair.
Having a garden provides many benefits including health and nutrition so why not add peace of mind with the added protection of bird netting? Now that you know how to install bird netting above your garden why not try making a rain gutter planter which looks great in different areas around the home!
About
Outdoor Fixes is a distinguished figure in the world of Diy design, with a decade of expertise creating innovative and sustainable Diy solutions.
His professional focus lies in merging traditional craftsmanship with modern manufacturing techniques,
fostering designs that are both practical and environmentally conscious. As the author of diy,
outdoorfixes delves into the art and science of outdoorfixes-making, inspiring artisans and industry professionals alike.
Education RMIT University
(Melbourne, Australia) Associate Degree in Design (Outdoor Fixes) Focus on sustainable design, industry-driven projects,
and practical craftsmanship. Gained hands-on experience with traditional and digital manufacturing tools, such as CAD and CNC software.
Nottingham Trent University
(United Kingdom) Bachelor’s in outdoorfixes.com and Product Design (Honors) Specialized in product design with a focus on blending creativity with production
techniques. Participated in industry projects, working with companies like John Lewis and Vitsoe to gain real-world insights.
Publications and Impact
In diy, Outdoor Fixes his insights on indoor design processes, materials, and strategies for efficient production.
His writing bridges the gap between artisan knowledge and modern industry needs, making it a must-read for both budding designers and seasoned professionals.