Adding a heated hydronic driveway is a great way to add an extra level of comfort, convenience, and safety to a home.
With the ability to melt snow and ice off the ground in minutes and keep temperatures above freezing for much longer periods of time, hydronic heating can help reduce slips and falls on icy surfaces, minimize the maintenance burden of shoveling, and increase the overall comfort of your home.
Additionally, hydronic heated driveways can help reduce energy costs and save money in the long run. Installing a heated hydronic driveway is a relatively straightforward process that requires planning, preparation, and installation of the appropriate components. In this blog post, You will learn in detail how to install hydronic heated driveway.
Step by Step Processes for How to Install Hydronic Heated Driveway
Step 1: Inspect the Area
Before you begin the installation, it is important to inspect the area where the heated hydronic driveway will be installed. Look for any obstructions or potential problems that might interfere with installation, such as large rocks or tree roots. If necessary, clear away any blockages and level out the ground to ensure a smooth surface for the system.
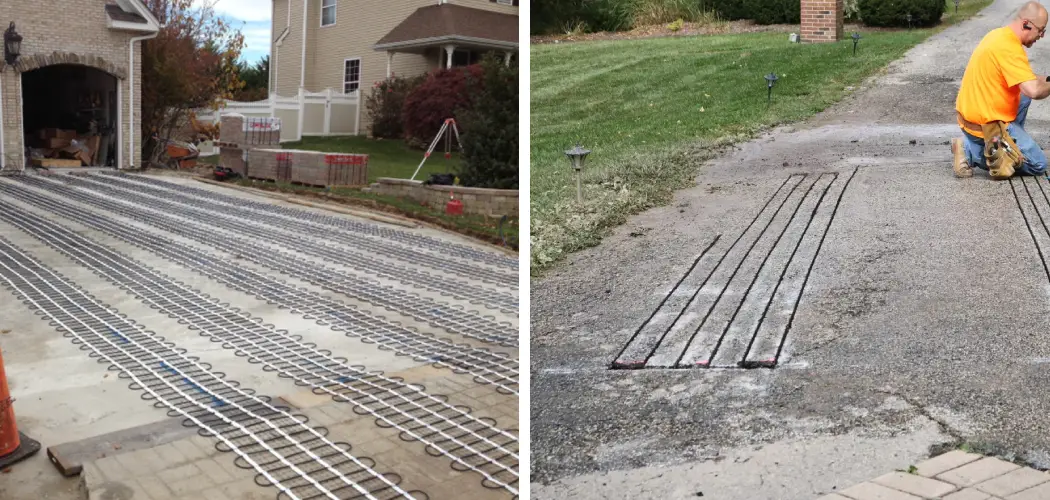
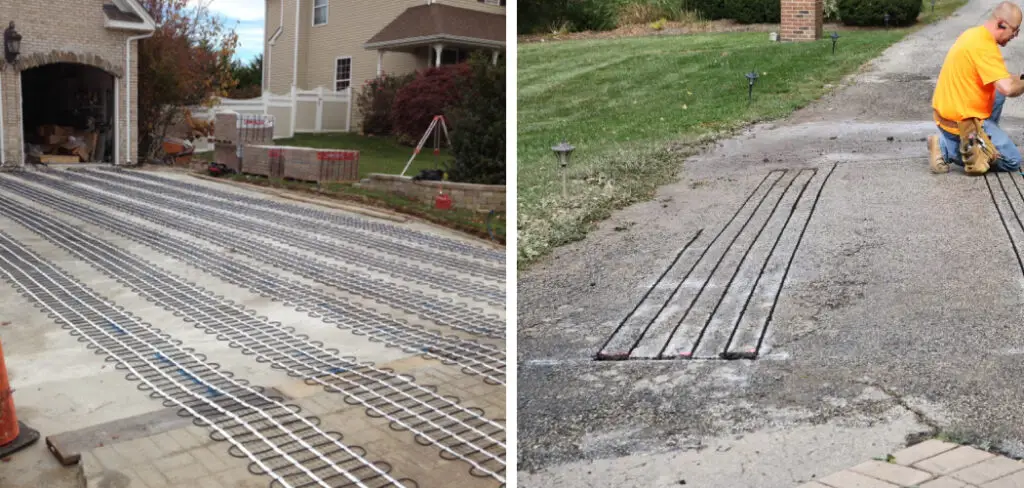
Step 2: Install the Heating Pipes
Once you have inspected and prepared the area, it is time to install the heating pipes. A heated hydronic driveway requires two types of pipes – supply and return pipes. The supply pipe carries hot water from your boiler or heat pump to the surface of your driveway, while the return pipe carries cooled water back to the boiler.
Be sure to use pipes that are rated for outdoor and underground use, as these will be much more durable in extreme temperatures.
Step 3: Place Insulation
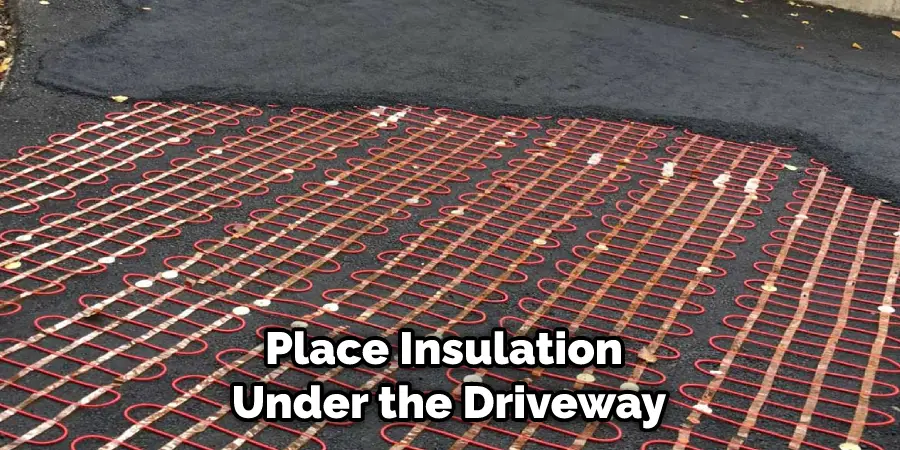
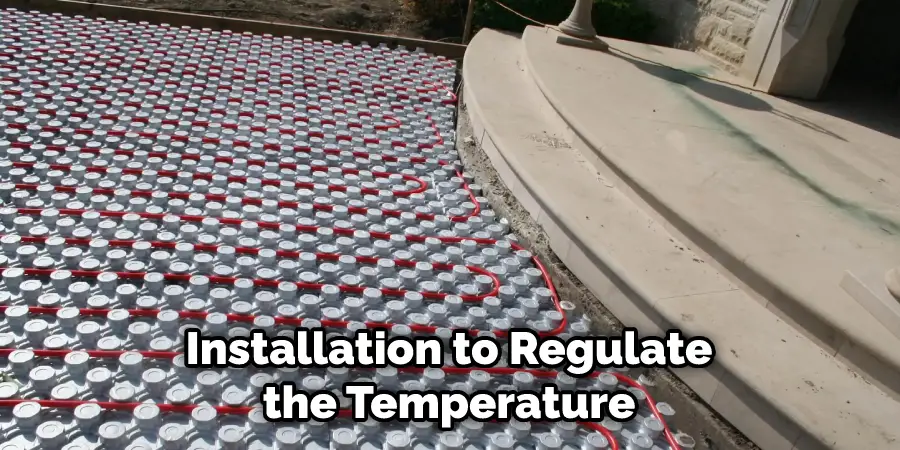
Place insulation under the driveway before laying the heating pipes. This will help keep the heat from escaping into the ground, ensuring that energy is not wasted and that your driveway stays warm. Once the insulation is in place, it’s time to lay down the heating pipes.
It is important to follow manufacturer instructions for the correct placement of the pipes and spacing between them. Be sure to overlap each pipe slightly when laying them. This will ensure that the system has enough coverage to heat your driveway properly.
Step 4: Connect the Pipes to Your Boiler or Heat Pump
Once you have laid down all of the pipes, it is time to connect them to your boiler or heat pump. This can be done using a combination of copper piping, valves, and fittings. Be sure to follow manufacturer instructions for the correct way to complete this step.
The thermostat will be responsible for controlling the temperature of your driveway, so it is important to install one correctly. Place the thermostat in an area that will remain free from frost and other weather-related damage.
Step 5: Install the Control Box
The control box controls the flow of water through your hydronic heated driveway system, so it must be installed correctly. Mount the control box on a wall and ensure it is connected to your system’s thermostat and other components.
Once everything is connected, it is time to fill the system with water and test it. Follow manufacturer instructions for the correct way to do this and ensure all your connections are secure.
Step 6: Seal the Joints
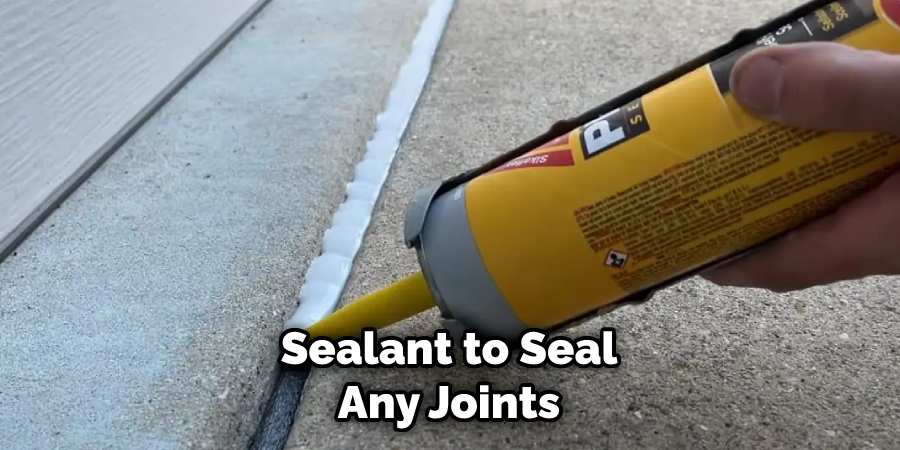
In order to ensure efficient performance and prevent heat from escaping, use a high-temperature sealant to seal any joints in your system. This will make sure that the pipes are completely airtight.
The last step is installing the finishing materials, such as gravel or pavers, over the heating pipes. This will help protect the system and give your driveway a finished look.
Following these steps, you can install a heated hydronic driveway in your home. This type of system is energy efficient and cost-effective, making it an excellent choice for both residential and commercial applications.
Safety Tips for How to Install Hydronic Heated Driveway
- Ensure the area you are working in is clean and debris-free before beginning any installation steps.
- Wear protective clothing such as safety glasses, steel-toed boots, and gloves when working with tools or equipment.
- Always read manufacturer instructions for both the heated driveway system and tools that will be used for the installation before beginning.
- Turn off the power to any electrical outlets that could be affected by the installation process.
- Check for gas leaks before and after installing the hydronic system; obtain a qualified professional if necessary when checking for gas leaks.
- Always use appropriate tools and equipment when handling components of the hydronic system.
- Ensure all connections are properly secured and sealed to prevent future leaks or malfunctions.
- Ensure the thermostat is set correctly after installation to regulate the temperature of the heated driveway system.
Following these safety tips for Installing Hydronic Heated Driveway will help ensure a successful installation. With the right tools and a bit of patience, you can create a warm and inviting driveway that will last for years to come.
How Long Does the Installation Process Take?
Installing hydronic heated driveway systems can take anywhere from a few hours to several days, depending on the size and complexity of the project. Generally speaking, professional installation companies should be able to complete most projects in one or two days; however, larger jobs may require more time.
If you plan to install the system yourself, it is important to plan for the amount of time it will take and ensure you have help available when needed. Additionally, make sure you’re familiar with all the necessary steps involved in installation so that you don’t run into any surprises along the way.
Some steps to installing a heated hydronic driveway include preparing the subgrade, laying down the tubing, connecting the system to an energy source, and covering it with concrete or pavers.
Professional installers are usually able to tackle these tasks quickly, but it’s still important to plan ahead for any unforeseen issues that might arise during the installation process. Having someone on hand who can provide any necessary assistance or advice during the installation process is also a good idea.
Are There Any Maintenance Needs After Installation?
Once you have installed your heated hydronic driveway, a few maintenance needs should be done regularly to ensure the system functions correctly. The most important of these is to check for any signs of leaks or blockages in the tubing. This can be done by periodically testing each section and looking for any moisture or air bubbles that may indicate a leak.
Additionally, it is important to keep the system free of debris, and dirt buildup, as this can reduce efficiency. Finally, it is recommended that you inspect the heaters at least once per year to make sure they are in good working condition. Following these steps will help your heated hydronic driveway operate efficiently and effectively for years to come.
How Often Should You Check for Maintenance Needs After Installation?
Once you have installed your heated hydronic driveway, it is important to check for any maintenance needs that may arise. This includes checking for areas where the heat may leak out and ensuring the system runs smoothly. It’s recommended to perform regular maintenance checks once a year or approximately every 10,000 hours of use.
During each check, you should inspect the insulation, control systems, and any other areas of the system for signs of wear and tear.
It is also important to ensure that all exposed electrical wiring is protected and that any water supply lines are in good condition. Lastly, you may need to add antifreeze or flush out the hydronic heated driveway system if it has been used for an extended period.
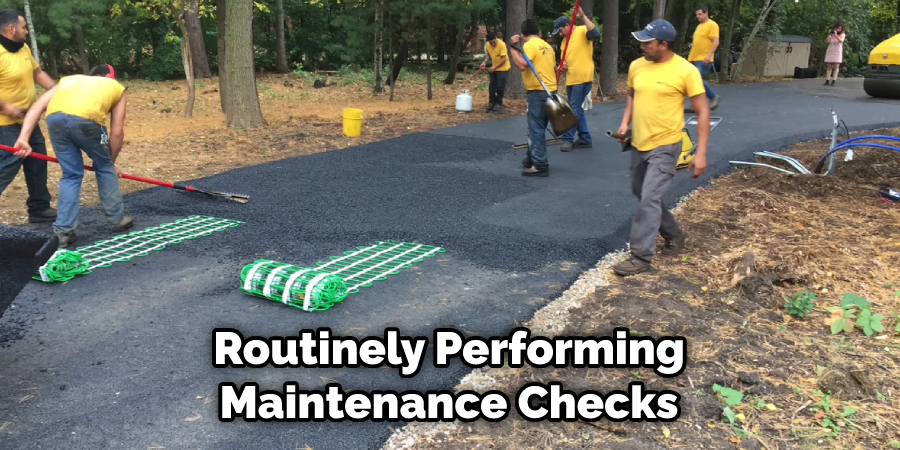
By routinely performing maintenance checks on your heated hydronic driveway, you can ensure that your system is always working properly and that any potential problems are quickly addressed. This will not only help to extend your system’s life but also ensure that your driveway remains safe and efficient throughout the year.
How Can You Best Prepare Your Driveway for the Installation Process?
Before installing your heated hydronic driveway, there are several steps to take in order to make sure that the installation process runs smoothly. Preparation is key, and it can save you time and money in the long run if done correctly. First, ensure that your driveway is clean and debris-free before beginning the installation process.
Sweep away any dirt or debris that may have accumulated on the surface. Additionally, use a pressure washer to remove any oil, grease, or other substances from the driveway.
Next, check for cracks and potholes in the driveway. Repair these with either patching compound or asphalt filler before continuing with your installation. Finally, ensure that your driveway’s slope is as close to one inch per foot as possible.
If it’s not, use a shovel and rake to prepare the ground for a new layer of asphalt or concrete. Following these steps ensures that your hydronic heated driveway installation process goes smoothly and quickly. You can enjoy a comfortable and efficient home heating system with proper preparation and maintenance.
Conclusion
In conclusion, installing a heated hydronic driveway can greatly add value and convenience to your home. This project can be achieved relatively easily with the right planning and preparation. It requires knowledge of plumbing systems, as well as knowledge of how to install the correct piping and valves.
You must also select the best type of heating system for your needs and ensure that it is properly sized to provide the necessary warmth.
Finally, you must be sure to regularly maintain your heated hydronic driveway in order to keep it functioning at its best.
I hope this article has been beneficial for learning how to install hydronic heated driveway. Make Sure the precautionary measures are followed chronologically.
About
Outdoor Fixes is a distinguished figure in the world of Diy design, with a decade of expertise creating innovative and sustainable Diy solutions.
His professional focus lies in merging traditional craftsmanship with modern manufacturing techniques,
fostering designs that are both practical and environmentally conscious. As the author of diy,
outdoorfixes delves into the art and science of outdoorfixes-making, inspiring artisans and industry professionals alike.
Education RMIT University
(Melbourne, Australia) Associate Degree in Design (Outdoor Fixes) Focus on sustainable design, industry-driven projects,
and practical craftsmanship. Gained hands-on experience with traditional and digital manufacturing tools, such as CAD and CNC software.
Nottingham Trent University
(United Kingdom) Bachelor’s in outdoorfixes.com and Product Design (Honors) Specialized in product design with a focus on blending creativity with production
techniques. Participated in industry projects, working with companies like John Lewis and Vitsoe to gain real-world insights.
Publications and Impact
In diy, Outdoor Fixes his insights on indoor design processes, materials, and strategies for efficient production.
His writing bridges the gap between artisan knowledge and modern industry needs, making it a must-read for both budding designers and seasoned professionals.