Are you looking to add a professional touch to your parking lot? Stripe it! Parking lot striping is an easy way to add curb appeal and organization. Here’s how you can go about doing it.

Striping a parking lot is not only an important part of beautifying the area and making it attractive for people to visit, but it’s also vital for creating order and safety in large outdoor spaces.
Without clear striping determining where cars should park, walkways should be located, and bike lanes will lie, these spaces can quickly become chaotic and potentially present unsafe scenarios. Read through our guide on how to stripe a parking lot.
What Will You Need?
Before you get started, make sure you have all the necessary tools and materials. For parking lot striping, you’ll need:
- Striping Paint: You can use either water-based or solvent-based paint for your project. Water-based paint is environmentally friendly but may not last as long as solvent-based options.
- Measurement Tape: You’ll need to measure the width of your parking spaces and driveways in order to mark them out properly.
- Marking Flags: These will help you track how far you’ve striped and how much further you have left to go.
- Line Striper/Striping Machine: This is a machine that applies the paint evenly in a straight line to create a uniform stripe for your parking lot.
- Paint Scraper: This tool will help remove any old lines or marks from the area before removing them with fresh paint.
Now that you’ve assembled all the necessary tools let’s jump into how exactly one should stripe their parking lot.
10 Easy Steps on How to Stripe a Parking Lot
1. Clean the Area:
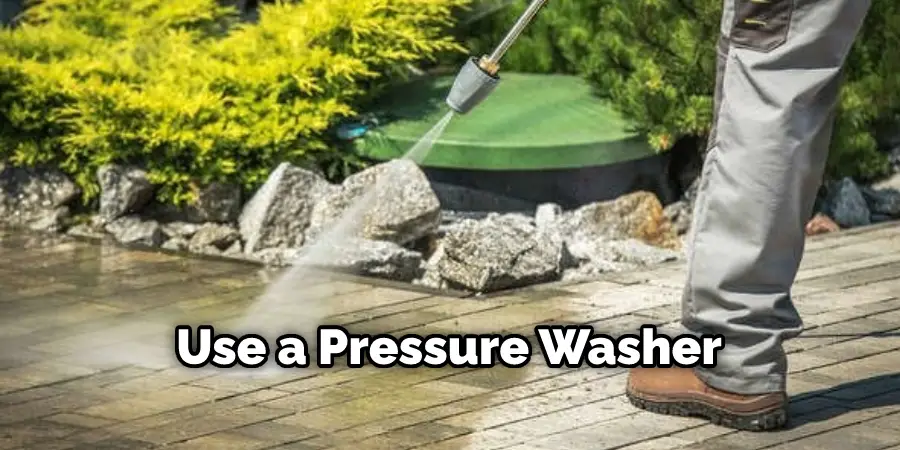
Before you start striping your parking lot, use a pressure washer or paint scraper to ensure it’s free of dirt and debris. This will ensure that the lines are crisp and clear when painted over them. If any existing lines are already painted on the surface, use your paint scraper to remove them.
2. Measure Your Spaces:
Use a measuring tape to determine how long each parking space should be, how wide each driveway should be, and how much space should go between each car spot or driveway entrance/exit. Make a note of these numbers so you can easily refer back to them later on. It will also be helpful to use marking flags to map out a rough outline of where you’d like your lines to be.
3. Fill in Your Stripes:
Using your striping machine or line striper, start at one end of the parking lot and fill in your lines. Make sure to follow the measurements you took in step 2 as closely as possible so that all the lines are even and consistent. If you need to make any adjustments while you’re going along, use a ruler or measuring tape to do so.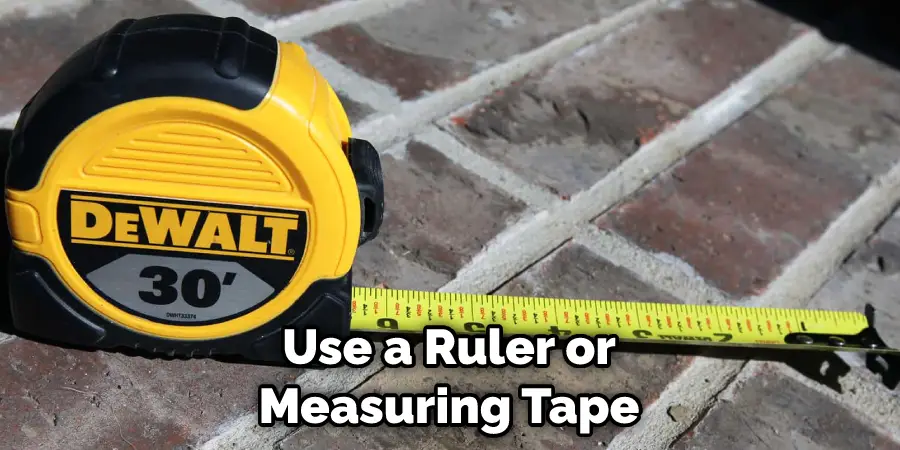
4. Add Designations:
Once all of your stripes have been filled in, add any designations for handicap spots, fire lanes, etc., if necessary. Use specific colors for these areas depending on what’s required in your area. There are also stencils available at most hardware stores that you can use to help guide your striping efforts.
5. Fill In Arrows/Turns:
To complete the look of your parking lot, use arrows to indicate where cars should turn or how they should enter and exit the area. These arrows can be painted in or drawn in using chalk, depending on how long you expect them to last. You can also use stencils for this step if desired.
6. Allow Time to Dry:
Once all of your stripings is finished, allowing enough time for the paint to dry before any vehicle drives over it is important. Depending on the type of paint you used, this could take anywhere from a few hours up to 24 hours. Don’t forget to follow all safety instructions on the paint can and wear protective gear when needed.
7. Touch Up If Needed:
If there are any areas that look like they need a touch up, now is the time to do so! Make sure all lines are even and consistent throughout the entire parking lot. Otherwise, you’ll have to start the whole process over again and re-stripe the area.
8. Clean Up:
Once everything is finished, make sure to clean up any excess paint that may have splattered during the process. This will help keep your parking lot neat and tidy for years! Additionally, it’s always a good idea to store your paint and tools in a place where they won’t get damaged or contaminated.
9. Apply Sealant:
If you’d like your striping job to last longer, consider applying a sealant or protective coating over the top of it once it’s all dry. This will help protect against fading and wear in the long run. Be careful to only apply sealant in areas that won’t interfere with the striping.
10. Enjoy Your Newly Striped Parking Lot:
Now that you know stripe a parking lot, enjoy the fruits of your labor! Your newly striped parking lot should look great and provide a safe place for vehicles coming and going. Plus, you know how to do it yourself if ever needed in the future.
This concludes stripe a parking lot. Following these steps will help ensure that your lines are even, crisp, and long-lasting. With some patience and attention to detail, you’ll be able to enjoy your newly striped parking lot for years to come!
5 Additional Tips and Tricks
- Utilize good-quality paint. Using professional grade, oil-based paints for parking lot striping is important. This type of paint adheres better to the asphalt and will stand up against extreme weather conditions for longer periods of time.
- Make sure you have all the necessary equipment before starting the project, such as brushes and rollers, tape measure, guidelines, etc.
- Use a line guide or chalk line to ensure straight lines when marking out your parking lot stripes.
- When painting crosswalks or handicapped spaces, be sure to use bright colors that are easily visible from a distance so they can be seen clearly by drivers and pedestrians alike.
- Finally, make sure you follow safety guidelines by using a respirator and wearing protective clothing when applying the paint. This is important as some paints contain toxic chemicals that can be dangerous to your health if not used properly.
With these precautions in place, you’ll have no trouble achieving great results with your parking lot striping project!

5 Things You Should Avoid
- Skipping Important Steps: Before you start painting a parking lot, there are several important preparatory steps that need to be taken. These include cleaning the surface, filling in any cracks, and sealing the asphalt. This ensures you get an even finish and avoid hazards like slippery surfaces.
- Using the Wrong Paint: Different paints are used for different parking lots areas, such as fire lanes or handicap spots. Additionally, some paints may be more suitable for specific temperatures or if rain is expected soon. It’s important to research beforehand to ensure you have the right materials for the job.
- Not Allowing Enough Time for the Paint to Dry: Depending on how thickly you applied it, how hot or cold. It is outside, and how windy it is, drying times can vary significantly. Give yourself plenty of time so that you don’t end up with smudged or blurry lines.
- Not Painting the Appropriate Width: The width of your stripes will depend on how wide the parking lot is and how many cars it’s meant to fit into. Make sure you measure correctly before starting so that you don’t end up having to redo sections due to incorrect measurements.
- Failing to Keep Track of Where Different Colors of Paint Were Used: When using multiple colors, it’s important to keep a record of how much was used in each area and how they were applied. Without this information, colors of painting future lots can be very difficult as you won’t know what materials need replenishing or how certain spots should look when completed.
With this information, you’ll be well on your way to painting professional-looking stripes that will last for years.
Conclusion
Stripping a parking lot is no easy feat but necessary for any business that wants to stay in line with safety and legal regulations. If this is something you or your company must do, it is worth approaching the process with caution and care.
There is a lot of information about how to stripe a parking lot, so do your research and learn as much as you can. It might seem like an intimidating job at first, but dealing with it not only ensures that you’re compliant with all applicable rules, it also gives people a sense of security when they come to park their vehicles on your property.
Taking the time to stripe a parking lot properly will keep everyone safe and help create an organized space – which is why taking this endeavor upon yourself would be well worth the effort!
About
Outdoor Fixes is a distinguished figure in the world of Diy design, with a decade of expertise creating innovative and sustainable Diy solutions.
His professional focus lies in merging traditional craftsmanship with modern manufacturing techniques,
fostering designs that are both practical and environmentally conscious. As the author of diy,
outdoorfixes delves into the art and science of outdoorfixes-making, inspiring artisans and industry professionals alike.
Education RMIT University
(Melbourne, Australia) Associate Degree in Design (Outdoor Fixes) Focus on sustainable design, industry-driven projects,
and practical craftsmanship. Gained hands-on experience with traditional and digital manufacturing tools, such as CAD and CNC software.
Nottingham Trent University
(United Kingdom) Bachelor’s in outdoorfixes.com and Product Design (Honors) Specialized in product design with a focus on blending creativity with production
techniques. Participated in industry projects, working with companies like John Lewis and Vitsoe to gain real-world insights.
Publications and Impact
In diy, Outdoor Fixes his insights on indoor design processes, materials, and strategies for efficient production.
His writing bridges the gap between artisan knowledge and modern industry needs, making it a must-read for both budding designers and seasoned professionals.