
Closing your swimming pool for the winter is a significant milestone in any pool owner’s calendar. It signals the end of splash-filled days and the beginning of a season of rest. The most critical component of this process is ensuring your safety cover is installed correctly. A properly secured cover protects your family, pets, and local wildlife from accidental falls, while also keeping leaves and debris out of the water.

While the task might seem intimidating at first, learning how to install pool cover anchors in concrete is a manageable DIY project that can save you substantial money. With the right tools, a bit of patience, and a clear set of instructions, you can drill and set these anchors yourself, ensuring a taut, safe, and professional-looking cover that will withstand the harshest winter weather. This guide is here to walk you through every single step of the process.
Installing pool cover anchors in concrete may sound complex, but with proper guidance, it’s a task that most pool owners can handle themselves. By taking the time to do it correctly, you’ll not only secure your pool cover effectively but also extend its lifespan by preventing unnecessary wear and tear. This process ensures your pool remains protected from debris and harsh weather, offering peace of mind throughout the off-season.
Tools and Materials Needed
Before you begin the installation process, make sure you have all the necessary tools and materials on hand. This will save you time and frustration during the project, and ensure that everything is done correctly.
Here are some tools and materials you will need to install pool cover anchors in concrete:
- Power drill with masonry bit
- Hammer drill (if working with tougher concrete)
- Screwdriver
- Rubber mallet or hammer
- Concrete anchor bolts
- Pool cover anchors
- Tape measure
- Chalk line or marker
- Safety goggles and gloves
It’s also helpful to have a helper present during the process, as they can hold the pool cover anchors
How to Install Pool Cover Anchors in Concrete Step-by-Step Guide
Step 1: Gather the Necessary Tools and Safety Gear
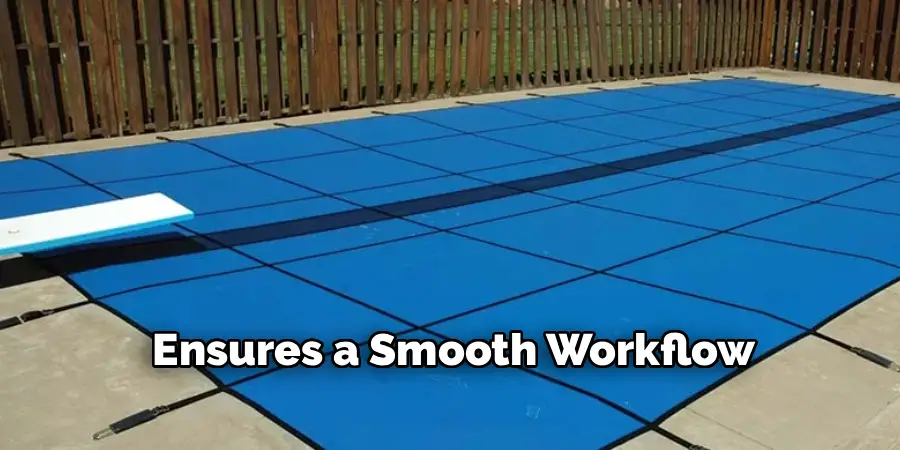
Before you begin drilling into your pool deck, it is absolutely essential to have every single tool and piece of safety equipment ready and within arm’s reach. You will need a heavy-duty rotary hammer drill, which is far more powerful than a standard household drill and specifically designed for masonry work. You also need a masonry drill bit that matches the diameter of your anchors, typically three-quarters of an inch. A tape measure, chalk line, hammer, and a bucket of water are also required. Safety is paramount when working with concrete dust and high-powered tools, so ensure you have high-quality safety goggles, heavy work gloves, and substantial ear protection. Having everything organized beforehand prevents interruptions and ensures a smooth workflow.
Step 2:Measure and Mark the Deck
Precision is the key to a safety cover that fits perfectly and functions correctly. You cannot simply guess where the holes should go. Start by laying the cover across the pool, centering it perfectly so there is equal overlap on all sides. Use heavy objects like water bags or buckets to hold it temporarily in place. Consult the manufacturer’s instructions to determine how far back from the water’s edge the anchors should be placed, usually about eighteen to thirty inches. Using your tape measure and chalk, carefully mark the spot for each strap anchor on the concrete deck. Double-check every single measurement to ensure the straps will pull straight and taut, rather than at an awkward angle.
Step 3: Set Up Your Rotary Hammer Drill
Once your markings are double-checked and you are confident in the layout, it is time to prepare your primary tool. A standard drill will likely burn out or fail to penetrate the hard concrete, so a rotary hammer drill is non-negotiable for this task. Insert the masonry bit securely into the chuck, ensuring it is locked in tight. Most standard brass anchors require a three-quarter inch hole, but verify this against your specific hardware. You should also wrap a piece of masking tape around the drill bit to act as a depth gauge. Measure the length of the anchor barrel and place the tape on the bit slightly deeper than that length to ensure the anchor sits flush.
Step 4: Drill the First Anchor Hole
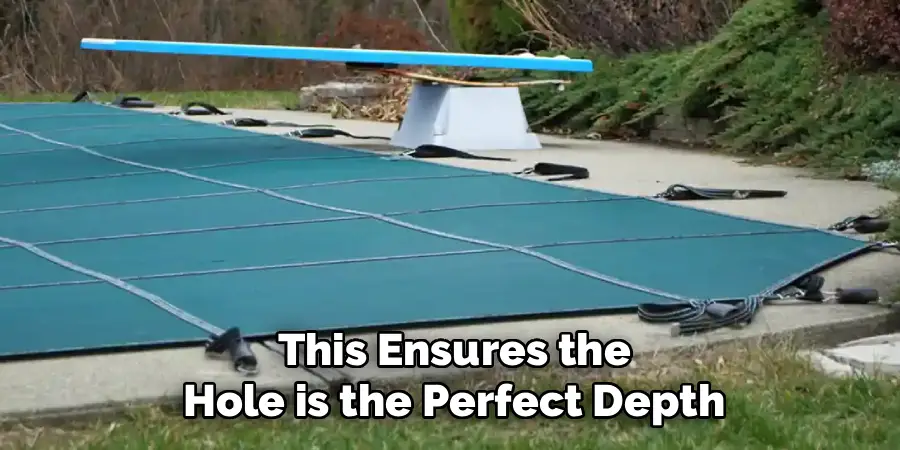
Position yourself comfortably over the first mark, ensuring you have stable footing. Hold the rotary hammer drill perpendicular to the concrete surface; drilling at an angle will result in a crooked anchor that won’t hold the strap properly. Apply steady, firm pressure and squeeze the trigger to begin drilling. Let the tool do the work—forcing it can damage the bit or crack the concrete. Drill down until the masking tape guide on your bit reaches the surface of the deck. This ensures the hole is the perfect depth. As you drill, concrete dust will accumulate, which is normal. Keep the drill steady as you pull it out to maintain a clean, round hole.
Step 5: Clean the Hole Thoroughly
After drilling, the hole will be filled with concrete dust and debris. If you try to insert the anchor now, it will likely get stuck halfway or fail to sit flush with the deck surface. You must remove this debris completely. The most effective method is to use a garden hose or a bucket of water to flush the hole out. Alternatively, you can use a shop vacuum with a narrow nozzle to suck the dust out, or an air compressor to blow it clear. Whichever method you choose, ensure the hole is free of grit. This simple cleaning step is often overlooked but is crucial for a smooth installation.
Step 6: Insert the Brass Anchor Assembly
Now that you have a clean, precise hole, you are ready to install the hardware. Take your brass anchor assembly, which typically consists of a barrel and a screw insert. Keep the screw threaded into the barrel to protect the internal threads during installation. Place the anchor into the hole. It should fit snugly but not be impossibly tight. If it is too loose, the tension of the cover could pull it out over time. If it is too tight, do not force it yet. You may need to run the drill bit in and out of the hole one more time to shave off any small ridges inside the concrete that are obstructing the fit.
Step 7: Tap the Anchor Flush with the Concrete
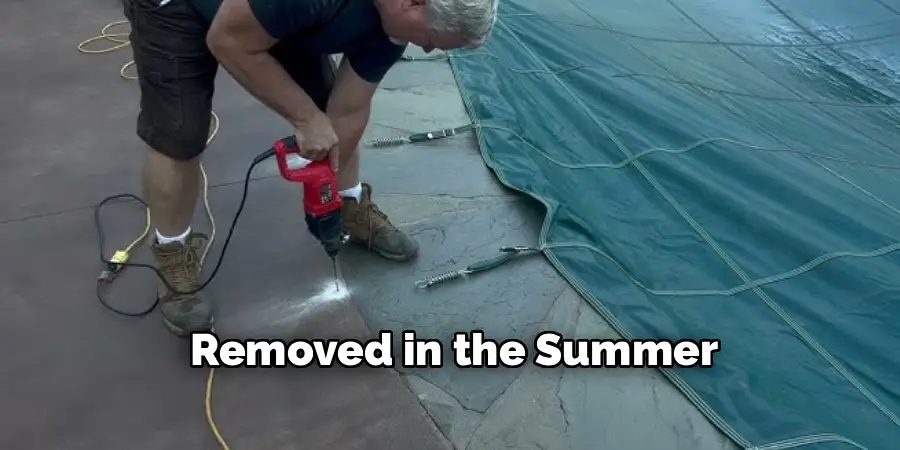
With the anchor sitting in the hole, take your hammer or a rubber mallet and gently tap the top of the anchor assembly. Your goal is to drive the anchor down until the top rim is perfectly flush with the surface of the concrete deck. Do not strike the center screw directly with a metal hammer, as this can damage the threads or the screw head, making it difficult to raise or lower later. Instead, use a block of wood between the hammer and the anchor, or use a rubber mallet. Ideally, the anchor should sit flat so it does not create a tripping hazard when the cover is removed in the summer.
Step 8: Tamp the Anchor to Secure It
Once the anchor is flush with the deck, you need to ensure it grips the concrete walls of the hole securely. This is done using a tamping tool, which is often included with your installation kit or can be purchased separately. Remove the center screw from the anchor barrel. Place the tamping tool into the barrel and strike it firmly with your hammer. This action flares out the bottom of the brass barrel, wedging it tightly against the concrete at the bottom of the hole. This friction fit is what prevents the anchor from pulling out under the immense tension of the safety cover.
Step 9: Reinsert the Screw and Attach the Spring
After tamping the barrel securely into place, screw the center insert back into the barrel. You can now use a hex key or the installation rod to raise the screw head about half an inch above the deck surface. This provides the connection point for the cover spring. Take the stainless steel spring attached to your cover strap and slide the round loop over the raised anchor screw. You may need to use the installation rod to lever the spring into place, as the tension should be high. This tension is what keeps the cover drum-tight and safe, capable of supporting the weight of snow or an accidental fall.
Step 10: Repeat the Process and Adjust Tension
With the first anchor successfully installed, move to the opposite side of the pool and install the corresponding anchor there. Working in opposites—installing anchors across from each other rather than in a circle—helps keep the tension even and prevents the cover from bunching or shifting. Continue this process for every strap location marked on your deck. Once all anchors are installed and springs are attached, walk around the pool and check the tension on every strap. The springs should be compressed about halfway. Adjust the strap lengths through the buckles as needed to ensure uniform tension across the entire cover.
Safety Cover Material
When selecting a safety cover for your pool, it’s important to consider the material options available, as each type offers unique benefits. Mesh safety covers are lightweight and allow water to drain through, preventing the accumulation of standing water, which can be a safety hazard. However, they also allow some debris and sunlight through, which may lead to algae growth if the pool is not properly treated. Solid safety covers, on the other hand, provide a complete barrier against debris, sunlight, and water, keeping the pool clean and reducing chemical usage. They may require the addition of a pump to remove standing water from the surface. Hybrid covers combine the benefits of both mesh and solid covers, incorporating mesh panels into a solid cover to allow for drainage while still blocking most debris. Each option has its own advantages, so consider your climate, maintenance preferences, and budget when choosing the best safety cover material for your pool.
Common Installation Mistakes

When installing a pool cover, there are several common mistakes that can compromise its effectiveness and longevity. One frequent error is failing to measure the pool accurately before installing anchors. Incorrect measurements can result in misplaced anchors, causing uneven tension and potential gaps in the cover. Another mistake is not ensuring the pool deck is clean and free of debris. Dirt and obstacles can interfere with the cover’s fit and may damage the material over time. Additionally, over-tightening or under-tightening the straps is a common issue. Straps that are too loose can result in a sagging cover, while overly tight straps may stress the springs and fabric, leading to premature wear. Carefully following the installation instructions, double-checking measurements, and maintaining even tension are key to avoiding these pitfalls and ensuring a secure and durable pool cover installation.
Frequently Asked Questions
Do I Really Need a Rotary Hammer Drill?
Yes, absolutely. Standard household drills, even those with a “hammer” setting, are generally not powerful enough to drill multiple three-quarter-inch holes into cured concrete efficiently. Using an underpowered drill will take significantly longer, will likely overheat the motor, and can result in imprecise holes. You can rent a professional-grade rotary hammer drill from most local hardware stores for a reasonable daily rate, making the job much faster and easier.
What If I Drill a Hole in the Wrong Spot?
Mistakes happen, but a misplaced hole in your pool deck is fixable. If you drill a hole that cannot be used, do not leave it open, as it can fill with water and freeze, potentially cracking the deck. You should fill the hole with hydraulic cement or a concrete patch compound. Alternatively, if the hole is only slightly off, you might be able to use the anchor anyway by adjusting the strap length, provided the angle isn’t too severe.
How Deep Should I Drill the Holes?
The depth of the hole depends on the length of your specific anchors. Most standard brass pool anchors are roughly two to two and a half inches long. You should drill the hole slightly deeper than the anchor itself—usually about a quarter-inch deeper. This extra space allows for any remaining dust or grit to settle at the bottom without preventing the anchor from sitting flush with the deck surface.
Can I Install Anchors into Pavers or Loose Stones?
Standard concrete anchors rely on the friction against a solid, immovable mass. Installing them directly into loose pavers or stones is dangerous because the tension of the cover can lift the paver right out of the ground. For paver decks, you must use a specialized “paver tube” or “lawn tube” assembly. These are much longer tubes (often 9 to 18 inches) that pass through the paver and drive deep into the ground below for stability.
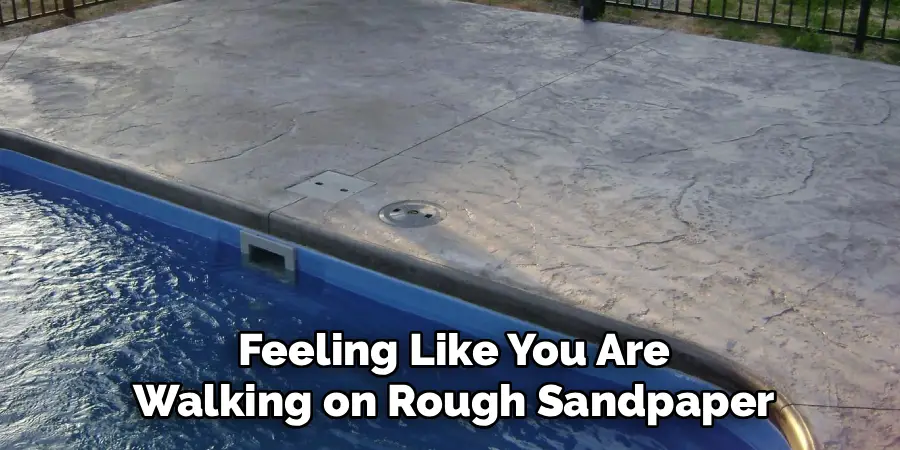
How Do I Maintain the Anchors in the Summer?
When you remove the cover for the swimming season, you should screw the anchors down so they are flush with the concrete. This prevents toe-stubbing injuries. Over time, grit and dirt can make them stick. It is good practice to flush the anchors with water and lubricate them with a silicone spray (not oil-based lubricants like WD-40, which attract dirt) once or twice a year to keep the threads moving smoothly.
Conclusion
Taking the initiative to install your own safety cover anchors is a decision that pays dividends in both savings and peace of mind. By following a methodical approach—gathering the right heavy-duty tools, measuring with precision, and drilling with care—you ensure that your pool is protected by a secure, reliable barrier. The process requires physical effort and attention to detail, but the result is a professional-grade installation that you can be proud of. A correctly installed cover anchor system will last for years, keeping your pool safe and maintaining its value.
Additionally, regularly checking and maintaining your safety cover anchors is important for ensuring ongoing effectiveness. Over time, wear and tear can occur on the anchors due to exposure to harsh weather conditions or natural elements. It is recommended to inspect the anchors at least once a year, and replace any damaged or corroded parts as needed. This simple maintenance can prolong the lifespan of your cover anchors and ensure that they continue to provide a strong barrier for your pool.
About
Outdoor Fixes is a distinguished figure in the world of Diy design, with a decade of expertise creating innovative and sustainable Diy solutions.
His professional focus lies in merging traditional craftsmanship with modern manufacturing techniques,
fostering designs that are both practical and environmentally conscious. As the author of diy,
outdoorfixes delves into the art and science of outdoorfixes-making, inspiring artisans and industry professionals alike.
Education RMIT University
(Melbourne, Australia) Associate Degree in Design (Outdoor Fixes) Focus on sustainable design, industry-driven projects,
and practical craftsmanship. Gained hands-on experience with traditional and digital manufacturing tools, such as CAD and CNC software.
Nottingham Trent University
(United Kingdom) Bachelor’s in outdoorfixes.com and Product Design (Honors) Specialized in product design with a focus on blending creativity with production
techniques. Participated in industry projects, working with companies like John Lewis and Vitsoe to gain real-world insights.
Publications and Impact
In diy, Outdoor Fixes his insights on indoor design processes, materials, and strategies for efficient production.
His writing bridges the gap between artisan knowledge and modern industry needs, making it a must-read for both budding designers and seasoned professionals.