If you’ve recently purchased a trampoline, chances are you’re wondering how to properly install the trampoline mat. With a few simple steps and the right tools, you’ll be able to get your new trampoline up and running quickly so that your family can start having fun!
In this blog post, we’ll go over every step of how to install trampoline mat, from prepping the area for installation to securing it onto the frame. We’ll also provide tips on maintaining and cleaning your new trampoline so that everybody stays safe while bouncing around. Read on for more detailed information about how to successfully assemble a trampoline in no time!
Tools and Materials You Will Need to Install Trampoline Mat
1. A Phillips head screwdriver
2. Pliers
3. An adjustable wrench or socket set
4. Trampoline Pad
5. Spring Hook Tool (or a pair of pliers with long handles)
6. Trampoline Springs
7. Trampoline Mat (the one that came with the trampoline)
Step-by-step Guidelines on How to Install Trampoline Mat
Step 1: Preparing the Installation Area
The first step in installing your trampoline is making sure that the area is completely cleared of any debris or obstructions. Make sure that the ground is level and even, and clear away any rocks, sticks, or other objects that may interfere with the installation. Preparing the installation area correctly will help ensure that your trampoline is properly installed.
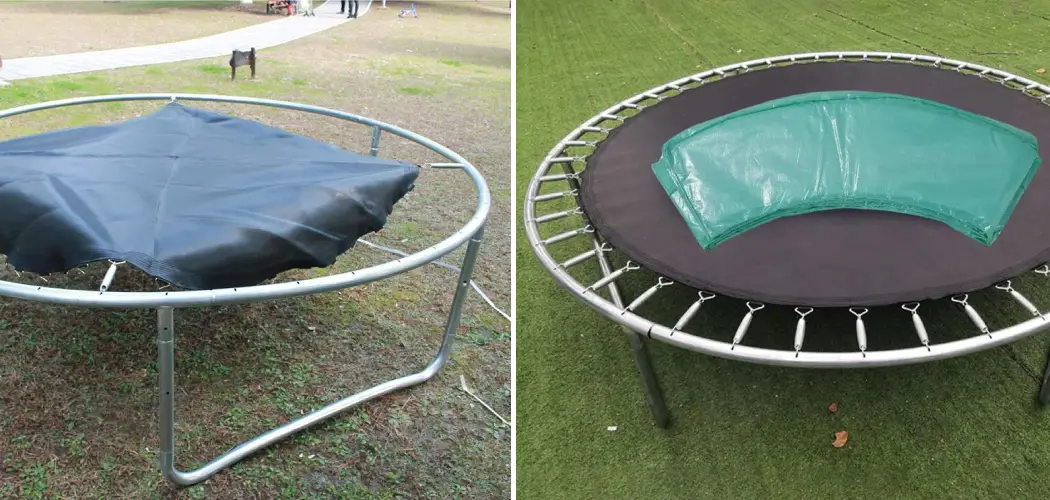
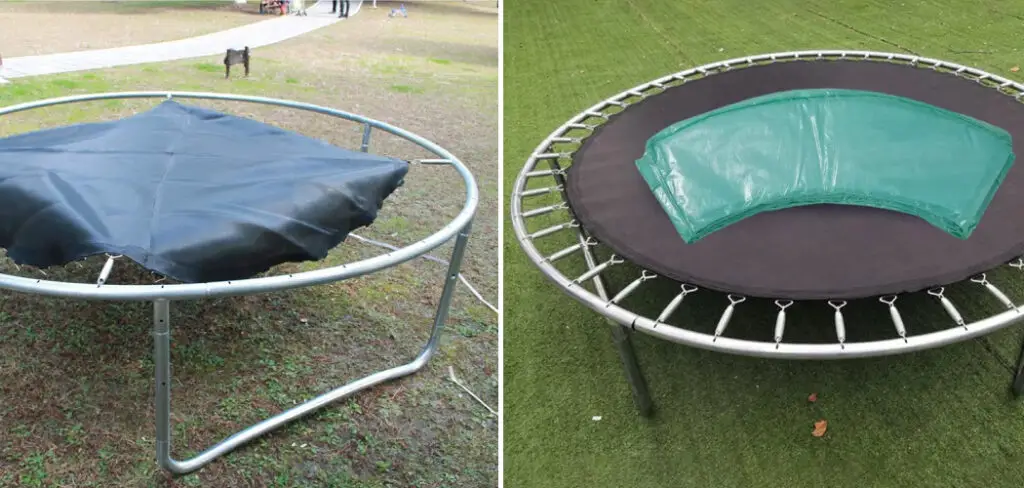
Step 2: Laying Out the Pad and Mat
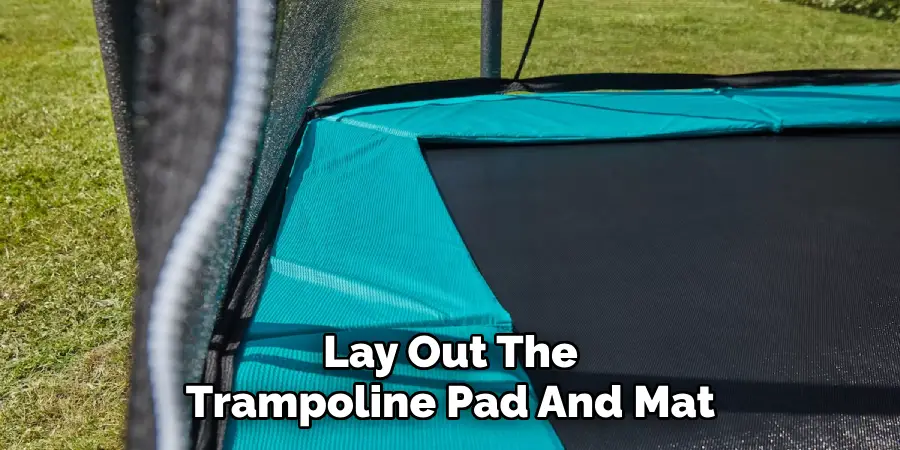
Once you have cleared the area, it’s time to lay out the trampoline pad and mat. Start by placing the pad on the ground, making sure that it fits tightly against the frame of the trampoline. Then, lay out the mat on top of the pad. Make sure to align all of the edges correctly and that there are no wrinkles in the mat.
Step 3: Installing The Trampoline Springs
Next, you’ll need to install the trampoline springs onto the frame of your trampoline. Start by attaching one end of the spring to the frame using a Phillips head screwdriver or pliers. Then, use your adjustable wrench or socket set to attach the other end of the spring to the mat. Repeat this for all of the springs until they are all correctly attached.
Step 4: Securing The Trampoline Mat
Finally, it’s time to secure the mat onto the frame. You can do this by using a spring hook tool or a pair of pliers with long handles. Place the handle of the tool into one of the holes on the frame and then attach it to one of the springs, looping it tightly around two or three times. Make sure that all of the springs are securely attached to the frame before moving on to the next step.
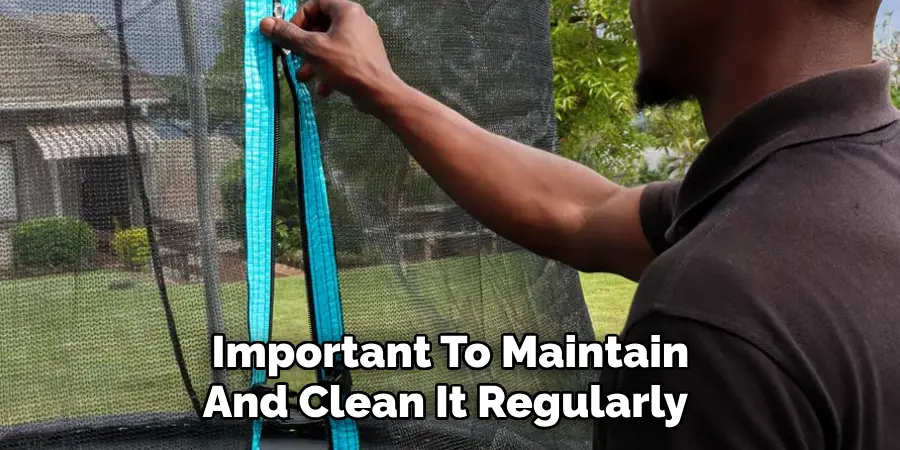
Step 5: Maintaining and Cleaning Your Trampoline
Once your trampoline is successfully installed, it’s important to maintain and clean it regularly so that everybody stays safe while bouncing around. Make sure to always keep the springs lubricated with WD-40 or a similar lubricant, and use a mild soap and warm water to clean the mat regularly. Additionally, inspect the frame for any signs of damage or wear and tear so that you can replace any parts as necessary.
Following these steps will help ensure that your trampoline is installed correctly and safely. With just a few simple tools and materials, you’ll be able to get your trampoline up and running in no time!
Additional Tips and Tricks to Install Trampoline Mat
1. When putting the trampoline mat on the frame, make sure to line it up with the center of the frame so that there is even tension across all four sides.
2. Leave some slack in the corners when installing a new mat to ensure that you don’t over-tighten it and cause damage to the material.
3. Use a step ladder to reach the top of the frame when installing the mat so that you are able to get a good grip on each side.
4. If you need extra stability, use additional ties or straps around each side to secure it in place.
5. Make sure that all springs and hook connections are tightened securely before use.
6. Check the condition of the mat before each use to ensure that it is free of tears, rips, or worn spots.
7. If the weather is cold and damp, allow extra time for the mat to warm up and dry before using it.
8. Have a spotter with you when using the trampoline so that they can provide assistance if needed.
9. After each use, check all connections and bolts to make sure they are secure and that the trampoline is safe for use.
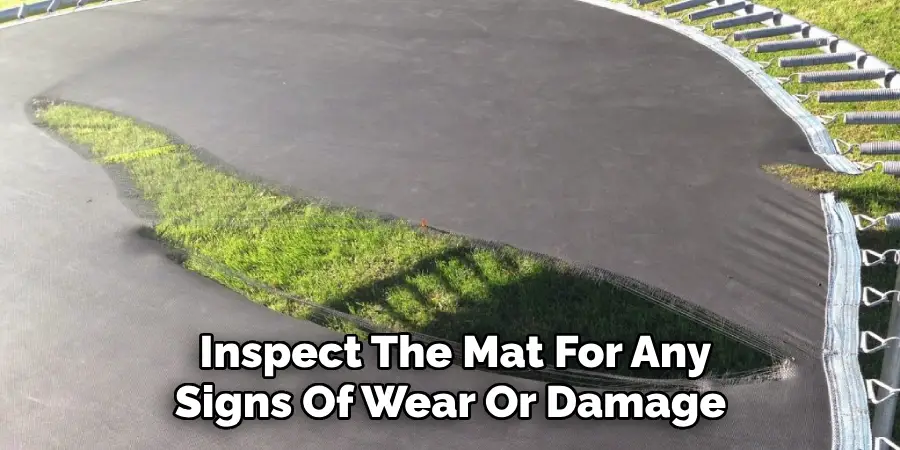
10. Regularly inspect the mat for any signs of wear or damage so that it can be replaced as soon as possible.
Following these tips and tricks should help you install your trampoline mat quickly and safely. Be sure to check the manufacturer’s instructions if there are any discrepancies with the installation process. Additionally, use caution when using the trampoline and practice safe jumping habits to avoid injury or damage to the equipment. Have fun!
Precautions Need to Follow for Installing Trampoline Mat
1. Make sure the site chosen for placing the trampoline is level and has enough clearance on all sides.
2. Avoid installing near walls, fences, or trees that may limit an individual’s ability to move around while jumping.
3. Ensure that the mat is securely fastened with springs and welded joints properly installed before using it.
4. Ensure that the springs are not stretched too tight or too loose before use.
5. Check for any signs of wear and tear regularly, including frayed fibers, tears, broken pieces, rust spots, etc.
6. It is important to also always wear safety gear when jumping on a trampoline such as foam pads and helmets to minimize the risk of injury.
7. Trampoline mats should be inspected before each use and should never be used if there is any evidence of wear or damage.
8. Also, ensure that the trampoline mat is dry before jumping on it as a wet surface can increase the chances of slipping and falling.
Following these precautions will help make sure that your trampoline is safe and enjoyable to use. Remember: safety should always come first!
Frequently Asked Questions
How Do I Know If I Have the Right Size Mat?
The best way to ensure you purchase the correct size trampoline mat is to measure your trampoline’s frame and springs. The measurements should match up with the dimensions listed in the product description of the mat you are purchasing. Make sure to measure the trampoline’s frame and springs from the outside edge to the outside edge.
What are the Different Materials Used for Trampoline Mats?
Trampoline mats are typically made of two materials: polypropylene or Permatron® fabric. Both materials provide a sturdy, durable jumping surface; however, they have different benefits. Polypropylene is a stronger material that can provide more bounce, while Permatron® fabric is softer and quieter.
How Often Should I Replace My Trampoline Mat?
Most trampoline mats can last up to five years with proper care and maintenance. It’s important to inspect the mat for wear or damage on a regular basis and replace it when necessary. If you notice any rips or tears in the mat, it’s time for a replacement.
What is the Best Way to Clean My Trampoline Mat?
The best way to clean your trampoline mat is to use a mild detergent and warm water. Make sure to remove all dirt, debris, and leaves from the surface of the mat before using a damp cloth to wipe it down. Allow the mat to completely air dry before reassembling your trampoline.
How Do I Secure My Trampoline Mat?
The mat should be securely attached to the frame of your trampoline. V-rings are usually used for this purpose, and you can use zip ties or bungee cords to keep them in place. Make sure to check the v-rings regularly for any signs of damage or wear.
Are There Any Special Considerations When Installing My Trampoline Mat?
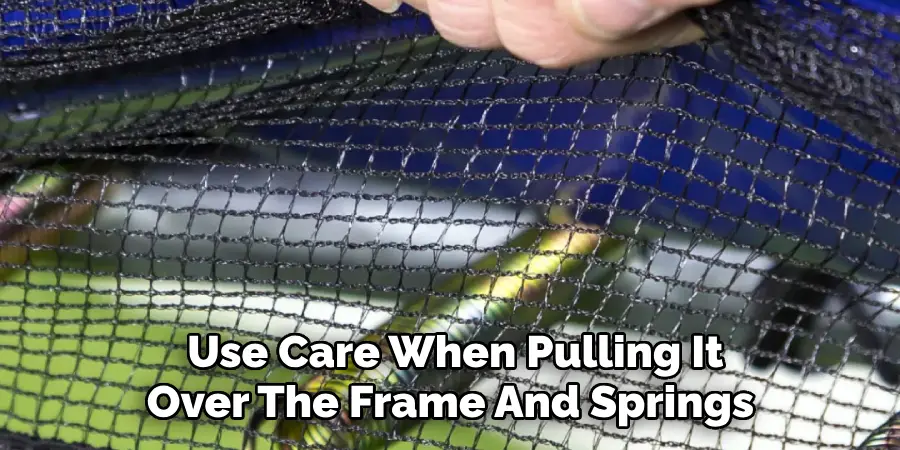
When installing your trampoline mat, make sure to use care when pulling it over the frame and springs. Overstretching the mat can damage it, so make sure to be gentle and take your time. Once you have installed the mat, make sure to inspect the entire trampoline for any signs of wear or damage before use.
Conclusion
Installing a trampoline mat can be tricky, but with the right instructions, tools, and safety measures in place, it’s an achievable task. Having a trampoline is an awesome experience that provides a healthy and fun activity that the whole family can enjoy.
To start enjoying your trampoline for years to come, follow the steps outlined above to get the job done right! Don’t wait any longer and start applying all of these tips today in order to be able to install your trampoline mat correctly.
Be careful not to forget any of the materials when installing it, because if you do so you might end up having an incomplete installation which could lead to injuries or further problems while using your trampoline.
To make sure you’re getting the most out of your new trampoline and have it up and running in no time, take your time when installing it and double-check everything before putting any pressure on it. Now that you know how to install trampoline mat, what are you waiting for? Get out there today and get ready for some safe enjoyable times ahead!
About
Outdoor Fixes is a distinguished figure in the world of Diy design, with a decade of expertise creating innovative and sustainable Diy solutions.
His professional focus lies in merging traditional craftsmanship with modern manufacturing techniques,
fostering designs that are both practical and environmentally conscious. As the author of diy,
outdoorfixes delves into the art and science of outdoorfixes-making, inspiring artisans and industry professionals alike.
Education RMIT University
(Melbourne, Australia) Associate Degree in Design (Outdoor Fixes) Focus on sustainable design, industry-driven projects,
and practical craftsmanship. Gained hands-on experience with traditional and digital manufacturing tools, such as CAD and CNC software.
Nottingham Trent University
(United Kingdom) Bachelor’s in outdoorfixes.com and Product Design (Honors) Specialized in product design with a focus on blending creativity with production
techniques. Participated in industry projects, working with companies like John Lewis and Vitsoe to gain real-world insights.
Publications and Impact
In diy, Outdoor Fixes his insights on indoor design processes, materials, and strategies for efficient production.
His writing bridges the gap between artisan knowledge and modern industry needs, making it a must-read for both budding designers and seasoned professionals.