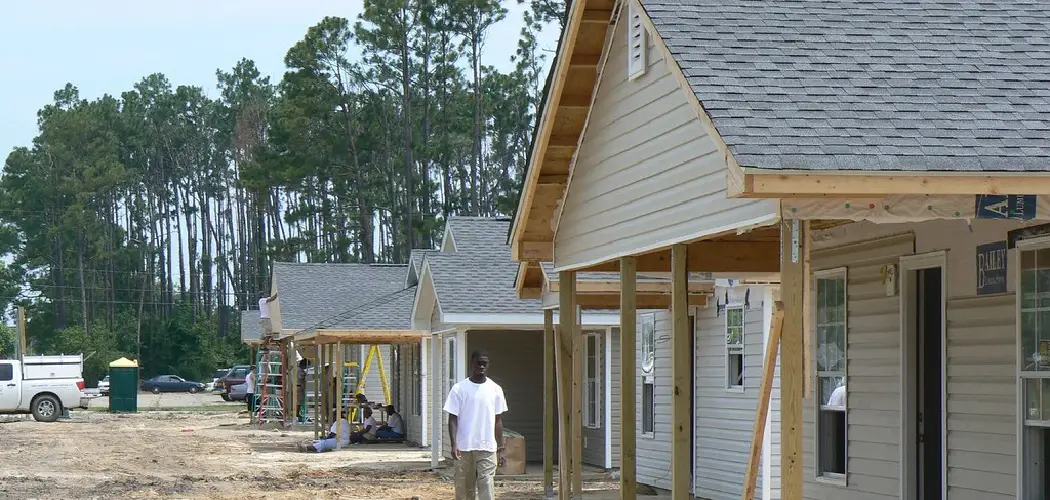
Vinyl siding is a great way to give your shed an updated look and provide extra protection from the elements. It can be installed quickly and easily, making it a popular choice for many DIYers. Installing vinyl siding on a shed requires some preparation beforehand, as well as the right tools and materials to do it correctly. Here, we’ll walk you through all the steps you need to take to successfully install vinyl siding on your shed!

Whether you are trying to increase your home’s curb appeal or spruce up a storage shed, vinyl siding can provide a simple solution that looks great and lasts for years. Installing vinyl siding on your shed, however, may prove a bit daunting if you’re new to this type of dwelling upgrade. Here we will discuss the basics of how to install vinyl siding on a shed so that you can get started with confidence – and have beautiful results in no time!
Why May You Want to Install Vinyl Siding on a Shed
1 . To Improve the Aesthetics
Vinyl siding can give your shed a refreshed look, making it look new and adding character to your outdoor space. It is available in a variety of colors, textures, and styles which can enhance the overall appearance of your shed. Additionally, vinyl siding is easy to clean and maintain; therefore, you won’t have to worry about replacing it or repainting it for many years.
2 . To Increase Durability
Vinyl siding is known to be one of the most durable materials out there. It can withstand a variety of weather conditions such as rain, snow, and extreme temperatures. Additionally, vinyl siding is also resistant to fading, cracking, splitting, and warping, meaning you can enjoy your shed for many years to come without worrying about maintenance and repairs.
3 . To Improve Insulation
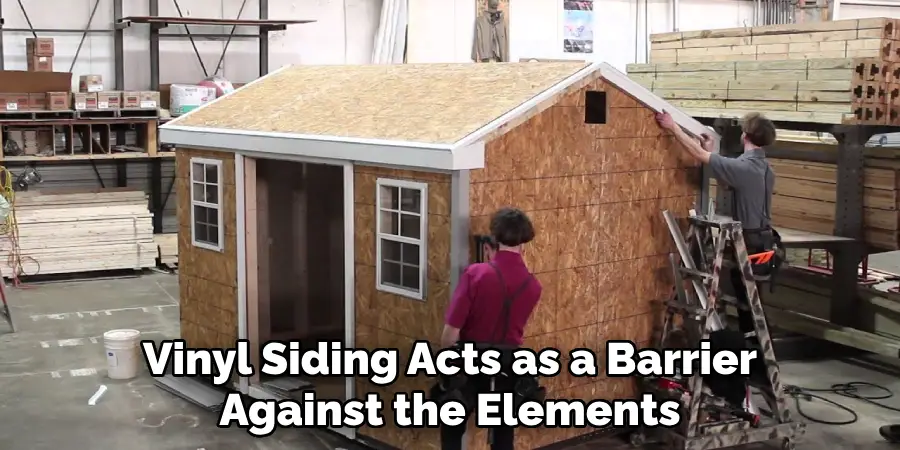
Another benefit to installing vinyl siding on your shed is that it can improve insulation. The vinyl siding acts as a barrier against the elements, helping to keep your shed warmer in cold weather and cooler in hot weather. This can save you money on energy bills, as well as make your shed cozier.
How to Install Vinyl Siding on a Shed in 5 Easy Steps
Step 1: Preparing the Surface
The first step in installing vinyl siding is to prepare the surface of the shed. Start by removing any existing paint, mildew, dirt, and debris from the structure. If there are any large gaps, cracks, or holes in the shed, fill them with wood putty and allow it to dry according to the instructions on the package.
Step 2: Measurements & Cutting
Before beginning to install vinyl siding, take precise measurements of the area you will be covering. Purchase enough siding materials to cover the entire area and use a utility knife or scissors to cut them into the appropriate sizes. To ensure a perfect fit, you may need to use custom-cut pieces of siding.
Step 3: Installing J Channel
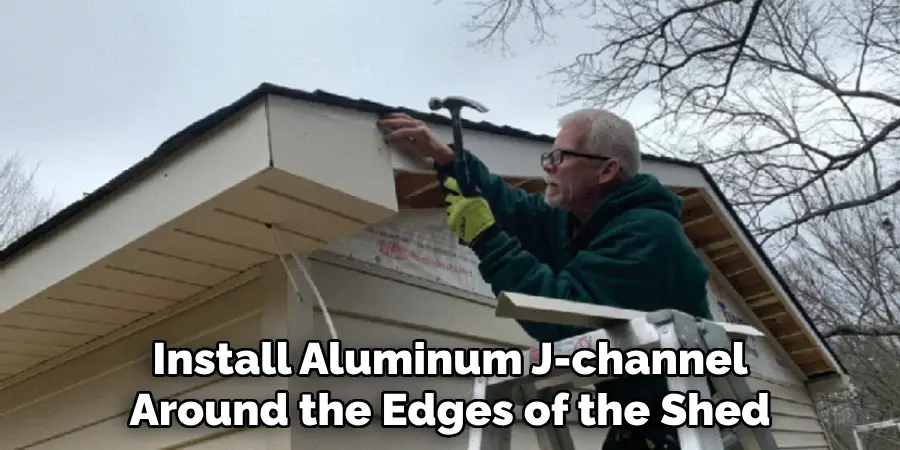
Before beginning to attach vinyl siding, you must install aluminum j-channel around the edges of the shed. Start by cutting the j-channel to size and then use a hammer and nails to attach it. Be sure to overlap the channel with the corners of the shed so that you have a secure fit.
Step 4: Attaching Vinyl Siding
Once you have installed the j-channel, you can begin attaching the vinyl siding. Start from one edge of the shed and use a level to ensure that you are attaching the siding in a straight line. Use galvanized nails to attach the siding one piece at a time, being careful not to overdrive them into the wood.
Step 5: Finishing Touches
The last step is to seal and trim any edges of the vinyl siding that have been cut to fit the shed. Use a caulk gun and a high-quality sealant to make sure the siding is properly sealed. Once you have finished, your shed should be completely covered with vinyl siding and ready for use!
Some Extra Tips to Install Vinyl Siding on a Shed
1 . Make Sure to Measure the Shed Accurately
Before you start cutting and fitting panels, it is important to get your measurements right. You should measure the area where you will be installing panels twice – once horizontally and once vertically – and then add an extra 2 inches to each measurement. That way, when you cut your panels they won’t be too short or too long.
2. Don’t Forget to Use the Right Nails
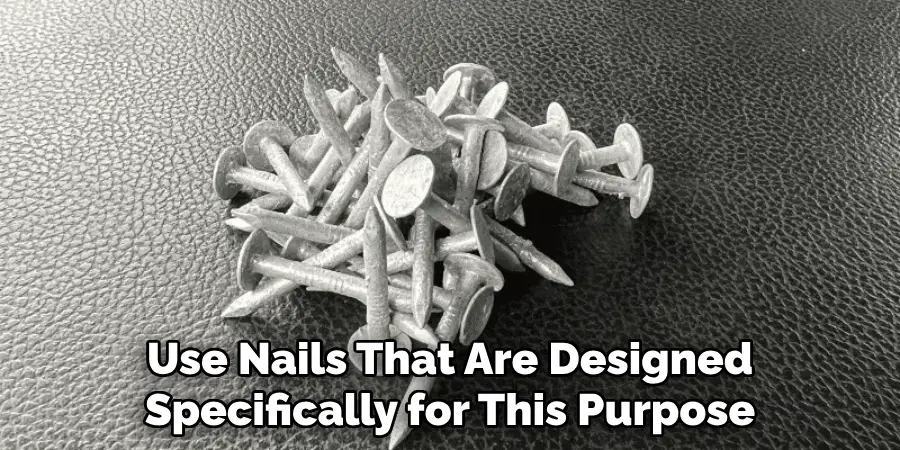
When installing your vinyl siding, make sure to use nails that are designed specifically for this purpose. You should also make sure to drive them into the substrate at a slight angle so they can secure properly. Vinyl-coated galvanized steel nails are recommended as they won’t corrode in harsh weather conditions.
3. Use Caulk or Sealant for Extra Protection
For added protection from moisture and other elements, it is recommended to apply a caulking or sealant on the edges of the panels once they are installed. This will help create an airtight seal that will protect your shed from water damage over time. Make sure to read the instructions on the product for application and drying times.
4. Take Care of Maintenance Regularly
Once installed, your vinyl siding should last for many years as long as it is taken care of correctly. Be sure to clean your siding regularly with a soft cloth and mild detergent to remove dirt and debris. You may also want to inspect the panels periodically for any signs of warping or peeling. If any are found, replace them right away with new panels.
5. Get Professional Help if Necessary
If you feel like you need help installing your vinyl siding, it is best to contact a professional contractor. They will be able to get the job done quickly and accurately to ensure that your shed is properly protected from the elements.
These are just a few tips to remember when installing vinyl siding on your shed. With proper care, you can expect it to last for many years without any issues. By following these steps, you’ll be sure to get the perfect look for your outdoor storage space in no time!
Frequently Ask Question
What Precautions Should I Take When Installing Vinyl Siding?
When installing vinyl siding on a shed, there are several safety precautions to consider. Always wear protective eyewear and gloves when working with any construction materials, including vinyl siding. Carefully brush away any dust or debris from the surface of the shed before attaching the siding to ensure that it sticks securely.
Make sure to follow the manufacturer’s instructions carefully and double-check all measurements before attaching the siding. Also, ensure that you use appropriate fasteners for your particular type of vinyl siding. If in doubt, consult a professional installer or contractor for advice on installing your shed’s vinyl siding.
What Tools Do I Need to Install Vinyl Siding?
When installing vinyl siding, you will need a few basic tools. If applicable, you may also need to purchase additional fasteners. In addition to a measuring tape and a square for making accurate measurements, you will need a sharp utility knife with extra blades, a hammer or pneumatic gun, and metal snips to trim the siding.
A level is also necessary for making sure that the siding is laid out in straight, level lines. If you plan to install windows or other cutouts during your installation, make sure to have a jigsaw handy as well. Finally, it is important to invest in a quality caulking gun and silicone caulk for sealing any gaps between siding panels.
What Is the Best Way to Cut Vinyl Siding?
The best way to cut vinyl siding is with a sharp utility knife. Make sure that you use a new blade for each cut, and extend the blade by pushing it in and out of the handle several times before beginning the cuts. This will ensure that your cuts come out clean and precise.
If you plan on making multiple cuts, you may want to invest in a pair of metal snips specifically designed for cutting vinyl siding. Make sure to double-check your measurements before beginning any cuts, as the edges of the cut vinyl are very sharp and difficult to trim after they have been installed.
Conclusion
Installing vinyl siding on a shed is not a quick project but can be accomplished in a few weekends with the help of some friends. Planning ahead and keeping an eye out for tips and tricks along the way can help make your project run smoother and ensure your vinyl siding looks and works great. Although it may seem intimidating, knowing what you’re getting into can make it much less overwhelming.
Now you know how to install vinyl siding on a shed! Pay attention to the different types of siding that you can use and know what type will work best for the style of shed you’re working on. Be sure to take time to measure everything so you have enough material, and read through instructions carefully to make sure your finished product looks great and lasts!
About
Outdoor Fixes is a distinguished figure in the world of Diy design, with a decade of expertise creating innovative and sustainable Diy solutions.
His professional focus lies in merging traditional craftsmanship with modern manufacturing techniques,
fostering designs that are both practical and environmentally conscious. As the author of diy,
outdoorfixes delves into the art and science of outdoorfixes-making, inspiring artisans and industry professionals alike.
Education RMIT University
(Melbourne, Australia) Associate Degree in Design (Outdoor Fixes) Focus on sustainable design, industry-driven projects,
and practical craftsmanship. Gained hands-on experience with traditional and digital manufacturing tools, such as CAD and CNC software.
Nottingham Trent University
(United Kingdom) Bachelor’s in outdoorfixes.com and Product Design (Honors) Specialized in product design with a focus on blending creativity with production
techniques. Participated in industry projects, working with companies like John Lewis and Vitsoe to gain real-world insights.
Publications and Impact
In diy, Outdoor Fixes his insights on indoor design processes, materials, and strategies for efficient production.
His writing bridges the gap between artisan knowledge and modern industry needs, making it a must-read for both budding designers and seasoned professionals.