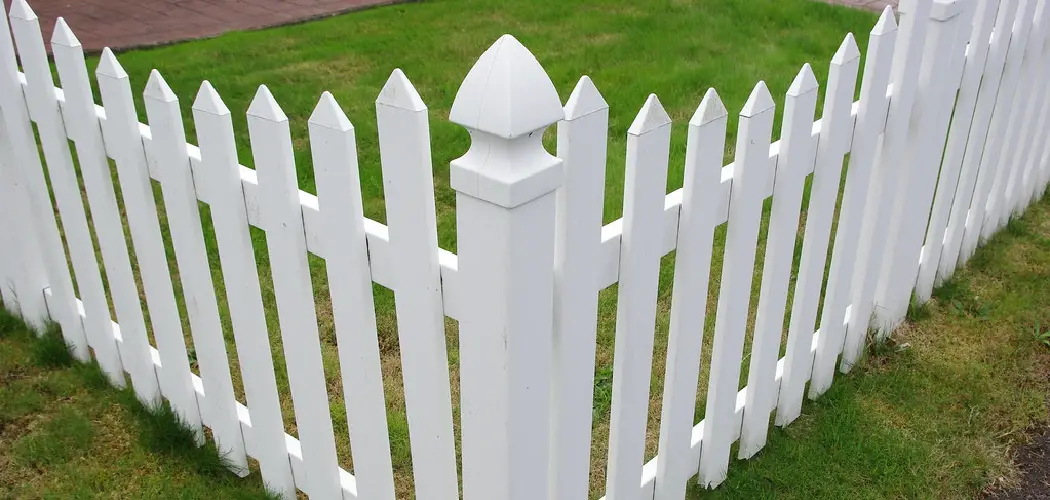
Do you want to create a clean line for your vinyl fence while saving time and money? Installing a new vinyl fence can be exciting, especially when easily completed!
You can properly cut a vinyl fence without any fuss by following a few simple steps. Not only will this help ensure that your replacement or newly installed fencing looks professional and aesthetically pleasing, but it’ll also save you from making unnecessary rookie mistakes that could end up costing more in the long run.

This guide will provide you with the knowledge and step-by-step instructions on how to cut a vinyl fence like a pro. Read on to find out how to cut safely and efficiently left off by professionals! So let’s get started!
What Will You Need
Before cutting your vinyl fence, ensure you have all the necessary tools and equipment. Here’s what you’ll need:
- Measuring tape
- Pencil or chalk for marking
- Circular saw with a carbide-tipped blade (at least 60 teeth)
- Clamps or vice grips
- Safety glasses and gloves
Once you have all the materials ready, it’s time to move on to the next step.
10 Easy Steps on How to Cut a Vinyl Fence
Step 1. Measure:
Use your measuring tape to determine the length you want to cut from the vinyl fence. Double-check your measurements to prevent cutting too much or too little. If you’re cutting a section of the fence for replacement, use the old piece as a guide for measurement.
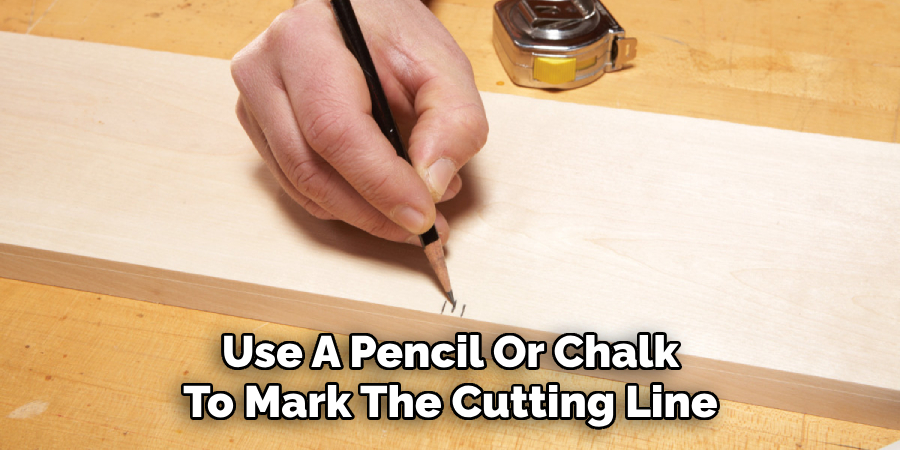
Step 2. Mark:
After you’ve measured the exact length, use a pencil or chalk to mark the cutting line on the vinyl fence. The mark should be clear and straight, as this will guide you when you’re cutting. Ensure the line is level for a clean, professional-looking cut. If you’re not confident in drawing a straight line freehand, consider using a carpenter’s square or another straight edge as a guide.
Step 3. Secure:
Before you start cutting, securing the vinyl fence is crucial to prevent any movement, which could lead to an inaccurate cut or even injury. Use clamps or vice grips to hold the section of the fence firmly in place. If you’re working on a larger piece, you may need an extra pair of hands. Always prioritize safety when using power tools.
Step 4. Prepare the Saw:
Now that the fence is secured prepare your circular saw. Install a carbide-tipped blade with at least 60 teeth to ensure a smooth cut. Before starting, double-check to ensure the saw’s settings are aligned with the thickness and material of the vinyl fence. Remember, safety is paramount, so remember to don your safety glasses and gloves before powering up the saw.
Step 5. Start Cutting:
With your saw ready and fencing secured, it’s time to start cutting. Align your saw with the marked line and start the cut from the edge of the vinyl fence. Proceed slowly and keep a firm grip on the saw to control its movement.
Ensure the saw blade is working – you just need to guide it. Remember to always keep your hands clear of the blade to prevent injury. Continue cutting until you complete the marked line. Remember, it’s better to go slow and steady than to rush and risk making a mistake or causing an accident.
Step 6. Check the Cut:
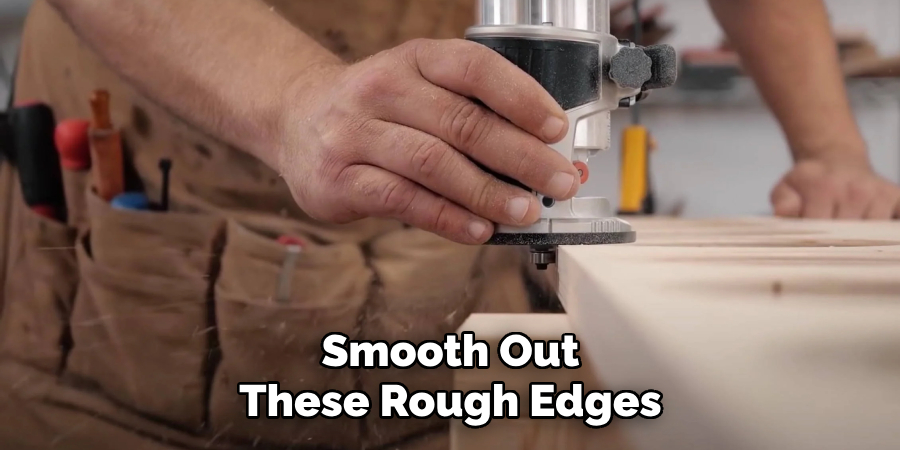
Once you’ve completed cutting, turn off the saw and set it aside safely. Now, inspect the cut. It needs to be smooth and straight for the fence to fit correctly. If you find any rough edges or imperfections, you can use a file or sandpaper to smooth them out.

It’s essential to ensure the cut is clean and accurate, as this will contribute to the overall look of your fence and its structural integrity. Check the cut section fits into the desired place correctly. If it doesn’t, you should trim a little more. Always remember, it’s easier to trim more off than fix a piece cut too short.
Step 7. Install the Cut Vinyl Fence:
With a clean and precise cut, you can now install the cut section of the vinyl fence. If it is a replacement, remove the damaged section first. Slide the cut piece into the designated slots in the fence posts for installation. Ensure it fits snugly and the cut edges align perfectly with the rest of the fence.
Use screws or the provided clips to secure the section of the fence to the posts. Refer to the manufacturer’s instructions if you need clarification. You must be cautious during this step to avoid damaging the vinyl fence. Once installed, conduct a final check to make sure it is straight and secure.
Step 8. Clean Up:
After successfully installing the cut section of the vinyl fence, clean up the area. Dispose of any leftover vinyl material responsibly. Remember to unplug and safely store your circular saw and any other tools used. It’s a good practice to leave your workspace clean and safe for the next project. Keep any unused vinyl for future replacements or repairs.
Step 9. Inspect and Enjoy Your Work:
Take a step back and admire your work. Inspect the entire fence to ensure all the sections are securely installed and aligned. Appreciate the beauty and privacy your vinyl fence brings to your home. Remember, regular maintenance will extend its life and maintain its appearance.
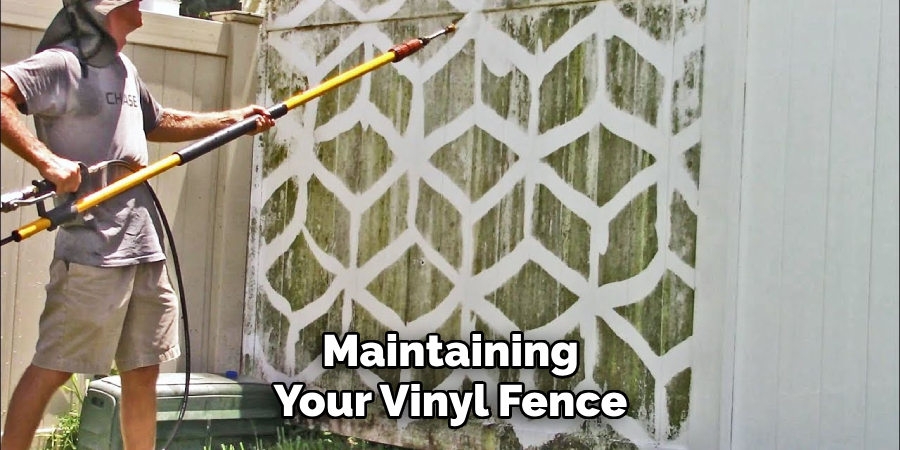
Step 10. Maintenance:
Maintaining your vinyl fence is essential to keep it looking new and to prolong its lifespan. Regularly clean it with mild soap and water to prevent the buildup of dirt and grime. If any section becomes damaged, use your newfound skills to replace it. With your dedication and care, your vinyl fence will stay in top condition for many years.
By following these ten easy steps, you can confidently cut your vinyl fence like a professional. With practice, you’ll become an expert at cutting and maintaining your vinyl fence.
5 Additional Tips and Tricks
- Use a Fine-toothed Saw Blade: When cutting vinyl fencing, it’s important to use a fine-toothed saw blade to achieve a clean and smooth cut. This reduces the risk of damaging the vinyl.
- Mark Your Measurements: Always mark your measurements on the vinyl fence before starting to cut. This will help in achieving precise cuts and will maintain the symmetry of the fence.
- Safety First: Always wear safety goggles and gloves when cutting vinyl fencing. This will protect your eyes from flying debris and your hands from potential accidents.
- Secure the Fence Panel: Ensure that the fence panel is properly secured before cutting. This could be achieved by clamping it down on a stable surface.
- Clean the Cut Edges: After cutting, there might be small vinyl shards along the cut edge. Smooth out these rough edges with a file to prevent any potential injuries.
With these additional tips and tricks, cutting a vinyl fence will be a hassle-free task. Remember always to work carefully and patiently to achieve the desired results. And don’t forget to double-check your measurements before making any cuts.
5 Things You Should Avoid
- Avoid Rushing: Cutting a vinyl fence requires patience and precision. Rushing the process could lead to inaccurate cuts or potential damage to the fence.
- Do Not Use Dull Tools: Using a blunt or dull blade can cause uneven cuts and damage the vinyl. Always ensure your tools are sharp and in good condition.
- Bypass Safety Practices: Never compromise on safety measures. Skipping safety goggles or gloves could lead to serious injuries.
- Avoiding Double-Checking Measurements: Always double-check your measurements before cutting. Cutting based on a single measurement can lead to mistakes and waste of material.
- Leaving Cut Edges Rough: Pay attention to the finishing touches. Leaving cut edges rough can cause injuries and make the fence look unprofessional. Always smooth out the edges after cutting.
By avoiding these common mistakes, you can ensure a smooth and successful vinyl fence cutting experience. Cutting a vinyl fence may seem daunting at first, but with practice and these tips, you’ll become an expert in no time!
Conclusion
All in all, learning how to cut a vinyl fence is not always simple or straightforward. Remember, it will take time and the proper tools to get the job done correctly. However, if you plan and know what you’re doing, then cutting a vinyl fence can be a relatively easy task.
Just remember to use the right kind of saw and make sure that you have protective gear on when performing any type of work with sharp blades and tools.Lastly, don’t forget to double check all measurements before cutting into your newly purchased vinyl fencing material!
Hopefully, the article on cutting a vinyl fence has provided you with the necessary knowledge and tips to successfully complete your fence cutting project.
By following these guidelines, you can achieve precise and clean cuts on your vinyl fence, making it a beautiful addition to your outdoor space. Remember to always prioritize safety and take your time for accurate results. Happy cutting!
About
Outdoor Fixes is a distinguished figure in the world of Diy design, with a decade of expertise creating innovative and sustainable Diy solutions.
His professional focus lies in merging traditional craftsmanship with modern manufacturing techniques,
fostering designs that are both practical and environmentally conscious. As the author of diy,
outdoorfixes delves into the art and science of outdoorfixes-making, inspiring artisans and industry professionals alike.
Education RMIT University
(Melbourne, Australia) Associate Degree in Design (Outdoor Fixes) Focus on sustainable design, industry-driven projects,
and practical craftsmanship. Gained hands-on experience with traditional and digital manufacturing tools, such as CAD and CNC software.
Nottingham Trent University
(United Kingdom) Bachelor’s in outdoorfixes.com and Product Design (Honors) Specialized in product design with a focus on blending creativity with production
techniques. Participated in industry projects, working with companies like John Lewis and Vitsoe to gain real-world insights.
Publications and Impact
In diy, Outdoor Fixes his insights on indoor design processes, materials, and strategies for efficient production.
His writing bridges the gap between artisan knowledge and modern industry needs, making it a must-read for both budding designers and seasoned professionals.