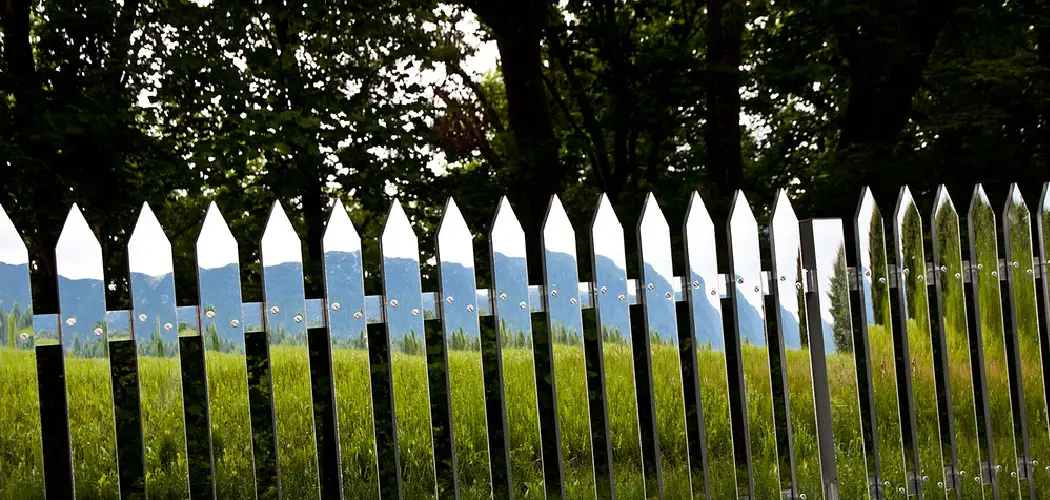
Are you looking for an easy and inexpensive way to update your aluminum fence? Replacing the pickets can be a great DIY project that you can complete in one weekend without breaking the bank!

In this blog post, we’ll walk you through the steps of how to replace aluminum fence pickets so you can transform your outdoor space. We will discuss why it’s important to use appropriate materials for your enclosure and cover what tools are needed for installation. With these tips, instructions, and resources provided, anyone should feel comfortable tackling this project with confidence. So let’s get started!
Tools and Materials You Will Need to Replace Aluminum Fence Pickets
1. Aluminum pickets (calculate the quantity needed)
2. Screws and caps
3. Fence post-hole digger
4. Hammer
5. Level
6. Drill with a screwdriver bit
7. Shovel or posthole digger (to remove old posts)
8. Paint or another sealant to preserve the aluminum
Step by Step Guidelines on How to Replace Aluminum Fence Pickets
Step 1: Start by Measuring
Before you begin any project, measuring the area where your aluminum fence pickets will be replaced is important. You want to ensure that your new pickets are the right size and shape for the space. It is important to measure because aluminum pickets come in different sizes, shapes, and colors.
Step 2: Remove the Old Pickets
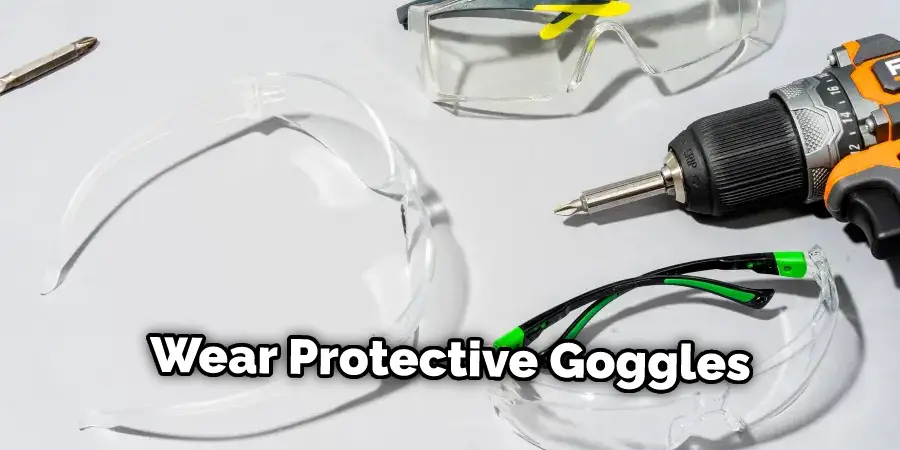
Once you have measured the area, it is time to start removing the old pickets. Using a hammer or pry bar, carefully remove the existing pickets from the posts and set them aside. Be sure to wear protective goggles while removing the pickets to avoid any injury. For removing pickets with a post-hole digger, make sure that you have the proper shovel or post-hole digger to remove old posts.
Step 3: Install New Pickets
Once the old pickets are out of the way, it’s time to install your new pickets. When installing aluminum fence pickets, make sure that the pickets are securely attached to the posts. You can use a drill with a screwdriver bit and long screws to attach the pickets or hammer in nails if necessary. After all of your new pickets are installed, use caps to cover any exposed screws.
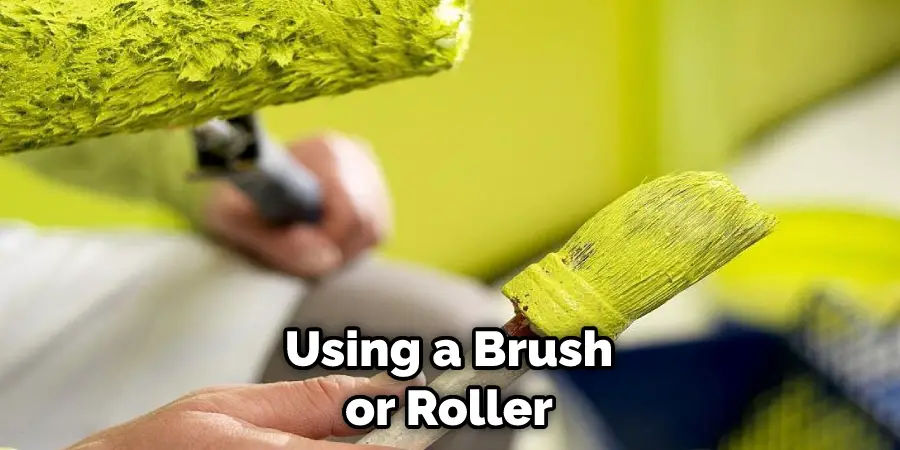
Step 4: Seal and Paint (Optional)
Once the pickets are installed, it is recommended that you seal and paint them to preserve their appearance and prevent rusting. You can use a brush or roller to apply a sealant or paint of your choice. This will help protect your aluminum fence from the elements and maintain its beauty for years to come.
You have now successfully replaced your aluminum fence pickets! This is an easy and inexpensive way to give your outdoor space a face-lift. With the tips and resources provided in this blog post, you should feel confident enough to tackle this project on your own. Enjoy your newly transformed fencing!
Additional Tips and Tricks to Replace Aluminum Fence Pickets
- Before proceeding, always make sure to disconnect the power from your fence by turning off any electricity that is connected to it. This will help prevent any electrical shock or damage caused by accidentally cutting through wires during the replacement process.
- If possible, remove the existing pickets before installing new ones in order to get a better view of the fence line and the area around it. This will also make it easier to fit new pickets into place.
- When cutting down new pickets to size, always measure twice and cut once in order to ensure accuracy.
- Once each picket is fitted into place, use galvanized nails or stainless steel screws to secure them. Do not use regular nails, as they are likely to corrode and weaken over time.
- Finally, check the fence for gaps between pickets and caulk or sealant to avoid moisture buildup and water damage.
By following these tips and tricks, you can easily replace aluminum fence pickets in order to ensure a safe and secure boundary line around your property. With proper installation and maintenance, your new aluminum fence will last many years!
Safety Precautions Need to Follow for Replacing Aluminum Fence Pickets

- Wear protective gear such as gloves, eye protection, and a hard hat when replacing aluminum fence pickets.
- Remove the old picket by unscrewing the screws or bolts that connect it to the frame using an appropriate tool like a screwdriver or wrench.
- Measure the length of the new picket before cutting it to ensure a proper fit.
- Use heavy-duty shears or metal snips to cut the aluminum picket, and make sure your cuts are straight for a neat installation.
- Drill holes in the frame where needed to attach the new picket, and use appropriate fasteners such as screws or bolts.
- Position the picket in place, and secure it firmly with the fasteners.
- Add a coat of paint or sealant to help protect the aluminum picket from weathering over time.
- Check that all screws and bolts are tightened properly and are not loose or missing before use.
- Take extra care when working in elevated spaces such as ladders or scaffolding to ensure your safety.
- Dispose of all debris from the installation process responsibly and properly.
- Have a professional inspect the fence once you are done replacing the pickets for any potential issues or hazards that may have arisen during the installation process.
Following precautions should be taken while replacing aluminum fence pickets. Not taking proper safety measures can result in serious injury or damage. All necessary precautions should be taken to ensure the safety of everybody involved in the project.
Frequently Asked Questions
How Can I Remove Old Aluminum Fence Pickets?
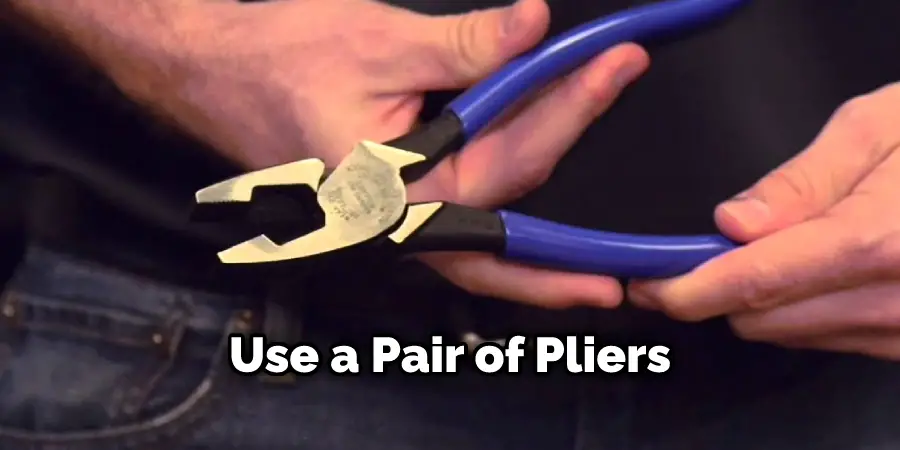
Removing old aluminum fence pickets can be tricky, but it is doable with the right tools. Start by using a pair of pliers or locking pliers to remove any screws or nails from the picket. If no screws or nails are securing the picket, use a pry bar to lift it away from its rail carefully.
Once you have removed the individual pickets, use a hammer to remove any nails or screws securing the rails in place. Place your new pickets into position using either screws or nails, depending on the type of fence you are replacing. Secure your new aluminum fence pickets with galvanized screws and ensure they are not too tight. Finally, apply a coat of sealant to your new pickets to protect them from the elements.
What Are the Benefits of Replacing Aluminum Fence Pickets?
Replacing old aluminum fence pickets can give your garden an instant facelift. New pickets will look more aesthetically pleasing and make your property more secure. They also require minimal maintenance, so you won’t have to spend time painting or staining them.
Additionally, aluminum pickets are durable and can withstand harsh weather conditions. If you live in an area with high winds or storms, the durability of aluminum pickets will help ensure your fence won’t be damaged. Finally, replacing old aluminum fence pickets can add value to your home should you decide to sell them.
What Other Considerations Do I Need to Make When Replacing Aluminum Fence Pickets?
When replacing aluminum fence pickets, you’ll need to ensure that the new pickets are properly aligned with each other. Measure the distance between each picket and make sure they are level with one another.
Additionally, checking local building codes is important to ensure your fence meets the requirements. Finally, make sure to use galvanized screws that are corrosion-resistant when attaching the pickets to their rails. Taking these precautions will help ensure your fence looks great and lasts for years to come.
Are There Special Tools Needed To Replace Aluminum Fence Pickets?
Yes, you’ll need a few special tools to replace aluminum fence pickets. These include a pair of pliers or locking pliers for removing screws or nails, a pry bar for lifting away the picket from its rail, and a hammer for removing the rails. Additionally, you may need a drill if your fence requires screws rather than nails. Ensure that all the tools you use are in good condition and suitable for the job.
Does It Take Long To Replace Aluminum Fence Pickets?
The time it takes to replace aluminum fence pickets will depend on several factors, such as the size of your fence, the number of pickets you need to replace, and whether or not you need to remove existing pickets or rails. In general, the process should take a few hours at most. If you are unsure of how long it will take, it’s best to consult a professional fence installer who can provide a more accurate estimate.
Conclusion
Replacing aluminum fence pickets is a relatively straightforward and cost-effective way to give your yard an updated look. With the right tools and supplies, anyone can properly learn how to replace aluminum fence pickets. While inserting the new pickets may be a bit difficult, it’s worth the effort for the satisfaction of a job well done.
Be sure to carefully measure each gap between the post and picket so that you get the best possible fit. Taking care not to over-tighten screws or fasteners during installation will ensure your fence stands strong against weather and time. If you find yourself struggling, just remember that assistance is always available at home improvement stores that can help answer any questions you may have. Best of luck with replacing your aluminum fence pickets!
About
Outdoor Fixes is a distinguished figure in the world of Diy design, with a decade of expertise creating innovative and sustainable Diy solutions.
His professional focus lies in merging traditional craftsmanship with modern manufacturing techniques,
fostering designs that are both practical and environmentally conscious. As the author of diy,
outdoorfixes delves into the art and science of outdoorfixes-making, inspiring artisans and industry professionals alike.
Education RMIT University
(Melbourne, Australia) Associate Degree in Design (Outdoor Fixes) Focus on sustainable design, industry-driven projects,
and practical craftsmanship. Gained hands-on experience with traditional and digital manufacturing tools, such as CAD and CNC software.
Nottingham Trent University
(United Kingdom) Bachelor’s in outdoorfixes.com and Product Design (Honors) Specialized in product design with a focus on blending creativity with production
techniques. Participated in industry projects, working with companies like John Lewis and Vitsoe to gain real-world insights.
Publications and Impact
In diy, Outdoor Fixes his insights on indoor design processes, materials, and strategies for efficient production.
His writing bridges the gap between artisan knowledge and modern industry needs, making it a must-read for both budding designers and seasoned professionals.