Are you looking to increase the security around your home or office and add some aesthetic appeal? Installing aluminum fencing is a great solution that offers both form and function. Not only does it look good, but aluminum fencing also provides formidable protection against unwanted visitors and trespassers.

If you’re interested in learning to install aluminum fencing, this blog post is for you! We’ll cover all the materials needed, installation tips, and best practices so that you can have a secure barrier as soon as possible. So don’t wait any longer – read on to find out everything there is to know about how to install aluminum fencing.
Tools and Materials You Will Need to Install Aluminum Fencing
- Posthole digger
- Shovel
- tape measure
- level
- drill
- Aluminum fence panels (make sure to buy enough for the entire perimeter you want to fence in)
- Fence posts (these should be made of steel and treated with a rustproof coating)
- Fence post brackets
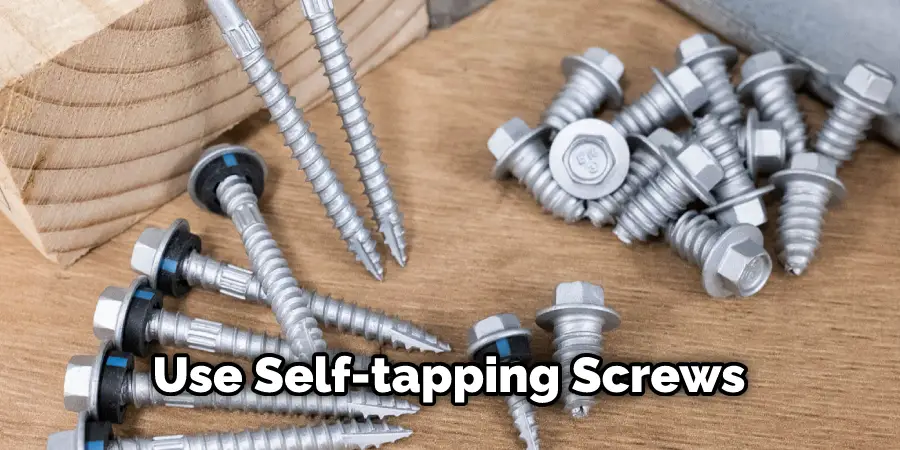
- Self-tapping screws
- Concrete mix
- Gravel
- Finishing materials (post caps and decorative accents)
Step by Step Guidelines on How to Install Aluminum Fencing
Step 1: Measure the Area and Mark
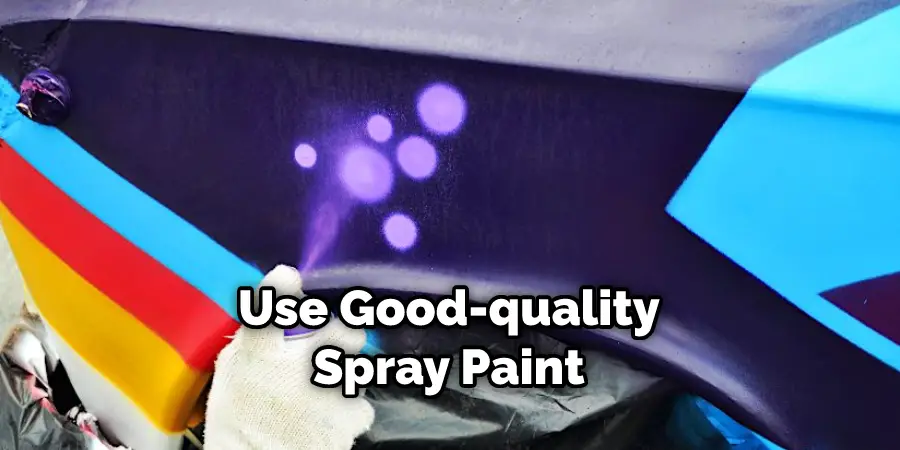
Begin by measuring the area where you want to install the fence. Make sure to measure both length and width so that you can buy enough materials for the entire perimeter. Use good-quality spray paint to mark the perimeter of where the fence will go. While measuring, also take note of any uneven terrain or slopes that may affect the installation.
Step 2: Dig Post Holes
Using a posthole digger, dig holes along the area you just marked. Make sure that the hole is wide enough and deep enough for your posts to be securely fastened to the ground. If your soil is particularly hard, you may want to rent an auger for this step. Remember while digging that the holes should be at least six inches deeper than the post height to allow for cement and gravel.
Step 3: Install Fence Posts
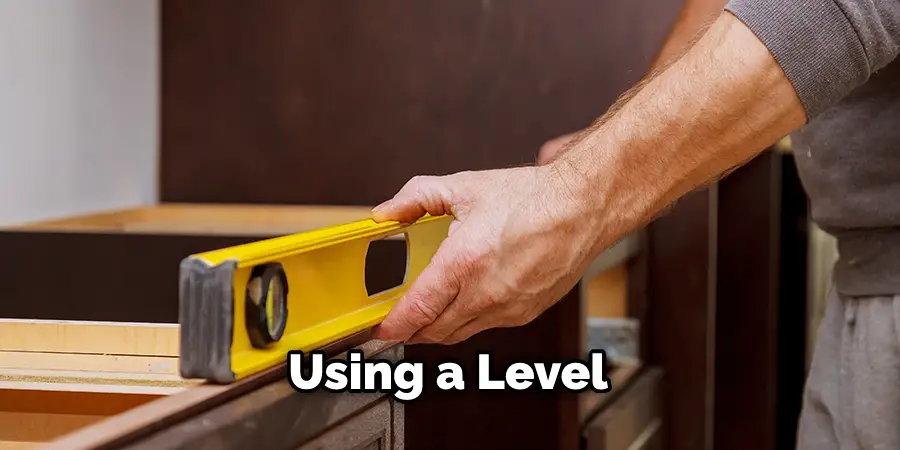
Now it’s time to install your fence posts. Place a post in each hole, making sure that it is level and aligned with the spray-painted line. You’ll need to use fence post brackets to secure them in place. These will help keep the posts secure and in place for the long term. After all of the posts are installed, set your tape measure along one of them to ensure that all of them are equal distances apart.
Step 4: Attach Panels
Once your posts are securely in the ground, attaching the aluminum fence panels is time. Line the panel up with your posts and use self-tapping screws or other fastening materials to secure them in place. Attach panels to each post, making sure to leave a gap of a one-eighth inch between them.
Step 5: Fill Holes with Concrete
To ensure that your fence posts are stable and secure, you’ll need to fill the holes in the ground with concrete mix. Mix the cement according to the instructions on the package and then fill each hole. Make sure to tamp down the concrete firmly to secure it in the ground. Afterward, spread a layer of gravel over each post hole to add stability to your fence posts.
Step 6: Add Finishing Touches
The last step in your aluminum fencing installation is adding any finishing touches you want. This includes decorative accents, post caps, and other accessories that will enhance the look of your fence. Once this is done, you can enjoy an aluminum fence’s security and aesthetic appeal! Before finishing, be sure to check for any loose screws or parts that may need to be tightened.
Congratulations! You have successfully installed your aluminum fencing and can now enjoy a secure barrier around your property. With proper maintenance, this fence should last for many years – so make sure you inspect it regularly and make any repairs as necessary. Have fun with your new fence!
Additional Tips and Tricks to Install Aluminum Fencing
- Before beginning any aluminum fence installation, check local zoning and building regulations to ensure that your proposed fencing project meets all requirements.
- To prevent costly mistakes, take precise measurements of the area you are planning to fence off. These measurements should include post placement and spacing as well as panel lengths to ensure a proper fit.
- Double-check your measurements to ensure accuracy before starting any installation process.
- If possible, place the fence posts in concrete to provide extra stability and strength for the entire structure. This is especially important when fencing off an area with high winds or potential flooding.
- When installing the fence panels, use a level and plumb line to ensure they are positioned correctly. Any uneven or slanted panels will weaken the overall structure of the fence.
- To help prevent rusting and staining, apply a protective coating to all of your aluminum fencing components as soon as possible after installation is complete.
- Make sure to regularly inspect your aluminum fencing for potential damage or loosening components that may need tightening. Regular maintenance can help extend the life of your fence and keep it looking great for years to come.
- If you are installing an automated gate system, be sure to check all of the components for proper functionality before allowing the use of the gate. This includes checking for loose connections, sensor calibration, and other components that could cause malfunctions or injuries.
These tips and tricks can help you ensure a safe and successful aluminum fence installation! With careful planning and attention to detail, your new aluminum fence will be a beautiful addition to your home that will last for years to come. Good luck!
Safety Precautions Need to Follow for Installing Aluminum Fencing
- Determine where the fence should be installed. Make sure that all local rules and regulations regarding fencing are being followed. Also, check for underground utility lines, which may need to be marked before any digging can begin.
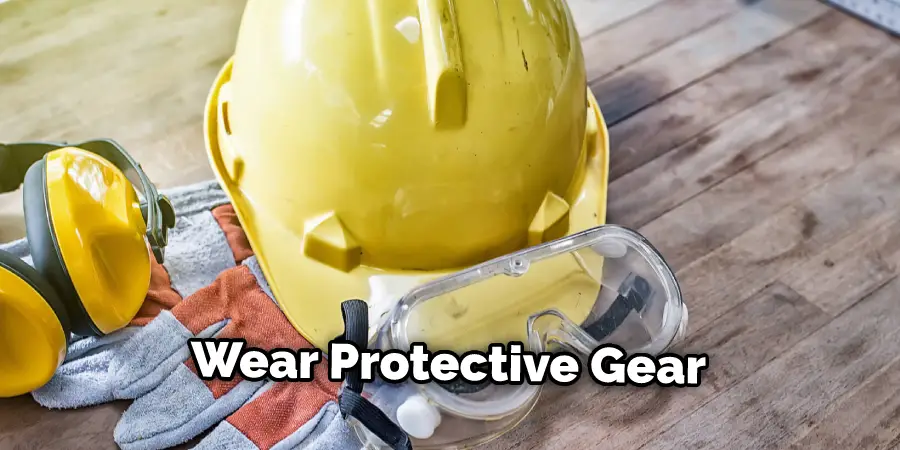
- Wear protective gear while installing the aluminum fencing. This includes safety glasses, work gloves, and other protective clothing designed to keep you safe from cuts, scrapes, and other potential hazards.
- Ensure the ground is level before beginning the installation of the aluminum fence posts. Place a string line on the ground to ensure that all posts are in a straight line with each other for a professional-looking result.
- Set the posts in their respective holes. Ensure each post is at least eight inches into the ground but no more than 12 inches. Pack dirt firmly around the base of the post to secure it in place.
- Attach the aluminum fencing panels to each post using stainless steel screws or bolts with a rubber washer for extra support. Do not overtighten the screws; instead, just snug them into place.
- Check for any gaps in the fencing and ensure that all the posts are secure in the ground before declaring your job complete. If necessary, you may need to add additional soil around the base of a post or retighten screws to ensure the fence is secure.
Installing aluminum fencing can be a straightforward job with the right safety precautions in place. By following these steps, you’ll have an attractive and secure barrier that will last for years to come.
Things You Need to Consider While Installing Aluminum Fencing
- Make sure you check your local building codes and regulations to ensure that the installation of aluminum fencing is allowed in your area.
- Consider the type of design, color, style, height, and material best suited for your property’s needs.
- Ensure that your aluminum fence is installed on level ground for maximum stability and longevity.
- Calculate the total cost of installation, including materials and labor costs.
- Consider hiring a professional installer to ensure proper safety, installation, and maintenance of your aluminum fence.
- If you plan to install the aluminum fence yourself, ensure you have all the necessary tools and materials before starting the project.
- Consider the type of posts and accessories you’ll need and any additional gates or features that may be desired.
- Regularly maintain your aluminum fence with proper cleaning and lubrication to ensure its longevity.
- Make sure to periodically inspect your aluminum fence for loose or missing parts and make any necessary repairs.
- Consider adding a fence cap or post finial to make your aluminum fence look more finished.
- Install quality hardware such as hinges, latches, and locks that are designed for aluminum fencing to ensure maximum security.
- Take the time to properly paint or seal your aluminum fence to protect it from the elements and extend its life.
- Choose a reliable company or installer that is experienced in installing aluminum fencing for your project.
- Make sure you are fully aware of any warranties offered by the manufacturer and any maintenance requirements for the proper upkeep of your aluminum fence.
- Take into consideration any local regulations or restrictions that may apply to your aluminum fence installation.
- Be sure to factor in any additional features, such as landscaping, lighting, and gates, when calculating the total cost of your aluminum fence.
- Consider adding a privacy screen or windscreen for added security and privacy if desired.
- When installing vertical slats, make sure they are evenly spaced and properly secured to ensure a seamless look.
- Make sure you consider the weather conditions in your area when choosing an aluminum fence for installation.
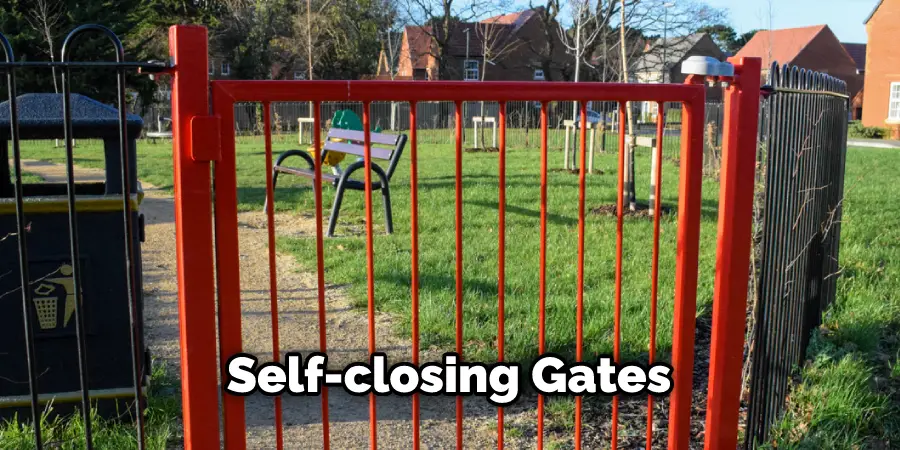
- Be aware that some pool codes may require additional safety features, such as self-closing gates if you will be installing an aluminum fence around a swimming pool.
With these tips in mind, you’ll be able to find the perfect aluminum fencing solution for your property and ensure its successful installation. Aluminum fencing is an excellent choice for residential properties due to its durability, strength, and attractive appearance. Your aluminum fence will provide years of enjoyment with proper care and maintenance. So take the time to do your research and make an informed decision when installing aluminum fencing in your home. Good luck!
Conclusion
Installing an aluminum fence is a great way to add security, privacy, and style to your home. Just be sure to follow all the necessary steps about how to install aluminum fencing to ensure a smooth and successful installation.
First, you should always double-check that all local codes are met prior to installing the fence. Then lay out the fence panel sections for a seamless installation. Ensure you’re using power equipment capable of cutting through the hard material, like a saw or grinder.
Finally, secure posts securely into the ground with cement or concrete. With adequate planning and preparation, you’ll have an aluminum fence around your home in no time! Whether it’s for added safety or aesthetic appeal, taking on this project can make you enjoy your backyard even more!
About
Outdoor Fixes is a distinguished figure in the world of Diy design, with a decade of expertise creating innovative and sustainable Diy solutions.
His professional focus lies in merging traditional craftsmanship with modern manufacturing techniques,
fostering designs that are both practical and environmentally conscious. As the author of diy,
outdoorfixes delves into the art and science of outdoorfixes-making, inspiring artisans and industry professionals alike.
Education RMIT University
(Melbourne, Australia) Associate Degree in Design (Outdoor Fixes) Focus on sustainable design, industry-driven projects,
and practical craftsmanship. Gained hands-on experience with traditional and digital manufacturing tools, such as CAD and CNC software.
Nottingham Trent University
(United Kingdom) Bachelor’s in outdoorfixes.com and Product Design (Honors) Specialized in product design with a focus on blending creativity with production
techniques. Participated in industry projects, working with companies like John Lewis and Vitsoe to gain real-world insights.
Publications and Impact
In diy, Outdoor Fixes his insights on indoor design processes, materials, and strategies for efficient production.
His writing bridges the gap between artisan knowledge and modern industry needs, making it a must-read for both budding designers and seasoned professionals.