
Are you looking for a comprehensive guide to installing a water tank? Whether you’re looking to upgrade your current system or install one for the first time, this blog post will provide an overview of everything you need to know.
Here, we’ll walk through the entire process step-by-step so that you can easily and safely install your own water tank with confidence. Learn how to choose a space in your home, decide on the right type of tank, prepare it properly before installation, do the actual setup, and then take care of any post-installation tasks.
With clear explanations and helpful tips on how to install water tank, you’ll be able to make sure that your new water storage system is installed correctly without having to worry about potential problems down the road. Let’s dive in!
How High Should a Water Tank Be from the Floor?
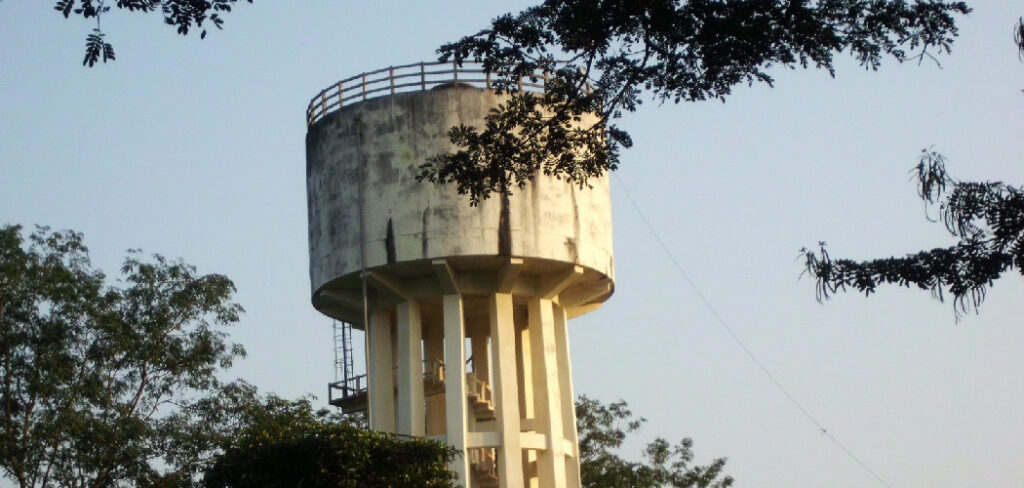
The ideal height for a water tank depends on several factors. Generally, the higher the water tank is installed from the floor, the better it will perform. The higher installation allows greater pressure and water delivery in piping systems. When installing a water tank, it is important to take into account local building codes and any regulations regarding how high a tank can be from the floor.
In most cases, the minimum height for a water tank is at least 6 feet (1.8 meters) above the ground or floor level. However, it is recommended to install water tanks at least 8 feet (2.4 meters) higher than the highest point of use in order to ensure adequate pressure and water delivery.
When installing a water tank on top of a structure, additional considerations are necessary. The minimum height will be determined by the highest point of use and the elevation difference between that point and the proposed location for the tank. In this case, an engineer or professional contractor should be consulted to ensure adequate pressure is achieved throughout the entire system.
In areas prone to seismic activity, water tanks should be designed and installed according to local regulations in order to reduce the risk of damage from possible earthquakes or tremors. Additionally, all water tanks must comply with national building standards and codes so that they are safe for use in residential and commercial applications.
8 Methods How to Install Water Tank
1. Place the Water Tank on a Level Surface
One of the most important things you need to do when installing a water tank is to make sure that it is placed on a level surface. If the tank is not level, it could lead to problems with the pump and other components, as well as potentially cause the tank to leak.
Therefore, it is important to ensure that the tank is sitting level before attaching any pipes or other components. If necessary, you can use a leveler to adjust the tank until it is completely level. However, if you are placing the tank on a concrete slab or other support structure, make sure that it is level before proceeding.
2. Connect the Inlet and Outlet Pipes
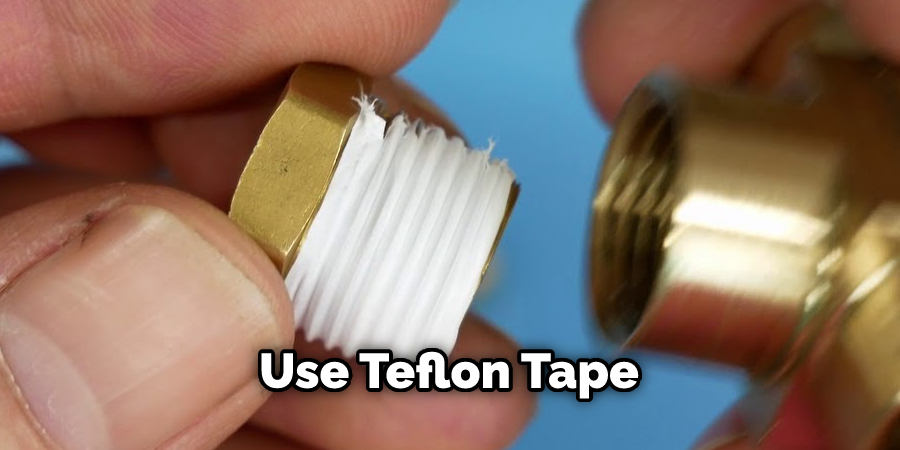
Once the tank is in place, you will need to connect the inlet and outlet pipes. The inlet pipe is used to fill the tank with water, while the outlet pipe is used to draw water from the tank. It is important to make sure that these pipes are properly sealed so that there are no leaks.
To do this, use Teflon tape and a wrench to tightly secure the pipe fittings. Once the pipes are connected, you will need to turn on the water supply and check for any leaks. If everything is sealed properly, you can move on to the next step.
3. Install a Submersible Pump
If you want to be able to use the water in your tank, you will need to install a submersible pump. This type of pump is designed to be placed underwater and can be used to draw water from the tank and deliver it to your home or business. When selecting a pump, be sure to choose one that is rated for the size of your tank and intended use.
You will also need to connect the pump to a power source and an appropriate filtering system. Finally, you should also have the pump professionally installed as improper installation can lead to leaks and damage to your equipment. To ensure your pump is properly installed, it’s best to hire a professional plumber.
4. Install an Overflow Pipe
It is also a good idea to install an overflow pipe on your water tank. This pipe will allow excess water to drain from the tank in case of a leak or if the pump fails. This can help to prevent flooding and damage to your property.
The overflow pipe should be connected to a drain or stormwater system so that the excess water is safely removed. Make sure that the pipe is secured and sealed properly to avoid any potential leakage. To make sure that the installation is done correctly, you may want to hire a professional plumber to help you with this step.
5. Connect the Power Supply
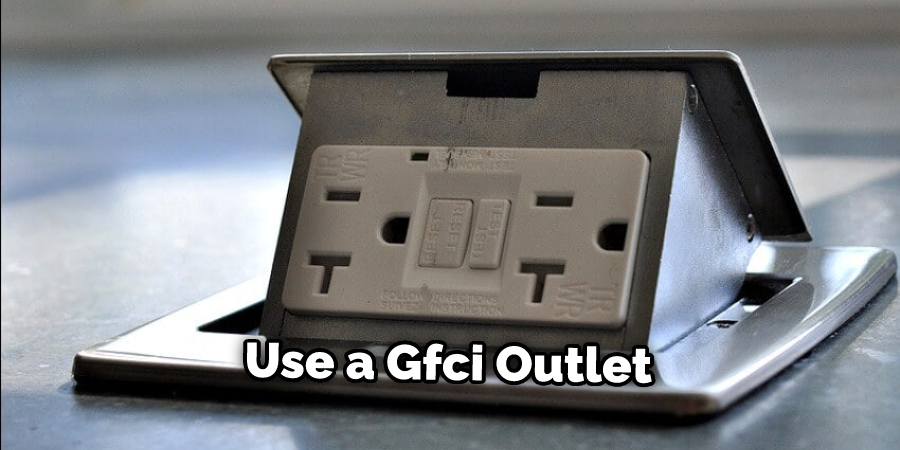
Once all of the plumbing is installed, you will need to connect the power supply to the pump. This can be done by using an extension cord or by hardwiring the pump directly into your electrical system. Make sure all the wires are properly connected and that you’ve turned off the power at the circuit breaker before beginning.
Be sure to wear protective gear when wiring the pump. Once you’re done, turn the power back on and check that the pump is working properly. To prevent any electrical problems, make sure to use a GFCI outlet. While this step is not always necessary, it can help protect against any issues in the future.
6. Fill the Tank with Water
Once everything is installed, you can now fill the tank with water. You can do this by using a hose or by opening the valve on the inlet pipe. It is important to make sure that you do not overfill the tank, as this could cause problems with the pump or overflow pipe.
Once the tank is full, make sure that all the pipes and valves are solid and secure. You may also want to do an air pressure test to make sure that the tank is sealed correctly. This is especially important if you are using a plastic tank. Once all of this is complete, your water tank is installed and ready to use.
7. Test the System
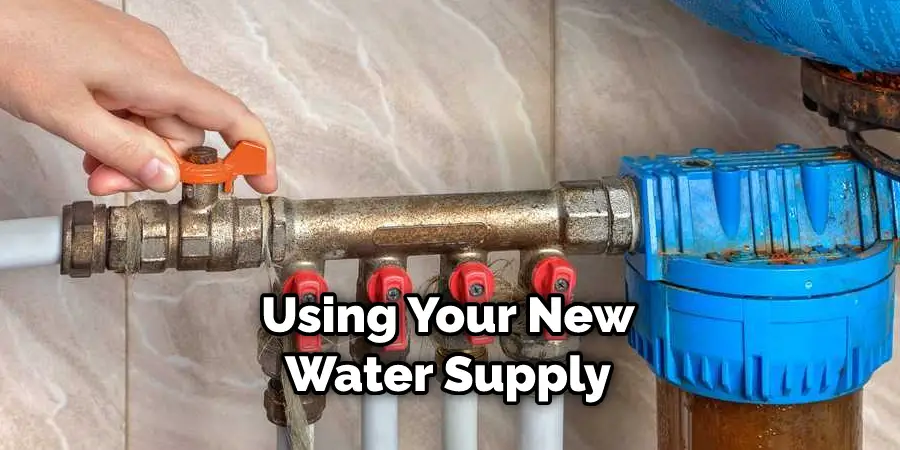
After filling the tank with water, it is important to test the system before using it for drinking or other purposes. To do this, simply turn on the pump and let it run for a few minutes. If everything appears to be working properly, you can then begin using your new water supply!
Be sure to check for any leaks or faulty connections throughout the process, and make sure that the pressure is set at an appropriate level. If you find any issues, it is best to contact a professional to help you resolve them.
8. Ensure Safety
Before using the water tank for any purpose, it is important to make sure that all components are installed correctly and safely. This includes checking that the water tank, fittings, and plumbing are all correctly connected and in good condition.
Additionally, make sure to inspect the area around the tank for any potential hazards or damage. If there are any signs of wear and tear, it is important to replace the components before using the water tank.
Things to Consider When Installing Water Tank
1. The Size of the Water Tank:
It is important to determine the size of your water tank based on the amount of water you require for your particular use. Generally, a larger water tank is necessary to provide sufficient volume and pressure for any desired applications such as showering, washing dishes or clothes, or supplying an irrigation system.
2. The Location:
The location of your water tank is a significant factor as it will determine the accessibility for maintenance and inspection purposes. Additionally, the location should ensure that your water tank is not in direct sunlight or exposed to excessive heat. It’s best to place your tank on a solid and level surface, such as a concrete slab or compacted gravel base.
3. The Best Materials:
The three most common materials used for water tanks are steel, plastic, and fiberglass. Steel tanks are the most durable and offer superior strength, but they can be more expensive and prone to corrosion if not properly maintained. Plastic water tanks are lightweight and economical but may require additional maintenance over time.

Conclusion
Installing a water tank is an essential task for any home or business that needs ample amounts of clean, safe and reliable water. Through proper planning, safety precautions, and materials selection, you can ensure that your installation is successful and that it will serve your needs for years to come. Be sure to consult local building codes for all the necessary steps of installation. Thanks for reading, and we hope this has given you some inspiration on how to install water tank!
