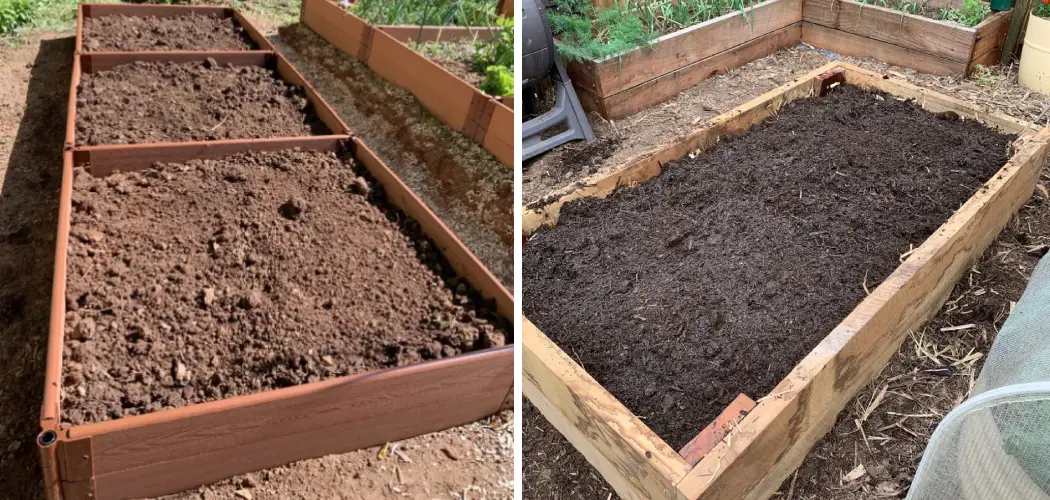
Leveling a raised garden bed is a crucial step in ensuring optimal growing conditions for plants and creating an aesthetically pleasing garden space. Raised beds offer numerous advantages, such as improved drainage, better soil aeration, and ease of access for gardeners.

However, over time, these beds may become uneven due to settling, erosion, or the decomposition of organic materials. Uneven surfaces can lead to uneven water distribution and nutrient retention, affecting plant health and growth.
To achieve a level and stable raised garden bed, gardeners must employ various techniques and tools to restore balance and provide an ideal environment for their beloved plants. In this article, we will explore step-by-step methods and expert tips on how to level a raised garden bed effectively, helping gardeners optimize their gardening experience and yield flourishing results.
What Is a Raised Garden Bed?
Raised garden beds are an easy and efficient way to maximize your garden’s potential. A raised bed is defined as a layer of soil that is elevated above the surrounding land or ground level, allowing for better drainage and more control over soil conditions than traditional in-ground gardens. They also provide improved access to your plants for maintenance such as weeding or harvesting, as well as making it easier to keep your plants warm during cold winter months.
When building a raised garden bed, one of the most important steps is leveling the soil. Ensuring that your raised bed is level will help ensure optimal soil drainage and even growth of all your plants, allowing them to thrive without worry of drowning in standing water or uneven distribution of nutrients across the bed.
The Importance of Leveling a Raised Garden Bed
Leveling a raised garden bed is an important step that must not be overlooked. A leveled garden bed will allow for even soil distribution and uniform watering of plants, minimizing the risk of damage caused by nutrient deficiency or waterlogging. By ensuring the surface is level before beginning your planting journey, you will be able to ensure optimal growth for your flowers and vegetables.
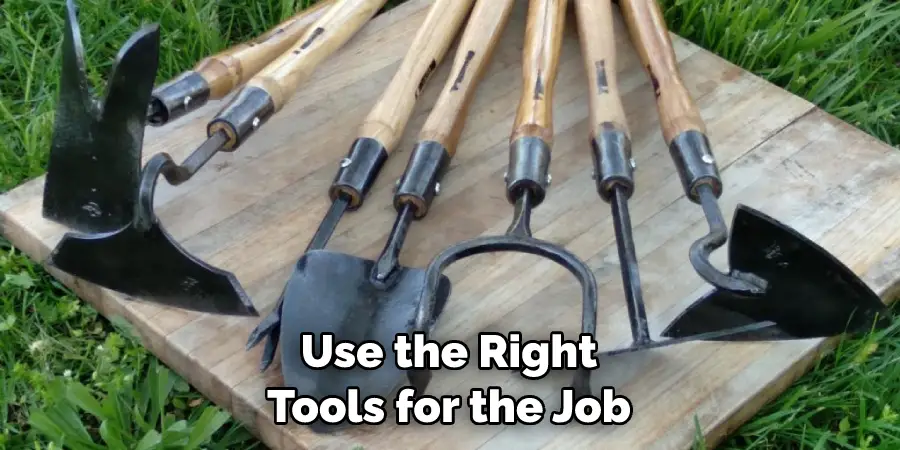
When leveling a raised garden bed, it is important to use the right tools for the job. A long spirit level is key to success; some larger models can span several meters, allowing you to check many points at once. You may also want to invest in a spade or hoe with a flat surface for smoothing out any bumps or lumps in your soil. Additionally, consider adding mulch to the soil to improve drainage and reduce weeds.
Understanding the Current Condition of the Bed
The first step in leveling a raised garden bed is to assess the current condition of the bed. It’s important to inspect every corner and side of the bed for any discrepancies that may need to be addressed in order to level it correctly. If you find one, use a shovel or trowel to dig away excess dirt from the high section until it matches the level of the neighboring section.
To check for levelness, use a garden hose to draw temporary lines on the top surface of the bed so you can easily identify low and high points. A carpenter’s bubble level is also effective in detecting uneven surfaces since it has two bubble vials that indicate if any part of your raised bed is out of balance. If you discover any major dips or bumps, use the shovel to level it out.
Finally, rake the entire bed and make sure the soil surface is smooth. This will help ensure that no uneven patches remain when you begin planting. Once your raised garden bed is properly leveled off, you can start preparing for planting season!
10 Methods How to Level a Raised Garden Bed
1. Assess the Existing Bed:
Begin the leveling process by conducting a thorough assessment of the raised garden bed. Identify areas that have settled or eroded, and take note of the extent of the unevenness. Use a garden rake or a straight board to gauge the severity of slopes and dips. This meticulous evaluation will guide your leveling approach and help prioritize the areas that require attention.
2. Empty the Bed with Care:
To level the raised garden bed effectively, work with a cleared and empty space. Remove all plants, soil, and any other materials from the bed. Transplant any valuable or delicate plants to temporary containers, ensuring their well-being during the leveling process. Take care not to damage the root systems, as the health and vitality of these plants will play a pivotal role in the garden’s resurgence.
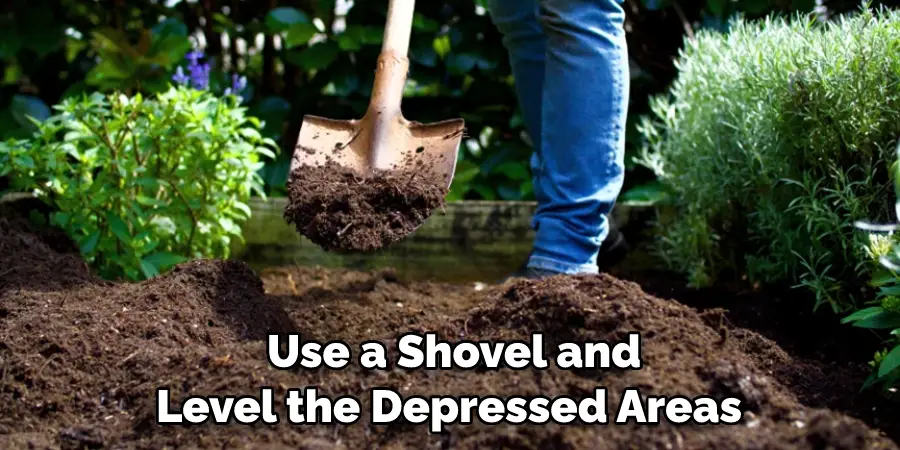
3. Correct Soil Settling with Precision:
Over time, the soil in a raised garden bed may settle unevenly, leading to depressions or mounds. Address these uneven areas by carefully filling in the low spots with additional soil or compost. Use a shovel or garden trowel to gently add soil and level the depressed areas. Ensure that the added soil is adequately compacted to minimize future settling. For mounded areas, carefully remove excess soil to restore balance and uniformity.
4. Address Soil Erosion Strategically:
Soil erosion can contribute significantly to the unevenness of a raised garden bed. To address erosion-related issues, focus on redistributing the soil. Gently add soil to the lower areas to bring them up to the desired level. Pay close attention to compacting the soil as you fill to prevent future settling. For areas that have experienced erosion, add soil to build up the height until it aligns with the rest of the bed.
5. Utilize a Leveling Tool for Precision:
A leveling tool is an invaluable aid in achieving uniformity and precision in the raised garden bed. Garden leveling rakes or laser levels are excellent options for this purpose. Simply run the leveling tool across the bed surface, adjusting the soil level as needed to match the tool’s guide. This method provides an accurate and even leveling, ensuring a well-balanced and aesthetically pleasing garden bed.
6. Incorporate Compost for Fertility and Leveling:
The addition of compost serves a dual purpose in the leveling process. Not only does it enrich the soil with valuable nutrients, but it also aids in leveling the surface. Spread a layer of compost across the bed and rake it into the low areas. Compost acts as a natural filler, helping to raise the level of depressions while nurturing the soil with essential organic matter and beneficial microbial activity.
7. Practice Gentle Soil Compaction:
After adding soil or compost to the low areas, it is essential to compact the soil gently. Use a tamper or the back of a shovel to press down on the soil, ensuring it settles and achieves a stable level. Avoid excessive compaction, which can lead to poor drainage and hinder plant root growth.
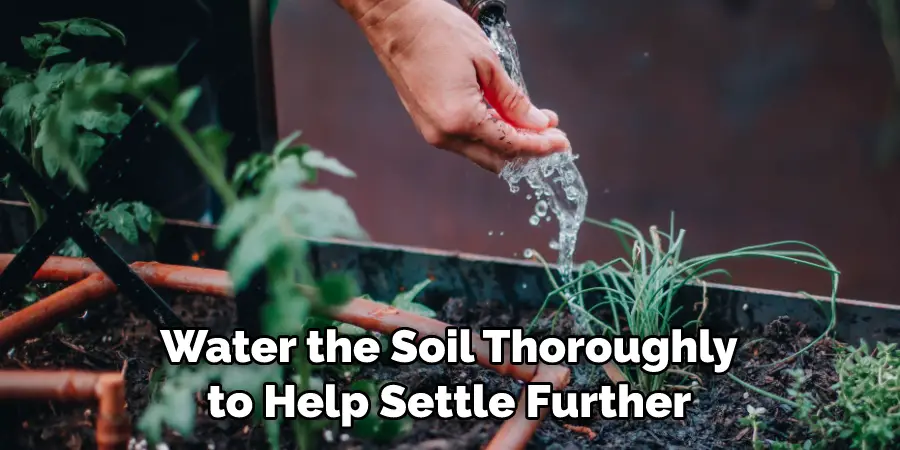
8. Water and Observe for Adjustments:
Once the raised garden bed is leveled, water the soil thoroughly to help it settle further. Observe the bed for a few days to check if any areas sink further or require additional adjustments. Make necessary corrections promptly to maintain an even and stable garden bed.
9. Replant and Arrange for Aesthetics:
With the bed now level and stable, it is time to replant your beloved crops and arrange them for an aesthetically pleasing layout. Take advantage of the leveled surface to organize your plants neatly, maximizing space and visual appeal. Carefully position plants according to their growth habits, ensuring harmonious coexistence within the bed.
10. Regular Maintenance for Sustained Balance:
To keep the raised garden bed level and in optimum condition, regular maintenance is crucial. Monitor the bed regularly for signs of settling or erosion, and address any issues promptly. Renew the soil surface as needed with compost or additional soil, ensuring your garden bed remains a haven of beauty and productivity throughout the growing seasons.
Some Common Mistakes When Leveling a Raised Garden Bed
It can be easy to make some mistakes when leveling a raised garden bed. Here are some of the common ones to look out for when preparing your bed:
- Not Measuring Deep Enough – When leveling your soil, you want it to be level and compacted down far enough so that the surface won’t shift over time. Make sure the depth of your soil is enough to support the depth of your garden bed.
- Using Too Much Water in the Soil – Too much water can lead to an uneven surface and make it difficult for plants to grow properly. When you’re leveling a raised garden bed, it’s important to ensure that there isn’t too much moisture in the soil as it can lead to erosion and other issues.
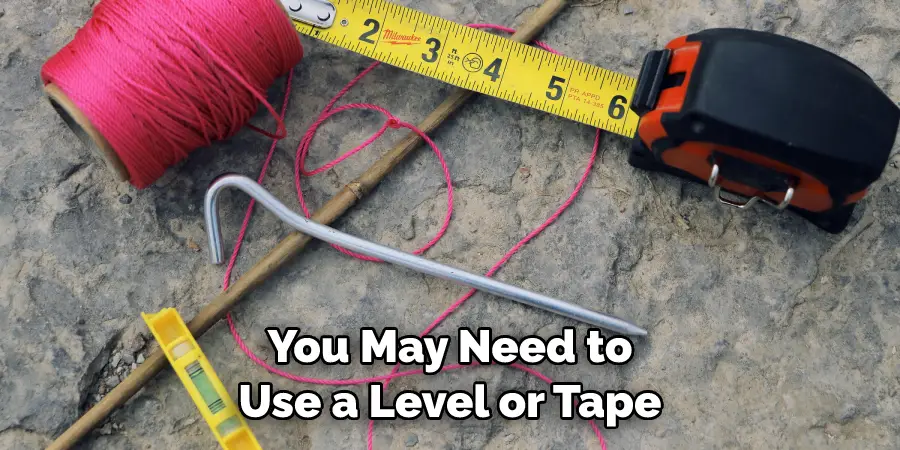
- Not Leveling the Soil Enough – Make sure your raised bed is level in all directions; otherwise, water won’t be able to drain properly from one end of the bed to the other. You may need to use a level or tape measure to make sure everything is perfectly even before filling it with soil.
Conclusion
With a few simple steps, you can easily level your raised garden bed and create a flat surface for planting. Take your time, double-check the measurements, and adjust the soil as necessary to produce a leveled result. You should also consider ways to preserve the shape of the bed such as using concrete or wood barriers.
When done correctly, your leveled raised garden bed will provide a great starting point for growing fruits, vegetables, and plants of any kind. As you learn more about gardening and leveling techniques, you may come up with new ideas on how to make your own leveled raised garden beds that fit perfectly within your space.
Now that you know how to level a raised garden bed, what’s stopping you from getting started? Time spent in your garden is time well worth spent!
You Can Check It Out to Kill Ants in Garden Bed
About
Outdoor Fixes is a distinguished figure in the world of Diy design, with a decade of expertise creating innovative and sustainable Diy solutions.
His professional focus lies in merging traditional craftsmanship with modern manufacturing techniques,
fostering designs that are both practical and environmentally conscious. As the author of diy,
outdoorfixes delves into the art and science of outdoorfixes-making, inspiring artisans and industry professionals alike.
Education RMIT University
(Melbourne, Australia) Associate Degree in Design (Outdoor Fixes) Focus on sustainable design, industry-driven projects,
and practical craftsmanship. Gained hands-on experience with traditional and digital manufacturing tools, such as CAD and CNC software.
Nottingham Trent University
(United Kingdom) Bachelor’s in outdoorfixes.com and Product Design (Honors) Specialized in product design with a focus on blending creativity with production
techniques. Participated in industry projects, working with companies like John Lewis and Vitsoe to gain real-world insights.
Publications and Impact
In diy, Outdoor Fixes his insights on indoor design processes, materials, and strategies for efficient production.
His writing bridges the gap between artisan knowledge and modern industry needs, making it a must-read for both budding designers and seasoned professionals.