Creating garden rows with a hoe is a fundamental skill that has been practiced by generations of gardeners. This traditional and time-tested technique allows gardeners to efficiently and precisely establish neat and organized planting rows, ensuring optimal space utilization and facilitating easy maintenance.
Whether you are a seasoned gardener or a beginner embarking on your horticultural journey, learning how to make garden rows with a hoe can significantly improve the productivity and aesthetics of your garden.
In this article, we delve into the art of using a hoe to form well-defined garden rows, exploring various methods and tips to help you master this essential gardening practice and set the stage for a successful and rewarding growing season.
The Importance of Garden Rows for Efficient Gardening
Creating garden rows is an essential part of efficient gardening. Garden rows allow for easy access to the plants, as well as efficient irrigation and fertilizing. Additionally, they make it easier to lay out plants in a neat and organized fashion.
The process of creating garden rows begins with selecting a hoe that fits your needs. It’s important to choose one that is the right size and shape for your garden. Once you have chosen a hoe, it’s time to begin making the rows.
Begin by tilling the soil with the hoe to break up any clumps of dirt. Then, use the blade of the hoe to carve out wide trenches in which you will plant your seeds or seedlings. Make sure to leave enough space between each row for the plants to grow.
After you have created your garden rows, it is important to keep them well weeded and fertilized as needed. This will help ensure that your plants receive the nutrients they need to flourish. Furthermore, gardening can be made easier by using raised beds or containers, which can help protect against weeds and pests.
Assessing Your Garden Space and Size
Before you jump into actually making the garden rows, it’s important to take a few moments and assess your garden space. How much room do you have to work with? Knowing this will help determine the size of the rows that you can make. It’s also important to consider how many plants or crops you want to plant in each row. This will give you an idea of how wide and long you would need each row to be.
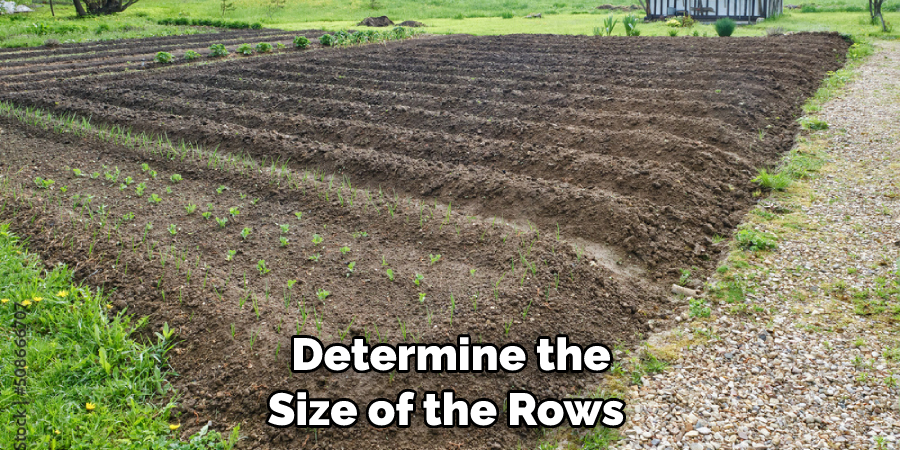
Once you know the size of your garden space and the number of plants or crops you plan to plant, it’s time to get started making rows with your hoe. Start by setting stakes or markers at either end of where you want to make the row. This will ensure that all the rows are even and straight.
Next, use your hoe to create a shallow trench or furrow along the length of your row. You want to make sure it’s deep enough to hold the soil and provide proper aeration for the plants or crops you will be planting. Make sure that both sides of the furrow are equal in depth and width.
10 Methods How to Make Garden Rows with a Hoe
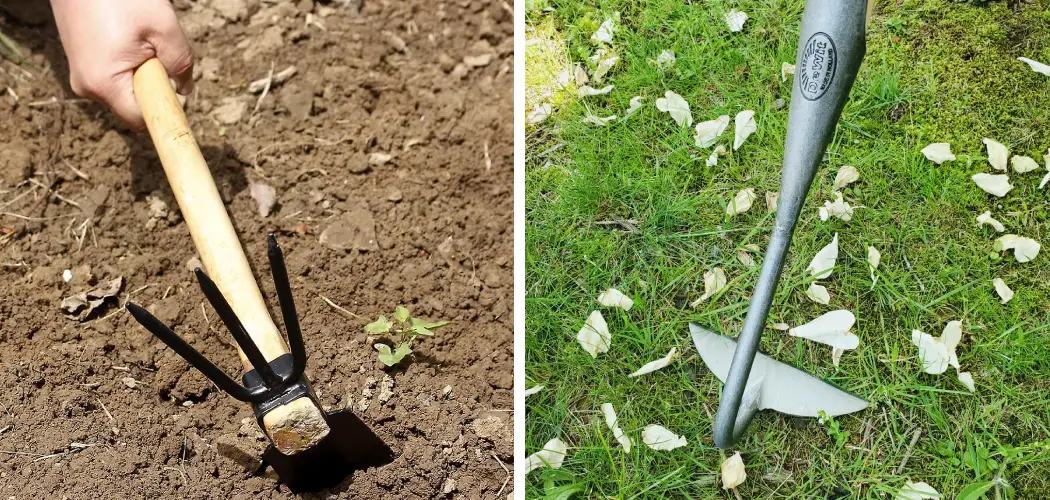
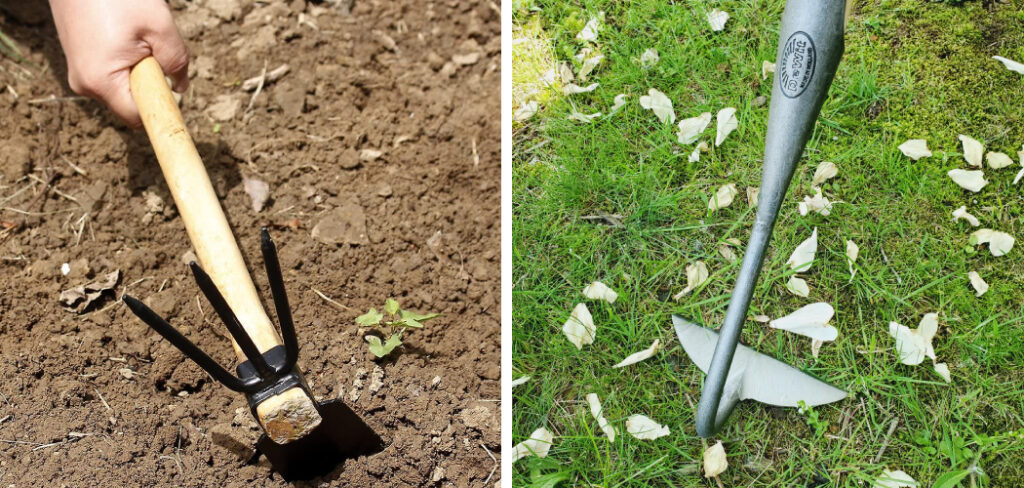
1. Choose the Right Hoe for the Task:
Selecting the appropriate hoe is the first step in mastering the art of making garden rows. With a wide array of hoes available, each designed for specific gardening tasks, understanding their unique features is crucial.
For creating garden rows, consider a standard flat hoe with a rectangular blade or a draw hoe with a curved blade. The flat hoe is ideal for breaking and smoothing the soil, while the draw hoe’s curved edge allows for more precision when forming rows.
2. Prepare the Soil Thoroughly:
Before creating garden rows, meticulous soil preparation sets the stage for successful gardening. Begin by removing any debris, rocks, or weeds from the planting area. This ensures a clean and clutter-free space, preventing potential obstacles that may impede hoeing.
Using a sturdy garden rake, level the soil to create a smooth and even surface, providing a canvas for precise row formation. Loosening the soil to a depth of at least 6 inches (15 cm) improves aeration, root penetration, and nutrient absorption, fostering optimal plant growth.

3. Mark the Rows for Guidance:
Maintaining straight and evenly spaced rows can be accomplished by marking the planting area before hoeing. Start by placing wooden stakes at each end of the desired row and secure them firmly into the ground.
Next, stretch a taut string between the stakes at the desired height, ensuring it is parallel to the ground.
This string acts as a guide, allowing you to hoe along the line and create rows that are perfectly aligned and evenly spaced.
4. Establish the First Row with Precision:
Begin forming your garden rows by starting with the first row. Position the hoe at the edge of the marked line, pressing the blade into the soil at a slight angle. Push the hoe forward, creating a shallow trench along the length of the row.
For consistent depth, maintain a level blade as you progress along the line. Once the first row is complete, gently move the soil from the trench to the side to create a slightly raised row. The raised row design promotes improved drainage and prevents waterlogging around plant roots, especially in areas with heavy rainfall.
5. Maintain Uniform Row Spacing:
Accurate row spacing is crucial for efficient space utilization and optimal plant growth. A hoe with width markings can assist in maintaining consistent row spacing. Alternatively, you can use a measuring tape or a string marked with the desired spacing to measure the distance between rows. Be meticulous in adjusting and aligning the rows to achieve uniformity throughout the garden.
6. Planting in the Rows:
With the rows neatly formed, it is time to sow seeds or transplant seedlings. Follow the recommended planting depth and spacing for each crop, ensuring they are appropriately positioned within the rows. Gentle patting of the soil around the seeds or seedlings secures them in place and ensures sufficient contact with the soil.
By planting in rows, you create an organized and visually appealing garden, simplifying cultivation, harvesting, and maintenance tasks.
7. Create Furrows for Efficient Irrigation:
In addition to planting, the well-formed rows can also be employed to create furrows for irrigation. Alongside each row, use the hoe to dig a shallow trench. This furrow will act as a conduit for directing water to the base of the plants, facilitating efficient watering and reducing water wastage.

Proper irrigation is vital for plant health and optimal growth, making this an invaluable technique for gardeners.
8. Practice Precision in Hoeing:
Precision is a hallmark of expert gardeners when forming rows with a hoe. Steady your movements and maintain a consistent pace while hoeing to achieve even row depths and widths. Regularly check the row spacing and adjust as necessary to maintain symmetry throughout the garden.
The practice of precision is an art that improves the overall appearance of your garden while ensuring maximum space utilization for a diverse range of crops.
9. Weed Control Made Easier:
An organized garden layout, with well-defined rows, makes weed control significantly more manageable. Hoeing between rows effectively cuts through weed seedlings and uproots them from the soil. Regularly tending to your rows with the hoe disrupts weed growth before they can take root, reducing the overall weed population and minimizing competition for nutrients and space.
10. Enhance Garden Aesthetics with Mulch:
After creating garden rows, consider applying mulch between the rows. Mulching offers an array of benefits, including moisture retention, weed suppression, and temperature regulation. Organic mulch materials such as straw, wood chips, or shredded leaves can be spread between rows, providing an aesthetically pleasing garden design while nurturing the health and productivity of your plants.
Things to Consider When Making Garden Rows with a Hoe
When making garden rows with a hoe, there are several key factors to consider. First, the size of your garden plot and how much space you have available for planting will determine the size and shape of the rows that you will need to create.
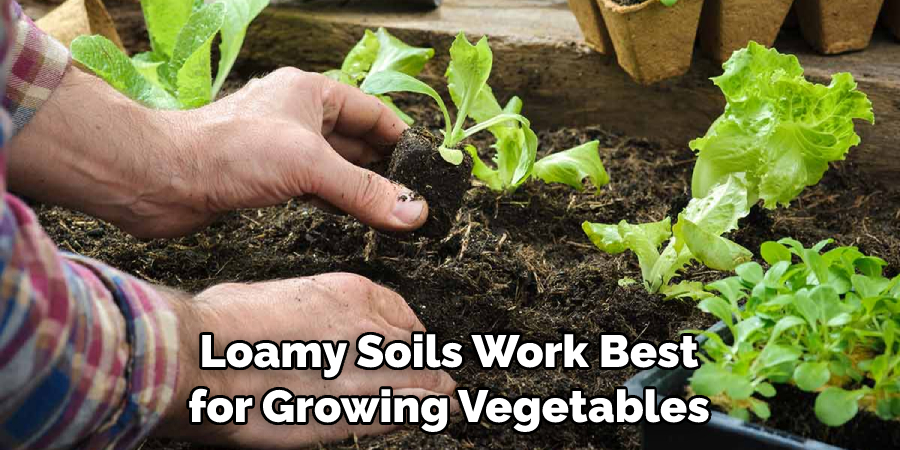
Second, the type of soil in which you are planting is important; loamy soils work best for growing vegetables, but sandy soils are better suited for plants that prefer drier conditions.
Third, the type of hoe you use is also important. Spading hoes have a flat blade which makes it easier to create straight lines and even rows in the soil. Weeding hoes are especially useful when breaking up hard clods of soil and digging out weeds with their small, angled blade.
Finally, the hoe should be used with caution. When working in the garden it is important to pay attention to where the blade of the hoe is located and how much pressure you are exerting when digging into the soil. Overworking a specific area can damage delicate root systems, compact the soil, or cause other issues that will lead to poor plant growth.
Conclusion
There you have it! Now you know how to make garden rows with a hoe. You can make rows as narrow or wide as you like, depending on what size hoe and how much effort you want to put into it. And when planting those vegetable garden seeds, know that these straight, uniformed lines will produce the most optimal results for growth and harvesting.
Making companion plantings is also easier when the garden rows are laid out properly with a hoe. If done correctly, gardening just got much simpler and efficient with this technique. Make sure you research necessary soil preparation and tilling first before beginning your project! Grab your hoe today, and get started on creating those perfect Garden Rows!
About
Outdoor Fixes is a distinguished figure in the world of Diy design, with a decade of expertise creating innovative and sustainable Diy solutions.
His professional focus lies in merging traditional craftsmanship with modern manufacturing techniques,
fostering designs that are both practical and environmentally conscious. As the author of diy,
outdoorfixes delves into the art and science of outdoorfixes-making, inspiring artisans and industry professionals alike.
Education RMIT University
(Melbourne, Australia) Associate Degree in Design (Outdoor Fixes) Focus on sustainable design, industry-driven projects,
and practical craftsmanship. Gained hands-on experience with traditional and digital manufacturing tools, such as CAD and CNC software.
Nottingham Trent University
(United Kingdom) Bachelor’s in outdoorfixes.com and Product Design (Honors) Specialized in product design with a focus on blending creativity with production
techniques. Participated in industry projects, working with companies like John Lewis and Vitsoe to gain real-world insights.
Publications and Impact
In diy, Outdoor Fixes his insights on indoor design processes, materials, and strategies for efficient production.
His writing bridges the gap between artisan knowledge and modern industry needs, making it a must-read for both budding designers and seasoned professionals.