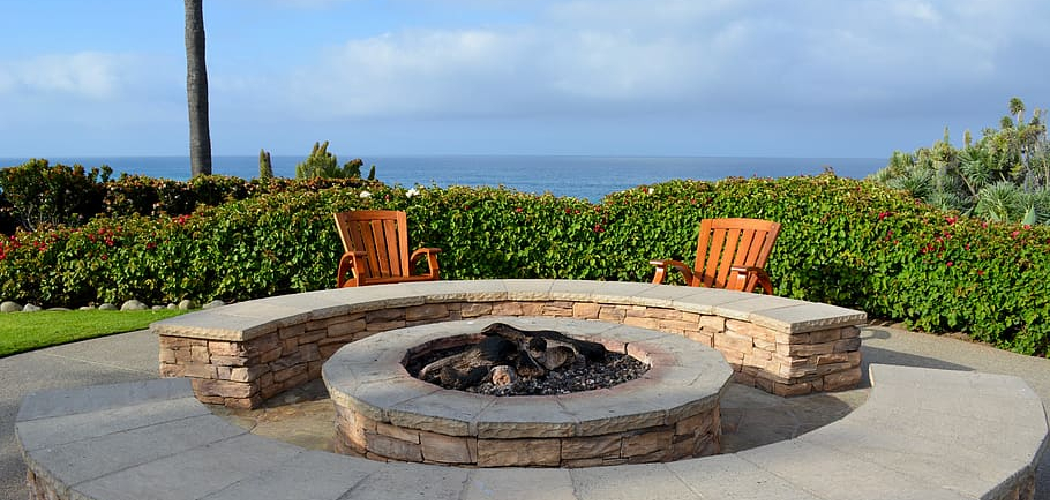
Have you ever wanted to get rid of your tree branches, leaf piles, or other yard debris without making too much of a mess? If so, consider building a burn pit! By constructing your own firepit in the backyard, you can have an efficient and convenient way to dispose of unwanted foliage.

Not only will it keep the eyesore out of sight but it will also prevent pollutants from entering the atmosphere and harming nearby vegetation.
In this blog post, we’ll provide an easy-to-follow guide on how to make a burn pit for brush that can handle all kinds of organic debris. Keep reading for tips on selecting the right materials and construction methods to create a safe environment while taking care of those pesky heaps once and for all!
Tools and Materials You Will Need to Make a Burn Pit for Brush
1. Shovel
2. Rocks or Bricks
3. Sand or Gravel
4. Firewood and Kindling
5. Metal Grill or Mesh Lid (optional)
Step by Step Guidelines on How to Make a Burn Pit for Brush
Step 1: Pick the Right Spot for Your Burn Pit
The first step to making a burn pit for the brush is to pick an appropriate spot in your backyard. You’ll want to choose an area that is away from trees, shrubs, and other combustible materials. Make sure there is no way for sparks to escape the pit and cause a fire in surrounding vegetation or structures.
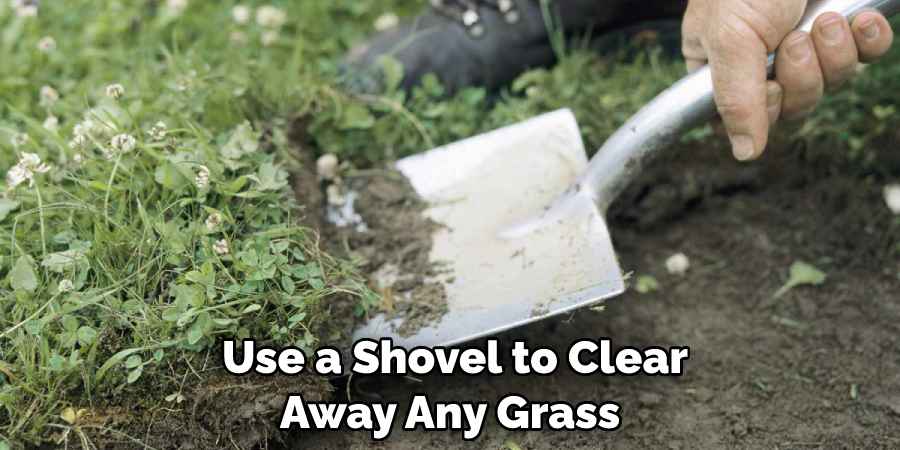
Step 2: Prepare the Ground
Once you’ve selected your location, use a shovel to clear away any grass, roots, or debris that might be in the area. This will help create a level surface and make it easier to build the pit. Preparing the ground also helps protect any objects that could be buried beneath. This will also help keep your burn pit from sinking or collapsing over time.
Step 3: Line the Pit with Rocks or Bricks
The next step is to line the burn pit with rocks or bricks. This will help contain any sparks that could escape and protect nearby vegetation from catching fire. Make sure to use materials that are heat-resistant and won’t easily catch alight when exposed to flame. Lining the pit is also an easy way to add a decorative touch and make your burn pit look more attractive.
Step 4: Fill the Pit with Sand or Gravel
After you’ve lined the bottom of the pit with heat-resistant materials, fill it up with sand or gravel. This will help absorb any fuel that falls from burning debris and prevent it from catching alight too quickly. Additionally, this will also make it easier to clean out the pit after you’re finished.
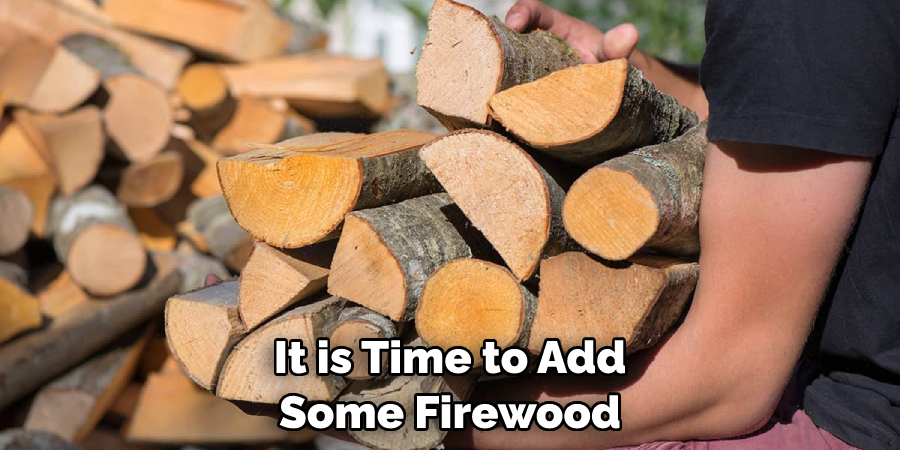
Step 5: Add Firewood and Kindling
Once the pit is lined and filled with inert materials, it’s time to add some firewood and kindling. Make sure to arrange the logs in a way that will allow for maximum airflow and ease of burning. There are several ways to do this, so experiment with different techniques until you find the one that works best for your needs.
Step 6: Consider Adding a Lid
To prevent any embers or sparks from escaping, you may want to consider adding a metal grill or mesh lid to the top of your burn pit. This will also help contain heat and smoke so that it doesn’t spread too far. However, some jurisdictions may have restrictions on open burning, so make sure to check with your local regulations before taking this step.
Step 7: Make Sure the Fire is Fully Extinguished
Once you’re finished with your burn pit, it’s important to make sure that any embers or flames are completely extinguished. This will help prevent any accidental fires from occurring and keep air pollution to a minimum. It may also be a good idea to cover the area with dirt or sand to ensure that no sparks remain.
Now that you know how to make a burn pit for brush, why not give it a try? With the right materials and construction methods, you can safely dispose of unwanted debris while helping preserve the environment at the same time. So what are you waiting for? Get started on your burn pit today!
Additional Tips and Tricks to Make a Burn Pit for Brush
- Be sure to check in with your local fire prevention or forestry department before starting the burn. It’s important to understand any local regulations that may be present for burning brush.
- Remove all combustible materials, such as paper and leaves, from the area you will be burning in. These items can quickly get out of control and spread the fire beyond your intended area.
- Place your burn pile in an open area and make sure it is well away from any structures or overhanging trees that could catch fire.
- Consider using a fire pit for the burn, if available, as this will help contain the flame and reduce sparks that could cause new fires to start.
- Make sure to have a source of water nearby, such as a garden hose or bucket of water. This will help you put out the fire quickly should the need arise.
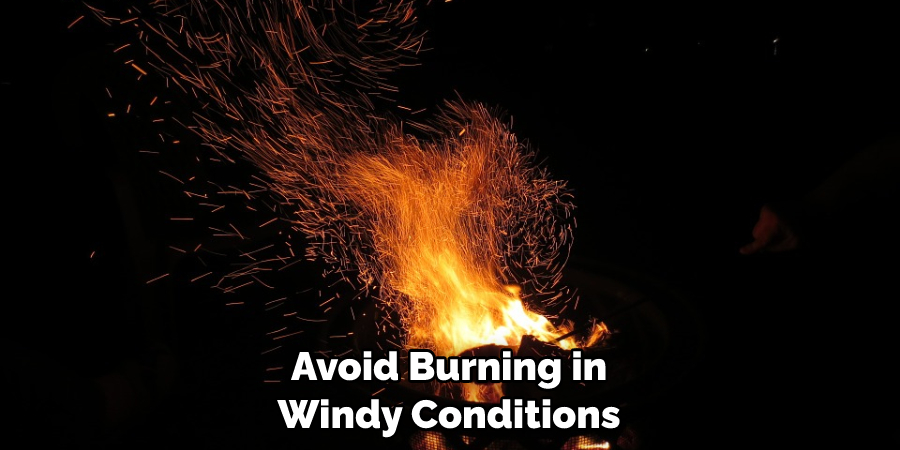
- Avoid burning in windy conditions as this can cause sparks and embers to be carried away from the burn area, creating new fires.
- Be sure to monitor your burn pile while it is burning and keep an eye out for hot spots that may indicate the fire is getting out of control.
- Once the burn pile has been extinguished, spread the ashes and be sure to check for any hot spots that may remain.
- Always dispose of your ashes properly and never leave them unattended as they can reignite if not properly disposed of.
- Finally, never leave a fire unattended, and make sure the area is cooled before leaving it. This will help ensure the safety of your environment and minimize the risk of any fires starting up while you are away.
Following these tips and tricks will help ensure that you are able to have a successful burn pit for a brush! Be sure to take all necessary steps to protect your environment and maintain safety while burning. Happy Burning!
Things You Should Consider to Make a Burn Pit for Brush
- Choose a location for your burn pit that is not too close to the house and other combustible materials. It should also be far away from any trees or bushes, as the burning brush can cause sparks to fly that could start a forest fire.
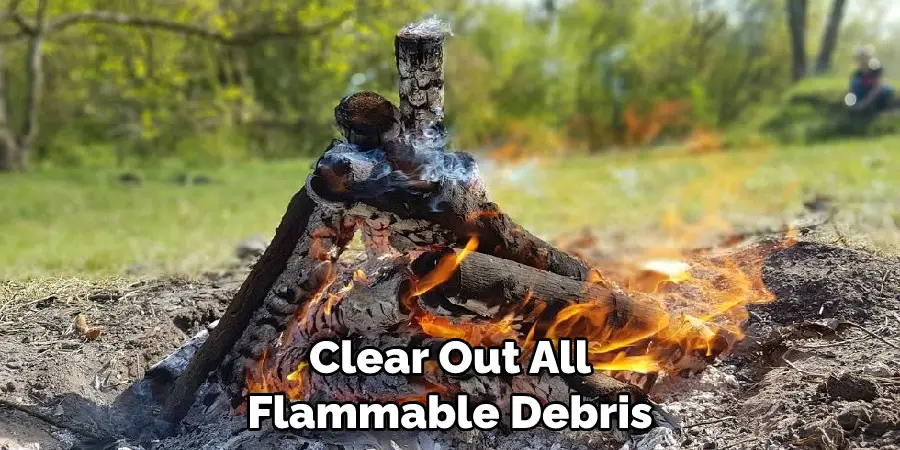
- Clear out all flammable debris from the area you selected, such as sticks, leaves, and wood chips.
- Make sure all of the vegetation and debris is removed before you begin your fire.
- If possible, line the area with stones or bricks to contain the fire.
- Construct a firewall around the pit using stones, bricks, or other approved materials in order to contain the fire and direct heat away from any nearby combustible material.
- Place several large logs at the base of your pit for fuel. Smaller sticks or twigs can be added to keep the fire burning.
- Keep a bucket of water and/or sand close by in case you need to put out any unexpected flare-ups.
- Make sure someone is always present while burning the brush in the burn pit, and never leave an open flame unattended.
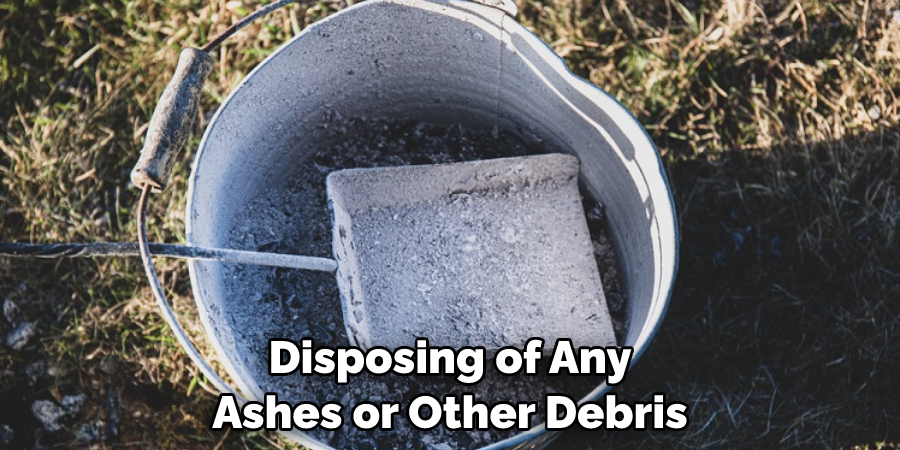
- 9. After the fire has been extinguished, and all of the embers have cooled, make sure to dispose of the ash properly. It should be put into a metal container with a tight-fitting lid and stored in a safe location away from combustible materials.
- Regularly check for any signs of smoke or sparks that may indicate the fire is not completely extinguished.
Following these considerations will help ensure that your burn pit is safely and properly constructed for the burning brush. When it comes time to light a fire, always remember to use caution and practice proper safety measures while doing so. With a little bit of preparation and attention, you can enjoy a warm, crackling bonfire in no time!
Advantages of Making Your Own Burn Pit for Brush
Making a burn pit is a great way to professionally dispose of brush in a safe and environmentally friendly manner. Here are some advantages to creating your own burn pit:
- Burning a brush in a contained area can reduce the risk of fire spreading too quickly or causing damage to nearby property.
- Having an enclosed space with walls and a firewall helps contain the heat and direct it away from any combustible material.
- It also makes clean-up much easier as all of the ash can simply be disposed of in a metal container when finished.
- By having a burn pit close by, you can easily dispose of the brush without having to drive out to an area that allows burning or pay for expensive removal services.
- You won’t have to worry about the leaves, sticks, and other debris that comes with brush fires as they will be contained in the pit.
Making your own burn pit is a great way to safely dispose of the brush without having to worry about potential fire hazards or environmental damage. With some careful planning and preparation, you can create a burn pit that will keep your yard and surrounding areas safe from fire damage. Just remember to follow all safety guidelines, use caution when lighting the fire, and enjoy the warmth of the flames!
Frequently Asked Questions
What Should I Do Before Starting My Burn Pit?
Before beginning your burn pit, you should check the local laws and regulations of your area to ensure that open burning is permitted. Additionally, it is important to make sure that the fire will not spread beyond what you have intended. Make sure to clear any combustible material away from the area you are planning to use.
How Big Should My Burn Pit Be?
The size of your burn pit should be based on the amount of material that you plan to burn, as well as ensuring that it is located away from any combustible materials. You should make sure that the pit is at least 10 feet away from any buildings or other objects. Additionally, you should make sure that the pit is no larger than three feet in diameter and two feet deep.
What Should I Do With the Ashes After Burning?
Once your burning is complete, make sure to wait until all of the materials are completely cool before disposing of any ashes or other debris. Make sure that you dispose of the ashes in a safe and responsible manner, as they can still be hot even after the fire has gone out. Additionally, make sure to inspect your burn pit afterward to ensure that it is safe for future use.
Conclusion
With the above outlined you can easily understand how to make a burn pit for brush and stay safe in the process. It is important to make sure that you follow all of the steps outlined, as well as local laws and regulations when it comes to open burning.
Furthermore, make sure to inspect your burn pit after each use and dispose of any ashes or debris in a responsible manner. With these tips in mind, you will be able to enjoy your outdoor activities without worry.
About
Outdoor Fixes is a distinguished figure in the world of Diy design, with a decade of expertise creating innovative and sustainable Diy solutions.
His professional focus lies in merging traditional craftsmanship with modern manufacturing techniques,
fostering designs that are both practical and environmentally conscious. As the author of diy,
outdoorfixes delves into the art and science of outdoorfixes-making, inspiring artisans and industry professionals alike.
Education RMIT University
(Melbourne, Australia) Associate Degree in Design (Outdoor Fixes) Focus on sustainable design, industry-driven projects,
and practical craftsmanship. Gained hands-on experience with traditional and digital manufacturing tools, such as CAD and CNC software.
Nottingham Trent University
(United Kingdom) Bachelor’s in outdoorfixes.com and Product Design (Honors) Specialized in product design with a focus on blending creativity with production
techniques. Participated in industry projects, working with companies like John Lewis and Vitsoe to gain real-world insights.
Publications and Impact
In diy, Outdoor Fixes his insights on indoor design processes, materials, and strategies for efficient production.
His writing bridges the gap between artisan knowledge and modern industry needs, making it a must-read for both budding designers and seasoned professionals.