
Are you interested in making your own diving board right at home? If so, then you have stumbled upon the right blog post! Making a diving board might seem intimidating or difficult, but it doesn’t need to be. With a few basic tools and materials, constructing this fun piece of backyard equipment can become an easy weekend project that won’t take too much time or effort. In this blog post, we will provide step-by-step instructions for how to make a diving board that is sure to bring hours of entertainment for family members of all ages. Let’s dive in and start building together!
If you’ve ever wanted to take the plunge and learn how to make a diving board, you’re in the right place! Here, we’ll provide an in-depth guide to help you build your own functional diving board. We’ll cover all steps of the process, from gathering the materials needed for construction, laying out and cutting the wood into proper dimensions and shapes, assembling different pieces together, painting or staining it for better aesthetics etc. Get ready to dive head first in our comprehensive tutorial on how to make a diving board!
Benefits of Making a Diving Board
1. Increased Enjoyment of Your Swimming Pool
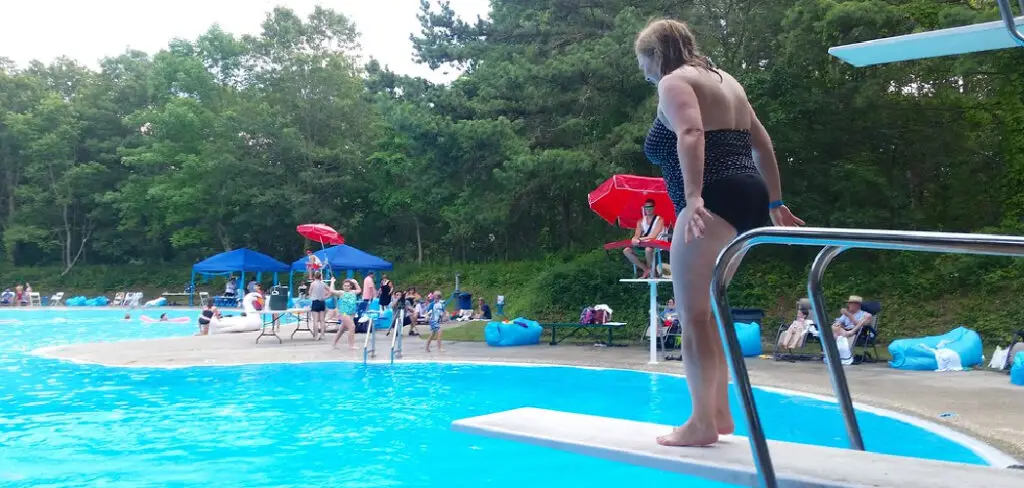
One of the key benefits of making a diving board is that it increases the enjoyment of your swimming pool. Adding a diving board to your swimming pool makes it more fun and inviting for swimmers, allowing them to dive into the water and participate in cannonballs and flips. The increased enjoyment can also help encourage people to swim more often, which can lead to improved physical health.
2. Increased Safety
Making a diving board can also help improve safety. When swimmers dive into the water from a pool deck, it’s possible for them to hit their heads or land incorrectly in the pool unintentionally. A diving board helps prevent these types of injuries by providing an area specifically designed for safe diving.
3. Increased Value of Your Property
Adding a diving board to your swimming pool can also make your home more attractive to potential buyers and increase its value when it comes time to sell. Not only does a diving board provide an exciting feature that many people look for in a swimming pool, but it also makes the pool safer and more enjoyable to use.
Overall, there are many benefits to making and installing a diving board in your swimming pool. In addition to providing an exciting feature and improved safety, it can also increase the value of your home. With the right materials and supplies, anyone can make their own diving board and start enjoying the benefits that come with it.
How to Make a Diving Board in 6 Easy Steps
Step 1: Gather All the Necessary Materials
The first step is gathering all the materials you need to make your diving board. This includes a 2×4-foot piece of plywood, four 1-inch dowel rods, four lag screws, a drill, and an electric saw.
Step 2: Cut the Plywood
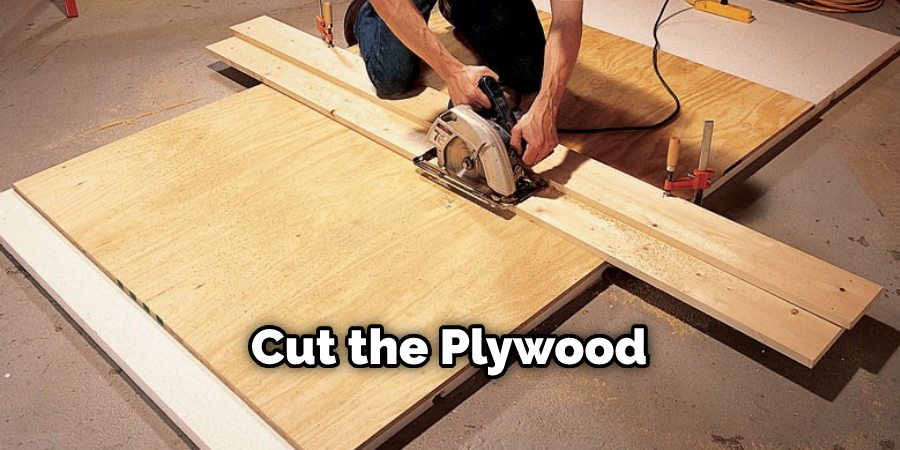
Once you have all the necessary materials, it’s time to cut the plywood. Start by measuring and marking a 2×3 foot rectangle on the plywood, then cut it out using the electric saw.
Step 3: Insert the Dowel Rods
Next, insert four 1-inch dowel rods into the corners of your 2×3 rectangle piece of plywood. Make sure that they’re firmly in place. You have to make sure that none of them are protruding too far out, otherwise, the diving board won’t be stable.
Step 4: Attach the Dowel Rods
Once you have inserted all the dowel rods into the corners of your plywood rectangle, it’s time to attach them. To do this, use four lag screws to secure each dowel rod in place.
Step 5: Make the Bounce Pad
Next, you need to make a bounce pad for your diving board. To do this, measure and cut a 2×2 foot piece of foam and glue it onto the plywood rectangle. Make sure that it’s firmly in place so that it won’t come off when you use the diving board.
Step 6: Paint the Board
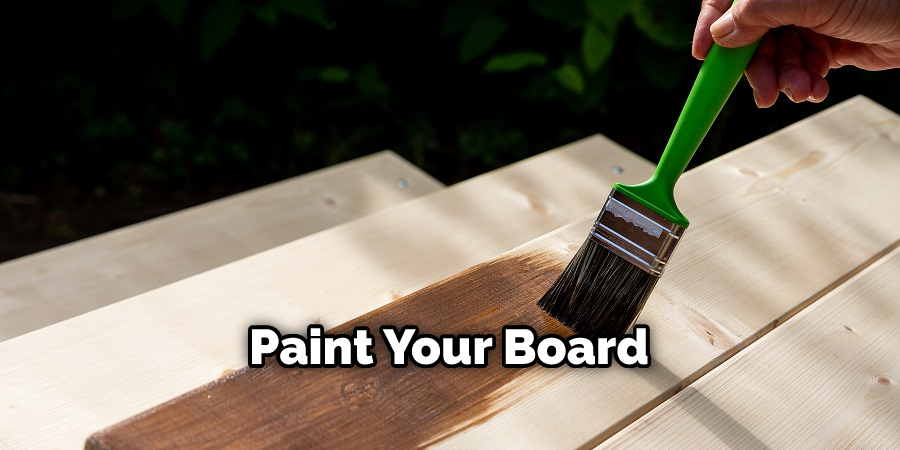
The final step is to paint your board. You can choose any color that you want. Once it’s dry, your diving board is ready for use! Also, don’t forget to wear safety equipment when using the diving board.
By following these 6 easy steps, you can make your own diving board in no time! Remember always to take the necessary precautions and use protective gear when using your homemade diving board. Have fun!
Some Additional Tips to Make a Diving Board
1. Do Not Forget to Put a Non-Skid Material on the Bottom of the Board
This is very important, as it will provide a safe surface for someone to stand on when preparing to dive. Non-skid materials such as rubber or carpeting should be used in order to prevent slipping and sliding.
2. Check the Overall Strength of the Board
When constructing your board, make sure you use durable and strong materials that can easily support a person jumping off it. Keep in mind that the board should be able to withstand a lot of pressure and should not bend or break when someone is using it.
3. Consider How High You Want Your Board to Be
The height of your diving board will depend on your individual preferences and how deep the water is where you will be using it. The deeper the water, the higher the board should be. Creating a board that is comfortable for you and your users is important.
4. Securely Attach the Board to Its Base
The base of the diving board should be securely attached to its structure in order to prevent any movement or to shift when someone is stepping on it. Be sure to use bolts or screws that are sturdy and durable enough to keep the board in place.
5. Install Proper Anchors to Secure the Board
It is important to properly anchor the diving board into a safe and secure location above ground so that it does not move or become damaged when someone jumps off of it. Make sure the anchors are strong and able to handle the weight of a person jumping off the board.
6. Check for Any Sharp Edges or Slippery Surfaces
Before using your diving board, check for any sharp edges or slippery surfaces that could cause injury to someone who is using it. Sand down any rough edges and apply a non-slip material to the board’s surface if necessary.
By following these steps and using quality materials, you can make a safe and secure diving board that will last for many years. With proper maintenance, your diving board should be able to provide hours of fun for your family and friends!
Frequently Asked Questions
What Precautions Should I Take When Making a Diving Board?
Before starting any construction project, it is important to make sure you understand the safety and structural requirements. Make sure to check local building codes and ordinances, as well as homeowner’s association rules. It is always best to consult a professional if you are unsure about anything related to your diving board project. Additionally, use the right materials when putting together your diving board to ensure it is structurally sound and safe for use.
What Materials Are Necessary to Make a Diving Board?
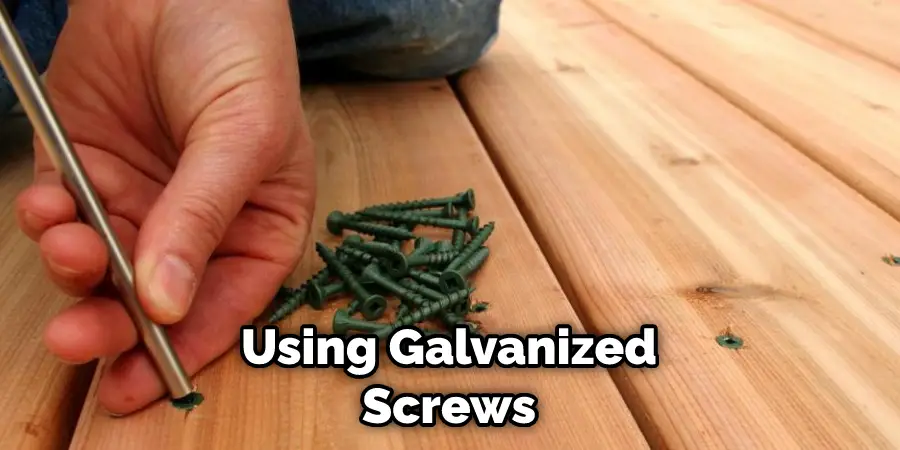
The most important material used in constructing a diving board is pressure-treated lumber. This should be used for all of the main components of your diving board, including the frame and support beams. Other materials necessary for a safe and sturdy diving board include galvanized bolts, nuts, washers, screws, and hardware.
What Is the Best Way to Attach a Diving Board?
The most important factor to consider when attaching a diving board is making sure it is securely attached while still allowing for smooth movement. Balancing this requires using strong and reliable fasteners like bolts, nuts, and washers. Make sure to attach the diving board to the frame and support beams, as well as other wooden components, using galvanized screws.
Conclusion
Now you know how to make a diving board. With the right supplies and instructions, you can make a safe, sturdy diving board for your backyard. Be sure to always allow plenty of space between the diving board and the water below it. Make sure to follow all safety instructions when setting up your diving board.
Overall, if you are interested in making a simple diving board for your own pool, this tutorial should have given you all the primary information necessary to get started on the project. As with anything, be sure to double-check all your measurements and take extra care with handling all your equipment. Don’t forget that plenty of resources are available online to find more detailed instructions and step-by-step guides to help you understand the entire process more clearly.
You can check it out to Mix and Match Patio Furniture
About
Outdoor Fixes is a distinguished figure in the world of Diy design, with a decade of expertise creating innovative and sustainable Diy solutions.
His professional focus lies in merging traditional craftsmanship with modern manufacturing techniques,
fostering designs that are both practical and environmentally conscious. As the author of diy,
outdoorfixes delves into the art and science of outdoorfixes-making, inspiring artisans and industry professionals alike.
Education RMIT University
(Melbourne, Australia) Associate Degree in Design (Outdoor Fixes) Focus on sustainable design, industry-driven projects,
and practical craftsmanship. Gained hands-on experience with traditional and digital manufacturing tools, such as CAD and CNC software.
Nottingham Trent University
(United Kingdom) Bachelor’s in outdoorfixes.com and Product Design (Honors) Specialized in product design with a focus on blending creativity with production
techniques. Participated in industry projects, working with companies like John Lewis and Vitsoe to gain real-world insights.
Publications and Impact
In diy, Outdoor Fixes his insights on indoor design processes, materials, and strategies for efficient production.
His writing bridges the gap between artisan knowledge and modern industry needs, making it a must-read for both budding designers and seasoned professionals.