Adding a picturesque garden bridge to your outdoor space can elevate the charm and beauty of your landscape. A garden bridge not only serves as a functional pathway but also creates a captivating focal point that enhances the overall ambiance of your garden.
Building your own garden bridge may seem like a daunting task, but with the right guidance and a touch of creativity, it can become a rewarding and enjoyable project. Whether you have a small pond, or simply wish to add a decorative element to your garden, constructing a garden bridge is an ideal way to showcase your DIY skills.
In this article, we will provide a step-by-step guide on how to make a garden bridge, along with helpful tips and design ideas, so you can bring a touch of enchantment to your outdoor oasis. Get ready to embark on this delightful journey and create a bridge that will be the envy of all garden enthusiasts!
The Function and Aesthetics of Garden Bridges
Garden bridges have both a practical and aesthetic function in landscaping. On the practical side, bridges can help span gaps or divide sections of a garden or backyard. This is especially useful in larger yards where there may be tricky terrain or areas that are difficult to cross on foot. For example, you could use a bridge to link two sides of your property that have been separated by a ravine or creek, allowing you to easily access the other side without having to go around.
On the aesthetic side, garden bridges are an attractive addition to any outdoor space. Whether they’re made from wood, metal, stone, or another material, these structures add visual interest and appeal while also serving as functional elements of your landscape design.
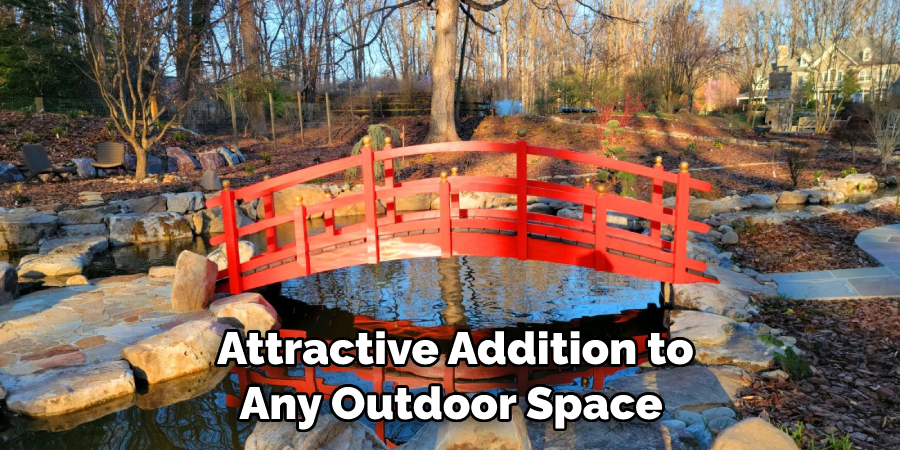
They can be used to create a focal point, or to draw attention to other features in the garden such as trees, plants, and pathways. Garden bridges also look great when placed over ponds and water features, creating a stunning visual effect.
No matter how you use it, a garden bridge is sure to add an element of charm and sophistication to your yard’s overall appearance. With careful planning and creative vision, you can incorporate one of these structures into your outdoor space for both practicality and aesthetics.
Types of Garden Bridges and Materials
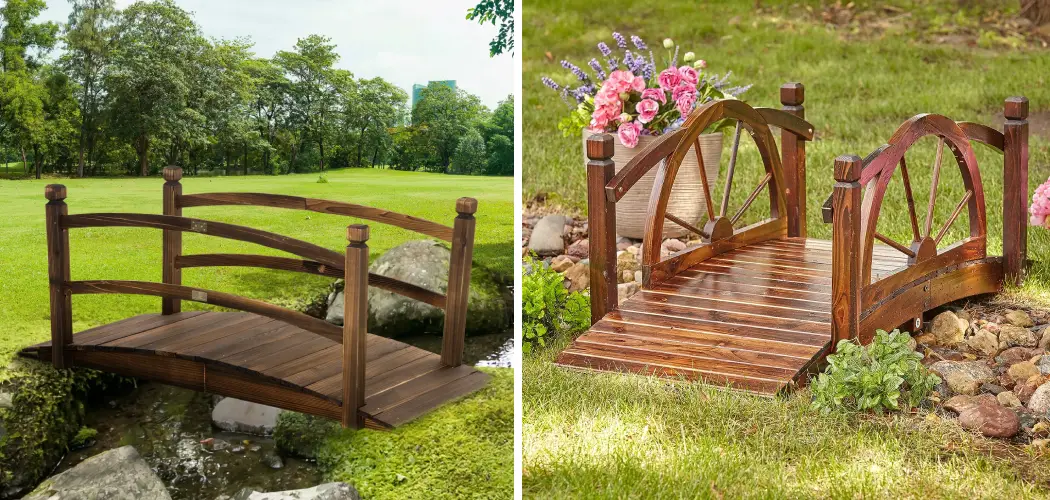
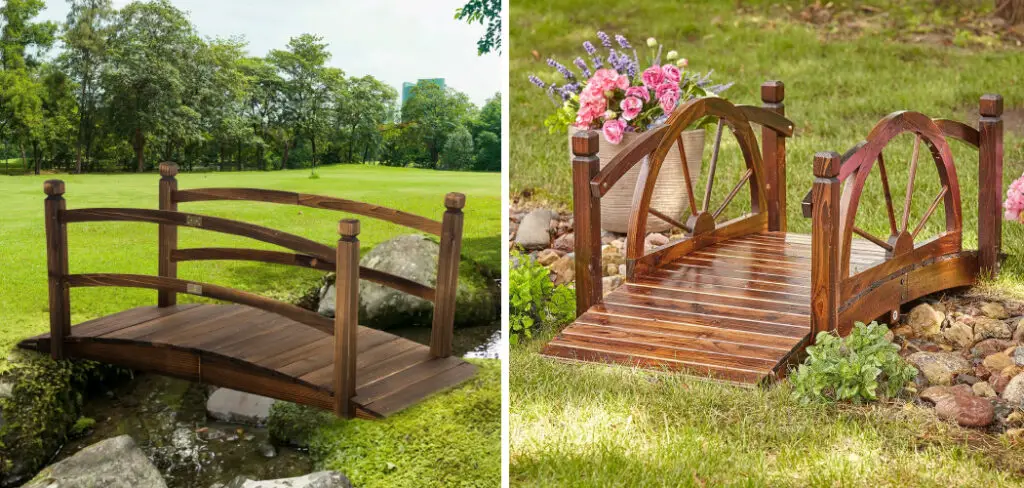
Garden bridges come in a variety of styles and materials, from timber to metal. The type of bridge you choose depends on the size and look you’re going for. For small gardens, a simple wooden arched bridge is perfect for adding an element of whimsy to your space; while larger gardens can benefit from more ornate designs such as stone or wrought iron bridges. Depending on the material used, garden bridges also require different levels of maintenance.
Wooden Garden Bridges:
Wooden garden bridges are ideal for providing a charming and natural look to any outdoor setting. You can find these bridges made out of cedar, pine, redwood, teak and other rot-resistant woods that will stand up well under the elements. Depending on the type of wood, you may need to do periodic maintenance such as sanding and resealing in order to keep it looking its best.
Metal Garden Bridges:
A metal bridge provides extra strength for larger gardens or more elaborate designs. Common metals used include aluminum, wrought iron, steel, and stainless steel. These bridges require little maintenance and offer long-term durability. However, they can be susceptible to rust over time, so you’ll need to check regularly for any signs of corrosion or wear.
Stone Garden Bridges:
Stone garden bridges are a great choice if you’re looking for a permanent and elegant look that will stand up against the elements for many years. Stone is naturally strong and durable, but it can be heavy and expensive. Depending on the type of stone used, you may need to do periodic maintenance such as re-sealing or repointing mortar joints to keep your bridge looking its best.

No matter which type of garden bridge you choose, make sure it’s suitable for the area that it will be placed in – check for wind and water resistance before finalizing your decision. With a little bit of planning, you can create a beautiful outdoor space that will last for years.
10 Methods How to Make a Garden Bridge
Method 1: Choose the Bridge Location
The first step in building a garden bridge is to carefully select the ideal location for it in your garden. Consider the layout of your outdoor space and identify a suitable spot that not only complements the overall design but also allows the bridge to span over a water feature, such as a pond.
If your garden does not have a natural water element, fret not, as a garden bridge can still add a touch of whimsy and charm as a decorative pathway or accent piece. Once you have chosen the location, take measurements to ensure the bridge’s length and width align perfectly with the area.
Method 2: Decide on Bridge Design and Style
With the location in mind, the next step involves deciding on the design and style of your garden bridge. The possibilities are endless, with various bridge designs available to suit your garden’s theme and aesthetic preferences.
You may opt for a classic and rustic wooden bridge, an elegant arched design, or a contemporary steel structure. The choice of bridge style should harmonize with the surrounding landscape, creating a seamless blend between the bridge and your garden’s overall ambiance.
Method 3: Gather Materials and Tools
Before embarking on the construction, gather all the necessary materials and tools for the project. The specific materials required will depend on the chosen bridge design and size. For a wooden bridge, select pressure-treated or cedar wood for its durability and resistance to weathering.

Essential supplies typically include galvanized screws, brackets, concrete, gravel, and waterproof sealant. As for the tools, you will need a saw, drill, hammer, level, measuring tape, and a shovel.
Method 4: Prepare the Bridge Foundation
The foundation is a crucial aspect of constructing a sturdy and stable garden bridge. If your bridge spans over a water feature, create solid supports on both sides to anchor the bridge. Dig holes for the support posts, ensuring they are deep enough to provide stability.
Once the posts are in place, fill the holes with concrete and allow it to set. For bridges on flat terrain, ensure the ground is level and compacted to provide a strong foundation.
Method 5: Build the Bridge Frame
With the foundation prepared, it is time to build the bridge frame. Begin by cutting the lumber according to the measurements of your chosen design and style. Assemble the frame by connecting the beams, joists, and decking boards with galvanized screws. Use a level to ensure the frame is straight and even, and make any necessary adjustments to achieve a precise fit.
Method 6: Add Railings and Balusters
To enhance the safety and aesthetics of the bridge, consider adding railings and balusters. Railings not only provide a sense of security for those crossing the bridge but also add a decorative touch to the structure. Cut and install the railings along the sides of the bridge, leaving openings for steps and access points. Balusters can be evenly spaced along the railings for a visually appealing effect.
Method 7: Waterproof and Weatherproof the Bridge
Ensuring the longevity of your garden bridge requires protecting it from the elements. Applying a waterproof sealant or weatherproofing solution to the wood is essential to safeguard it from moisture, UV rays, and other environmental factors. Follow the manufacturer’s instructions carefully and apply multiple coats for optimal protection. Regularly inspect and reapply the sealant as needed to maintain the bridge’s durability.
Method 8: Consider Lighting
Incorporating lighting into your garden bridge can create a magical ambiance during the evenings. Choose soft, warm lighting that complements the overall garden atmosphere. Solar-powered or LED lights are energy-efficient and offer an eco-friendly lighting solution.
Install the lights along the railings or under the bridge for a captivating and enchanting effect that illuminates the bridge’s path.
Method 9: Landscaping and Finishing Touches
With the construction complete, shift your focus to landscaping around the bridge to seamlessly integrate it into your garden design. Plant flowers, shrubs, or climbing plants around the bridge to soften its appearance and add a natural, picturesque touch.
You can also place decorative elements, such as potted plants, garden statues, or stepping stones, near the bridge to enhance its charm and beauty.

Method 10: Regular Maintenance and Care
Once your garden bridge is complete, regular maintenance and care are essential to preserve its beauty and structural integrity. Periodically inspect the bridge for signs of wear, damage, or weathering.
Treat any exposed wood with additional sealant if necessary, and promptly repair any loose or damaged components. Additionally, ensure that the bridge remains free of debris and that the surrounding landscaping is well-maintained.
Conclusion
Overall, building a garden bridge is not an arduous process and it can add a touch of beauty to your outdoor living space. If you have any questions about the supplies you need to make one or the steps involved, there are plenty of online materials that provide detailed instructions that will help you complete your project with ease and confidence.
Remember though, safety is paramount when it comes to home improvement projects so always take precautions around tools and power outlets that could put you at risk of harm. Follow these simple instructions outlined in this blog post about how to make a garden bridge, and you’ll be able to get the job done with ease.
You Can Check It Out to Make a Garden Gate
About
Outdoor Fixes is a distinguished figure in the world of Diy design, with a decade of expertise creating innovative and sustainable Diy solutions.
His professional focus lies in merging traditional craftsmanship with modern manufacturing techniques,
fostering designs that are both practical and environmentally conscious. As the author of diy,
outdoorfixes delves into the art and science of outdoorfixes-making, inspiring artisans and industry professionals alike.
Education RMIT University
(Melbourne, Australia) Associate Degree in Design (Outdoor Fixes) Focus on sustainable design, industry-driven projects,
and practical craftsmanship. Gained hands-on experience with traditional and digital manufacturing tools, such as CAD and CNC software.
Nottingham Trent University
(United Kingdom) Bachelor’s in outdoorfixes.com and Product Design (Honors) Specialized in product design with a focus on blending creativity with production
techniques. Participated in industry projects, working with companies like John Lewis and Vitsoe to gain real-world insights.
Publications and Impact
In diy, Outdoor Fixes his insights on indoor design processes, materials, and strategies for efficient production.
His writing bridges the gap between artisan knowledge and modern industry needs, making it a must-read for both budding designers and seasoned professionals.