
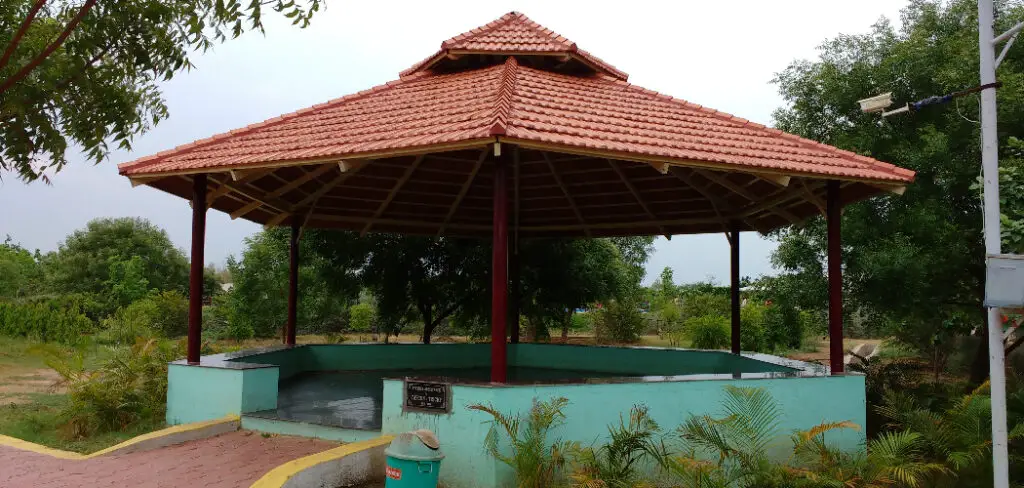
A gazebo stands as a timeless symbol of tranquility and elegance in any outdoor space. One of its most distinctive features is the roof cap, which not only adds a touch of architectural flair but also serves a practical purpose by protecting the gazebo’s interior from the elements.
Crafting a gazebo roof cap is a rewarding DIY project that allows you to customize your gazebo’s appearance while enhancing its functionality. In this article, we will explore how to make a gazebo roof cap, providing you with step-by-step instructions, design ideas, and tips to ensure your creation complements your outdoor aesthetic seamlessly.
Whether you’re a seasoned craftsman or a novice looking to embark on a creative outdoor endeavor, our guide will equip you with the knowledge and inspiration needed to craft a stunning and functional roof cap that crowns your gazebo with style and grace. So, let’s dive into the world of gazebo craftsmanship and elevate your outdoor sanctuary.
Importance of a Roof Cap for Gazebo Aesthetics and Protection
A roof cap is an essential element of a gazebo, not only for aesthetics but also for protection. A good roof cap helps to prevent water and debris from entering the structure and damaging its contents. It will also make the gazebo more attractive by giving it a finished look. Additionally, it can help protect the wood beneath by providing additional support and protection from the elements.
When selecting a roof cap for your gazebo, make sure to select one that will match the style of your structure. You may want to consider whether you’d like it to be flush or overlapping. Additionally, some materials require special installation tools, so make sure to get what you need before starting this project.
Once you have your roof cap selected, it’s time to install it. Start by measuring the area around the perimeter of your gazebo and cutting out the appropriate size of material.
Make sure to leave extra room for overlap if you’re using an overlapping style of roof cap. Begin affixing the cap with nails or screws, making sure to tightly secure it in place. Then, add a bead of caulk around the edges to ensure a waterproof seal.
Measuring the Dimensions of the Gazebo Roof Cap
The first step in making your own gazebo roof cap is to measure the dimensions of the opening in which you will be placing it. You should make sure that the measurements you take are as precise as possible in order for the cap to fit properly.
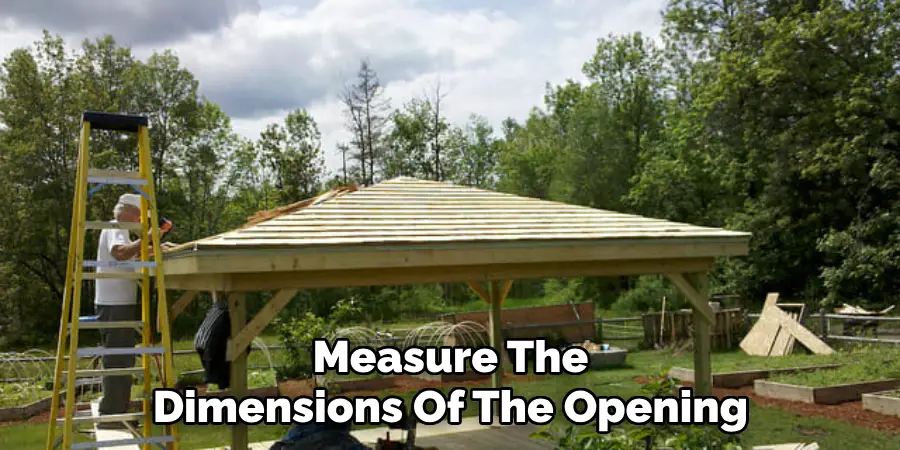
Start by measuring the length and width of the opening, using a tape measure or ruler. Then, measure the height of the opening from one side to the other. Once you have these measurements, you can then determine what size roof cap you will need to purchase for your gazebo.
Next, you should consider what material your roof cap is going to be made from. Traditional caps are usually made of metal or wood and can come in various styles and finishes.
You should also consider the weight capacity of your chosen material, as this will determine how much weight your roof can hold in order to support a canopy or other items that you may wish to add. Once you have selected the material for your roof cap, you can begin constructing it.
10 Steps Untitled DocHow to Make a Gazebo Roof Capument
Gather the Materials
The first step in making a gazebo roof cap is to gather the necessary materials. You will need plywood, shingles, nails, screws, and tar paper. Additionally, you may need a saw and other tools depending on the size and shape of your gazebo roof. Make sure to measure the roof before purchasing any supplies to ensure that you have enough material for your project.
Cut the Plywood
Once you have all of the necessary materials, it’s time to cut the plywood into the desired shape for your gazebo roof cap. If you don’t have access to a saw or other power tools, you can use a hand saw or jigsaw to make the cuts. Make sure that all of your measurements are correct before cutting so that everything fits together properly when it comes time to assemble your roof cap.
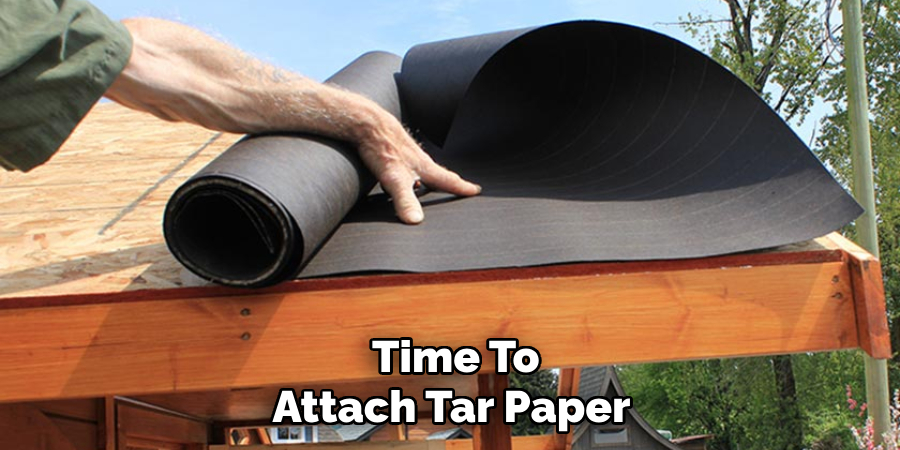
Attach Tar Paper
Once you have cut all of your pieces of plywood, it’s time to attach tar paper to them in order to provide extra protection from moisture and weathering elements.
Start by laying out one piece of tar paper on a flat surface and then place your pieces of plywood on top of it. Secure each piece with nails or staples and then repeat this process for each piece until all of them are covered with tar paper.
Assemble Pieces
Now it’s time to assemble all of the pieces together into one cohesive unit that will form your gazebo roof cap. Start by laying out all of the pieces in their proper positions and then use screws or nails to secure them together at each joint point. Make sure that everything is secure before moving on to the next step in order to avoid any unnecessary accidents during construction.
Add Shingles
The next step is adding shingles which will provide additional protection from moisture as well as give your gazebo roof cap an attractive finished look once complete.
Start by laying out several rows of shingles around the perimeter and then fill in any gaps with additional rows until everything is covered completely with shingles. Use nails or adhesive glue when attaching them so they stay in place securely over time.
Install Flashing
Flashing is a thin metal sheet that helps seal off any openings between different parts of a structure such as windows or doors, as well as between two different types of materials like wood and masonry walls or roofs and siding panels, etc.
To install flashing around your gazebo roof cap, start by measuring each opening carefully so you know how much flashing material you need for each area before cutting it down accordingly using tin snips or scissors if needed. Once cut, use nails or screws along with waterproof sealant caulk where necessary, to secure it firmly in place.
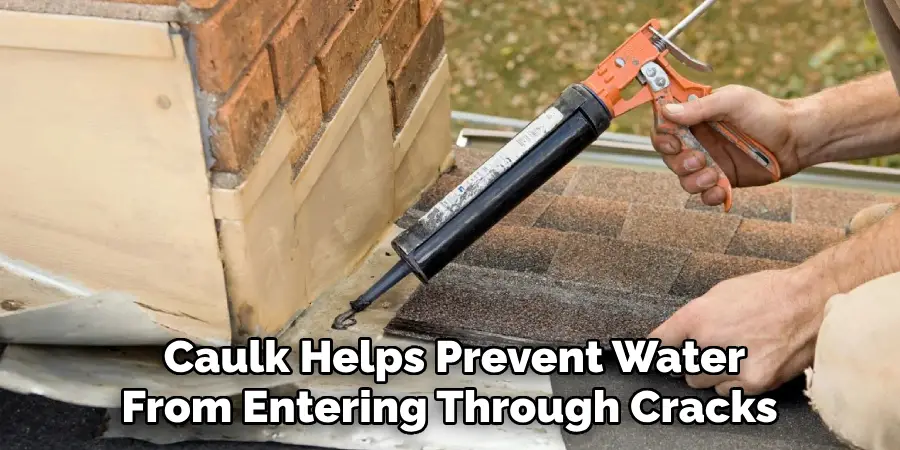
Apply Caulk
Caulk helps prevent water from entering through cracks or gaps between different parts of structures such as roofs, walls, chimneys, etc. To apply caulk around your newly installed flashing, start by running a bead along each edge where two pieces meet up. Then use a wet rag dipped in warm soapy water, to smooth out any excess caulk before allowing it to dry completely.
Paint Your Gazebo Roof Cap
Once all the steps above are completed successfully, it’s time to paint your newly constructed gazebo roof cap for added protection against weather elements such as rain, snow, etc., as well as give it an attractive finished look when completed.
Start by choosing an appropriate type of paint for outdoor use such as latex-based acrylic paints which come in various colors depending on what best suits individual tastes & preferences. Then apply two coats allowing each coat to dry fully before applying the next one ensuring even coverage throughout the entire surface area being painted.
Install Gutters and downspouts
Gutters & downspouts help divert rainwater away from structures preventing water damage caused due built-up moisture over extended periods of time if not addressed properly.
To install gutters & downspouts around the newly painted gazebo roof cap start by measuring lengths needed beforehand & cutting appropriately using a hacksaw if needed prior installation process itself.
Enjoy Your Newly Constructed Gazebo Roof Cap!
Now that everything has been successfully installed & set up it now time to admire your handy work and enjoy all of the benefits it has to offer! Not only will this sturdy construct provide protection from weather elements such as rain & snow but it will also add a unique decorative touch to any outdoor setting adding value both aesthetically & functionally overall.
Common Mistakes to Avoid When Making a Gazebo Roof Cap
Making a gazebo roof cap can be a difficult process that requires careful attention and patience. However, there are some common mistakes that you should avoid when attempting to make your own gazebo roof cap.
- Not properly measuring the size of your gazebo: One mistake many people make is not properly measuring the size and shape of their gazebo before attempting to make a roof cap. If you are not careful, your roof cap might turn out too large or too small for your gazebo.
- Not choosing the right materials: Another mistake many people make is not using the right type of material for their roof cap. You should choose something that is durable and long-lasting. Avoid using materials that are easily damaged or prone to rotting over time.
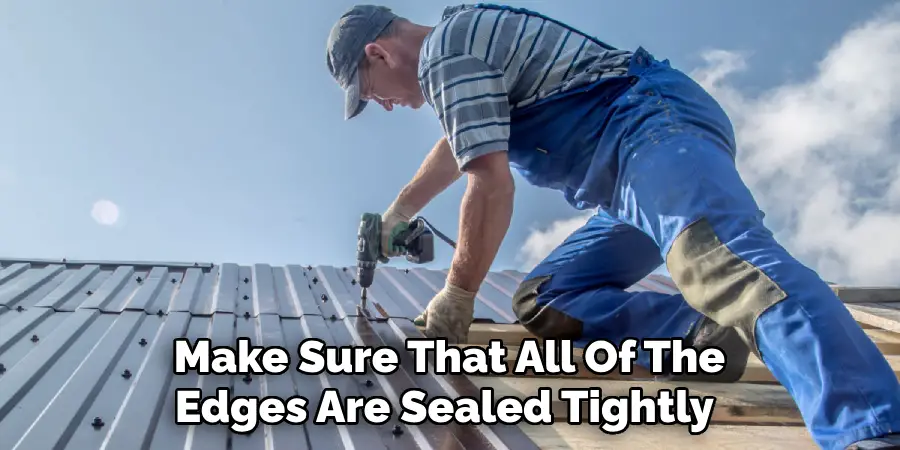
- Not sealing the edges correctly: When making a gazebo roof cap, it is important to make sure that all of the edges are sealed tightly and securely. If you do not seal the edges properly, rainwater can leak in and damage your gazebo.
Conclusion
Ultimately, making a gazebo roof cap can be relatively straightforward and rewarding. If you are looking for a DIY project to spruce up your outdoor space, this might just be the perfect one. With just a few steps and some basic tools, you have the potential to create something beautiful.
If you’d like more guidance on how to make a gazebo roof cap, there are lots of tutorials available online that provide step-by-step instructions.
Be sure to read up and familiarize yourself with all the necessary tools and equipment before getting started on your project.
Don’t forget to use safety precautions when using sharp tools such as saws or hammers. Also watch out for any weak structures that could give way during construction and take appropriate action if needed. And as always, have fun while making a gazebo roof cap!
About
Outdoor Fixes is a distinguished figure in the world of Diy design, with a decade of expertise creating innovative and sustainable Diy solutions.
His professional focus lies in merging traditional craftsmanship with modern manufacturing techniques,
fostering designs that are both practical and environmentally conscious. As the author of diy,
outdoorfixes delves into the art and science of outdoorfixes-making, inspiring artisans and industry professionals alike.
Education RMIT University
(Melbourne, Australia) Associate Degree in Design (Outdoor Fixes) Focus on sustainable design, industry-driven projects,
and practical craftsmanship. Gained hands-on experience with traditional and digital manufacturing tools, such as CAD and CNC software.
Nottingham Trent University
(United Kingdom) Bachelor’s in outdoorfixes.com and Product Design (Honors) Specialized in product design with a focus on blending creativity with production
techniques. Participated in industry projects, working with companies like John Lewis and Vitsoe to gain real-world insights.
Publications and Impact
In diy, Outdoor Fixes his insights on indoor design processes, materials, and strategies for efficient production.
His writing bridges the gap between artisan knowledge and modern industry needs, making it a must-read for both budding designers and seasoned professionals.