A sunken fire pit can add a unique and inviting ambiance to any outdoor area. So, we need to learn how to make a sunken fire Pit. It creates a safe, contained area for gathering around the fire and eliminates the need for seating areas or other furniture that could obstruct the view of the flames.

Additionally, it allows you to keep the fire off the ground, reducing risks associated with flying sparks and the amount of dirt, debris, and ashes that can accumulate around the fire. Building a sunken fire pit is relatively easy if you have basic carpentry skills and access to the necessary materials.
The advantages of making a sunken fire pit are numerous. It creates a beautiful focal point for your outdoor entertaining area and is also a safe and efficient way to start a fire.
Sunken fire pits can be made from almost any material – bricks, stones, or even concrete blocks – that will withstand the heat of an open flame. In this blog post, You will learn in detail how to make a sunken fire pit.
Materials You Will Need
- Shovel
- Level
- Tape measure
- Deck blocks
- Landscape fabric
- Gravel
- Sand
- Lava rocks or other decorative material for the bottom of the fire pit
- Fire pit liner (if desired)
- Stones, bricks, or pavers to finish the edges of the fire pit
How Deep Should the Fire Pit Be?
When planning a sunken fire pit, it is essential to consider the depth of the fire pit. The deeper the pit, the larger and hotter the flames will be. How deep should your pit be? Most experts recommend that a sunken fire pit should be about 12”- 14” deep for most residential patios or decks. If the fire pit is located on grass or dirt, it can be up to 18” deep.
How wide should your pit be? A standard-sized sunken firepit should measure about 36” in diameter. Of course, you can customize the size of your sunken fire pit for larger gatherings or special occasions.
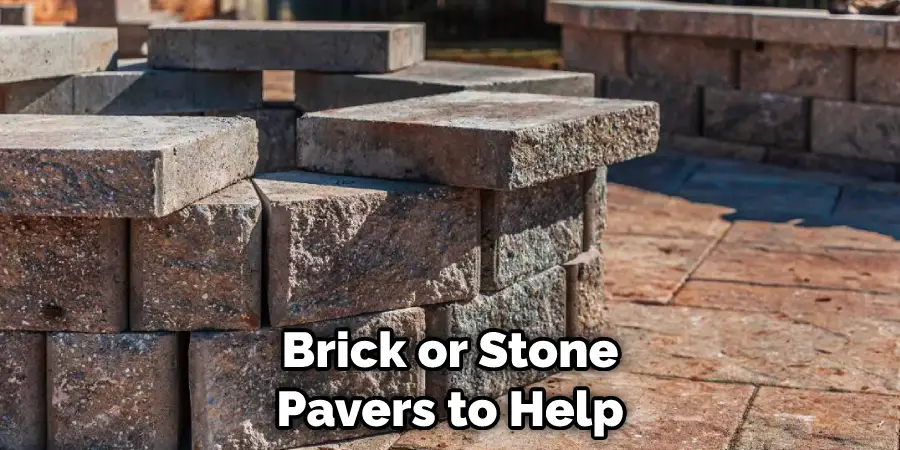
It’s important to ensure that your fire pit does not exceed the minimum clearance requirements for your particular location. Additionally, you may want to consider surrounding your fire pit with non-combustible materials such as brick or stone pavers to help protect against stray sparks and flames.
Sunken fire pit, it is essential to consider the depth of the fire pit. The deeper the pit, the larger and hotter the flames will be.
How Do You Dig Out the Area for the Fire Pit?
- Start by marking out the intended size of your fire pit with a shovel or landscaping paint. Make sure to leave enough space around it for safety and seating.
- Dig 6 inches into the ground at each corner to give yourself a guideline for digging out the hole.
- Using an excavator, dig out the area to be at least 1 foot deep.
- Compact the sides of the hole with a tamper tool, then level off the bottom.
- Line the bottom of your fire pit with sand and gravel for drainage before filling it back in with soil or other fill materials such as crushed stone or pea gravel.
- Make sure to tamp the soil down as you’re filling so that it is level and even.
- Once the soil is filled in, use a large level to ensure it is even all over.
- Finally, add a layer of bricks or stones around the edge of your fire pit for a finished look.
- Your sunken fire pit is ready to be used. Enjoy your cozy outdoor space, and make sure to practice safe fire-building techniques for a safe and enjoyable experience.
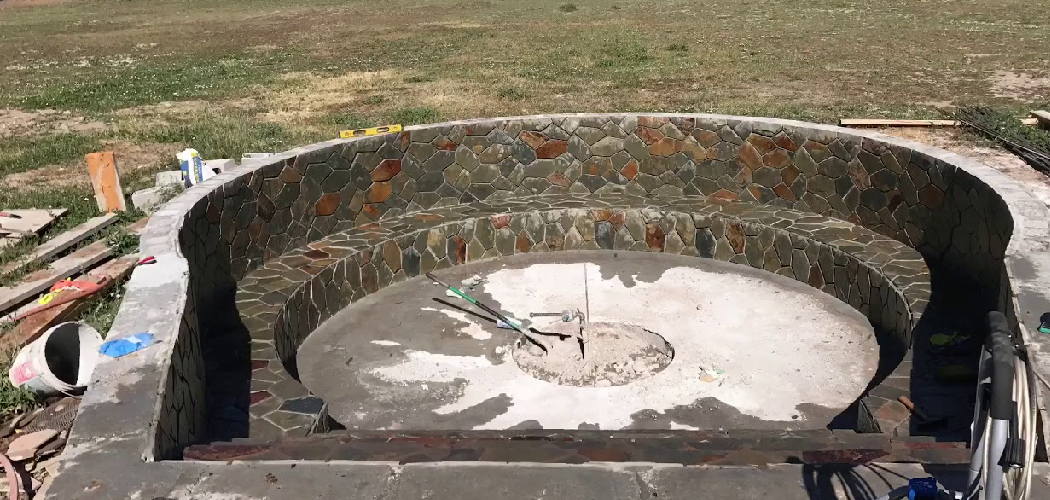
Step-by-Step Processes for How to Make a Sunken Fire Pit
Step 1: Inspect the Area
Before beginning your project, inspect the area to ensure you have enough room and that it is free from any potential dangers, including flammable materials, overhead hazards, and uneven surfaces. With a permanent marker or spray paint, mark out the circular shape of your fire pit. Make sure it’s an appropriate size for your space.
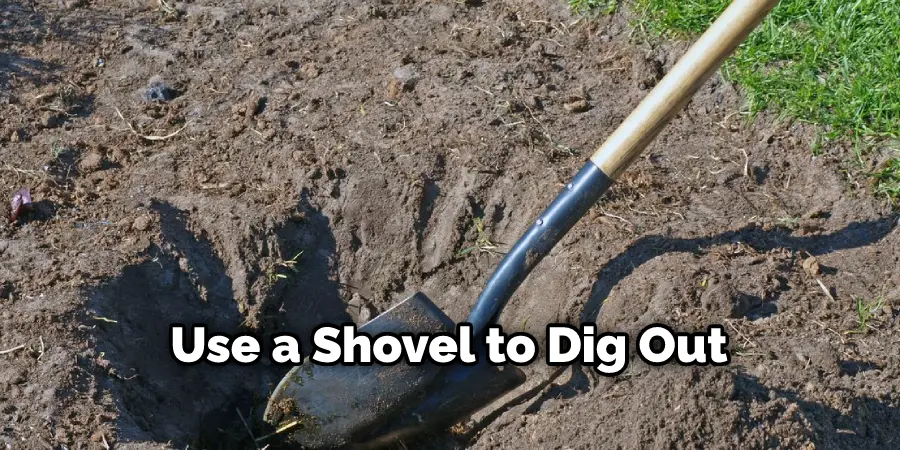
Step 2: Dig the Pit
For a sunken fire pit, use a shovel to dig out an area that is 12 inches deep and several feet in diameter. Make sure you are wearing sturdy gloves and shoes when digging. Place gravel at the bottom of the fire pit. This will create a drainage system that prevents water from pooling and help to keep your fire pit in place.
Step 3: Lay Down the Masonry Sand Layer
Place masonry sand on top of the gravel for an even surface. This layer helps prevent any shifting or sliding when adding stones, bricks, or other materials. Now it’s time to get creative! Arrange stones, bricks, or any other materials you would like to use in a circular pattern around the edge of your fire pit. Make sure they are securely placed and level with one another.
Step 4: Place a Fire Ring Within the Pit
Once your stones and bricks are in place, you can now purchase or create a fire ring. This will ensure that your burning logs remain contained within the fire pit. To add extra protection, cover the fire pit with sand and gravel. This will help to keep small debris from getting into the pit when it is not in use.
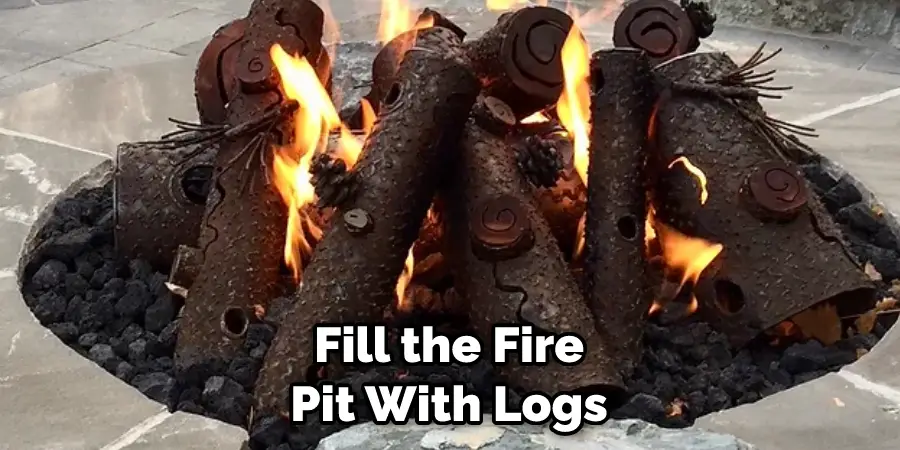
Step 5: Fill the Fire Pit With Wood or Logs
Now you can fill the fire pit with logs, wood chips, or whatever fuel you choose. Make sure you use safe and approved fuel for your fire pit. Once you have completed all the steps above, you are ready to light your fire and enjoy your new sunken fire pit. Make sure you take the necessary safety precautions when using the fire pit.
Always ensure that someone supervises the area and that you have a fire extinguisher nearby.
Safety Tips for How to Make a Sunken Fire Pit
- Ensure to comply with local fire codes when determining the size and location for your fire pit.
- Choose a suitable spot that is away from trees, shrubs, buildings, and other flammable objects whenever possible.
- Always clear the area around your fire pit of debris or materials that may easily catch fire.
- Keep a bucket of water, sand or a fire extinguisher nearby in case of an emergency.
- Never leave the fire unattended; always keep children and pets at least 3 feet away from the flame.
- Ensure that your pit is covered with a mesh screen to contain sparks and flying embers.
- Only burn dry, seasoned wood that is free of chemicals, and never add any flammable liquids such as lighter fluid, kerosene, or gasoline.
- Make sure the fire is completely extinguished before leaving it unattended.
Following these safety tips will help ensure that your sunken fire pit is built and used safely.
How Do You Properly Maintain a Sunken Fire Pit to Ensure Its Longevity?
- Clean the Fire Pit Regularly: Remove any ash, soot, and debris with a metal shovel or rake. Regularly check for signs of corrosion and rust.
- Cover the Fire Pit When Not in Use: During periods of extended non-use, it is important to place a cover over the fire pit to protect it from the elements. Ensure the cover fits securely and completely covers the pit, including the rim.
- Use a Fire-pit Protector: To further guard against wear and tear, use a fire-pit protector on top of the cover when not in use. This will help to prevent damage to your fire pit’s interior.
- Seal the Material Around the Fire Pit: To further protect your fire pit, seal any cracks and openings with a silicone-based sealant. This will help keep moisture out of the fire pit and reduce the potential damage due to water seepage.
- Inspect Regularly for Signs of Wear and Tear: Do a visual inspection of your fire pit regularly. Check for signs of wear and tear, such as cracks or chips in the material around the fire pit. If any damage is found, repair it immediately to prevent further deterioration.

Following these steps will help you maintain your sunken fire pit and ensure its longevity. With proper care and maintenance, your fire pit can last for years to come.
Conclusion
One of the main disadvantages of constructing a sunken fire pit is that it requires more work than building an above-ground fire pit. You must dig out the area, level and compact the soil, and then line the bottom with brick or concrete blocks. This means that you need a lot of materials and tools for this project, including a shovel, a trowel, bricks or concrete blocks, and a level.
In conclusion, a sunken fire pit is an attractive and easy way to create a beautiful outdoor fireplace. It requires careful planning, such as determining the fire pit’s size, shape, and location. When building your sunken fire pit, you must also pay attention to safety concerns.
With the right supplies and instructions, you can easily create a unique outdoor space that is perfect for cooking, entertaining, and simply enjoying a night under the stars. I hope this article has been beneficial for learning how to make a sunken fire pit. Make Sure the precautionary measures are followed chronologically.
About
Outdoor Fixes is a distinguished figure in the world of Diy design, with a decade of expertise creating innovative and sustainable Diy solutions.
His professional focus lies in merging traditional craftsmanship with modern manufacturing techniques,
fostering designs that are both practical and environmentally conscious. As the author of diy,
outdoorfixes delves into the art and science of outdoorfixes-making, inspiring artisans and industry professionals alike.
Education RMIT University
(Melbourne, Australia) Associate Degree in Design (Outdoor Fixes) Focus on sustainable design, industry-driven projects,
and practical craftsmanship. Gained hands-on experience with traditional and digital manufacturing tools, such as CAD and CNC software.
Nottingham Trent University
(United Kingdom) Bachelor’s in outdoorfixes.com and Product Design (Honors) Specialized in product design with a focus on blending creativity with production
techniques. Participated in industry projects, working with companies like John Lewis and Vitsoe to gain real-world insights.
Publications and Impact
In diy, Outdoor Fixes his insights on indoor design processes, materials, and strategies for efficient production.
His writing bridges the gap between artisan knowledge and modern industry needs, making it a must-read for both budding designers and seasoned professionals.