Embarking on the journey of raising chickens comes with the responsibility of ensuring their well-being, and a crucial aspect of that is providing a reliable water source. Crafting a homemade waterer for chickens not only serves as a cost-effective solution but also allows for customization based on the specific needs of your flock. In this guide, we’ll delve into the steps and materials required for how to make a waterer for chickens.

From repurposing everyday items to constructing a simple yet effective watering system, this DIY project offers both practicality and satisfaction. By the end of this tutorial, you’ll not only have a newfound skill in poultry care but also a personalized waterer tailored to the needs of your backyard flock, promoting their health and ensuring your role as a conscientious chicken keeper.
Importance of Providing Clean Water for Chickens
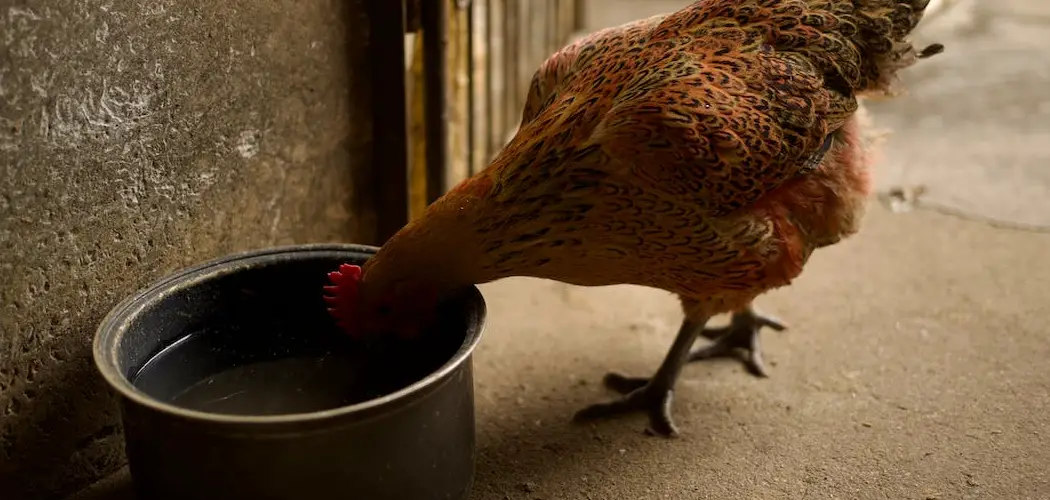
Before we dive into the construction details, it’s paramount to understand the importance of clean water for your chickens. Hydration is as vital to poultry as it is to any other living creature. Chickens require consistent access to fresh water to regulate their body temperature, digest their food, and maintain overall health. Water deficiency can quickly lead to dehydration, reduced egg production, or even severe health issues. By constructing a dependable waterer, you ensure that your flock has continuous access to clean water, thus safeguarding their well-being and maximizing their potential for growth and egg production.

Understanding Chicken Watering Needs
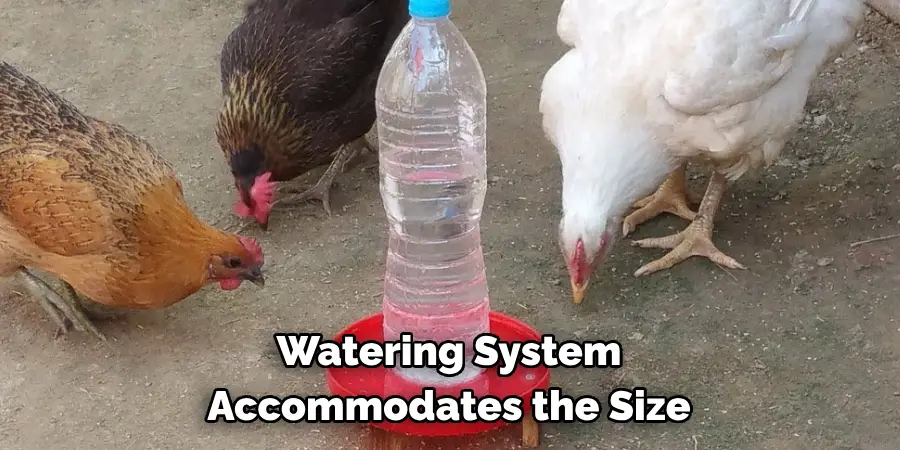
Chickens’ water consumption can vary depending on several factors, such as the ambient temperature, the bird’s age, and their laying status. Typically, an adult chicken will drink around one pint of water per day, but during hot weather, this can double. It’s also important to ensure that the watering system accommodates the size and number of birds in your flock.
An effective chicken waterer should be designed to provide clean water on demand, minimising spillage and contamination from droppings or dirt. Additionally, it should be easy to clean to prevent the buildup of harmful bacteria. Let’s explore how to address these needs by constructing an efficient, hygienic, and easily maintainable waterer.
Choosing Materials for the Waterer
When selecting materials for your DIY chicken waterer, prioritize durability, safety, and the ease of cleaning. Food-grade plastic containers are a popular choice, as they are lightweight, inexpensive, and resist the growth of algae and bacteria. Metal containers can also be used, especially stainless steel, which does not rust or corrode, ensuring the long-term health of your birds. Avoid using galvanized metal, particularly with vinegar or any acidic cleaning agents, as it may lead to toxic zinc leaching.
For a waterer base, consider using a shallow pan or dish that is broader than the height of your chickens’ back to prevent them from roosting on it and causing contamination.
Ensure all chosen materials are compatible and can be securely assembled to prevent leaks. Additionally, if you opt for a gravity-fed system, ensure the reservoir is sturdy enough to handle the weight of the water when full. Accessibility and ease of replenishment should also be factored into your material selection, guaranteeing that maintaining your chicken waterer is a straightforward task.
Considering Factors Like Durability, Ease of Cleaning, and Cost
Considering factors like durability, ease of cleaning, and cost, one might lean towards certain materials over others for crafting a chicken waterer. Plastic, for instance, is cost-effective and easy to sanitize, but ensure it’s of food-grade quality to avoid chemical leaching. Alternatively, stainless steel, while more expensive, offers longevity and resistance to rust and corrosion, outweighing longer-term replacement costs.
Whichever material you select, it must withstand the rigors of outdoor elements and the daily use by chickens, as well as be non-toxic and simple to dismantle for regular cleaning. Balancing these factors will lead to a waterer that’s not just a short-term fix but a secure, lasting investment in your poultry’s health.
Selecting a Design for Your Chicken Waterer
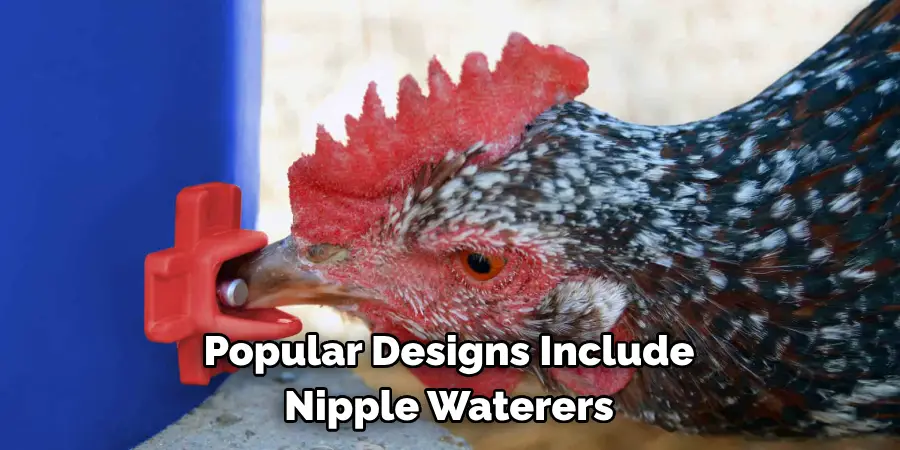
The design you choose for your chicken waterer should marry functionality with simplicity. There are several blueprints to consider, from basic trough-style waterers to more sophisticated automatic systems that refill as the water level drops. Popular designs include nipple waterers, which help maintain cleanliness by releasing water only when the chicken pecks at the nipple, thus preventing spillage. Another option is a cup or bell waterer, which uses a trigger mechanism to replenish water in a small cup as needed.
When selecting a design, reflect on the size of your flock and their living environment. A small flock may do well with a simple container that is refilled daily, while a larger group might benefit from an automatic system that saves time and ensures water is always on hand. Moreover, consider the space available and whether your design needs to be hung to save ground space, or if it can stand alone. Whichever design you opt for, aim for a setup that promotes easy access for the chickens and straightforward maintenance for yourself.
10 Steps How To Make a Waterer for Chickens
Step 1: Gather Materials and Tools
Before you begin crafting the waterer, assemble the necessary materials and tools. You’ll need a large plastic container with a lid, PVC pipes or watering nipples, a drill, a saw, silicone sealant, and a water hose. Ensure all materials are clean and safe for use with animals. To prevent the growth of bacteria, it’s recommended to use a new container and pipes rather than repurposing old ones.
Once you have all materials ready, set up your workspace in a well-ventilated area. It’s best to work outdoors or in a garage with open doors. This will prevent any harmful chemicals from building up in an enclosed space. Make sure you have proper lighting and a flat surface to work on.
Step 2: Choose a Suitable Container
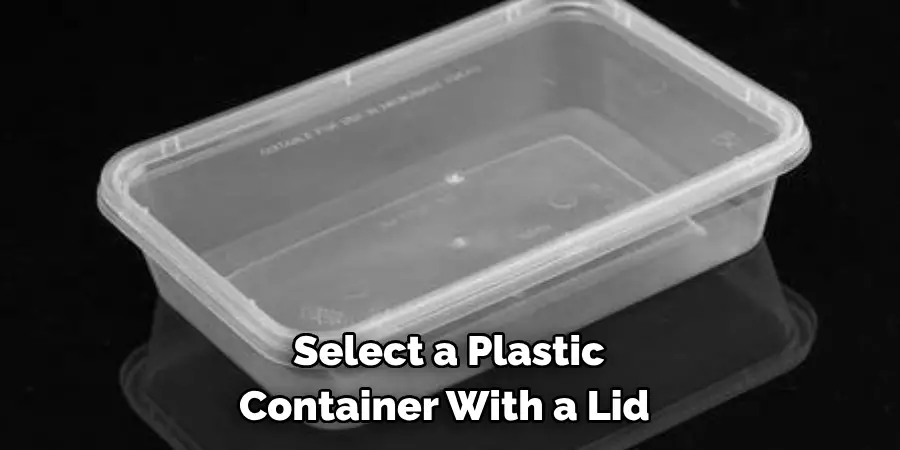
Select a plastic container with a lid that can hold an ample amount of water for your flock. The size of the container will depend on the number of chickens you have. Ensure it is durable, easy to clean, and has a tight-fitting lid to prevent contamination. A container with a handle will also make it easier for you to carry and refill.
Furthermore, consider the shape of the container. Round containers are preferable as they allow water to circulate easily, preventing any potential buildup of bacteria or algae. Avoid using narrow or deep containers as these can be difficult for chickens to access and may lead to spills and wastage.
Another important factor to consider is the material of the container. Plastic containers are a popular choice due to their durability, affordability, and ease of cleaning. However, make sure to choose food-grade plastic containers that are safe for your chickens to drink from.
Step 3: Plan the Watering System
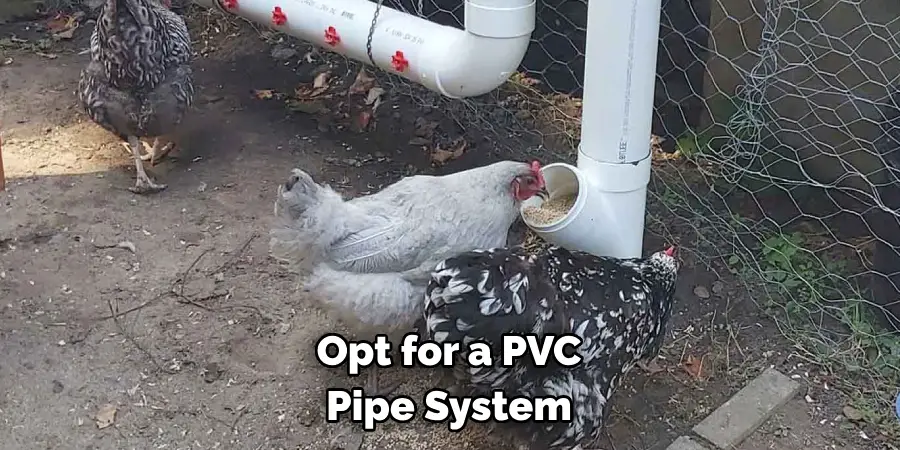
Consider the watering system that best suits your setup. You can choose between a gravity-fed system using PVC pipes or individual watering nipples. Plan the placement of these components to provide easy access for your chickens while minimizing spillage and contamination. You may also consider using a timer to automate the watering process and ensure that your chickens have access to fresh water at all times.
There are several factors you should take into account when planning your watering system. First, determine the number of chickens in your flock and how much water they will need on a daily basis. This will help you decide on the size and capacity of your water container. For example, a 5-gallon water container is typically recommended for 10 chickens.
Next, consider the location of your coop and run. It’s important to place your water source in a shaded area to prevent algae growth and keep the water cool during hot weather. You should also keep it elevated off the ground to avoid dirt and debris from getting into the water.
Step 4: Mark and Cut Openings
If you opt for a PVC pipe system, use a saw to cut openings for the pipes in the lid of the plastic container. Ensure the holes are large enough for easy access but small enough to prevent contamination. If using watering nipples, mark and drill holes accordingly. It’s important to take your time with this step to ensure the openings are precise and properly sized.
It’s also a good idea to mark the lid so you know which openings correspond to which pipes or watering nipples. This will make maintenance and troubleshooting much easier in the future.
Once your openings are marked, use a drill or saw to carefully cut them out. Take care not to damage the lid or create jagged edges that could potentially harm your chickens.
After cutting the openings, smooth out any rough edges with sandpaper or a file. This will not only prevent injuries to your chickens but also help create a better seal when attaching the pipes or nipples.
Step 5: Install PVC Pipes or Watering Nipples
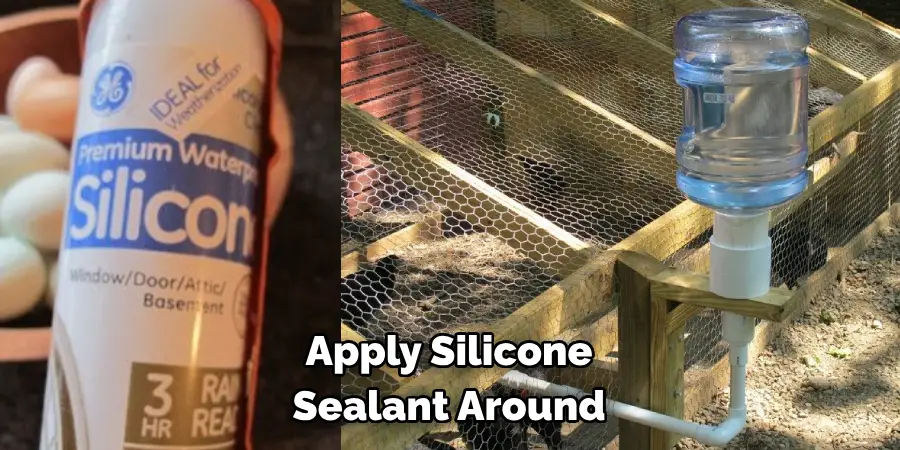
Insert the PVC pipes through the holes in the container’s lid, securing them in place. Alternatively, attach the watering nipples using the provided instructions. Apply silicone sealant around the openings to prevent leaks. Allow the sealant to dry completely before moving on to the next step.
Once the sealant is dry, attach a garden hose to one end of the PVC pipes or watering nipples. This will serve as the water source for your container garden. If using PVC pipes, you may want to add a shut-off valve at this point to easily control the water flow.
Step 6: Create a Secure Base
To stabilize the waterer, construct a secure base using scrap wood or a sturdy platform. This ensures that the waterer remains steady, preventing spills and potential damage. The base should be large enough to accommodate the container’s footprint. Using a circular saw, cut a piece of scrap wood into a square or rectangular shape, depending on the shape of your waterer. Drill holes into each corner of the base and secure it to the ground using screws.
Additionally, you can create a cover for your waterer to protect it from weather elements and potential predators. This can be made using another piece of scrap wood or a durable plastic cover. Make sure to leave enough room for the opening of the waterer and drill holes into the cover to secure it onto the base.
Having a stable and covered base not only protects your waterer but also prevents any contamination from outside sources, ensuring clean and safe drinking water for your pets or livestock.
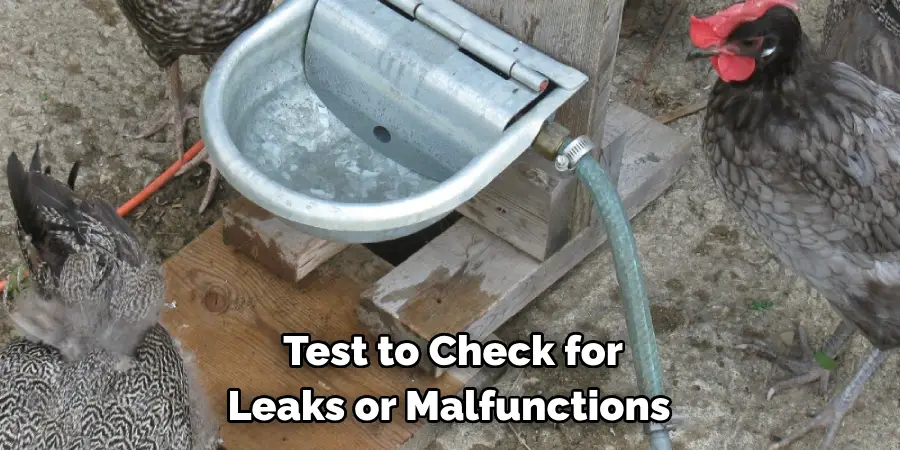
Step 7: Test the Waterer
Before introducing the waterer to your chickens, conduct a thorough test to check for leaks or malfunctions. Fill the container with water and observe the system’s functionality. Make any necessary adjustments or repairs before placing it in the chicken coop or yard. However, even after testing, it is important to regularly check and maintain the waterer to ensure its proper functioning.
Regular maintenance includes checking for leaks, cleaning out any debris or buildup, and refilling with fresh water. It is also important to regularly monitor the water level and refill as needed. Dirty or contaminated water can lead to health issues for your chickens, so it is crucial to keep the waterer clean and sanitary.
In addition to regular maintenance, it is also important to periodically deep clean the waterer. This involves completely emptying the container, scrubbing it with a mild soap or vinegar solution, and thoroughly rinsing before refilling with fresh water. This will help prevent bacteria or mold growth and maintain the overall health of your chickens.
Step 8: Elevate the Waterer
To keep the water clean and easily accessible for your chickens, elevate the waterer slightly above ground level. This prevents dirt and debris from contaminating the water, ensuring a healthier hydration source for your flock.
Some options for elevating the waterer include using cinder blocks, bricks, or even a platform made from scrap wood. Just make sure that whatever you use is sturdy and stable enough to support the weight of the waterer and any curious chickens who may hop on top of it.
Elevating the waterer also has another benefit – it helps prevent spills and keeps the waterer from getting knocked over. This can save you time and effort from constantly refilling and cleaning up spilled water.
Step 9: Regular Maintenance
Establish a routine for cleaning and maintaining the waterer. Regularly check for debris, clean the container, and inspect the pipes or watering nipples. This not only promotes the well-being of your chickens but also prolongs the lifespan of your homemade waterer.
Regular maintenance is an important aspect of keeping your homemade waterer functioning properly. It not only ensures the health and well-being of your chickens but also saves you from having to replace or repair the waterer frequently.
To establish a routine for regular maintenance, consider setting up a schedule or checklist to follow. This can include tasks such as checking for any cracks or leaks in the container, cleaning out any debris or buildup in the pipes or watering nipples, and sanitizing the waterer to prevent bacterial growth.
It is also a good idea to regularly inspect and replace any worn out parts, such as gaskets or seals, to ensure that the waterer remains watertight. This will prevent any potential leaks from occurring and keep your chickens hydrated.
Step 10: Monitor and Adjust
Observe your chickens’ behavior around the waterer and make adjustments as needed. If you notice spillage or difficulties in accessing water, modify the system accordingly. This iterative process ensures that the homemade waterer remains a reliable and efficient resource for your flock.
Once your homemade waterer is in place, it’s important to keep a close eye on its performance and make any necessary adjustments.
This step is crucial for maintaining the health and well-being of your chickens.
One common issue that may arise when using a homemade waterer is spillage. If you notice that water is constantly being spilled or wasted, try adjusting the placement of the waterer or making modifications to its design. This may involve adding a larger tray or basin underneath the waterer to catch any excess water.
Conclusion
In conclusion, crafting a waterer for chickens not only ensures their hydration needs are met but also promotes their overall health and well-being. By understanding how to make a waterer for chickens and designs, poultry enthusiasts can create efficient and hygienic watering systems tailored to their flock’s size and environment.
Whether opting for a gravity-fed, nipple, or automatic waterer, the DIY approach offers flexibility and cost-effectiveness while fostering a deeper connection to the care of one’s feathered friends.
Regular monitoring and maintenance of the waterer are essential to prevent contamination and ensure continuous access to clean water. Through patience and attention to detail, chicken keepers can provide their flock with a reliable water source,
contributing to their vitality and happiness. Ultimately, the process of making a waterer for chickens underscores the importance of responsible stewardship and enriches the bond between caregivers and their poultry companions.
About
Outdoor Fixes is a distinguished figure in the world of Diy design, with a decade of expertise creating innovative and sustainable Diy solutions.
His professional focus lies in merging traditional craftsmanship with modern manufacturing techniques,
fostering designs that are both practical and environmentally conscious. As the author of diy,
outdoorfixes delves into the art and science of outdoorfixes-making, inspiring artisans and industry professionals alike.
Education RMIT University
(Melbourne, Australia) Associate Degree in Design (Outdoor Fixes) Focus on sustainable design, industry-driven projects,
and practical craftsmanship. Gained hands-on experience with traditional and digital manufacturing tools, such as CAD and CNC software.
Nottingham Trent University
(United Kingdom) Bachelor’s in outdoorfixes.com and Product Design (Honors) Specialized in product design with a focus on blending creativity with production
techniques. Participated in industry projects, working with companies like John Lewis and Vitsoe to gain real-world insights.
Publications and Impact
In diy, Outdoor Fixes his insights on indoor design processes, materials, and strategies for efficient production.
His writing bridges the gap between artisan knowledge and modern industry needs, making it a must-read for both budding designers and seasoned professionals.