
There are a number of reasons why you may want to make polycrylic slippery. Polycrylic is often used in furniture and other decorative items, but its tendency to stick or have friction can sometimes make working with it difficult. By making it slippery, you can increase the ease of use and provide a safer working environment for yourself and others.
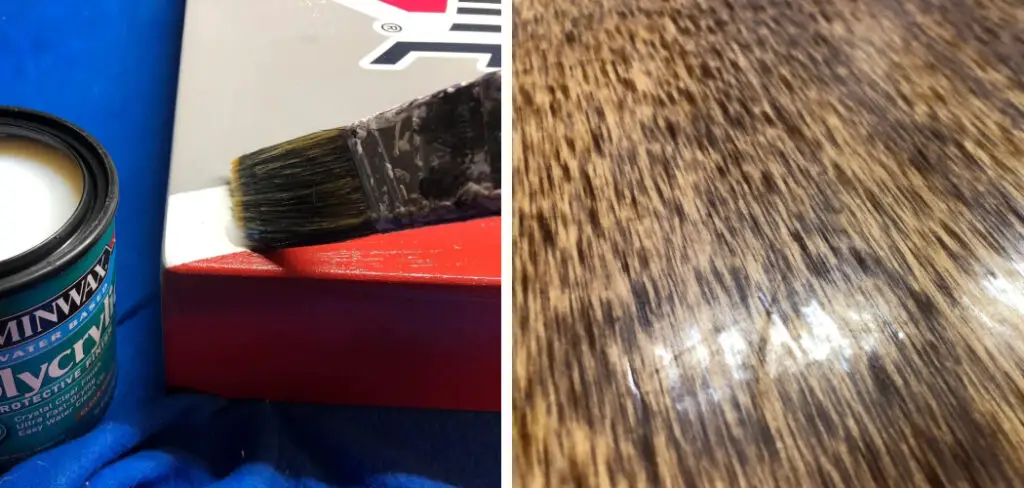
Making polycrylic slippery is an effective way to provide protection for surfaces while also giving them a glossy finish. This type of coating can be used on furniture, woodwork and cabinets as well as other surfaces that need to stay protected.
Making polycrylic slippery not only helps protect the surface from scratches and wear but it also makes it easier to wipe clean and prevent dirt from sticking. In this blog post, You will learn in detail how to make polycrylic slippery.
Tools You Will Need
- Sandpaper
- Paint brush
- Dusting cloth
- Painter’s tape
- Polycrylic finish
- Mineral spirits
- Lint free cloths
- Wood putty or filler
- Rubber gloves
- Safety glasses
Step by Step Processes for How to Make Polycrylic Slippery
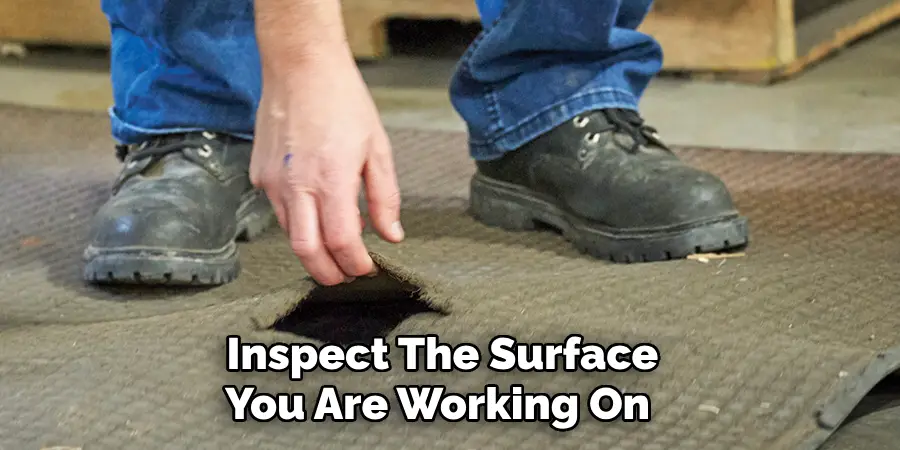
Step 1: Inspect the Surface
Before beginning the process of making Polycrylic slippery, inspect the surface you are working on. Make sure it is free from dirt, dust, oil, and debris. Clean the surface with a degreaser or non-abrasive cleaning product before you begin applying Polycrylic. This will help ensure that any oils or dirt on the surface don’t interfere with the Polycrylic’s ability to stick.
Step 2: Sand the Surface
Using a sandpaper or a sanding block, lightly sand the surface that you will be applying Polycrylic to. This helps create a smooth finish and gives the Polycrylic something to better adhere to. Once you are done sanding, use a damp cloth to remove any dust from the surface. This helps ensure that no dirt or debris gets trapped under the Polycrylic as it is drying.
Step 3: Apply Primer
Before applying polycrylic, apply a coat of primer to the surface. This will help create an even and smooth finish for when you apply the Polycrylic. Using a paintbrush, dip it into the polycrylic and begin to apply it to the surface with even strokes. Make sure you use an up-and-down pattern so that the finish is smooth and consistent.
Step 4: Tape Edges of Surface
Tape off any edges of the surface that you will not be applying Polycrylic to. This helps ensure a neat finish and prevents any accidental spills from getting onto other parts of the surface. Allow the Polycrylic to dry for at least 24 hours before proceeding with the next steps of making it slippery.
Step 5: Add Mineral Spirits
Once the Polycrylic is dry, add a few drops of mineral spirits to the surface. This will help make it more slippery and easier to clean. Using a lint-free cloth, gently buff out the surfaces you have treated with Polycrylic and mineral spirits. This will help make them even slicker and easier to clean in the future.
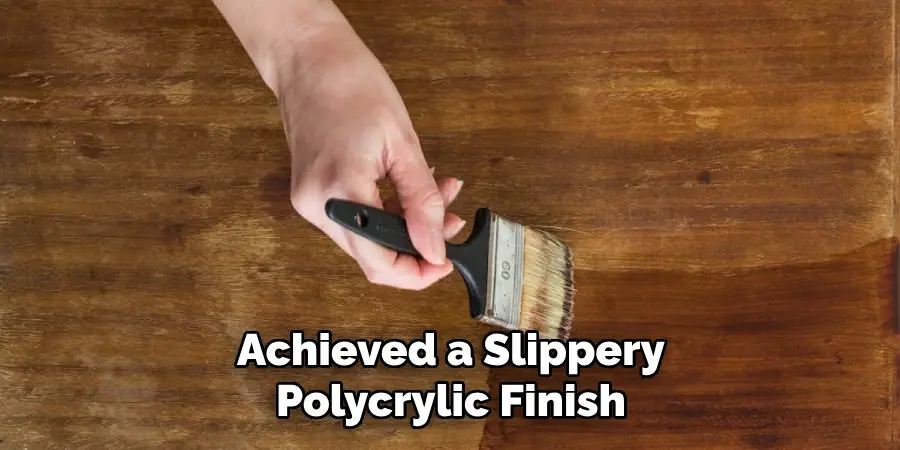
How to Maintain Your Slippery Polycrylic Finish
Once you have achieved a slippery polycrylic finish, it is important to maintain it properly in order to maximize its life and keep your surfaces looking their best. Here are a few tips for doing so:
- Dust the surface regularly to prevent dirt and debris from becoming embedded in the finish.
- Clean spills immediately with a damp cloth to avoid staining or discoloration.
- Avoid using harsh cleaning chemicals or abrasive scrubbing tools on the finish.
- Regularly inspect the finish and look for any signs of wear or damage which may require repair.
- Keep the surface dry and protected from extreme temperatures to prevent cracking or fading of the finish.
Follow these simple steps and you can ensure that your Polycrylic surfaces will remain slick, smooth, and beautiful for years to come.
Benefits of a Slippery Polycrylic Finish
A slippery polycrylic finish can offer numerous benefits to any surface that it is applied to. Here are just some of the ways in which a slippery polycrylic finish can be advantageous:
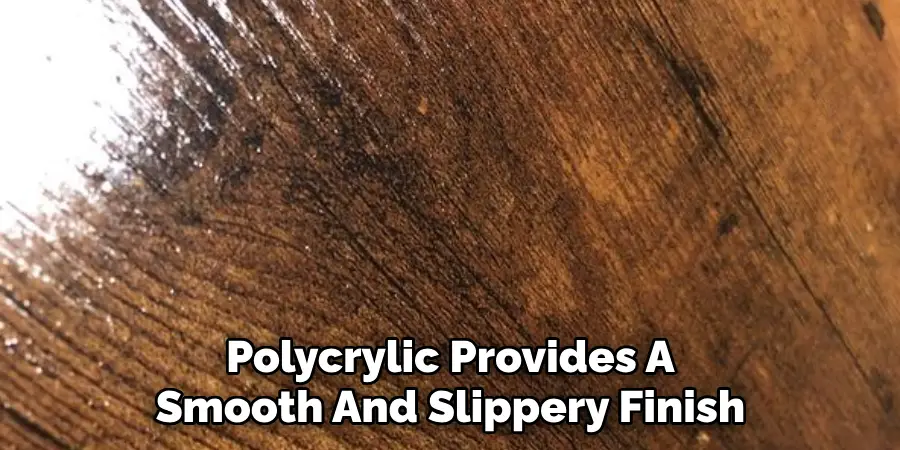
- Improved slip resistance: Polycrylic provides a smooth and slippery finish, making surfaces much safer to walk on.
- Easier cleanup: The slick surface makes it easier to wipe away spills or debris without leaving behind any residue.
- More durable finish: Polycrylic is resistant to scratches and damage, making it a smart choice for high traffic areas such as kitchens and bathrooms.
- Aesthetic appeal: The glossy, smooth finish adds an attractive sheen to your surfaces that will last for years.
These are just some of the many benefits of using polycrylic to create a slippery finish. Whether you’re looking to improve safety or just add some extra shine to your home, polycrylic is an excellent choice.
Things to Consider Before Applying Polycrylic
Before applying polycrylic, there are a few things that it is important to consider. Here are some of the most important factors:
- Temperature: Polycrylic should only be applied when the temperature is between 50 degrees Fahrenheit and 90 degrees Fahrenheit. Applying it in temperatures outside of this range can lead to poor adhesion and bubbling.
- Humidity: Low humidity levels are best for applying polycrylic, as high humidity can cause the finish to dry too quickly and become tacky.
- Ventilation: Make sure that the area in which you are applying Polycrylic is well ventilated to prevent any fumes from becoming trapped.
- Preparation: As mentioned, it is important to properly prepare the surface before applying Polycrylic. This includes sanding, cleaning, and priming as needed.
By taking these factors into consideration, you can make sure that your polycrylic application is successful and your surfaces look their best.
Tips for How to Make Polycrylic Slippery
- Always wear protective gloves and safety glasses when using Polycrylic.
- Avoid contact with skin, eyes, and clothing to prevent irritation or injury.
- Work in a well ventilated space to prevent any strong odours from becoming trapped.
- Do not use near open flames or high heat sources as it is highly flammable.
- Store Polycrylic in a cool, dry place away from direct sunlight.
- Dispose of any unused Polycrylic according to local safety regulations.
- Do not use on surfaces that come in contact with food or water as it is not intended for such uses.
Following these tips can help ensure the safe and successful application of polycrylic to your surfaces. With the right preparation and caution, you can make sure your slippery finish looks beautiful and lasts for years to come.
What Are the Best Cleaning Techniques to Use After Applying a Product to Make Polycrylic Slippery
Once you have successfully applied a product to make your Polycrylic slippery, it is important to clean the surface so that further contamination is prevented. The best way to do this involves using a damp cloth with warm water and some mild detergent.
Wipe the surface gently, making sure not to scrub too hard as this could damage the product you have just applied. Allow the surface to dry completely before applying any further products.
For tougher stains and debris, a soft bristled brush can be used instead of a cloth.
Make sure to use light strokes and apply only mild pressure, as too much could damage the product. Once you have removed all dirt and debris from the surface, use a damp cloth again to wipe it down and ensure that all traces of the stain or debris are gone.
What Are the Most Common Issues Associated With Making Polycrylic Slippery
There are a few common issues that people often experience when trying to make polycrylic slippery. The first is an issue of not having enough lubricant applied to the surface, which can cause the polycrylic to become difficult or even impossible to apply smoothly. This can be remedied by increasing the amount of lubricant used and making sure it is evenly distributed over the entire surface.
Another common issue is a lack of proper preparation before application, such as not sanding or cleaning the surface. This can lead to an uneven finish and bubbling due to trapped air pockets. To avoid this issue, make sure to properly prepare the surface before applying polycrylic.
Finally, incorrect application can lead to cracking and bubbling of the polycrylic. This can be avoided by following application instructions precisely and ensuring that the product is applied in even strokes.
How Long Does It Typically Take for a Product to Make Polycrylic Slippery
The amount of time it takes for a product to make Polycrylic slippery depends on the type of product used and the desired level of slipperiness. Generally, it can take anywhere from a few hours to several days. Silicon-based lubricants will typically provide faster results than oils; however, they may not last as long. It’s important to follow the instructions of the product you are using to make sure that you get the best possible results.
It’s also important to keep in mind that even after applying a product, it may take several hours or days for the surface to fully cure and become slippery. Therefore, patience is key when making Polycrylic slippery.
Make sure to wait until the product has had enough time to cure before assessing the results. Overall, it is important to follow the instructions of the product you are using and practice patience when making Polycrylic slippery. With proper care and attention, you can create a stunning finish that will last for years.
Conclusion
In conclusion, making your polycrylic slippery is an important step in ensuring that you get the best result for your project. There are several different methods to make it more slippery, including applying a lubricant spray, using a paint conditioner, or even just waxing it. All of these steps can help ensure that your polycrylic is as slippery and smooth as possible so that it can be applied and used correctly.
Additionally, it’s important to remember that the key to making sure your polycrylic is slippery enough is to take the time to ensure that you are doing everything correctly.
Taking a few extra minutes to make sure that every step is done properly can save you from having too much friction when applying or using the product which could lead to a less than desirable result. I hope reading this post has helped you learn how to make polycrylic slippery. Make sure the safety precautions are carried out in the order listed.
About
Outdoor Fixes is a distinguished figure in the world of Diy design, with a decade of expertise creating innovative and sustainable Diy solutions.
His professional focus lies in merging traditional craftsmanship with modern manufacturing techniques,
fostering designs that are both practical and environmentally conscious. As the author of diy,
outdoorfixes delves into the art and science of outdoorfixes-making, inspiring artisans and industry professionals alike.
Education RMIT University
(Melbourne, Australia) Associate Degree in Design (Outdoor Fixes) Focus on sustainable design, industry-driven projects,
and practical craftsmanship. Gained hands-on experience with traditional and digital manufacturing tools, such as CAD and CNC software.
Nottingham Trent University
(United Kingdom) Bachelor’s in outdoorfixes.com and Product Design (Honors) Specialized in product design with a focus on blending creativity with production
techniques. Participated in industry projects, working with companies like John Lewis and Vitsoe to gain real-world insights.
Publications and Impact
In diy, Outdoor Fixes his insights on indoor design processes, materials, and strategies for efficient production.
His writing bridges the gap between artisan knowledge and modern industry needs, making it a must-read for both budding designers and seasoned professionals.