Cornhole boards can get slick with use over time. This can make the game more difficult to play, and detract from the overall experience. Making cornhole boards slick is a relatively easy process that requires minimal supplies. It will help ensure your cornhole board is smooth, so you won’t have to worry about any bumps or lumps as you’re playing the game.
Making cornhole boards slick comes with several advantages.

First, it allows for better sliding on the board which can help improve your overall game score. It also makes the boards look much more aesthetically pleasing and professional. Finally, a slick board will last longer since it is less likely to wear down over time due to friction from the bags. In this blog post, You will learn in detail how to make cornhole boards slick.
Materials You Will Need
- Cornhole Board
- Sandpaper
- Vacuum
- Tack Cloth
- Mineral Spirits
- Paint Tray and Roller/Brush
- Oil‐Based Primer
- Oil-Based Paint
- Polyurethane Finish or Polycrylic Sealer (optional)
- Cotton Rag or Sponge (optional)
Step-by-step Instructions for How to Make Cornhole Boards Slick
Step 1: Inspect Your Boards
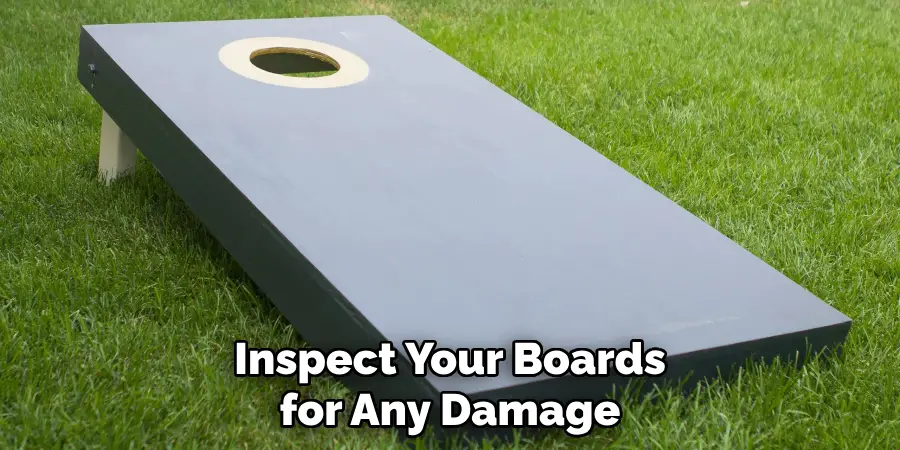
Before you start applying wax, inspect your boards for any damage or imperfections. If there are any, fill them in with wood filler before continuing. Using a damp cloth and mild soap, clean the surface of the boards to prepare them for waxing. Make sure to remove all dirt and debris from the boards as it will affect the quality of the wax.
Step 2: Apply Wax to Boards
Using a clean cloth, apply an even coat of liquid or paste wax to both sides of the boards. Make sure all surfaces are covered with wax and wipe away any excess. Give the wax some time to dry completely (about 1-2 hours). Once it is completely dry, the boards should be slick to the touch.
Step 3: Buff Wax Into Boards
Using a clean cloth or buffer, buff the wax into both sides of the boards until they are smooth and shiny. This will help create a protective layer on your boards that will make them even more durable. If desired, you can add another layer of wax to your boards for extra protection. This will help keep them slick and make them even more resistant to wear and tear.
Step 4: Allow Wax To Cure
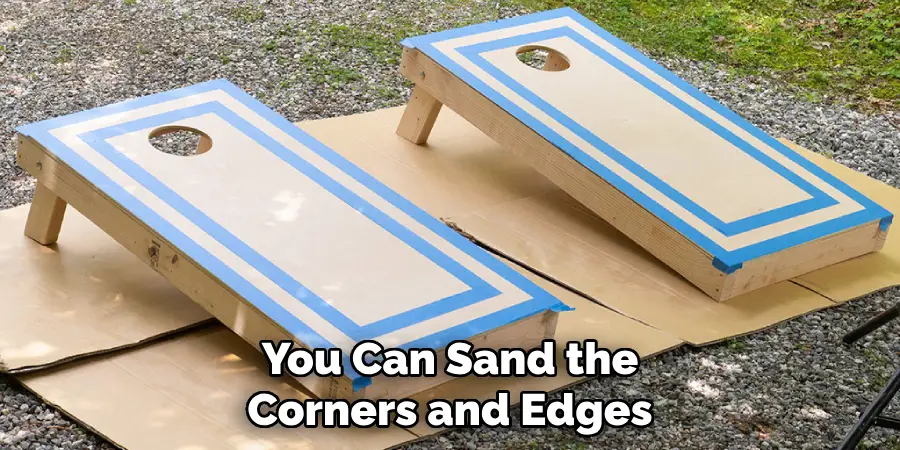
Allow the wax to cure overnight (or for at least 12 hours). Once it is cured, your boards should be ready to play on. If you want your boards to have extra protection, you can sand the corners and edges of the boards with fine-grit sandpaper. This will help keep them smooth and prevent any splintering or chipping.
Step 5: Apply Clear Coat To Boards (Optional)
If desired, you can apply a clear coat to the boards. This will help keep them looking new and add an extra layer of protection from wear and tear. Once your boards are ready, you can enjoy playing cornhole with friends and family.
It’s important to remember that regular maintenance is key for keeping your cornhole boards slick. Make sure to check the boards every few months for any signs of wear and tear, and reapply wax if necessary. This will help keep your boards in top condition for many years to come.
Tips for How to Make Cornhole Boards Slick
- Always keep in mind safety when making cornhole boards. Wear protective gear, such as work gloves and safety goggles, to protect your hands and eyes from any potential harm.
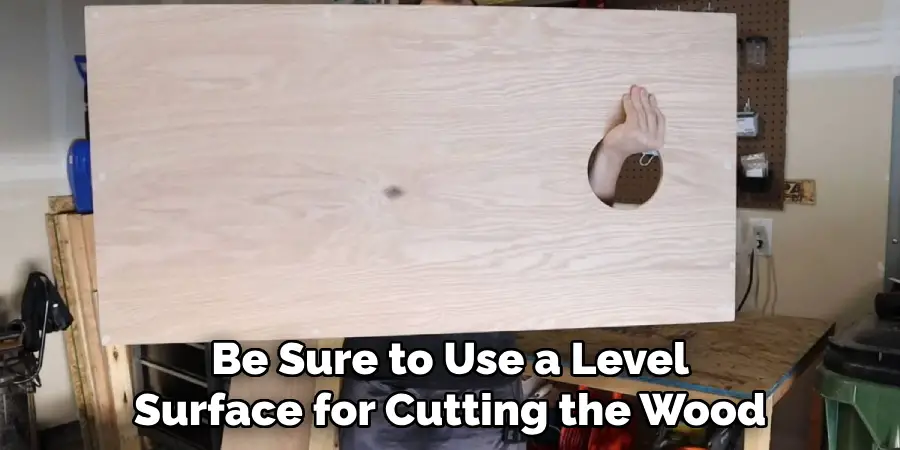
- Be sure to use a level surface for cutting the wood and assembling the boards. A flat surface helps prevent uneven cuts that can affect the accuracy of the game play.
- Make sure you have the right cutting tools for the job. A table saw or circular saw will be necessary in order to cut out the boards and make them slick.
- Ensure that you use a quality wood glue when attaching the pieces of the board together as this will help create a strong bond between them.
- Use a sandpaper on all sides of each piece in order to achieve a smooth, even surface for the boards.
- Before applying a coating to your slick cornhole boards, make sure that you have thoroughly cleaned them with soap and water to remove any dust or dirt that may be present. This will help the finish go on more smoothly and prevent any imperfections in the finished product.
One of the most important parts of making slick cornhole boards is to make sure that all pieces of the board are properly aligned and level before adding a coating. This will help ensure that the game play is accurate and enjoyable for all players.
How Long Does It Typically Take to Build a Set of Slick Cornhole Boards
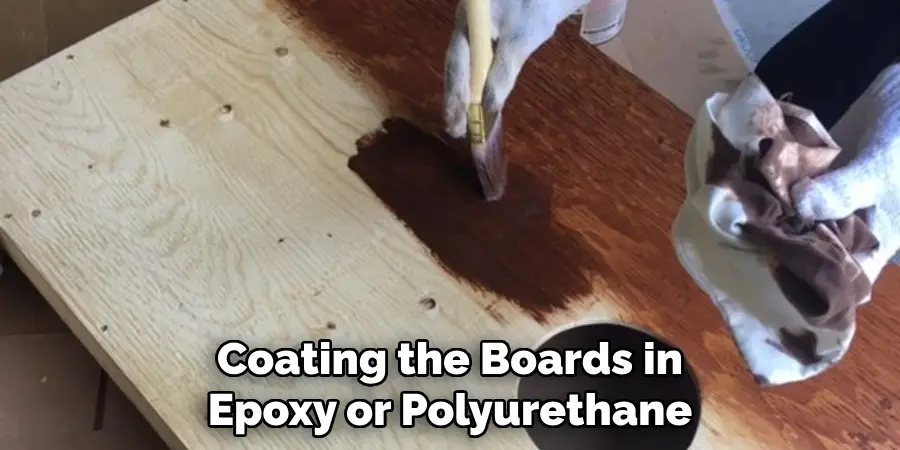
Building a set of slick cornhole boards can take anywhere from approximately 4-6 hours. This includes assembly and coating the boards in epoxy or polyurethane. After the coatings have been applied, it is best to wait for them to cure before playing, which can take up to 24 hours depending on the type of material used.
If you have a larger budget, you can purchase pre-built sets of slick boards. These are usually ready to go out of the box and require no assembly or coating time. They are also often made from sturdier materials that will last longer than DIY projects. No matter which route you choose, building your own cornhole boards or purchasing pre-made ones, you’ll be sure to have hours of fun with your friends playing this classic game.
How Should You Maintain and Care for Your Set of Slick Cornhole Boards Once They Are Completed
It is important to maintain and care for your set of slick cornhole boards if you want them to last. Here are a few tips on how to do that:
- Clean the boards regularly with a damp cloth or sponge. Make sure to use mild detergents and avoid using any harsh chemicals as they can damage the surface of the wood.
- Let the boards dry completely before storing them away.
Store them in a cool, dry place to prevent any moisture or humidity damage. Make sure to keep the boards away from direct sunlight as this can cause discoloration and warping of the wood.
What Are Some Common Mistakes People Make When Building a Set of Slick Cornhole Boards
One of the most common mistakes people make when building a set of slick cornhole boards is not sanding them enough. Sanding your boards helps to remove any rough patches, splinters, or rough edges that may affect your throws. It also smooths out the surface of the board so that it is easier for bags to slide on it. Another mistake people often make is not coating the boards with epoxy or polyurethane.
This will help to protect the boards from moisture and other elements that can cause damage over time. Finally, people often leave out screws or nails when assembling the frames, which can lead to instability in the structure of your boards. It is important to pay attention to each step of building a set of slick cornhole boards to ensure that they are safe and sturdy.
Are There Any Other Techniques or Materials That Can Help Me Build a Better Set of Slick Cornhole Boards
Yes. You can use a few different materials to help you make your cornhole boards slick. One option is to use a high-quality polyurethane or lacquer topcoat on the board surface. These materials are designed to provide a glossy, durable finish that will repel water and prevent damage from dirt and wear over time. Applying a topcoat can also help to create an even smoother surface for your beanbags to slide on.
Another option is to use sandpaper to buff out the surface of your cornhole boards. This will create a smooth finish that will reduce friction and make it easier for bean bags to move across the boards. You should always be sure to use high-grit sandpaper and take special care to sand in one direction. This will help to reduce the risk of damaging the wood grain or creating uneven surfaces.
Finally, you can use a lubricant such as Teflon tape or wax paper on your cornhole boards. This will create a barrier between the bean bags and the board surface, allowing for smoother sliding action and reducing friction.
Conclusion
One of the main disadvantages to making a cornhole board slick is that it can be very time consuming and you may not be able to get the desired result. Additionally, if the surface isn’t prepared correctly, you risk damaging either your board or the tools used in the process. It is also important to take safety precautions when making any changes to your cornhole boards as you may cause injuries to yourself or others.
In conclusion, making cornhole boards slick is a great way to make your game of Cornhole even more enjoyable. It takes only a few simple steps and materials, and the results will be worth it! Properly preparing the surface of the board before waxing or sealing it will ensure that the slick surface stands up to play for years to come.
Additionally, you’ll want to use a quality wax or sealant and a clean cloth to make sure the surface is well-protected. I hope this article has been beneficial for learning how to make cornhole boards slick. Make Sure the precautionary measures are followed chronologically.
About
Outdoor Fixes is a distinguished figure in the world of Diy design, with a decade of expertise creating innovative and sustainable Diy solutions.
His professional focus lies in merging traditional craftsmanship with modern manufacturing techniques,
fostering designs that are both practical and environmentally conscious. As the author of diy,
outdoorfixes delves into the art and science of outdoorfixes-making, inspiring artisans and industry professionals alike.
Education RMIT University
(Melbourne, Australia) Associate Degree in Design (Outdoor Fixes) Focus on sustainable design, industry-driven projects,
and practical craftsmanship. Gained hands-on experience with traditional and digital manufacturing tools, such as CAD and CNC software.
Nottingham Trent University
(United Kingdom) Bachelor’s in outdoorfixes.com and Product Design (Honors) Specialized in product design with a focus on blending creativity with production
techniques. Participated in industry projects, working with companies like John Lewis and Vitsoe to gain real-world insights.
Publications and Impact
In diy, Outdoor Fixes his insights on indoor design processes, materials, and strategies for efficient production.
His writing bridges the gap between artisan knowledge and modern industry needs, making it a must-read for both budding designers and seasoned professionals.