
Do you have old wooden boards lying around that you don’t know what to do with? Why not turn them into something useful! Sealing and painting your own cornhole boards is a great way to spruce up your backyard and add a bit of fun for family and friends.
Cornhole boards have grown in popularity over the years. They are popular for outdoor games and can also be used as creative covers or decorations for other items. If you’d like to use cornhole boards for any of these purposes, it’s important to understand how to seal them properly to ensure that the board is protected from moisture and dirt buildup.
In this blog post, we’ll cover all the steps you need to know about how to seal cornhole boards so you can confidently enjoy your project!
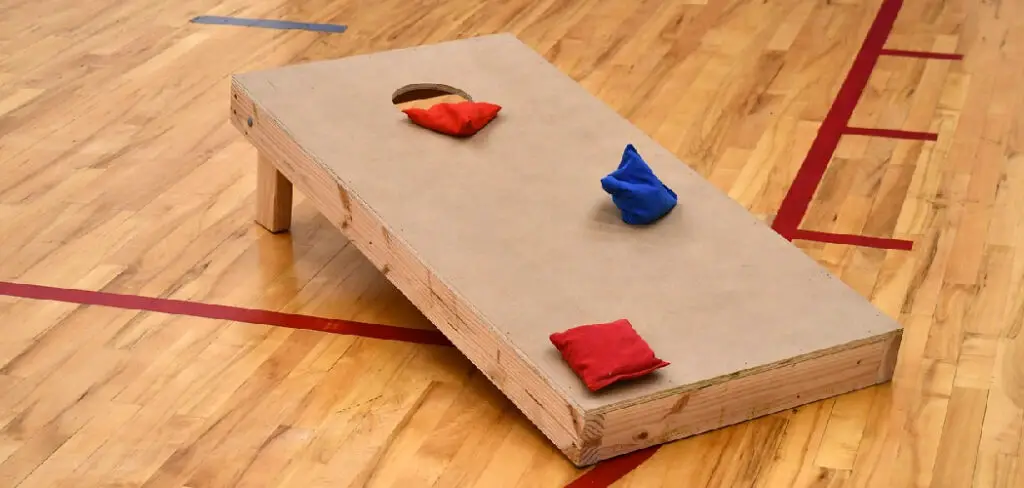
What Is Cornhole Board?
Cornhole boards are a popular outdoor game. It is believed to have been invented by farmers from Ohio who wanted a way to pass the time on their farms. The game’s object is to toss beanbags or small soft balls into a hole cut out of a wooden board. Players usually stand at opposite ends of a playing field and take turns tossing their beanbags or balls into the hole.
Cornhole boards come in many different shapes, sizes, and materials. You can get pre-made sets that include the board and all of the necessary equipment, or you can build your own boards from scratch. In either case, it’s important to seal your board with a clear sealant to protect it from the elements and ensure it lasts for many years.
Why You Need To Seal Cornhole Boards
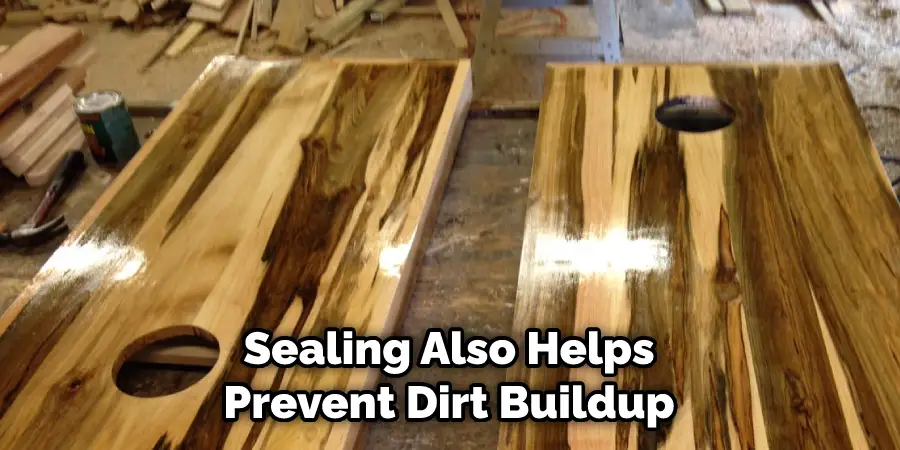
Sealing your cornhole boards is one of the most important steps in protecting them from environmental conditions and ensuring they last for many years. Without sealing, wood can easily become warped or cracked due to temperature, humidity, and moisture changes. Sealing also helps prevent dirt buildup on the boards, making them harder to clean over time.
Sealing your cornhole boards is not only important for protecting the wood, but it also helps improve the game’s performance. A sealed board will provide a smoother surface and better grip for the beanbags or balls, making it easier to reach the hole with greater accuracy.
Necessary Tools and Materials
To properly seal your cornhole boards, you’ll need a few tools and materials. These include:
- Sandpaper (100-grit)
- Paintbrush
- Clear sealant (water-based)
- Cloth rag
- Painter’s tape
Once you have all of your tools and materials, you are ready to start the sealing process!
10 Easy Steps on How To Seal Cornhole Boards
Sealing your cornhole boards is a relatively easy process that only requires a few simple steps. Here’s how to do it:
1. Sand Down the Wood:
Start by sanding down the wood with medium grit sandpaper. This will help smooth out any rough patches or imperfections on the board and ensure a better sealant bond. You don’t need to sand the entire board, but make sure you focus on any areas where splinters or rough patches may occur.
2. Sweep Away Dust:
Once you’re done sanding, use a soft brush or cloth to sweep away any dust or debris on the board. This will help ensure that no residue is left behind when you apply the sealant. Be careful not to press down too hard, as this could cause damage to the wood.
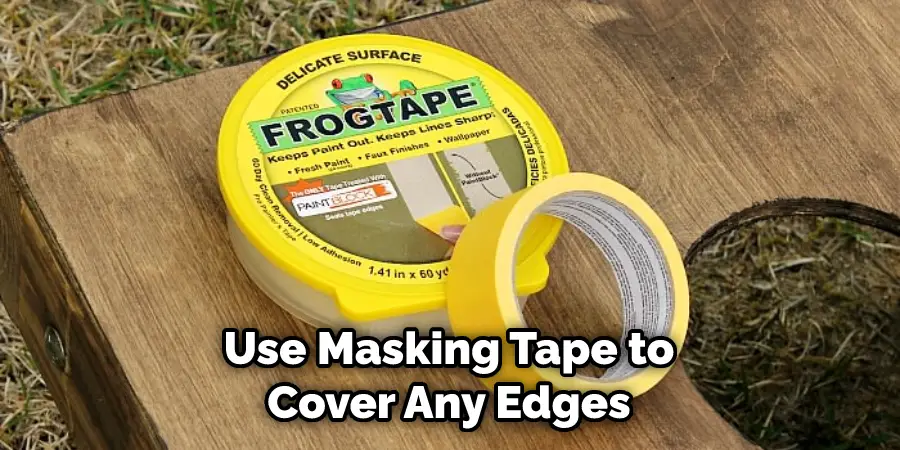
3. Tape Off Edges:
Next, use masking tape to cover any edges of the board that you don’t want to get sealant on. This will help keep your sealant lines neat and tidy. Ensure that you press the tape firmly against the edges so that no sealant can seep underneath.
4. Apply Primer:
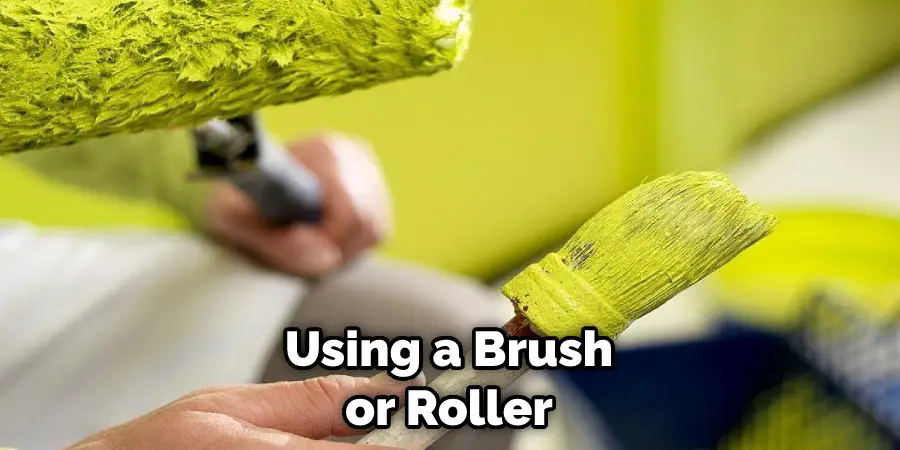
Apply a primer to the entire surface of the board with a paintbrush or roller. Allow it to dry for at least 24 hours before continuing on to the next step. The primer helps protect and strengthen the wood against possible water damage from moisture in the air and rain.
5 . Apply Sealant :
Now that your board is prepped and primed, you can apply a sealant over it with a brush or roller. Make sure to cover all of the boards with an even layer and apply extra coatings to areas that may need extra protection. Allow this coat of sealant to dry before applying a second coat. Once the sealant is completely dry, you can enjoy your cornhole boards!
6. Sand Down Sealant:
Once it’s completely dried, use fine-grit sandpaper to lightly sand down the board’s surface. This will help ensure that your sealant is level and uniform across the entire board. If you find that the sealant is too thick or uneven in some spots, you can apply a coat of primer and an extra layer of sealant to help even it out.
7. Remove Tape:
Remove any masking tape you used on the edges of the board so that they are fully exposed. This will ensure that your sealant lines remain neat and even around them. You can also use a damp cloth to help remove any remaining residue.
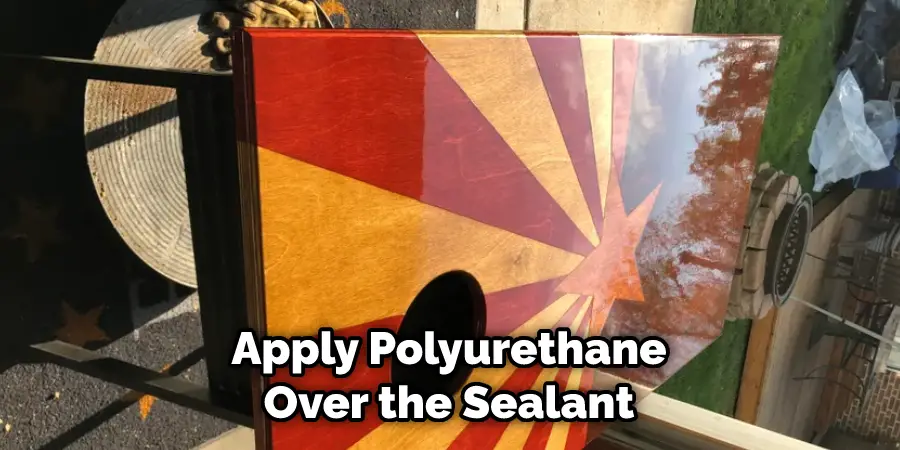
8 . Apply Polyurethane Finish:
Now it’s time to apply polyurethane over the sealant. Polyurethane is a clear, protective finish that will help keep your board looking new and protect it from blemishes and dirt buildup. Apply it with a brush or roller, covering all areas of the board and allowing it to dry.
9 . Sand Down Finish :
Once the polyurethane has dried, use a very fine-grit sandpaper to lightly sand it down until you have reached your desired level of smoothness. Make sure not to press too hard so that you don’t remove any of the finish. If you are looking for a glossy finish, you can also apply a clear, waterproof acrylic sealant over the polyurethane.
10. Clean & Wax:
Finally, clean your board with a damp cloth and wax to finish it off. This will help keep the board looking smooth and shiny for many years to come. You can get a special cornhole wax that is specially designed for this purpose, or you can use a regular wood polish.
And there you have it! While this may seem like a long process, sealing your boards is important in protecting them from environmental damage and ensuring that they last for many years. So don’t skip it! Good luck, and enjoy your game of cornhole!
5 Additional Tips and Tricks
- When selecting a sealant, ensure it’s suitable for outdoor use. A water-based acrylic sealant will provide the best protection against the elements and will provide flexibility during any temperature fluctuations.
- Make sure to cover all edges of the board with sealant, as these are often more susceptible to moisture damage than other areas.
- Before applying the sealant, ensure that the boards are clean and free of debris or dust, as this can cause problems in how evenly the sealant is applied.
- When using a brush or roller to apply your sealant, be sure to use long strokes and even pressure to ensure an even coat without any drips or runs.
- Allow plenty of time to seal your cornhole boards – usually 24-48 hours after applying the sealant for it to cure and set fully. This will ensure the best protection for your boards against weather damage.
Follow these tips and tricks to ensure that your cornhole boards are properly sealed and protected, so you can enjoy them for years to come!
5 Things You Should Avoid
- Using the Wrong Type of Sealant: Make sure you use a specialized, waterproof sealer designed for outdoor wood surfaces.
- Not Testing How Much Sealant is Needed: Too many layers will weigh down the boards, making them hard to carry and play with. Test how much sealant is needed before applying it to your boards.
- Applying Sealant to Wet Wood: Ensure the boards are dry before applying a sealant. If there’s moisture on the surface, it can prevent the sealant from adhering correctly.
- Not Properly Prepping the Wood: Before applying any sealant, ensure you sand down any rough spots and clean off dirt and grime.
- Applying Sealant in Extreme Temperatures: Sealant will not adhere correctly if you apply it at very high or low temperatures. Make sure you keep an eye on the weather forecast and plan your sealing accordingly!
For best results, make sure to follow the manufacturer’s instructions for how to apply the sealant. You can also use a brush or roller to help with the process, but make sure you pick the right tool for the job!
Conclusion
Sealing your cornhole boards is a great way to show your DIY skills or to give an extra touch of personalization. Although the task may seem daunting, it’s doable with a little bit of extra time and effort.
It requires purchasing the right sealer materials, properly prepping the board’s surface, mixing and applying the sealer in multiple coats, letting each coat dry before beginning on the next one, and making any necessary repairs so that no moisture enters inside.
Taking into account all these steps can help you create cornhole boards that not only play better but also last longer. With well-sealed boards embedded with a customized touch to them, you’re sure to be victorious after every game!
Hopefully, the article on how to seal cornhole boards has provided you with any information or tips that you need. Now, it’s time to get out there and start sealing your boards! Good luck!
About
Outdoor Fixes is a distinguished figure in the world of Diy design, with a decade of expertise creating innovative and sustainable Diy solutions.
His professional focus lies in merging traditional craftsmanship with modern manufacturing techniques,
fostering designs that are both practical and environmentally conscious. As the author of diy,
outdoorfixes delves into the art and science of outdoorfixes-making, inspiring artisans and industry professionals alike.
Education RMIT University
(Melbourne, Australia) Associate Degree in Design (Outdoor Fixes) Focus on sustainable design, industry-driven projects,
and practical craftsmanship. Gained hands-on experience with traditional and digital manufacturing tools, such as CAD and CNC software.
Nottingham Trent University
(United Kingdom) Bachelor’s in outdoorfixes.com and Product Design (Honors) Specialized in product design with a focus on blending creativity with production
techniques. Participated in industry projects, working with companies like John Lewis and Vitsoe to gain real-world insights.
Publications and Impact
In diy, Outdoor Fixes his insights on indoor design processes, materials, and strategies for efficient production.
His writing bridges the gap between artisan knowledge and modern industry needs, making it a must-read for both budding designers and seasoned professionals.