
Moving a fence can be daunting, but knowing the steps to take and having the right tools can make it much easier. Knowing to move a fence not only saves you time and effort but also helps protect your property from damage and accidental injury. With some planning and preparation, you’ll quickly learn to safely move a fence.
Moving a fence can provide several advantages. It can create more space in your yard or garden, allow you to expand existing landscaping, and even improve the overall look of your property. Fence relocation is much easier than building one from scratch since existing posts and panels are usually reused in the process.
Additionally, it allows you to customize the height, length, and shape of your fence to suit your and your family’s needs. In this blog post, You will learn how to move a fence in detail.
Step-by-step Instructions for How to Move a Fence
Step 1: Inspect the Fence
Before you begin to move a fence, it’s important to assess the condition of the existing structure. Check for rotten wood, loose nails or panels, and weak areas that may need repair after moving the fence. If your fence is in poor condition overall, you should consider replacing it instead of moving it.
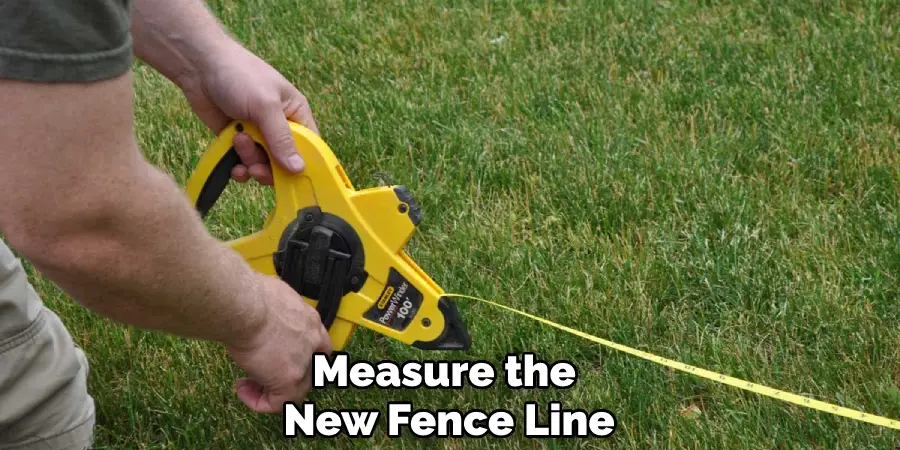
Step 2: Measure Your New Fence Line
Once you decide to move the fence, measure the new fence line. Ensure it is at least 8 feet away from any other property lines and doesn’t interfere with power lines or underground utilities. Mark your new line with flags or stakes to easily identify it.
Before moving the fence, you’ll need to remove all the existing posts and panels. Using an electric drill or crowbar, loosen each post from its hole in the ground and then gently lift it out. If possible, save any posts that are still in good condition for use in your new fence line.
Step 3: Move the Fence Panels
Now that you’ve removed all of the existing posts, you can start to move the panels. Carefully lift each panel and place it along your new fence line. Ensure each panel is level and secure before moving on to the next one.
Once you’ve placed all of the panels along your new fence line, use a post-hole digger or shovel to dig holes for each post. Ensure the holes are at least two feet deep and twice as wide as the post.
Step 4: Set the Posts in Place
Once you’ve dug all of the post holes, set each post into its hole. Ensure they are level and secure before moving on to the next one. You may need to add additional support, such as gravel or concrete, around the posts for extra stability. Once you’ve set all of the posts in place, reattach the fence panels.
Use galvanized screws or nails to secure each panel to its post. Make sure that they are as tight and secure as possible before moving on to the next one.
Step 5: Add Cement or Gravel to the Post Holes
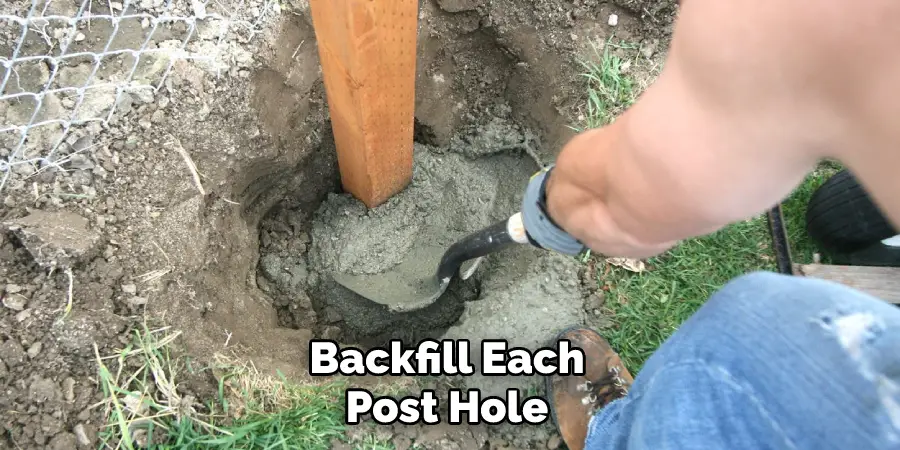
Once all of the fence panels are attached, it’s time to backfill each post hole. Use either cement or gravel around each post for maximum stability and strength. Make sure that you are packing the material tightly around each post before moving on to the next one.
Finally, once all of the posts are secure, and the fence panels have been reattached, add a protective coating to help prevent rot and decay. Use a quality wood sealant or paint to protect your new fence from the elements.
Precautions for How to Move a Fence
- Wear protective clothing, including gloves and safety glasses, during the fence removal process to protect yourself from potential hazards.
- Disconnect any wires or cables attached to the fence before you begin the moving process.
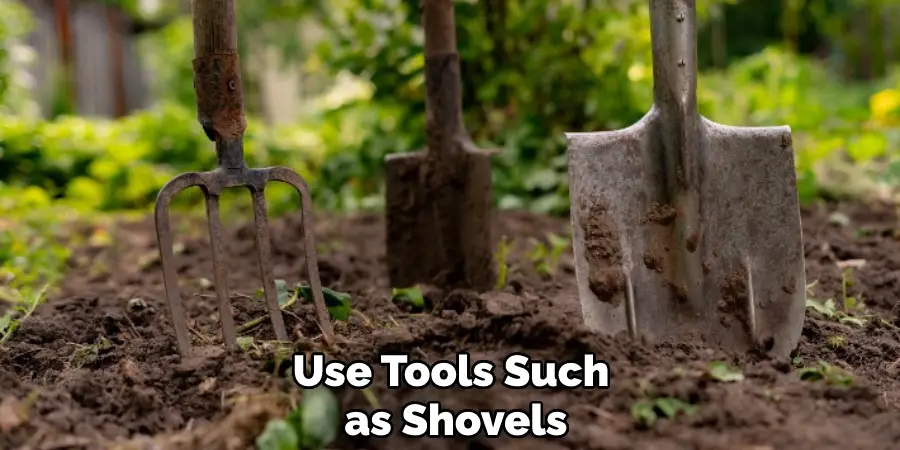
- Use tools such as shovels or post-hole diggers to loosen or remove posts from the ground, then use a sledgehammer to further remove the posts from their holes.
- Carefully carry the fence posts and sections across your yard or property while avoiding any obstructions like flowerbeds, trees, etc.
- If you must move a fence over a large distance, enlist the help of friends or family members to share the workload and make the process easier.
- Take frequent breaks and stay hydrated while moving a fence to prevent exhaustion and injury.
- If you use a trailer or truck for transportation, ensure it is properly loaded to avoid any potential damage or accidents.
- Use extreme caution when attaching your fence posts to poles or other anchors in their new location, as improper installation could lead to instability or collapse.
Moving a fence can be arduous, but with these precautions, you can ensure that the process is safe, efficient, and successful.
How Much Will It Cost to Move a Fence?
Moving a fence can be a significant investment, depending on the size and scope of the project. Costs may include labor, materials, and permitting fees. Labor costs vary by region and company but typically range from $20-$50 per hour for basic work like digging post holes or moving sections of a fence.
If you need to rent heavy equipment like a backhoe or tractor, you may need to pay a rental fee in addition to the labor costs.
Depending on the type of fence and how much you’re moving it, materials can cost anywhere from $50-$500+ for items like fencing posts, lumber, wire mesh panels, nails, screws, and more. If you don’t already have the necessary tools, you may need to purchase or rent additional supplies.
Finally, permits and inspections may be required in your area, which can add additional costs of several hundred dollars. Make sure to check with local authorities to find out what is required before beginning any work.
How Long Does It Take to Relocate a Fence?
The amount of time it will take to relocate a fence depends on the size and type of the fence. A smaller, less complex fence could be moved in a day or two, whereas a larger, more complicated fence may require additional days for completion. Consideration must also be given when moving fences made from materials such as wood or vinyl, which require more time to take down and rebuild.
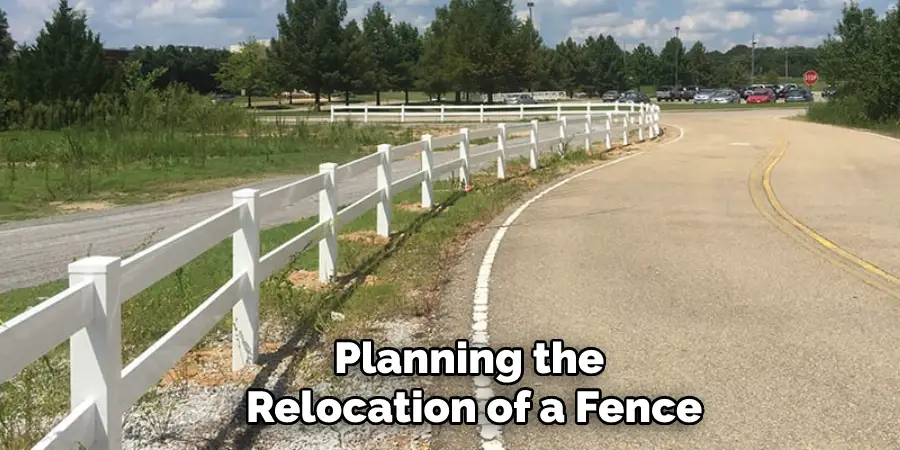
When planning the relocation of a fence, it’s important to assess what needs to be done in order to ensure the process goes as smoothly as possible. This includes measuring the area where the new location will be, obtaining permits if needed, preparing for construction by clearing any debris or other obstructions, and finding a way to move the fence materials from one location to another.
Depending on the size and complexity of the job, it is also important to consult with an experienced professional who will be able to advise about any specific tasks that need completing for your particular situation.
Are There Any Environmental or Safety Risks Associated With Moving a Fence?
Yes. Before moving a fence, you should be aware of any potential safety risks and environmental hazards associated with the project. Moving and installing a fence can disturb soil, plants, or animals that are living in the area where you’re working.
If you’re cutting into the ground to dig new post holes for the relocated fence, you may also encounter certain hazards, such as sharp objects or underground utility lines. In addition, the fence posts and materials used for a new fence must meet local building codes to ensure safety in your area. Make sure to check with local officials before beginning any project that involves moving a fence.
Additionally, prior to any construction activities on your property, you should contact the utility companies to check for any underground lines that could be disturbed during the project. By taking these precautions, you can ensure a safe and successful fence-moving experience.
Additionally, depending on the size of your fence-moving project and where it is located, you may need to obtain permits or permission from local government agencies before beginning. This is especially true for projects located on public land or in areas with protected wildlife and habitats.
How Can You Protect Your Family and Pets From Potential Hazards Associated With Moving a Fence?
If you are considering moving a fence, there are some important safety tips to remember. First and foremost, ensure you have permission from all your neighbors who may be affected by the move. Before doing any work, it is important to speak with them about the project and get their approval before proceeding.
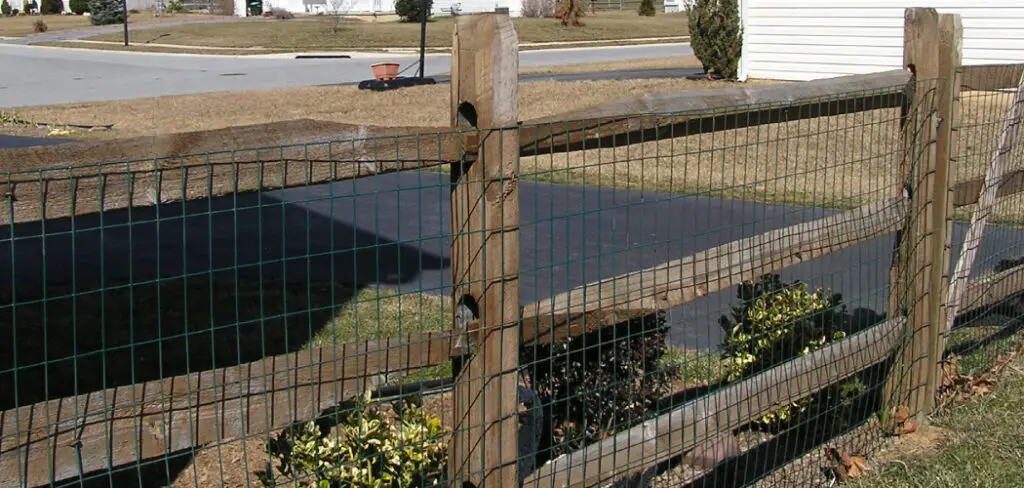
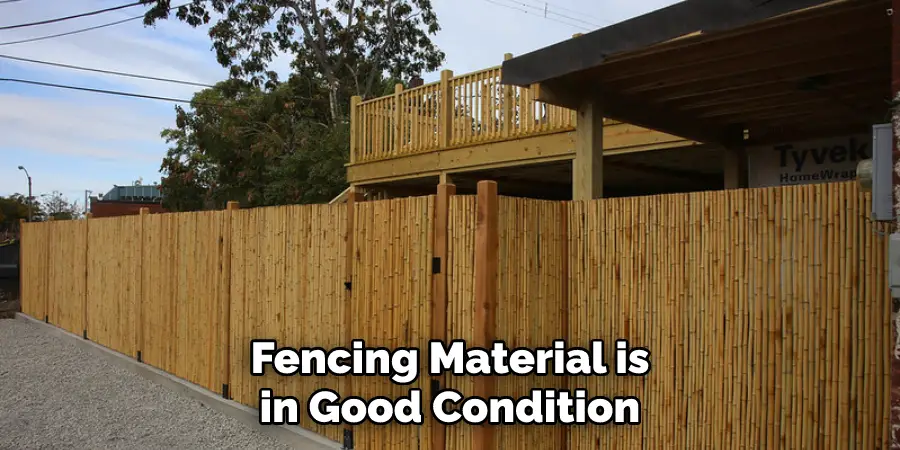
Next, make sure any fencing material is in good condition. If you are moving a chain-link fence, inspect it for any damage or lose posts. Also, check to ensure the fence is securely fastened, and replace any missing posts that may have been weakened due to weathering.
If your fence is made from wood, check it for any rotting wood or loose nails. If the wood is in bad condition, you may need to replace boards or posts. It’s important to use quality materials when constructing a fence to last longer and not require frequent repair.
Finally, keep pets and children away from the work site while moving the fence. Sharp objects and tools will likely be involved when constructing or repairing a fence, so it’s best to keep curious hands away from the area.
How Often Should You Check on the Condition of Your New Fence After It Has Been Moved?
Ideally, the first inspection of your newly-moved fence should occur within the first week or two after relocating it. During this inspection, look for any signs of damage, such as warping, cracking, or other signs of wear and tear. Take note of any repairs that may need to be done in order to keep the fence in good condition.
After the initial inspection, it is recommended that you check on the fence once a year. Depending on how often you use the fence and its location, you may need to check on it more frequently than this.
Pay close attention to your area’s weather conditions and adjust your schedule accordingly. Regularly checking up on your fence’s condition can help you identify any potential problems early on, allowing you to take action before a major issue develops. This will ultimately save you time and money, enabling you to keep your fence in the best condition possible.
How Can You Maintain Your New Fence in Its New Location?
Once you have successfully moved your fence to its new location, taking proper care of it is important. This includes regular maintenance and occasional repairs. To ensure that your fence remains in top condition:
- Inspect the fence regularly for signs of damage or wear. Be sure to check for rotting wood, loose nails, sagging posts, and broken or loose panels.
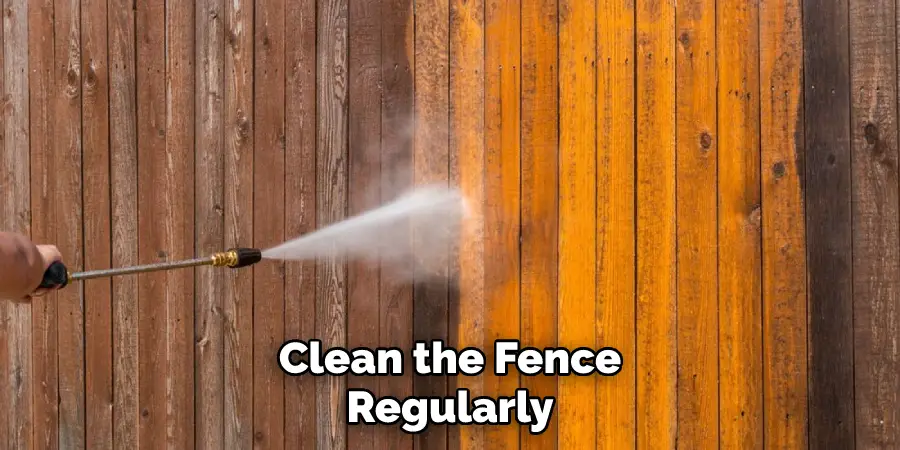
- Clean the fence regularly to remove dirt and debris. Use a mild detergent solution and a soft-bristled brush for the best results.
- Apply sealant or stain to protect the wood from weathering and water damage. Make sure the product you use is designed specifically for outdoor use.
- Repair any damaged or broken parts without delay in order to prevent further damage.
- Re-position the fence posts as needed over time to keep them secure and stable. Use a level to ensure that each post is installed at an even height.
Follow these steps to maintain your fence in its new location and ensure it remains in top condition for many years to come. Proper maintenance and timely repairs will help you keep your fence looking great, providing a beautiful border and protecting your property.
Conclusion
In conclusion, when it comes to moving a fence, the process can be complex and time-consuming. It is important to be mindful of zoning laws and regulations in your area when considering such a project. Additionally, you should always ensure that you take the proper safety precautions when handling any heavy machinery or materials required for the job.
Following these steps will help ensure the fence is moved safely and efficiently, saving you time and money in the long run. With enough determination (and a few strong friends to help out!), you can have your fence in its new location in no time.
I hope reading this post has helped you learn how to move a fence. Make sure the safety precautions are carried out in the order listed.
About
Outdoor Fixes is a distinguished figure in the world of Diy design, with a decade of expertise creating innovative and sustainable Diy solutions.
His professional focus lies in merging traditional craftsmanship with modern manufacturing techniques,
fostering designs that are both practical and environmentally conscious. As the author of diy,
outdoorfixes delves into the art and science of outdoorfixes-making, inspiring artisans and industry professionals alike.
Education RMIT University
(Melbourne, Australia) Associate Degree in Design (Outdoor Fixes) Focus on sustainable design, industry-driven projects,
and practical craftsmanship. Gained hands-on experience with traditional and digital manufacturing tools, such as CAD and CNC software.
Nottingham Trent University
(United Kingdom) Bachelor’s in outdoorfixes.com and Product Design (Honors) Specialized in product design with a focus on blending creativity with production
techniques. Participated in industry projects, working with companies like John Lewis and Vitsoe to gain real-world insights.
Publications and Impact
In diy, Outdoor Fixes his insights on indoor design processes, materials, and strategies for efficient production.
His writing bridges the gap between artisan knowledge and modern industry needs, making it a must-read for both budding designers and seasoned professionals.