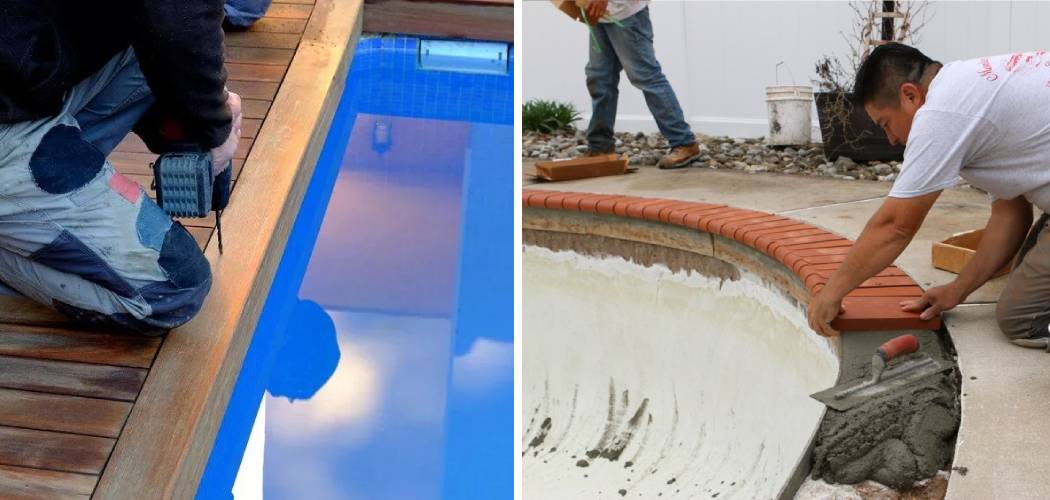
Have you ever wanted to patch up your swimming pool without buying an expensive patch kit? Do you feel overwhelmed by all of the complicated instructions that come with traditional pool repair kits? If so, don’t worry — getting a durable, watertight patch on your pool is possible without using a costly kit.

Pools are among one of the most beloved leisurely outdoor activities, but storms or other environmental factors can damage them. Fortunately, plenty of tricks and tips allow you to easily repair minor damage with items commonly found in your home.
This guide will show you step-by-step how to patch a pool without a patch kit, even when using basic and inexpensive materials from around the home or neighborhood. In no time at all, your swimming pool will be looking good as new!
What Will You Need?
Before you get started, make sure that you have the following supplies on hand:
- Scissors
- Chlorine powder or liquid
- Sponge
- Piece of cloth (preferably canvas or burlap)
- Acrylic adhesive
- Utility knife/razor blade
Once everything is gathered together, you’ll be ready to start patching your pool.
10 Easy Steps on How to Patch a Pool Without a Patch Kit
Step 1. Clean the Area:
Start by cleaning the area around the hole in your pool with a damp towel. Make sure that all dirt and debris are removed so that you have a smooth surface to work with. If the area is particularly dirty, use a mild soap and water solution to clean it fully.

Step 2. Cut Cloth:
Cut the piece of fabric into a circle, square, or whatever shape fits best for your repair needs. Ensure that the patch is larger than the damaged area so that it will provide an adequate sealant. Don’t worry if the patch doesn’t fit perfectly; once it is secured in place, the shape will not be an issue.
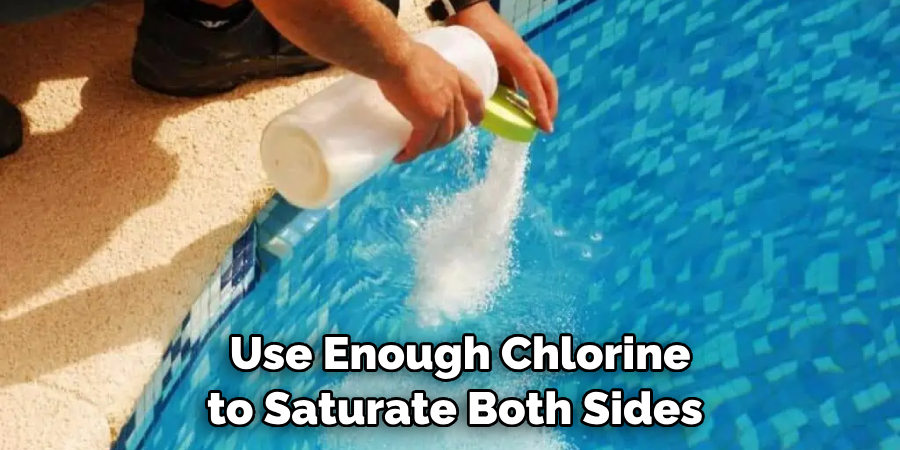
Step 3. Apply Chlorine:
If you are using chlorine powder, sprinkle it onto the cloth patch and spread it evenly over both sides of the material. If using liquid chlorine, lightly soak both sides of the patch. Use enough chlorine to saturate both sides of the cloth patch completely for the best results.
Step 4. Apply Adhesive:
Once the chlorine has dried, spread a generous amount of acrylic adhesive onto both sides of the cloth patch. Be sure to cover all edges and corners for maximum adhesion. This will help ensure that the patch stays in place even when exposed to water.
Step 5. Place Patch on Pool:
Carefully place the patch onto the damaged area in your pool, making sure that it is lined up properly and securely pressed into place. The adhesive should help keep it in position so you don’t have to worry about slipping off or dislodging while working. Use the utility knife/razor blade to trim away any excess material.
Step 6. Secure with Tape:
To further secure the patch in place, use waterproof tape to hold everything together as you continue to work. This will ensure that your patch stays in place during the entire process. Use a heat gun or hair dryer to help the adhesive adhere better.
Step 7. Smooth Edges:
Using a sponge or cloth, smooth out any edges so that they are flush with the pool’s surrounding area. This will help create an even surface for your patch and make it look more natural once finished. You can also use a razor blade to trim away any excess material.
Step 8. Let Adhesive Set:
Allow the adhesive to set and dry completely before continuing on to the next step — this can take anywhere from 24-48 hours, depending on humidity and temperature levels in your area. Once dry, you should have a strong bond between your patch and the pool surface. Try to make sure that the patch is completely dry before moving on.
Step 9. Seal Edges:
To ensure a watertight seal, use waterproof sealant around the edges of your patch. This will help prevent any water from seeping through and causing further damage to your pool. There are a variety of sealants available, so make sure to choose one that is specifically designed for use with swimming pools.
Step 10. Test for Leaks:
Finally, it is important to test the area for any leaks or weak spots by adding a few inches of water into the pool and allowing it to rest overnight. If there are no signs of leakage in the morning, then you have successfully patched up your swimming pool without using a patch kit! Remember to repeat the entire process if necessary.
Now that you know how to patch a pool without a patch kit, you can enjoy your pool for many seasons to come without worrying about costly repairs! These simple steps allow you to easily restore your favorite summertime activity with items commonly found in the average household or hardware store.
6 Additional Tips and Tricks
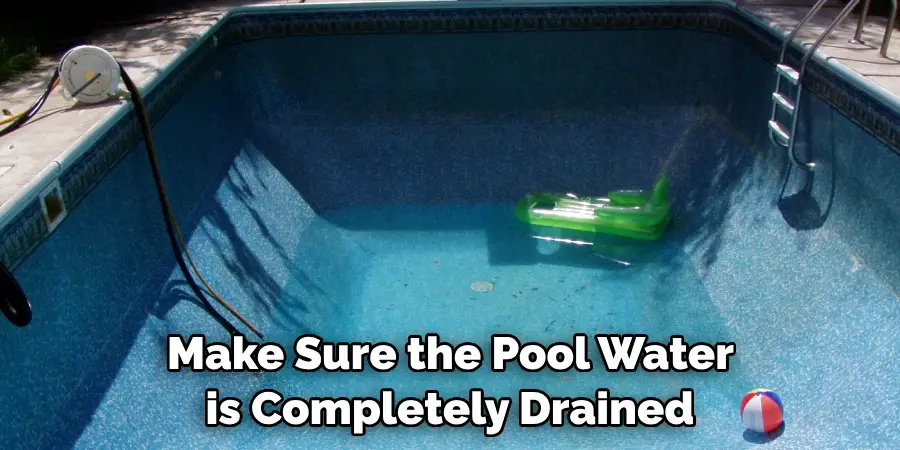
- Make sure the pool water is completely drained before attempting to patch it.
- Use a piece of duct tape with one side facing outwards to cover the hole until you can patch it permanently.
- Invest in an adhesive-backed vinyl sheeting and cut it into strips that are wide enough to cover the hole from the inside of the pool wall.
- If you don’t have access to adhesive-backed vinyl, use a rubberized mesh material and place it over the hole on the outside of your pool wall and then cover it with a waterproof sealant or cement product for greater durability.
- Clean around the area where you need to make repairs, and be sure that all sharp edges are smoothed down before you apply any patching material. This will help ensure a secure and lasting repair.
- Always try to gather all the necessary things before starting your task.
Following these steps can help you make the effective repairs needed to keep your pool safe and operational for years to come. With a bit of patience and the right supplies, you’ll be able to patch up your pool without a kit in no time!
5 Things You Should Avoid
- Don’t attempt to patch an area without first draining the pool water.
- Don’t use cheap patching materials that aren’t designed for use in pools.
- Don’t forget to clean the area before you begin your repair work, and make sure all sharp edges are smoothed down.
- Don’t forget to dry the area before applying any sealant or cement product, otherwise, it won’t adhere properly.
- Don’t apply too much pressure when using duct tape; this can cause damage to the areas around the hole instead of repairing them effectively.
By taking into account these five important tips and tricks, you can be sure you’ll have a successful patch job without using a patch kit. Remember, you don’t need to buy an expensive patch kit in order to fix any holes in your swimming pool.
Can You Patch a Hole in Your Pool With Water in It?
Although it is possible to patch a hole in your pool with water in it, it is not recommended as this can be difficult and dangerous. If you attempt to patch the hole without draining the water first, there is a much higher risk of potential leaks due to water pressure. It is best to completely drain the pool before attempting any repairs.
Additionally, the repair may not be as effective if you’re patching over water. This is because the patches need to adhere securely to your pool wall to provide a long-term solution, which can be difficult when attempting repairs with water present.
It is always best practice to drain all the water from your pool before making any repairs or maintenance. By following these steps, you can ensure that your repair job is safe and successful without having to waste time or money on expensive patch kits.
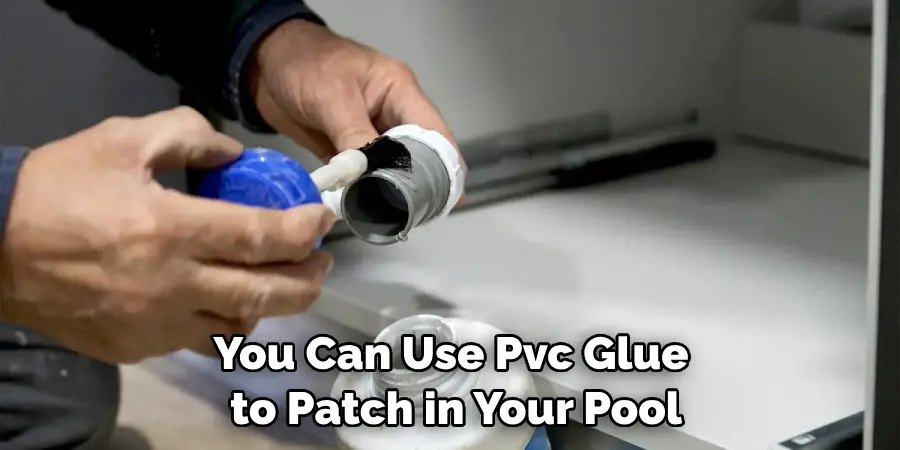
Can You Use Pvc Glue to Patch a Pool?
Yes, you can use PVC glue to patch a pool. This is a great option for those who don’t have access to a patch kit or other specialized products designed for pool repairs. Simply make sure that the area is clean and dry before applying the PVC glue, then apply it in thin layers until the hole is completely sealed off.
Alternatively, you could also use an adhesive-backed vinyl sheeting cut into strips wide enough to cover the hole from the inside of your pool wall.
Pool repair shouldn’t be taken lightly; if not done properly, further damage can occur, which will cost time and money to fix. By following these simple steps and using either PVC glue or adhesive-backed vinyl sheeting, you can ensure that your pool is safe and secure without buying an expensive patch kit.
Regardless of the method you choose, it’s important to remember that safety should always be your top priority when repairing a swimming pool. Follow these steps, and you’ll be sure to make a lasting repair without any hassle!
Conclusion
Patching a pool without a patch kit may seem intimidating, but with the right guidance and understanding of the process, it can be done with relative ease. Learning how to apply a sealant to a patch, then using that same technique to match the dimensions and shape of pool surface damaged areas is key.
If you need additional instructions or have questions about properly repairing your pool without purchasing an expensive patch kit, seek advice from professionals with extensive knowledge in pool repair. With their help, learning how to fix your own swimming pool will not be as daunting as it seems.
Ultimately, it is possible to mend any pool damage yourself if you’re willing to put in some good old-fashioned elbow grease and dedication.
Hopefully, the article on how to patch a pool without a patch kit has given you the knowledge and guidance to make repairs independently.
By following these tips, you can be sure that you’re able to patch up any hole in your swimming pool without a kit! Good luck with your repair project – happy swimming!
About
Outdoor Fixes is a distinguished figure in the world of Diy design, with a decade of expertise creating innovative and sustainable Diy solutions.
His professional focus lies in merging traditional craftsmanship with modern manufacturing techniques,
fostering designs that are both practical and environmentally conscious. As the author of diy,
outdoorfixes delves into the art and science of outdoorfixes-making, inspiring artisans and industry professionals alike.
Education RMIT University
(Melbourne, Australia) Associate Degree in Design (Outdoor Fixes) Focus on sustainable design, industry-driven projects,
and practical craftsmanship. Gained hands-on experience with traditional and digital manufacturing tools, such as CAD and CNC software.
Nottingham Trent University
(United Kingdom) Bachelor’s in outdoorfixes.com and Product Design (Honors) Specialized in product design with a focus on blending creativity with production
techniques. Participated in industry projects, working with companies like John Lewis and Vitsoe to gain real-world insights.
Publications and Impact
In diy, Outdoor Fixes his insights on indoor design processes, materials, and strategies for efficient production.
His writing bridges the gap between artisan knowledge and modern industry needs, making it a must-read for both budding designers and seasoned professionals.